I will be the first one to admit that I have a really hard time with different nail art techniques. I really started out as a swatcher, so that is what I am most comfortable with. However, I don’t want my blog and passion for nails to stagnate so I do try to do things that are outside of my comfort zone. Stamping was one of the first things that I tried so it became something that I have continued to enjoy because I find it easy and fun. Enter watermarble. I have been dealing with trying to watermarble for probably a year if not longer. I went through phases where I tried, gave up for a while, tried again and gave up again. It was just so frustrating because it seemed that no matter what I did, nothing worked. Finally, I am here to tell you that you can master this technique because if I can, anyone can! While there is no one technique that will guarantee success, I will be sharing with you what worked for me.
Water
You would never think that choosing the right water would make such a huge difference. There are people who will say that tap water works just fine or that you have to use distilled water. I’ve tried both and tap water never worked for me. I guess it could be that tap water differs from region to region, but distilled water is the only thing that has worked for me. The temperature of the water was also important because only room temperature water seemed to work well.
Polishes
Once you have the water issue figured out, you have to figure out what polishes work well for marbling. This is all about trial and error because not all polishes work well and some don’t work well together. Personally, the best polishes for marbling that I have used are OPI cremes. They spread well, are very pigmented and don’t dry too quickly. I’ve tried some cheaper polishes and they seem to dry out quickly. Certain holos and shimmers work very nicely as well, but to be honest, you just have to play around with polishes to see which ones will work best.
Creating your design
So you got the water right and your polishes spread nicely into rings. YAY! This is where my next womp womp moment occurred. I could not, for the life of me, get a nice even design. The easiest and most common design is the flower design where you drag your needle from the outside in and join the petals at the center. Well, I could not get this right. I figured out that my issue was that I was trying to drag from the outermost ring which was already beginning to set so I was breaking up the rings and just ruining everything. This might seem like common sense, but I was constantly messing up on this. I also wasn’t cleaning my needle/toothpick in between each drag so the excess polish on the tool wasn’t letting me create clean lines. Why must this be so hard???
The Big Dipper
You’re almost there, right? WRONG. Now you have to figure out how to dip your fingers into the design and not mess it up. I also managed to mess this up time and again. It’s easy enough to line up the design, but if you dip your fingers like a dumbass, you can get a big old mess. I also always got a billion air bubbles on my design which would then pop and ruin the design. The only solution for this, in my experience, is to dip your fingers at an angle and pull out your fingers very slowly.
After all this, why would anyone want to even bother with watermarbling? Well because when you get it right, it looks awesome. Let me show you what I did for my last watermarble.
 First you will want to paint your nails a solid color. White works well most of the time so I’ve used one of my favorite whites: Sation Strumming My Nails (press sample) which is a dupe for OPI MBSW. I think the formula on this one is slightly better than the OPI.
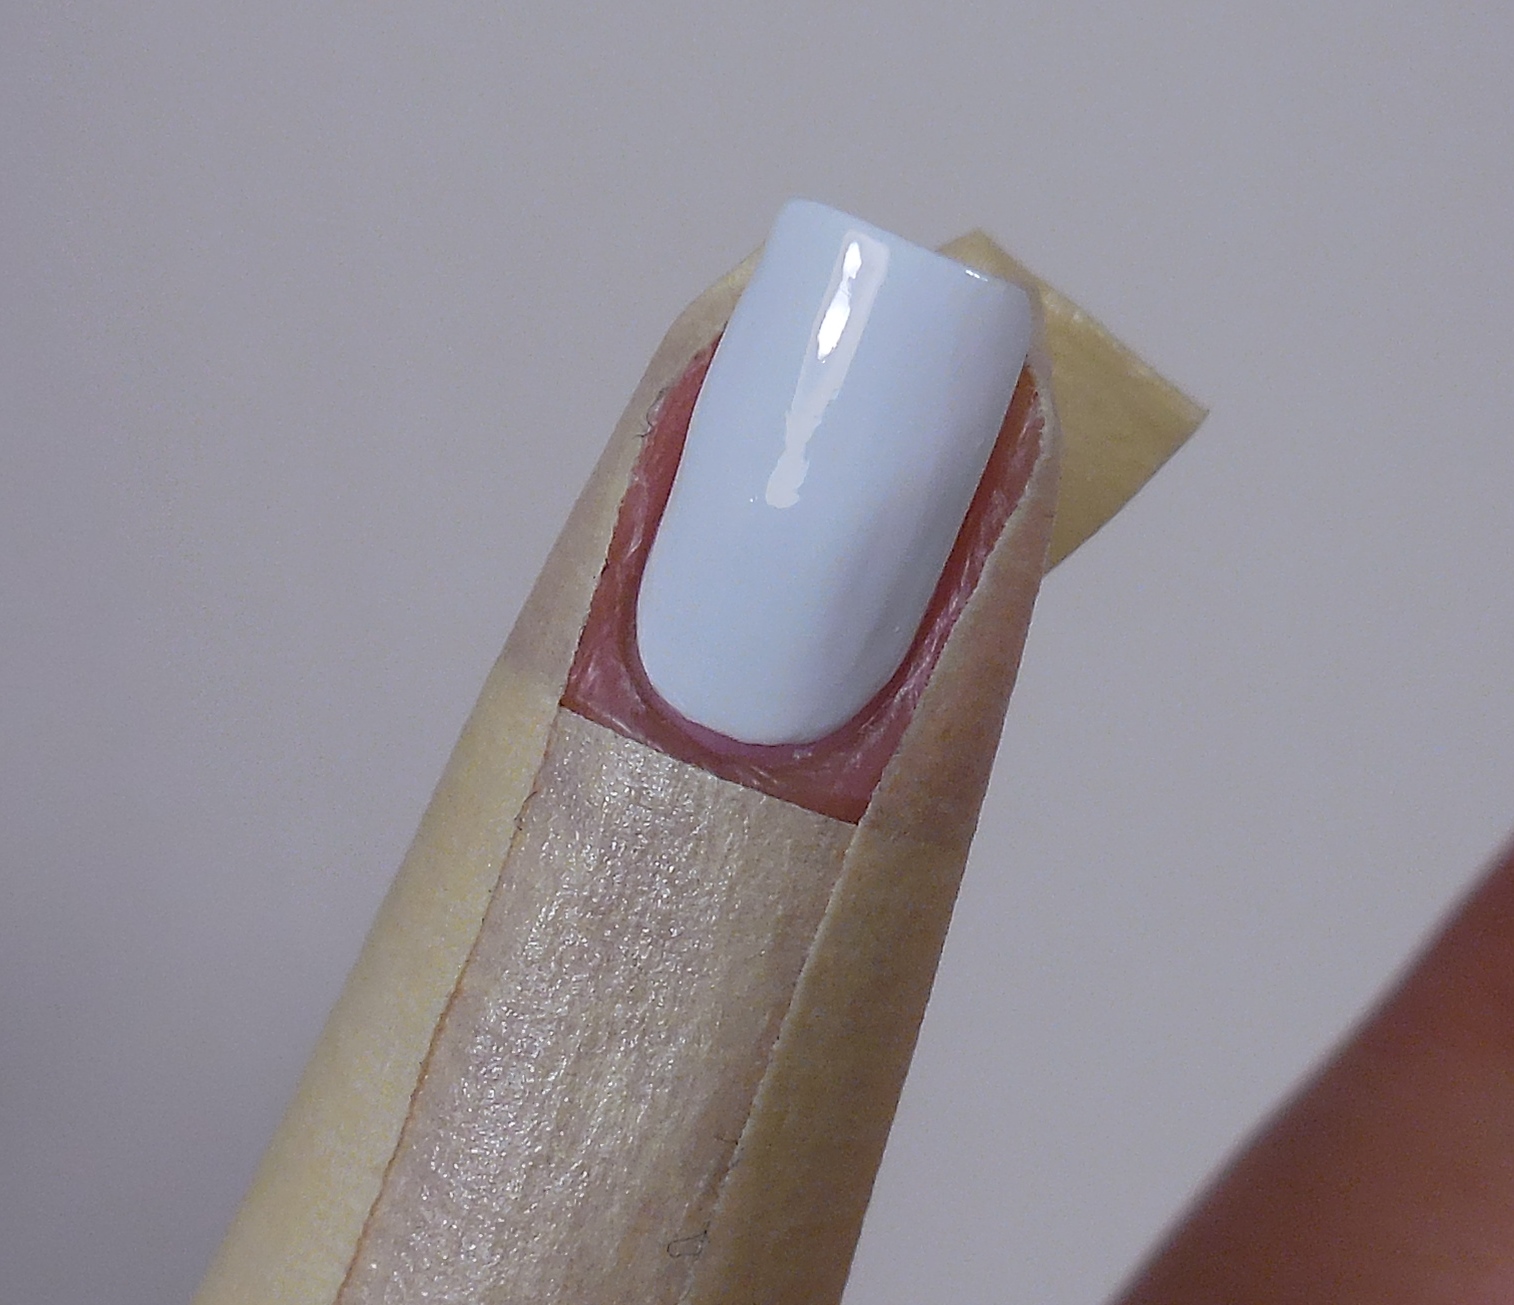 Then you are going to want to tape up your finger to protect your skin from all the mess. I also applied a little glue around my cuticle area that would still be exposed to make clean up easier–especially because the polishes I chose have a lot of shimmery particles.
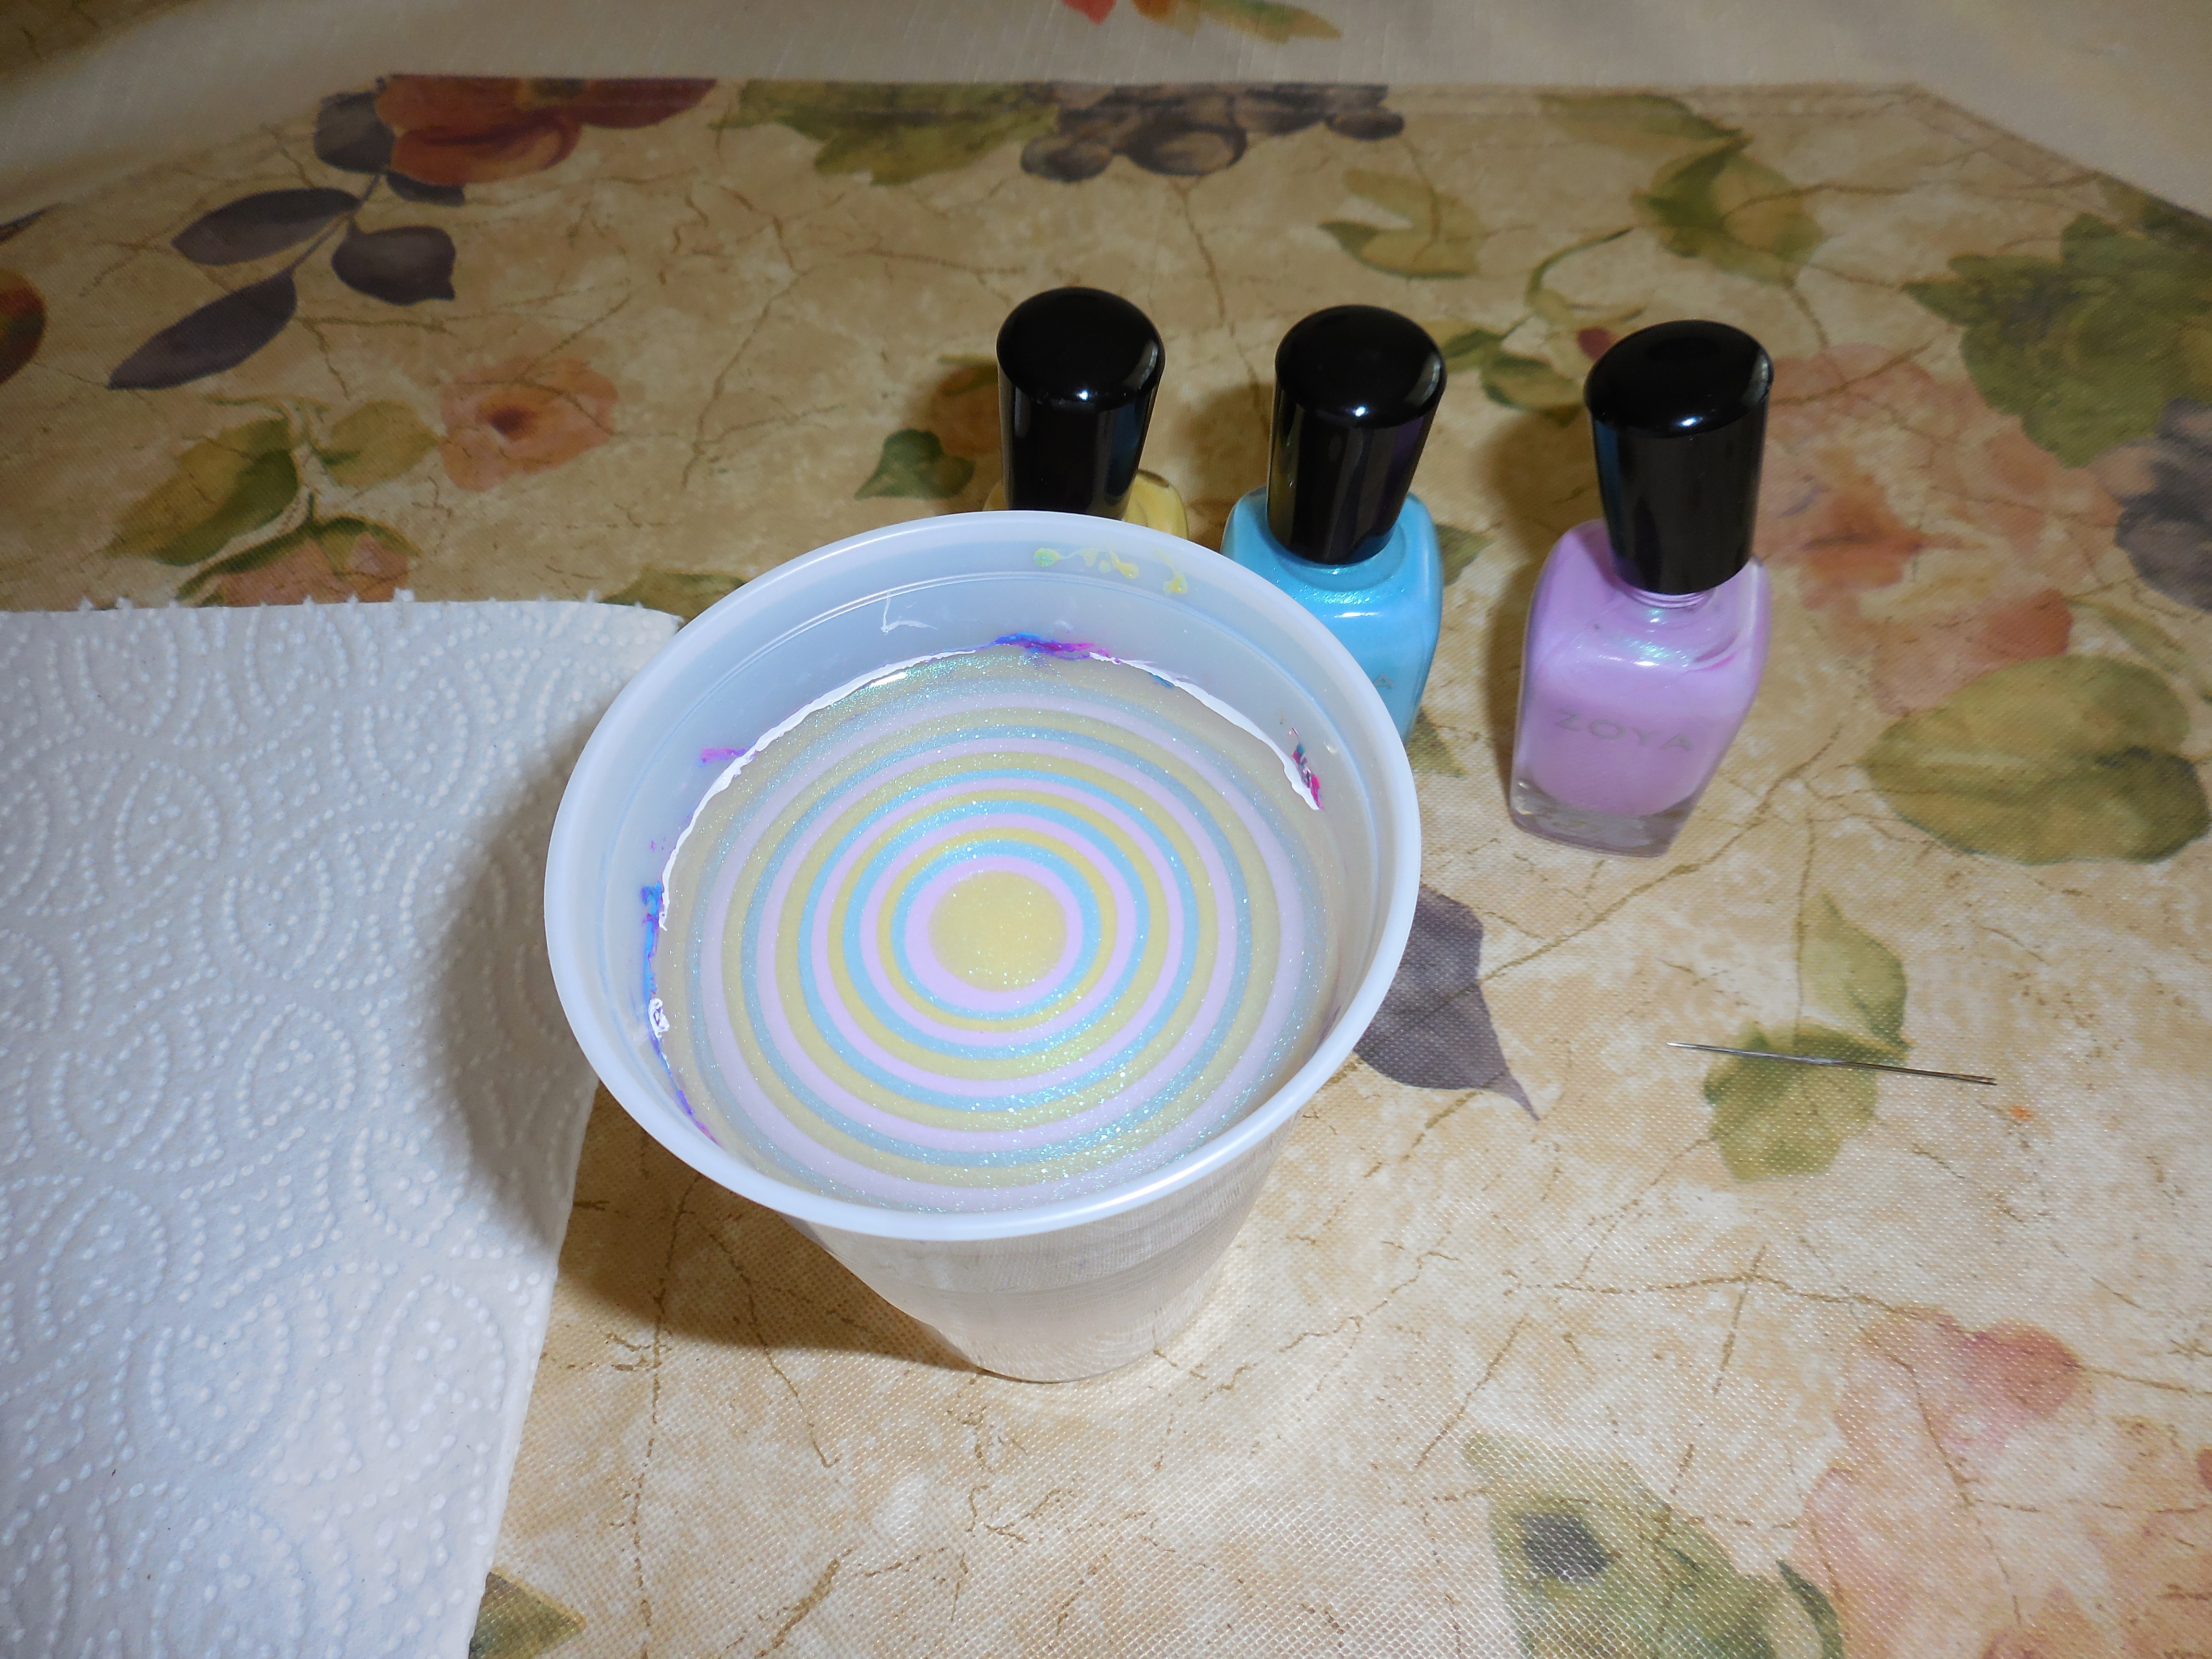 For this watermarble I used the three shimmers from the Zoya Delight Collection (press sample): Daisy, Leslie and Rayne which work beautifully. In fact, the cremes from this collection also work perfectly.
 Imagine if you didn’t tape up your finger…you would have all this polish on your skin.
 With the glue and tape, this is what my clean up job ended up being. Not bad, right?
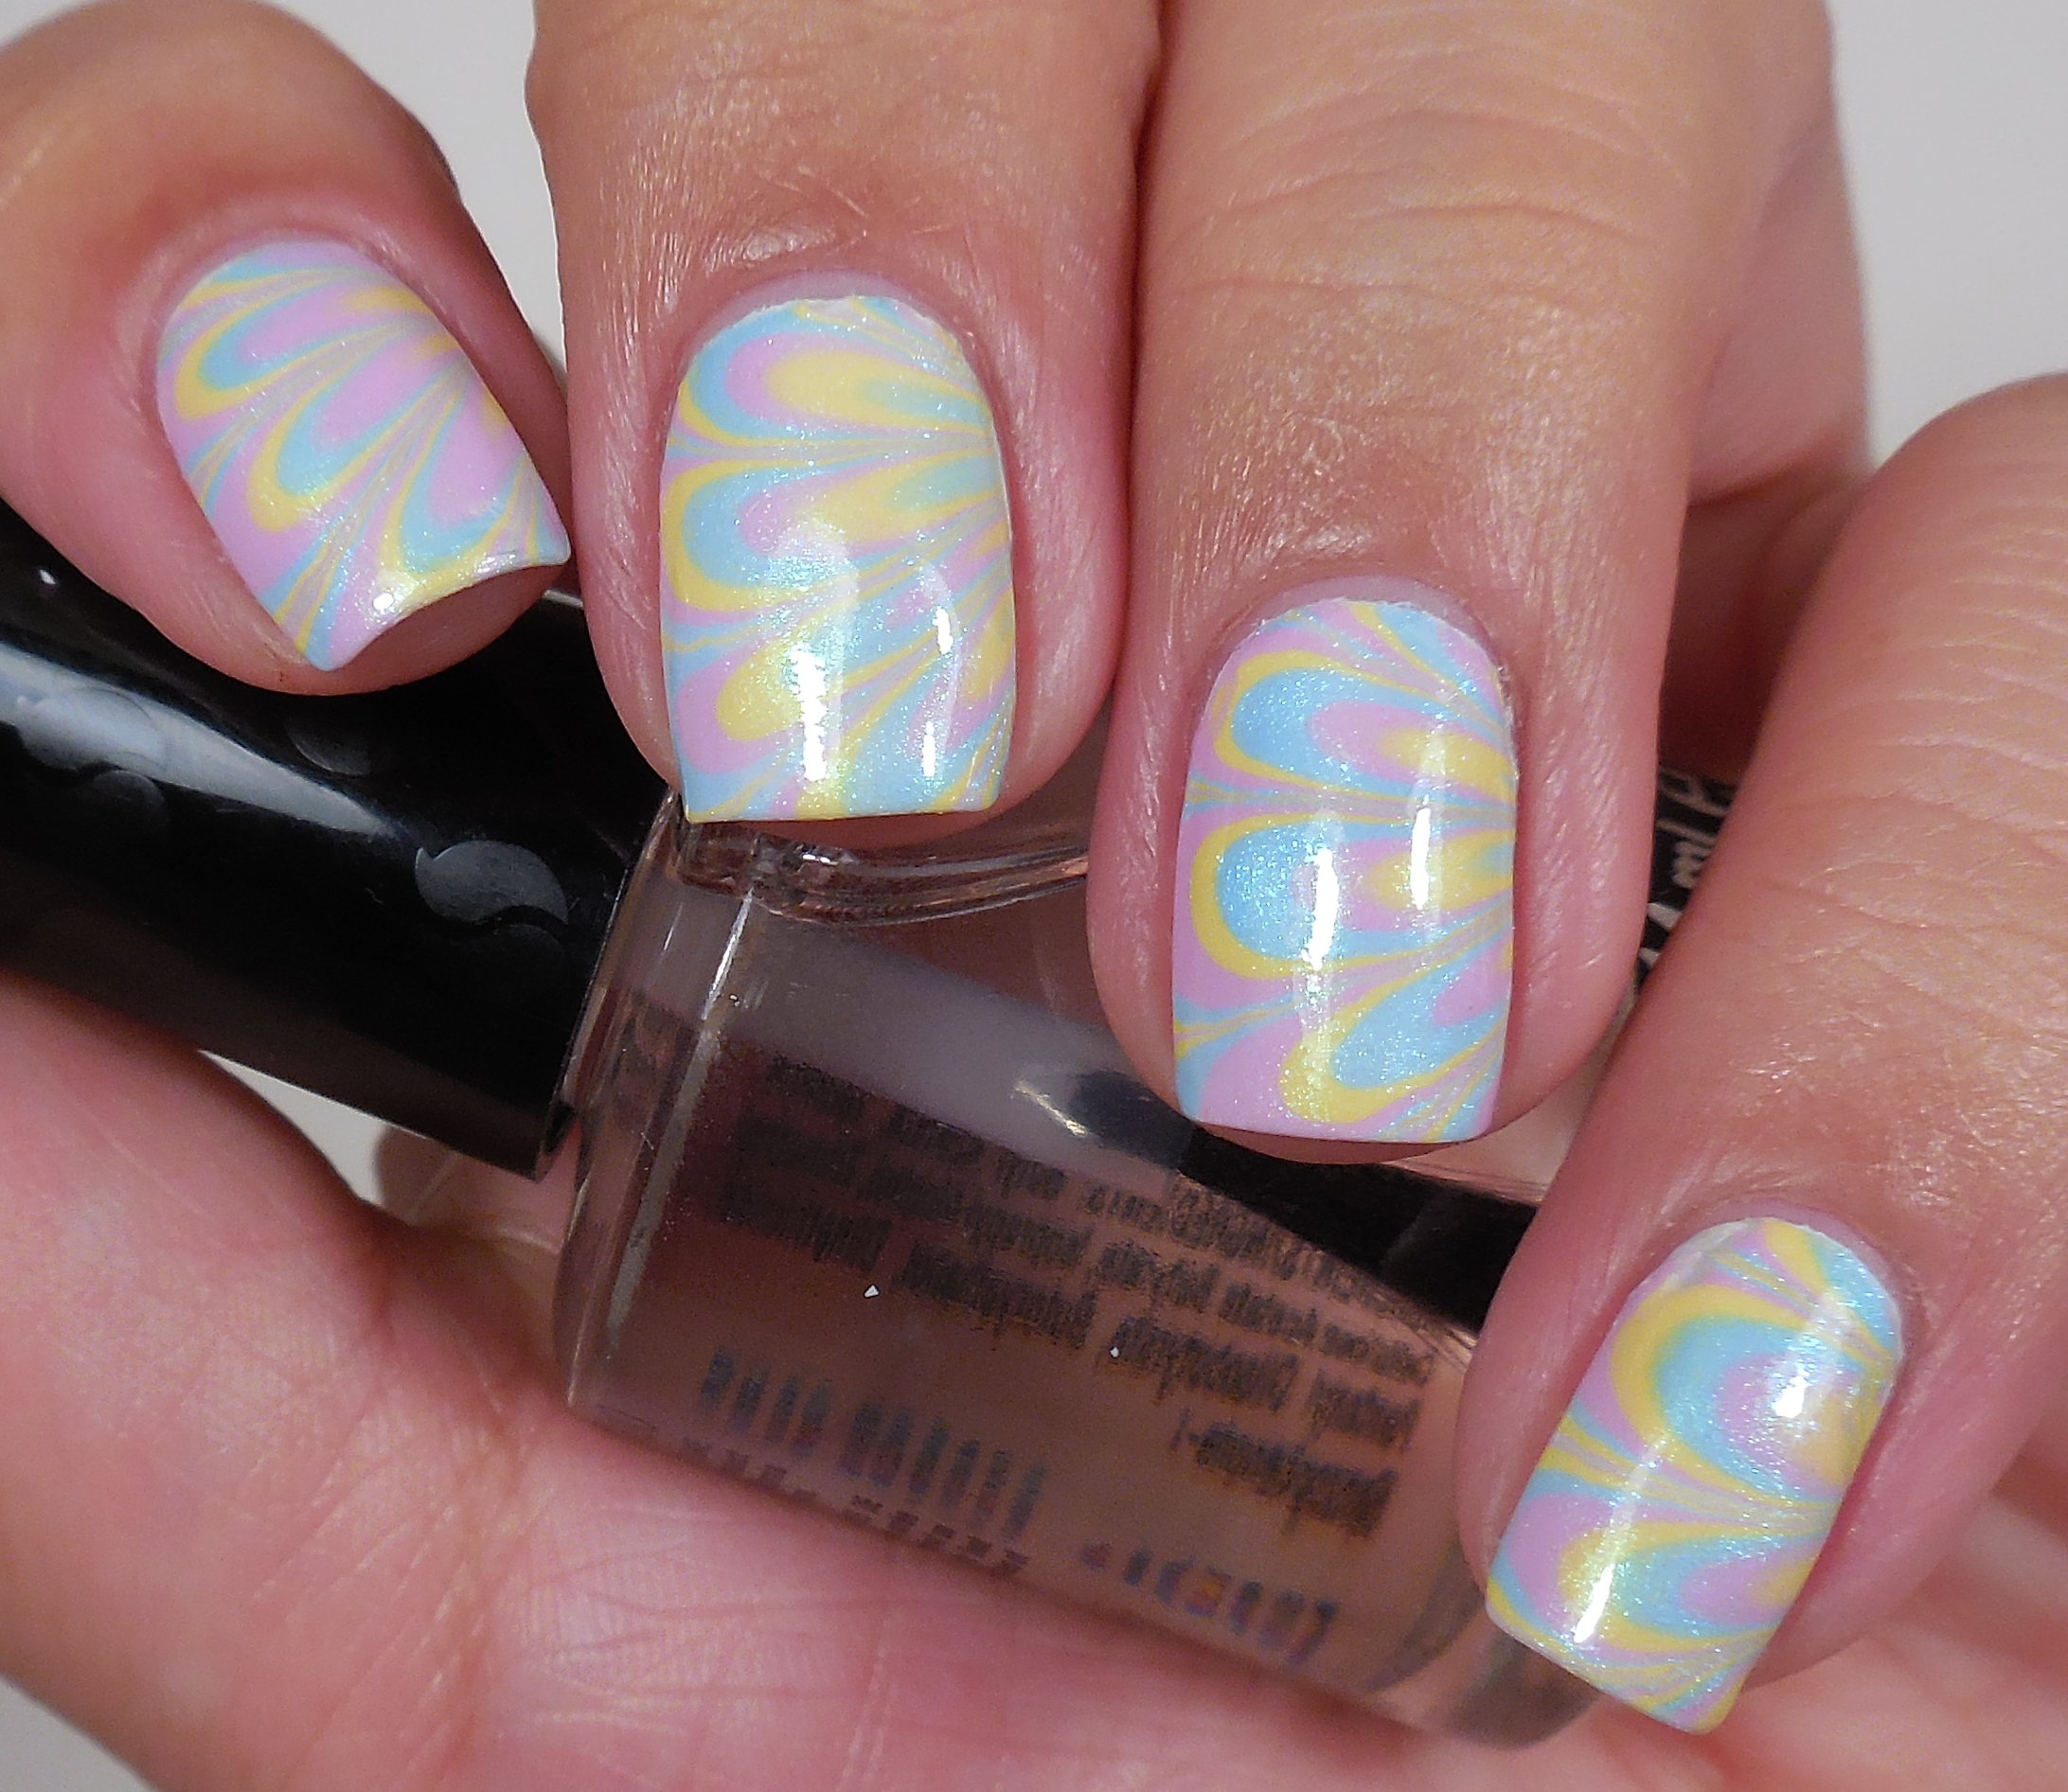
 And this is the finished mani after all the clean up was done. This looks like Easter exploded on my nails, but I think it looks pretty.
So do you think this technique is worth all the fuss? Do you have any other tips that might help others who are watermarble challenged? Thanks so much for stopping by today, and I will talk to you soon!
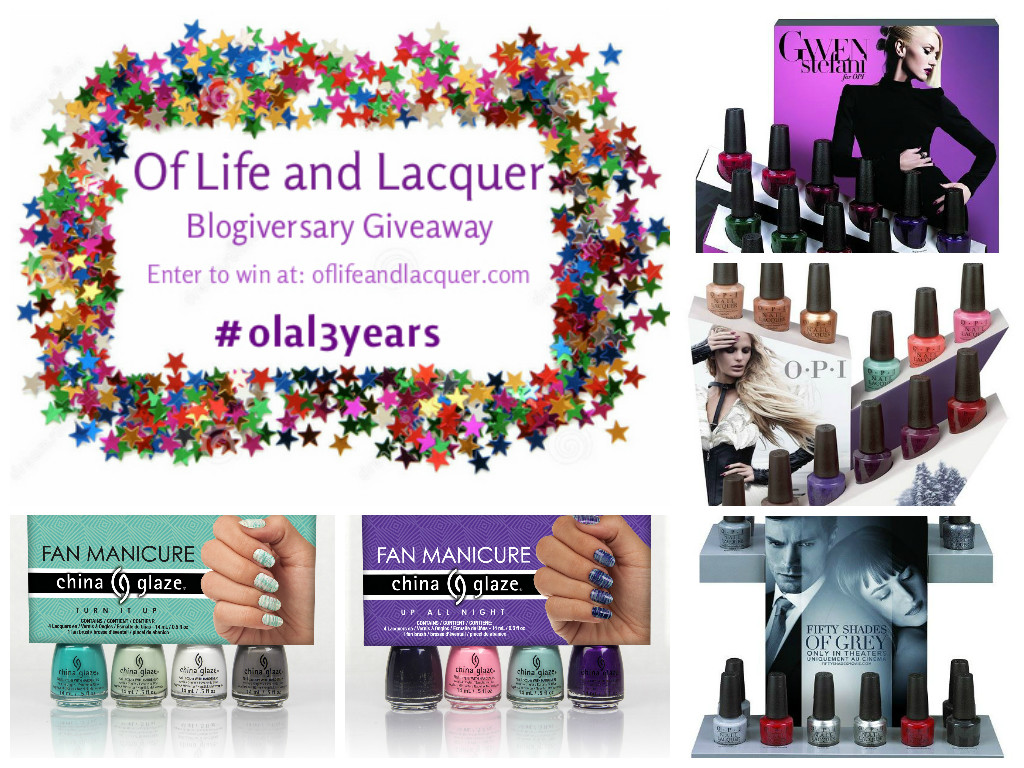
Have you entered my giveaway? Click the image below to enter!
Your water marble looks flawless!
Lisa N. recently posted..Blue Holographic and White Stamping
This turned out beautifully! I still haven’t tried water warbling… I’m too intimidated still.
So pretty…psychedelic pastels. I wish I could water marble. Hell, I wish I could neatly polish my own nails.
Congratulations on conquering another technique.
Great tips. You make it sound so easy!
I’ve gotten into water marble decals. Hard as hell but persist I shall
Siobhan recently posted..A Valentine’s Stamping Sunday
I really want to try this….sometime. If it took you a year to get it, it will take me three. I’m not sure I could make it that long with continual failure. Fear is stopping me. But this is a wonderful post that is encouraging to read It might take trial and error and that’s ok
Polarbelle recently posted..An Update To All
These are beautiful. I didn’t think I wanted the Zoyas, but now I have to order them. The yellow just kils me.
This is stupendous! You have totally nailed it! 😀
acidicice recently posted..OPI Bastille My Heart Swatch
These are great tips and your water marble came out perfectly!
LittleMonsterx14 recently posted..Look Book: I Heart NY
lol about Easter exploded on your nails, that is awesome!
I got lucky(ish) the first couple times I tried watermarbling. Part of it was not really caring about the pattern I got on my nails. Part of it may have been using China Glaze polishes. Yet somehow I never got it right again after that, and quickly lost patience. I plan to try again…it has been slow trying to acquire items I wanted to use next time (liquid latex, big empty nail polish bottle, small funnel)…the last of which should arrive today. I will wait for a weekend where I don’t care what happens and have lots of time to mess up and start over. Will also retry stamping when new stamper arrives. So easy to put it off waiting for orders and back orders. 😀
Oh baby these are such a beaut. You’ve definitely mastered the flower design. My favorite (another easy design) are stripes. This manicure is gorgeousssssssssssss.
rei recently posted..Lacquer Lust – A Unicorn In Love
Yes, it totally IS worth the fuss! I just love a good WB, and yours are flawless. 🙂
Your watermarbling job here makes me want to take you out for a nice steak dinner. It’s super impressive and I love the colors you used!
Bailey recently posted..50 Shades of Blue Nails
Easter-explosion!
I prefer letting my water marble dry in the glass overnight and then place them on my nails. Less mess, and you get all your fingers done in one.
Dina recently posted..That one time … Watermarvel
Beautiful design and VERY helpful tips, thank you!