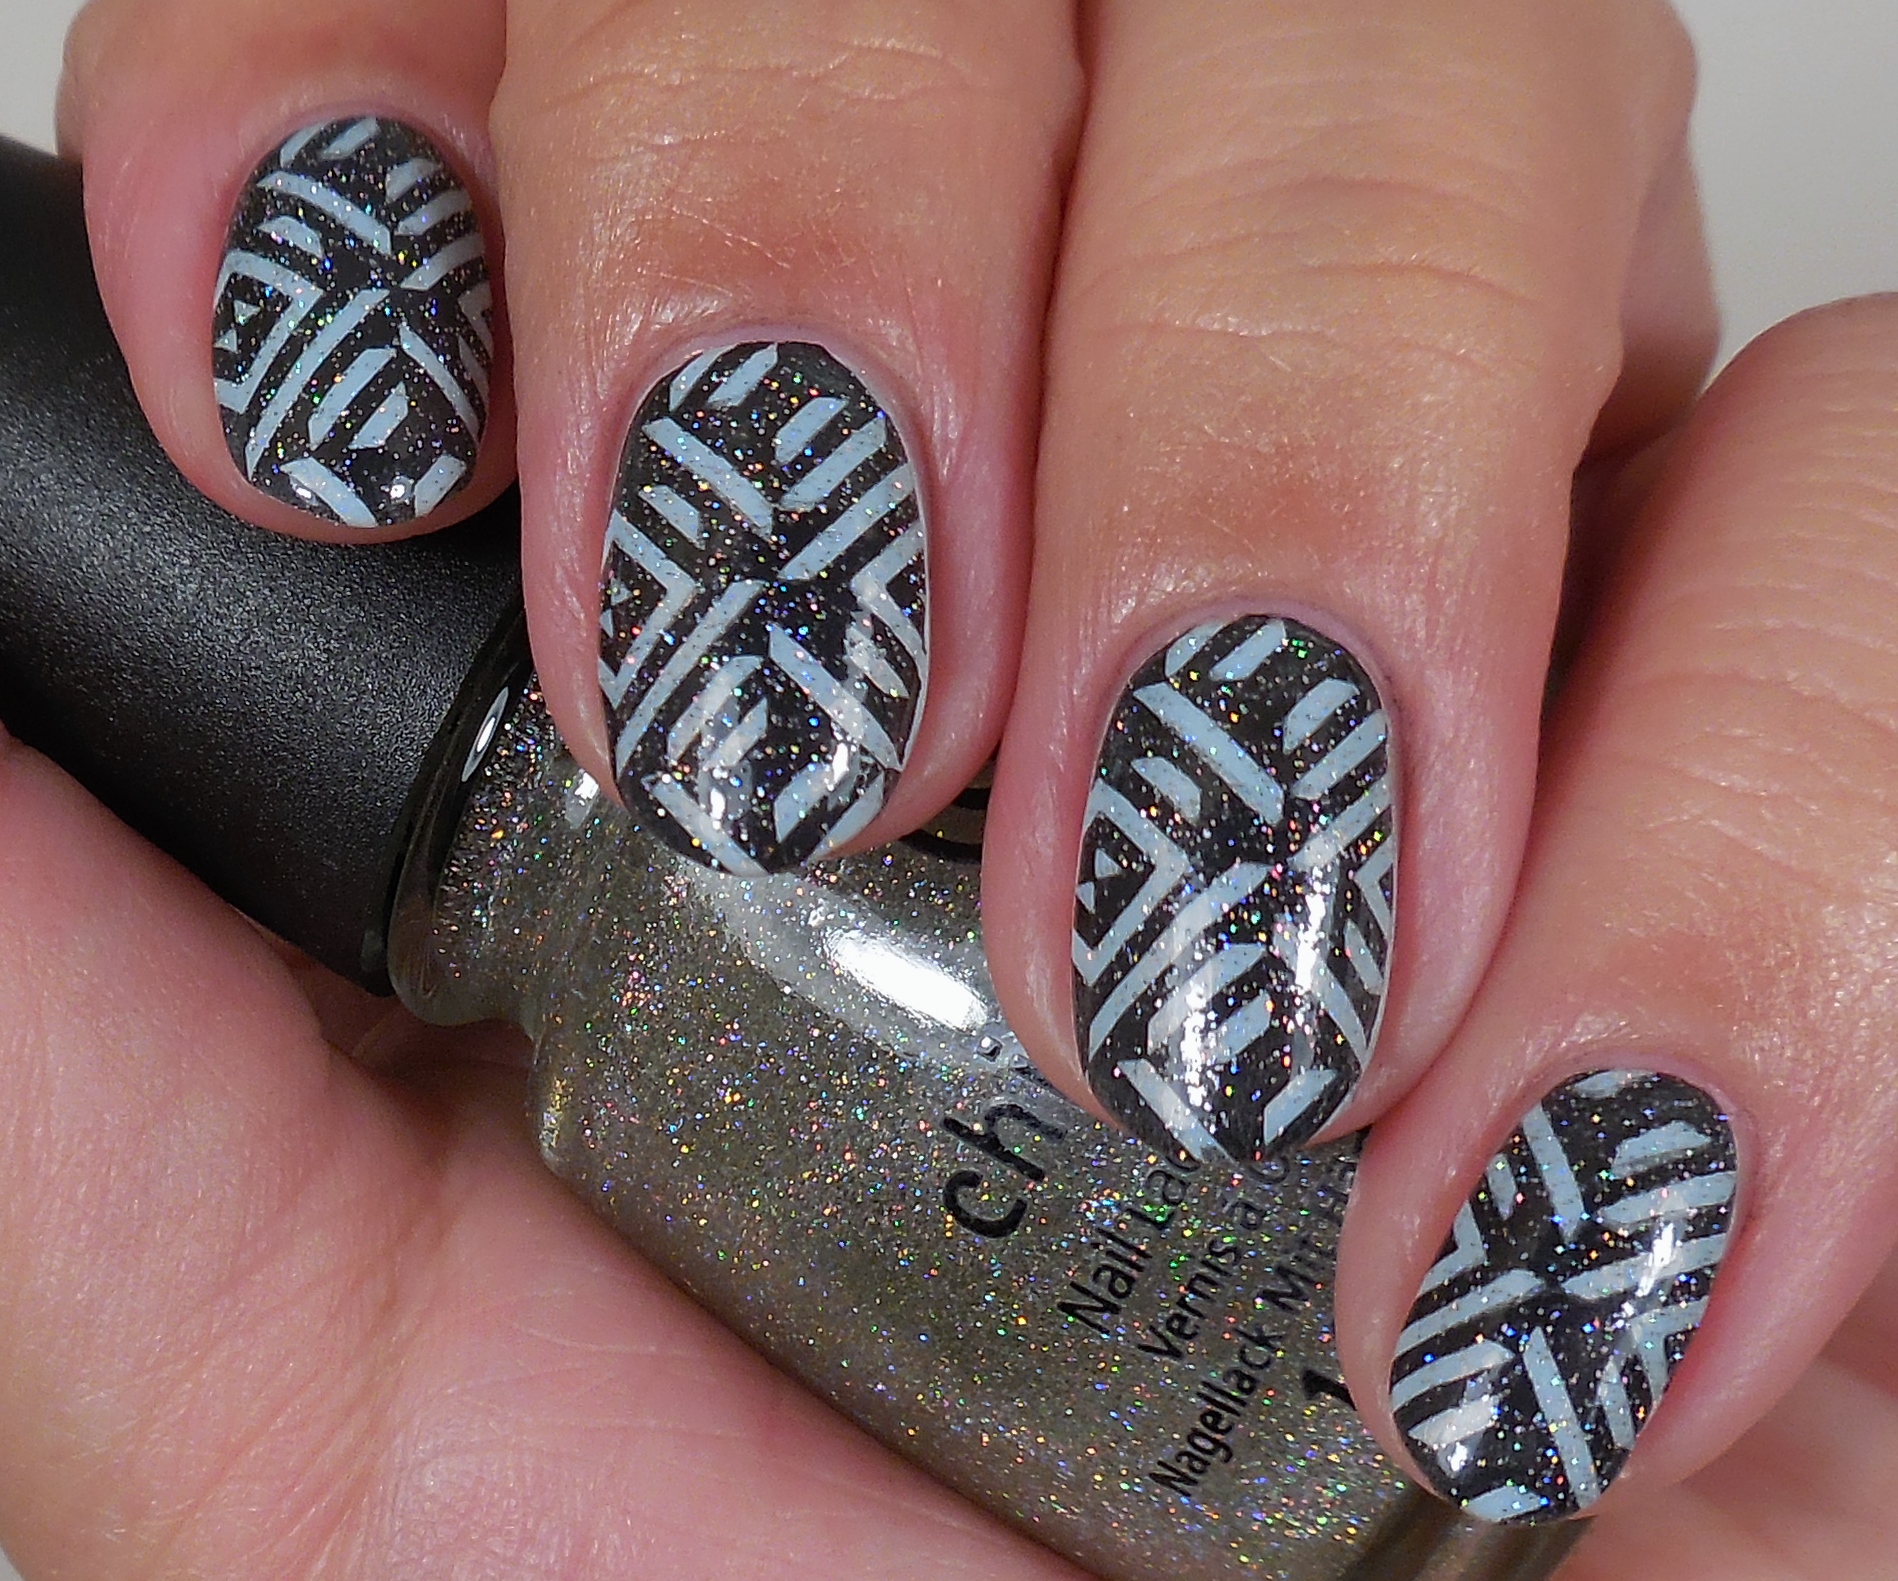
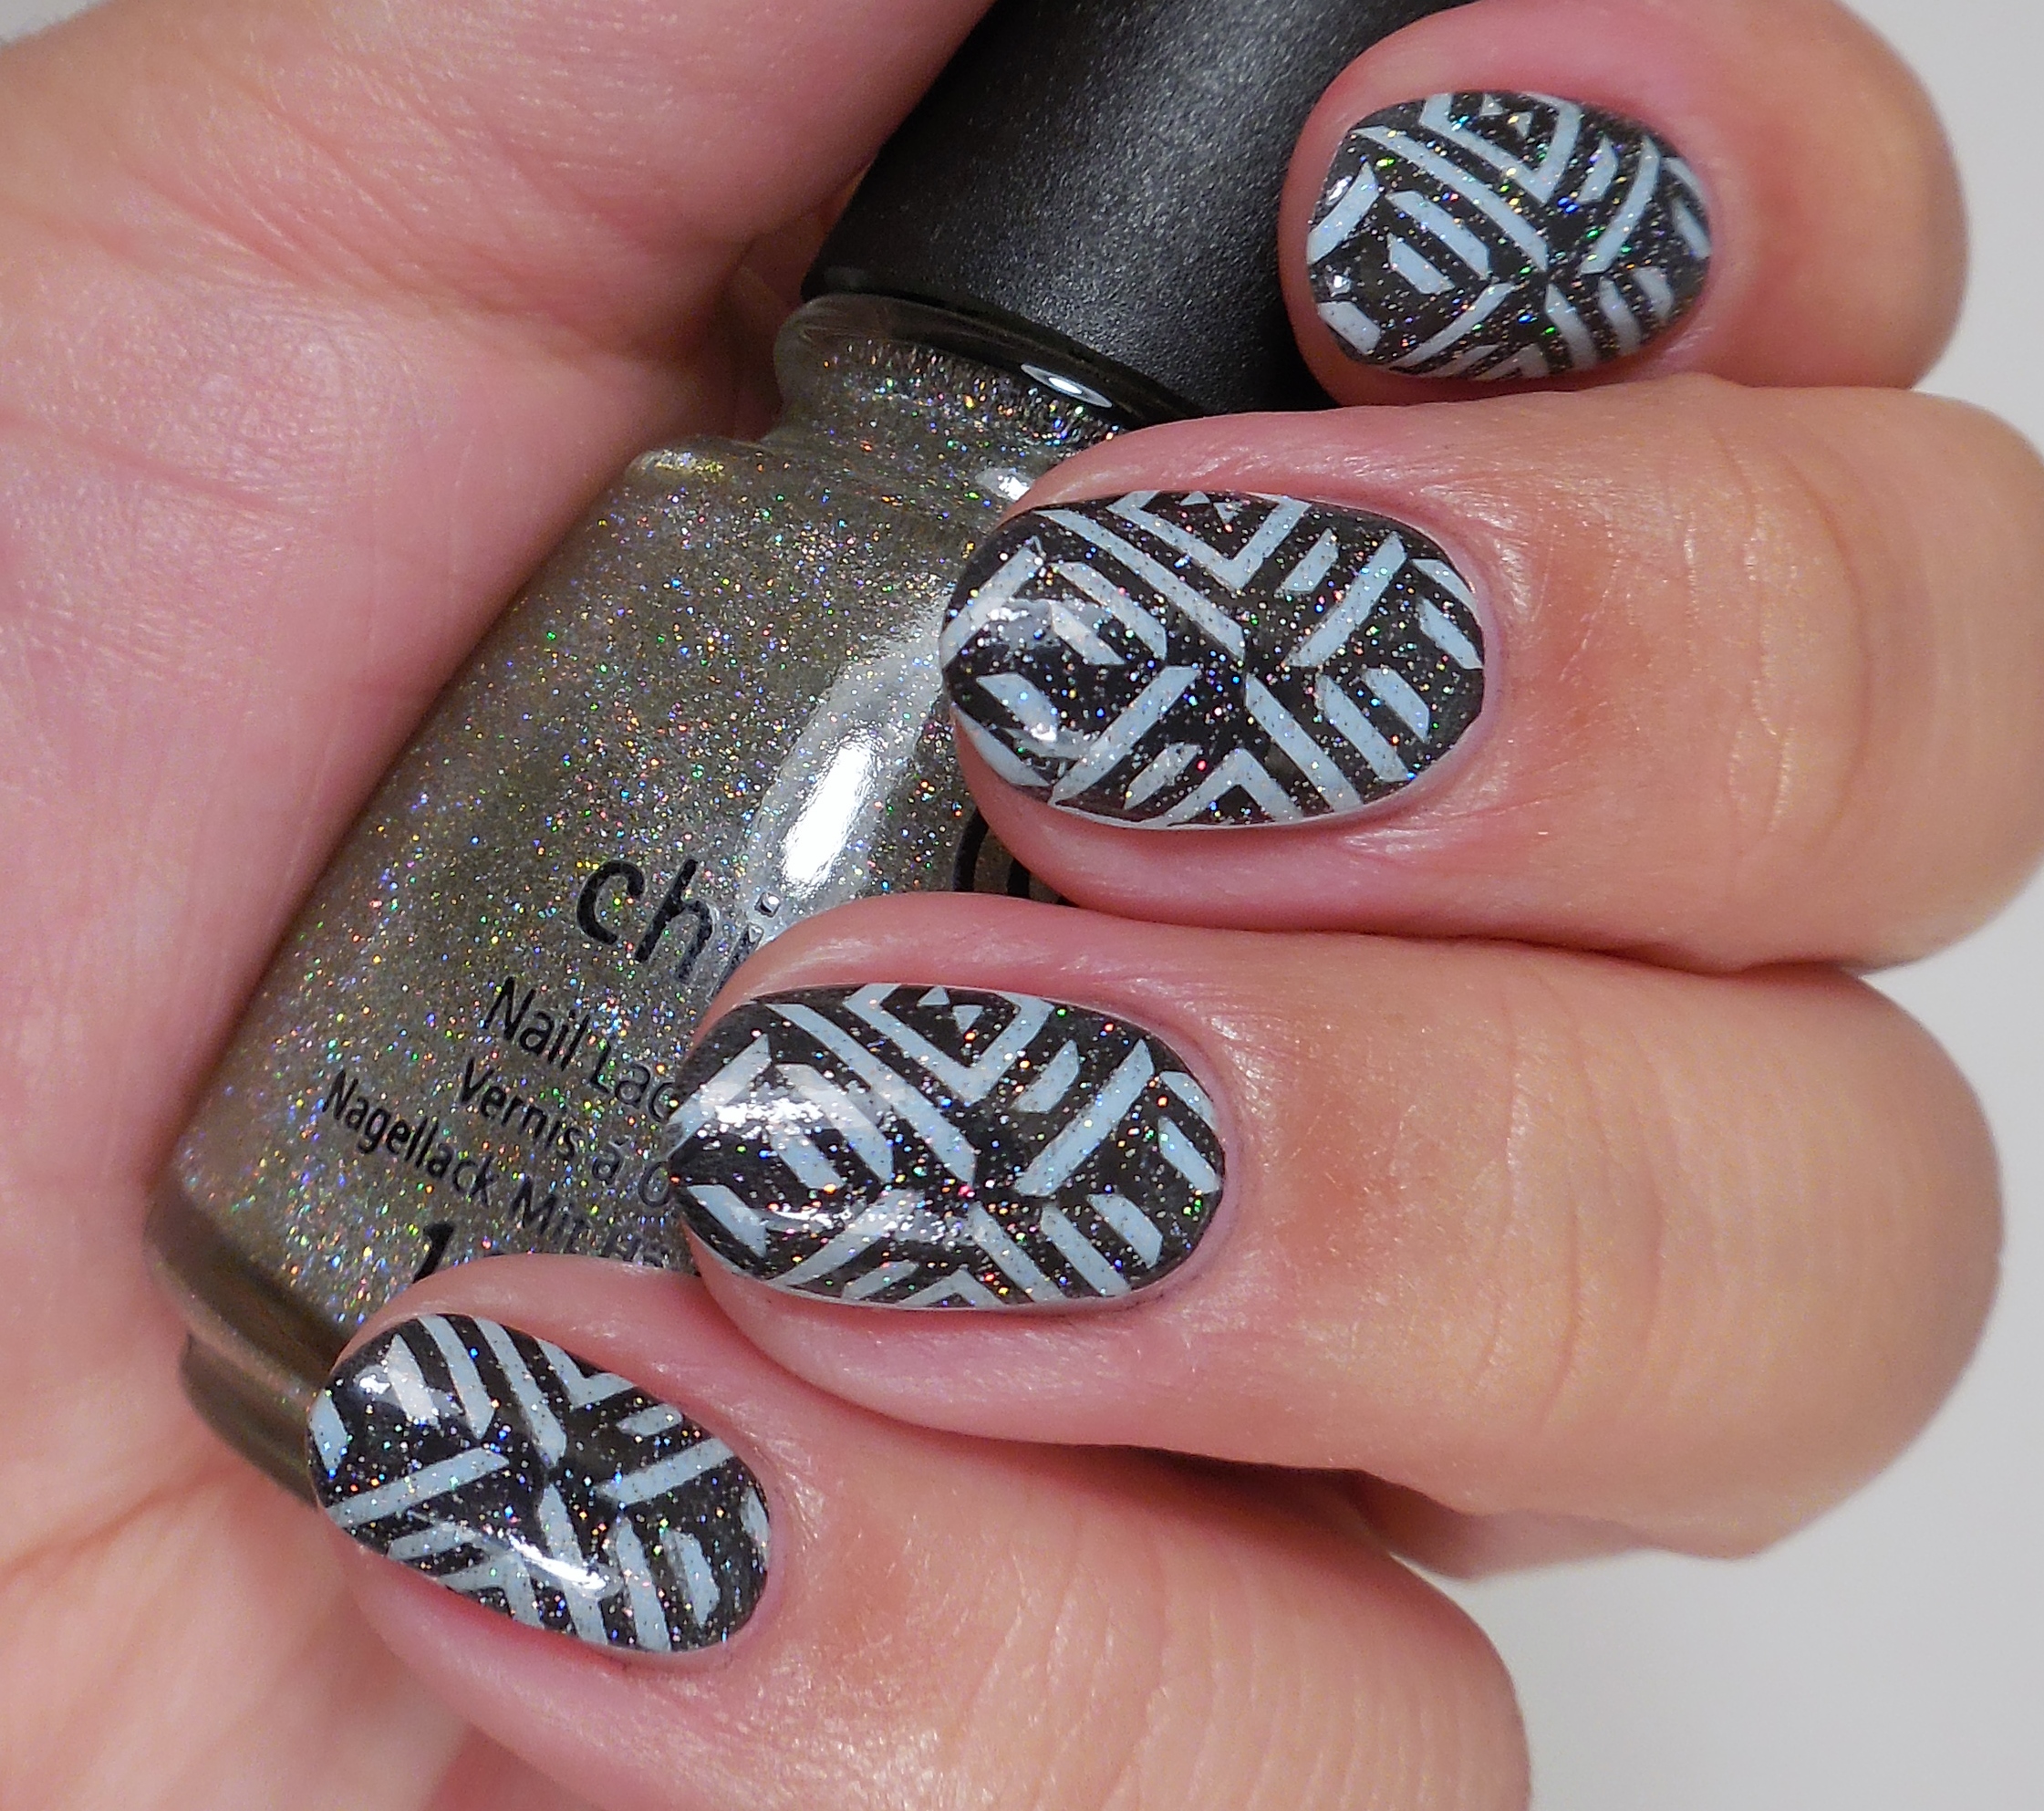
Author: Cynthia

Watermarble Tips

Watermarble Tips

I will be the first one to admit that I have a really hard time with different nail art techniques. I really started out as a swatcher, so that is what I am most comfortable with. However, I don’t want my blog and passion for nails to stagnate so I do try to do things that are outside of my comfort zone. Stamping was one of the first things that I tried so it became something that I have continued to enjoy because I find it easy and fun. Enter watermarble. I have been dealing with trying to watermarble for probably a year if not longer. I went through phases where I tried, gave up for a while, tried again and gave up again. It was just so frustrating because it seemed that no matter what I did, nothing worked. Finally, I am here to tell you that you can master this technique because if I can, anyone can! While there is no one technique that will guarantee success, I will be sharing with you what worked for me.

Water

You would never think that choosing the right water would make such a huge difference. There are people who will say that tap water works just fine or that you have to use distilled water. I’ve tried both and tap water never worked for me. I guess it could be that tap water differs from region to region, but distilled water is the only thing that has worked for me. The temperature of the water was also important because only room temperature water seemed to work well.

Polishes

Once you have the water issue figured out, you have to figure out what polishes work well for marbling. This is all about trial and error because not all polishes work well and some don’t work well together. Personally, the best polishes for marbling that I have used are OPI cremes. They spread well, are very pigmented and don’t dry too quickly. I’ve tried some cheaper polishes and they seem to dry out quickly. Certain holos and shimmers work very nicely as well, but to be honest, you just have to play around with polishes to see which ones will work best.

Creating your design

So you got the water right and your polishes spread nicely into rings. YAY! This is where my next womp womp moment occurred. I could not, for the life of me, get a nice even design. The easiest and most common design is the flower design where you drag your needle from the outside in and join the petals at the center. Well, I could not get this right. I figured out that my issue was that I was trying to drag from the outermost ring which was already beginning to set so I was breaking up the rings and just ruining everything. This might seem like common sense, but I was constantly messing up on this. I also wasn’t cleaning my needle/toothpick in between each drag so the excess polish on the tool wasn’t letting me create clean lines. Why must this be so hard???

The Big Dipper

You’re almost there, right? WRONG. Now you have to figure out how to dip your fingers into the design and not mess it up. I also managed to mess this up time and again. It’s easy enough to line up the design, but if you dip your fingers like a dumbass, you can get a big old mess. I also always got a billion air bubbles on my design which would then pop and ruin the design. The only solution for this, in my experience, is to dip your fingers at an angle and pull out your fingers very slowly.

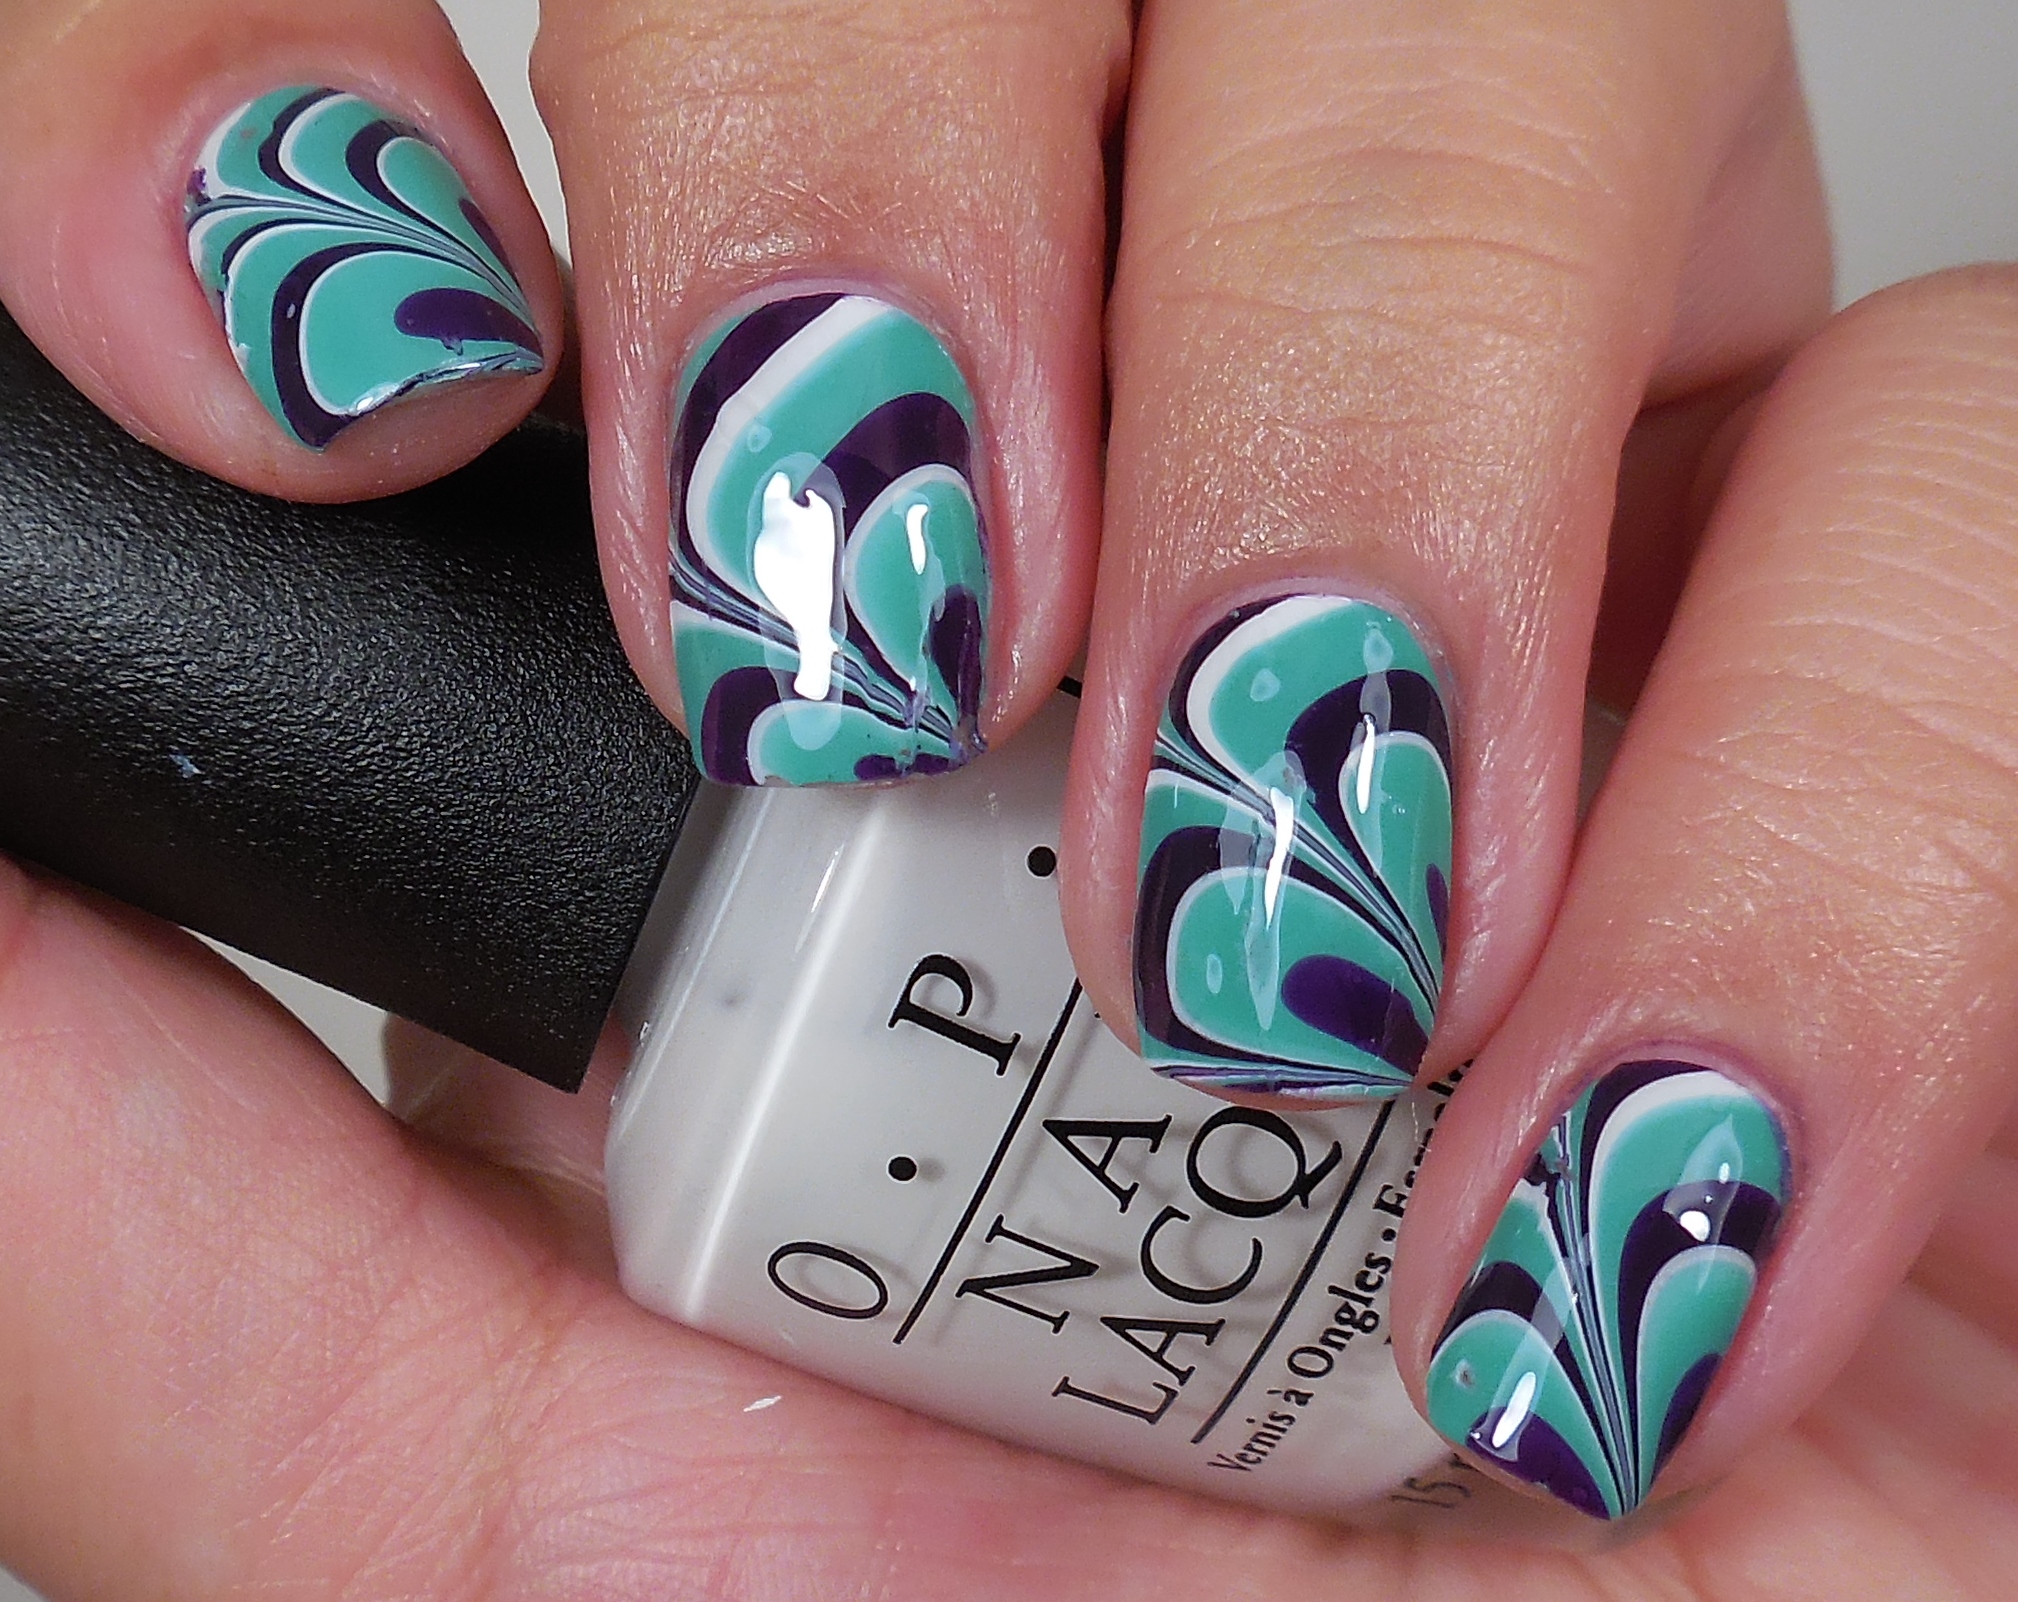
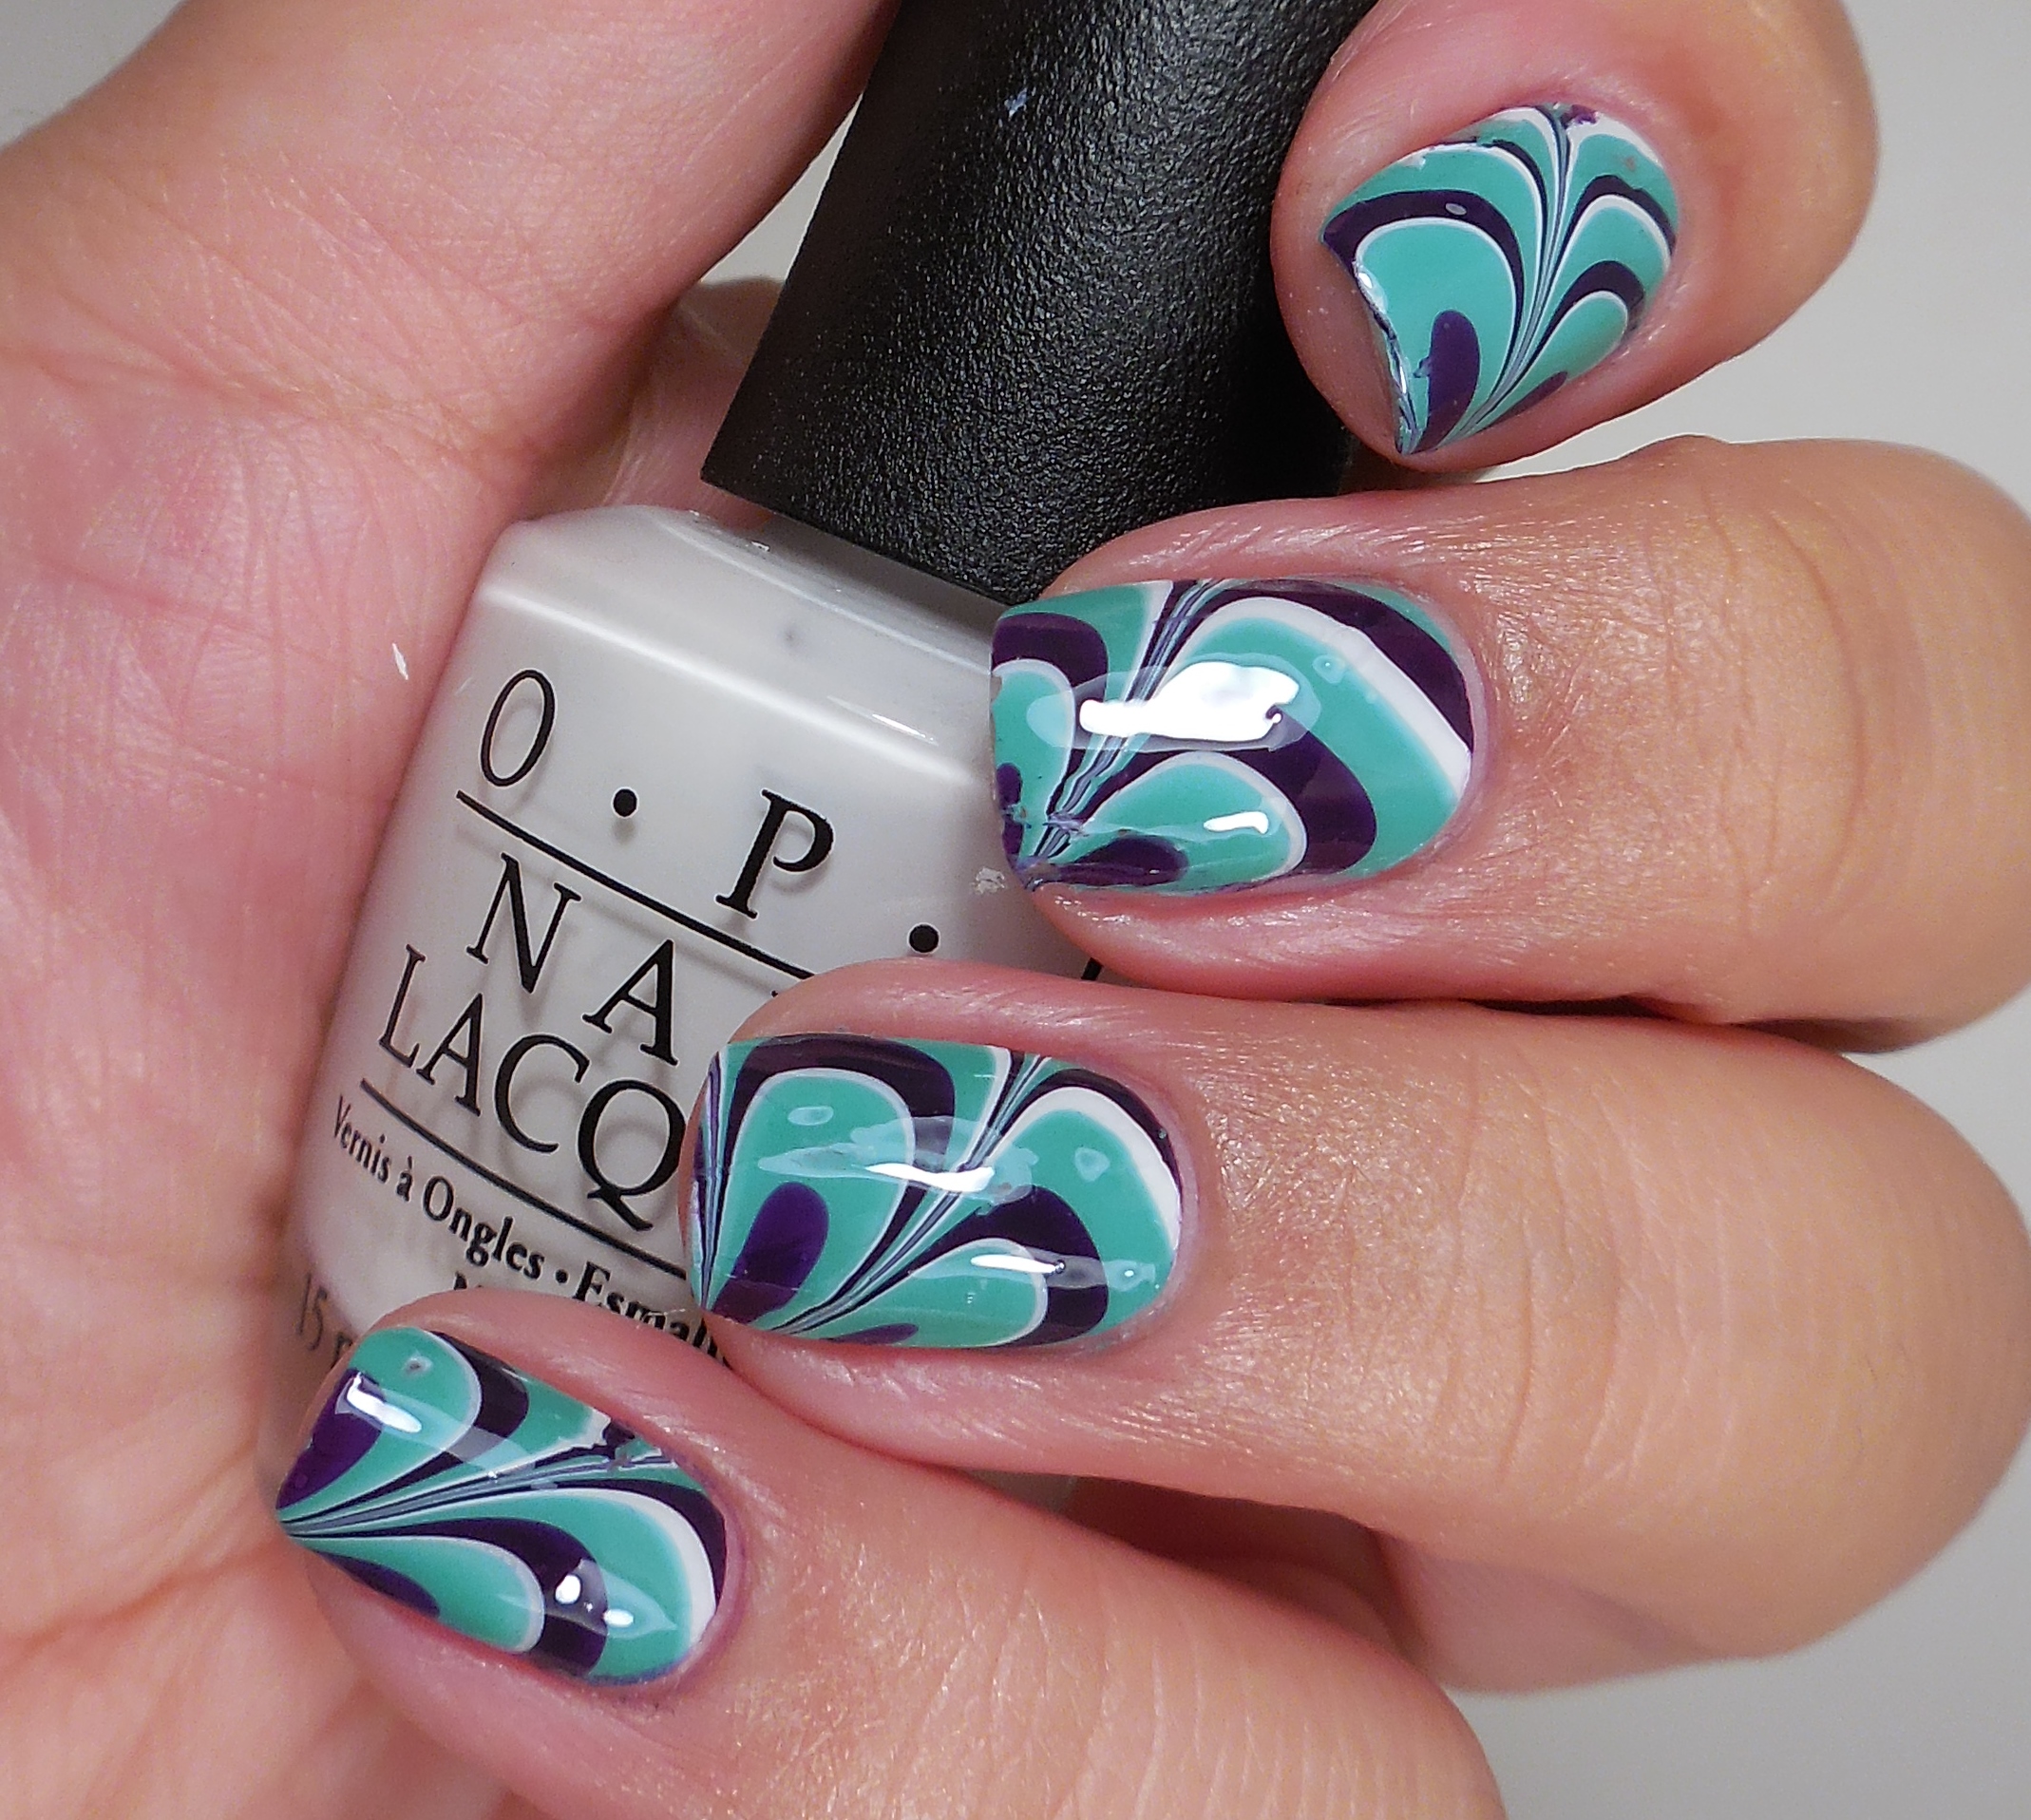
After all this, why would anyone want to even bother with watermarbling? Well because when you get it right, it looks awesome. Let me show you what I did for my last watermarble.
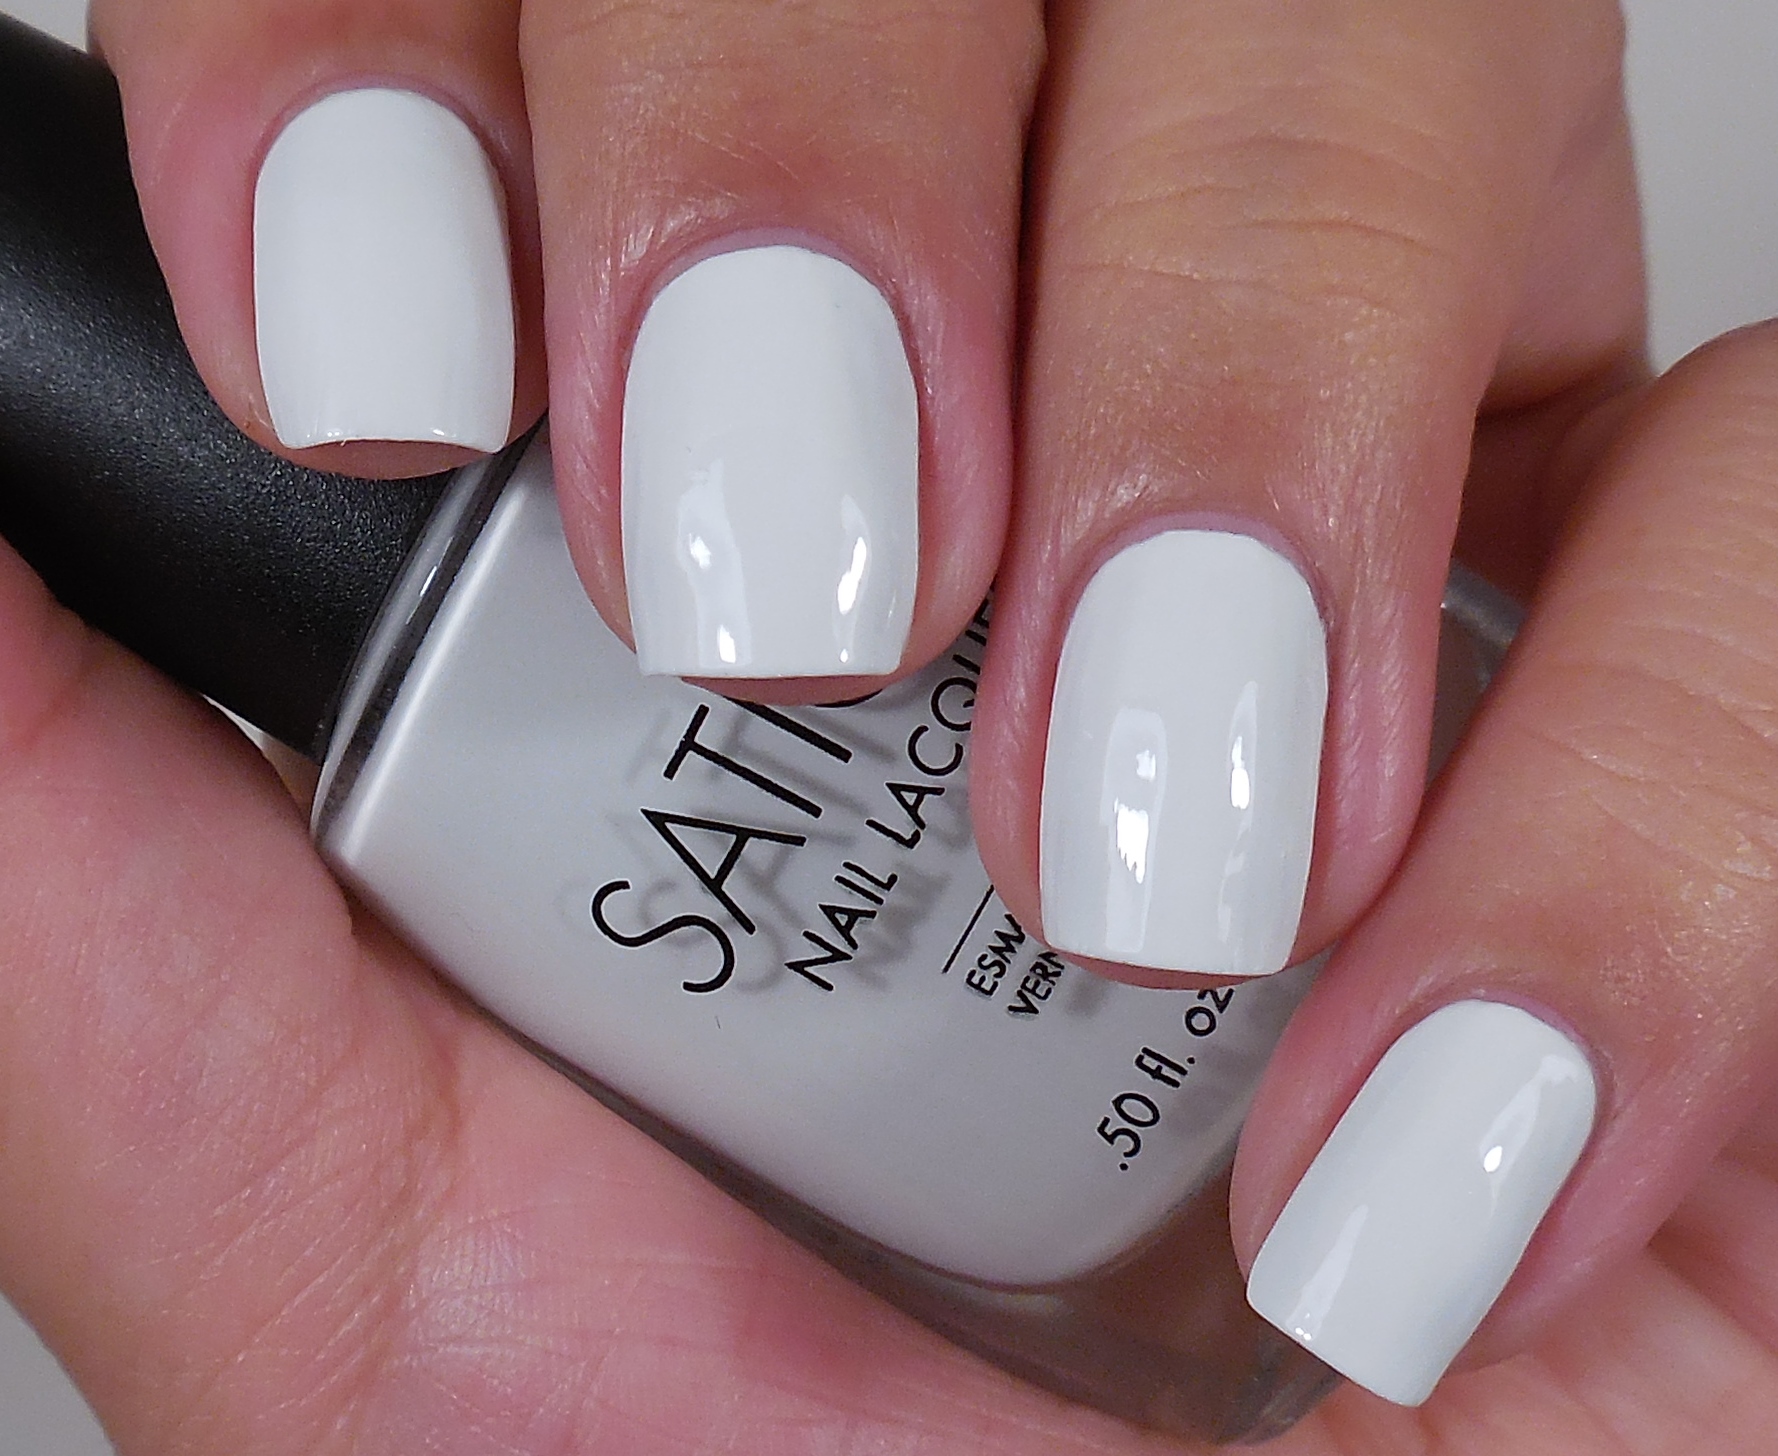
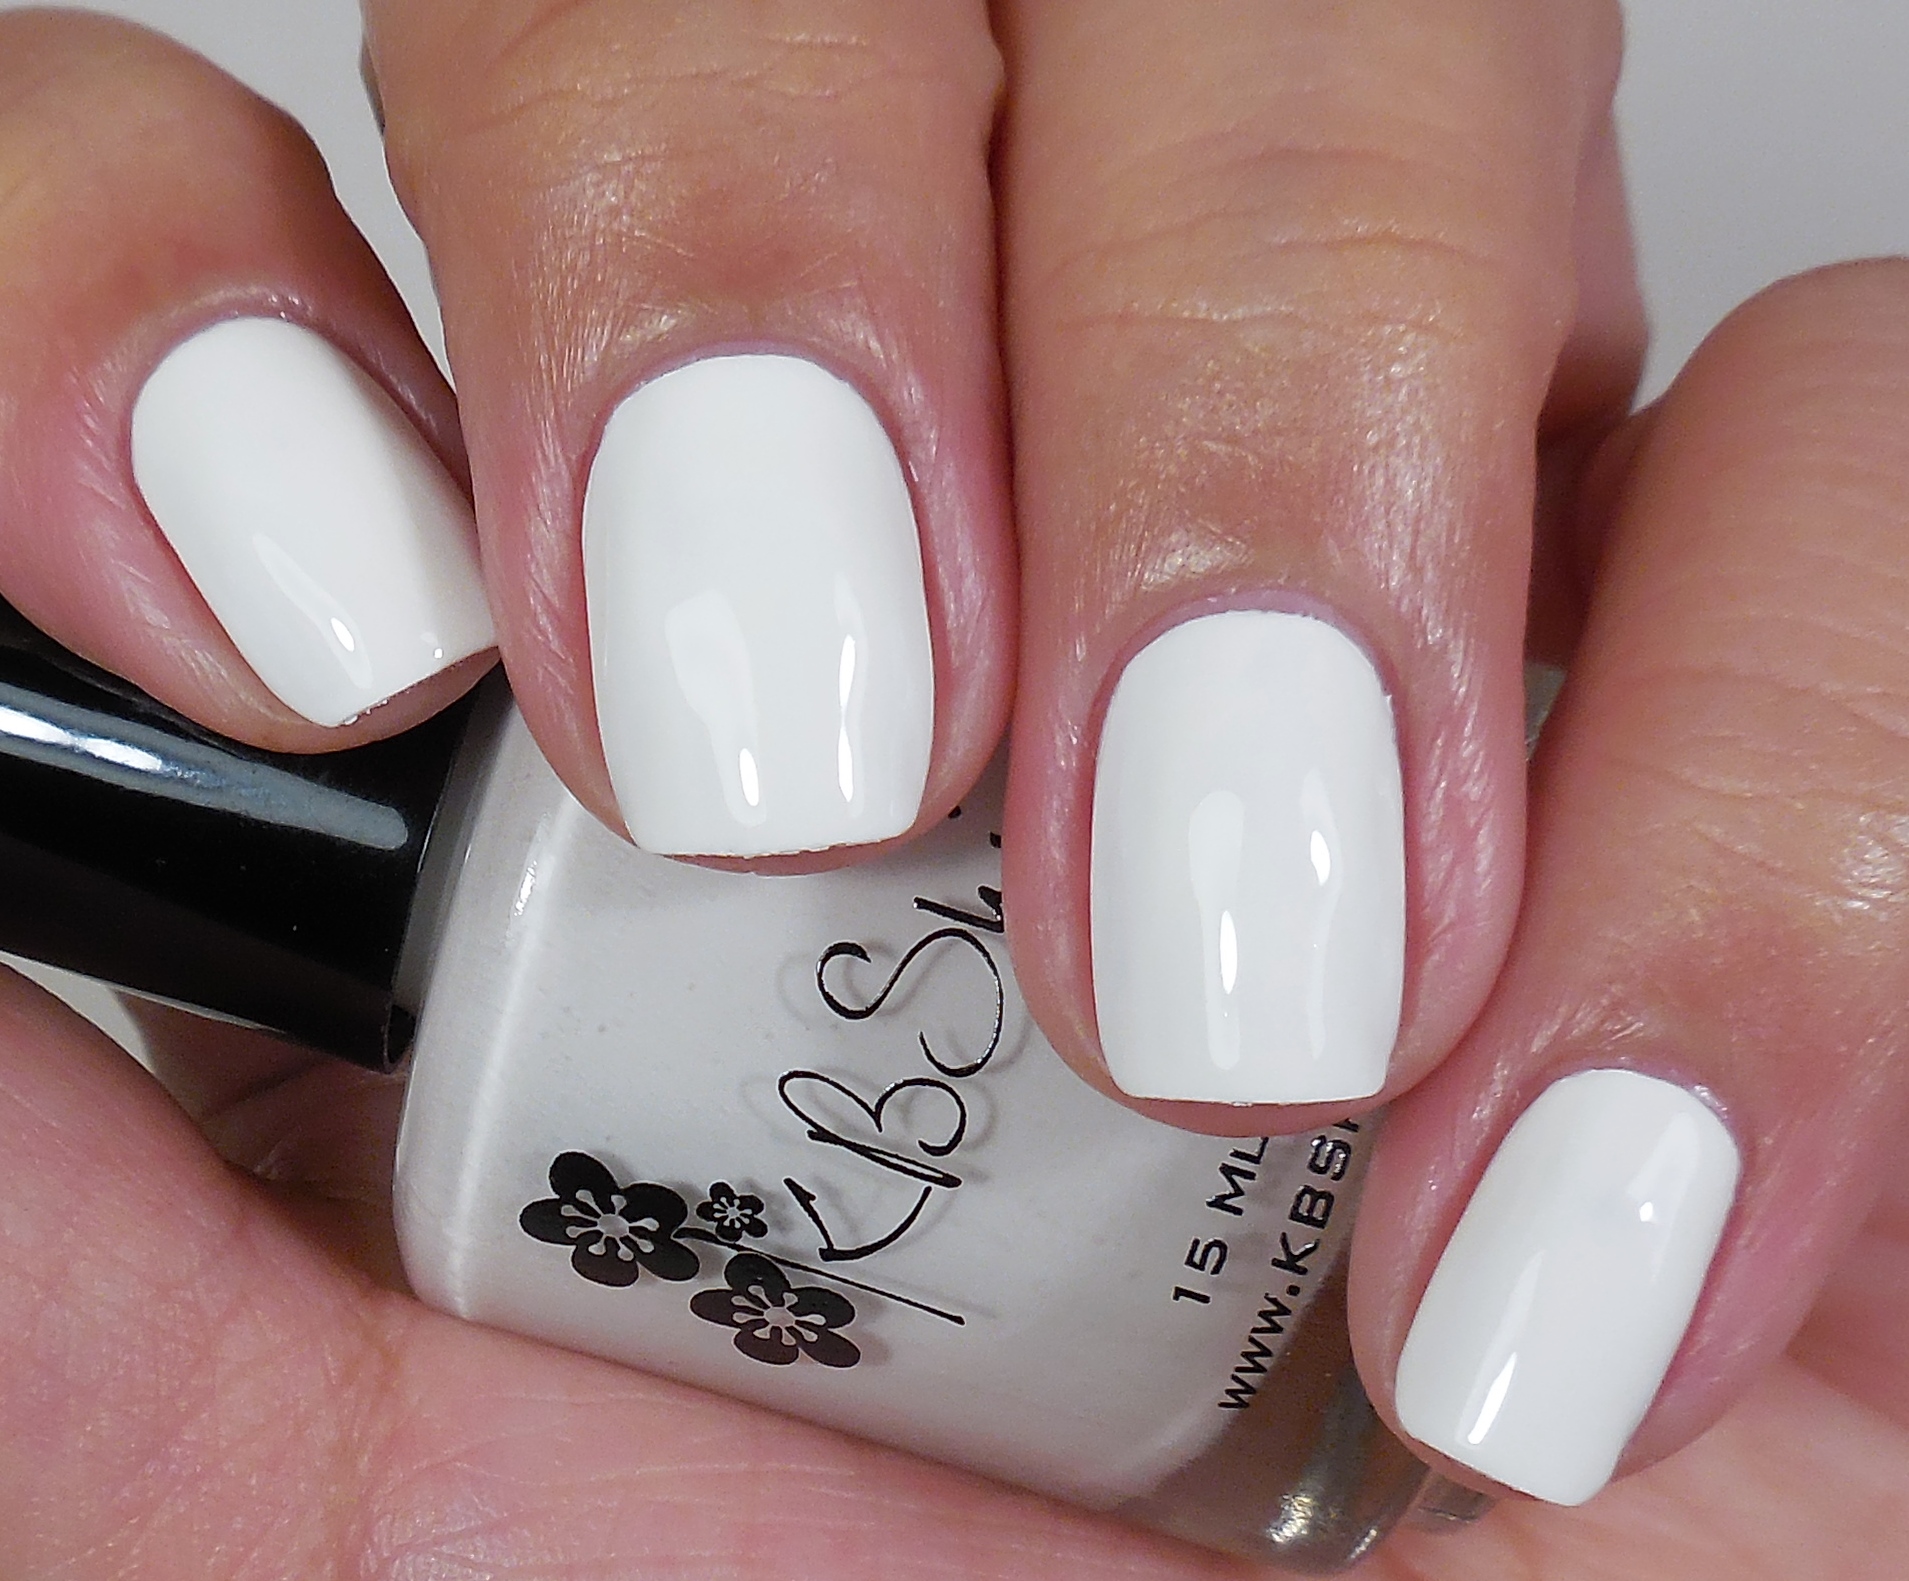
1First you will want to paint your nails a solid color. White works well most of the time so I’ve used one of my favorite whites: Sation Strumming My Nails (press sample) which is a dupe for OPI MBSW. I think the formula on this one is slightly better than the OPI.
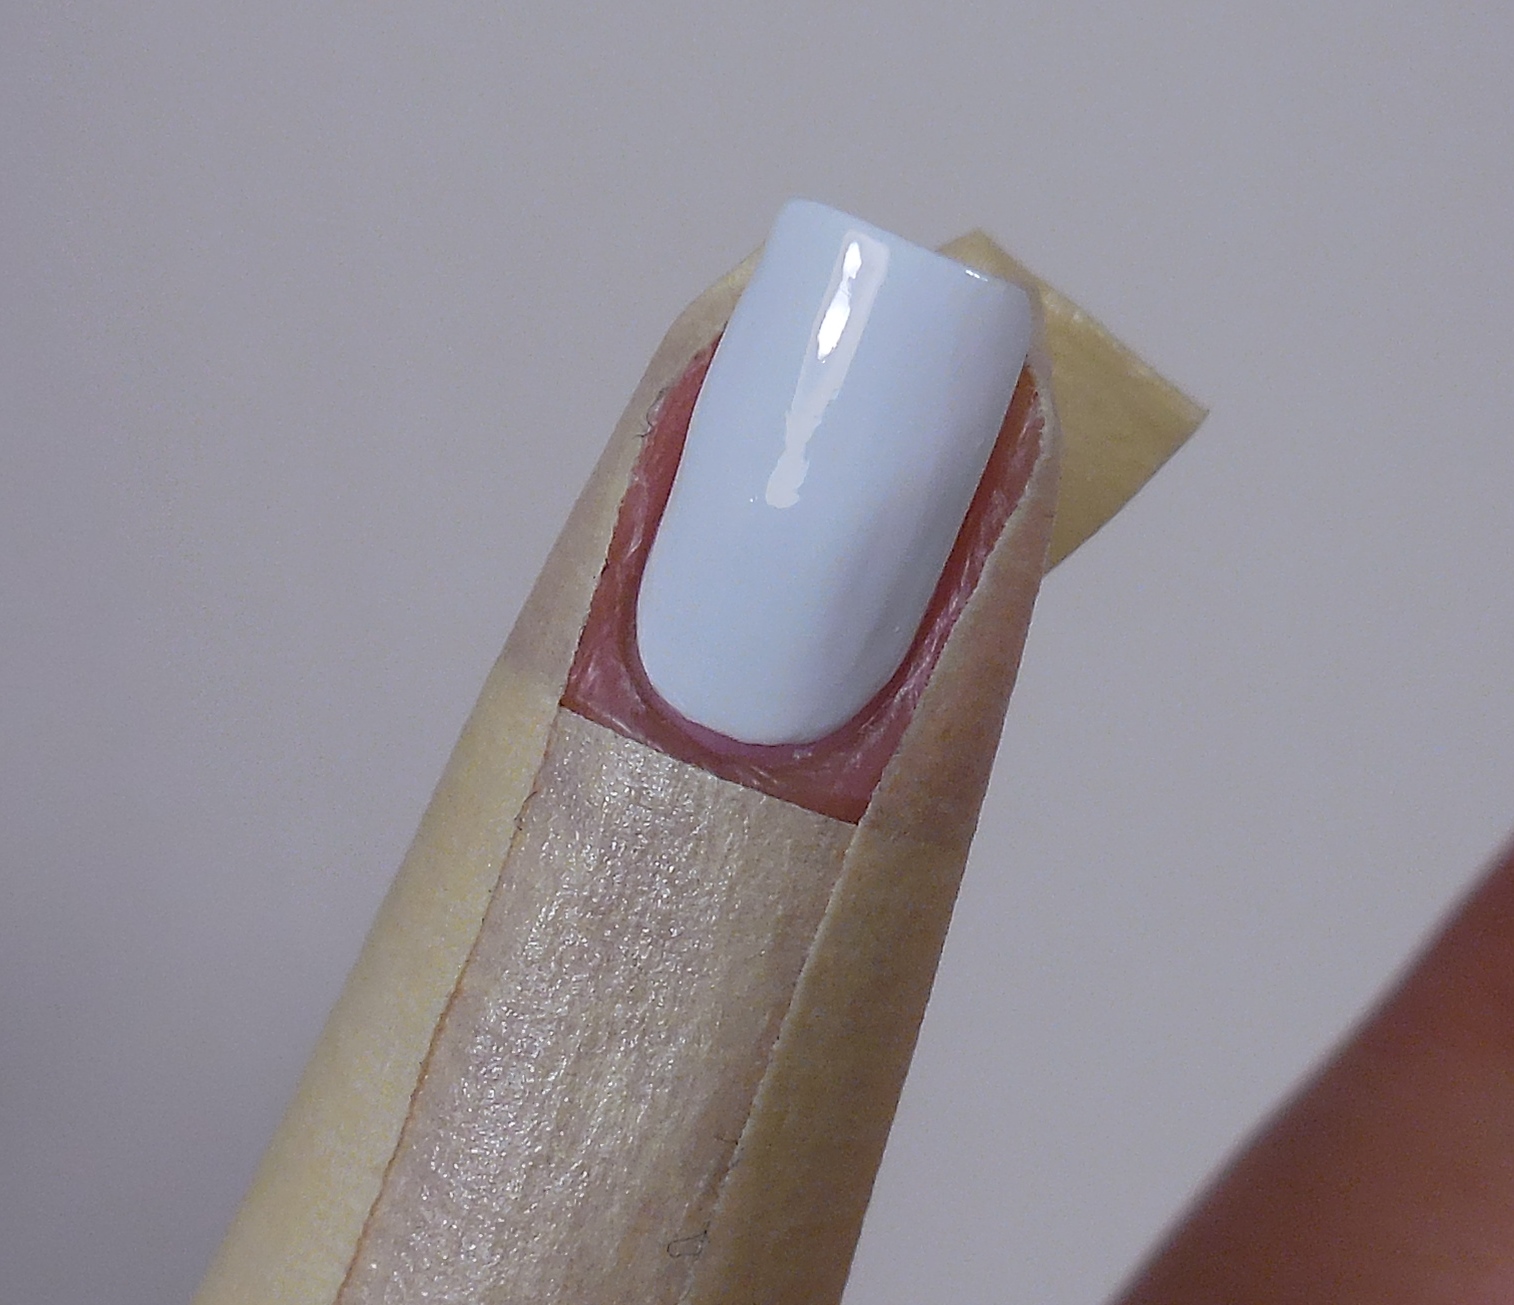
2Then you are going to want to tape up your finger to protect your skin from all the mess. I also applied a little glue around my cuticle area that would still be exposed to make clean up easier–especially because the polishes I chose have a lot of shimmery particles.
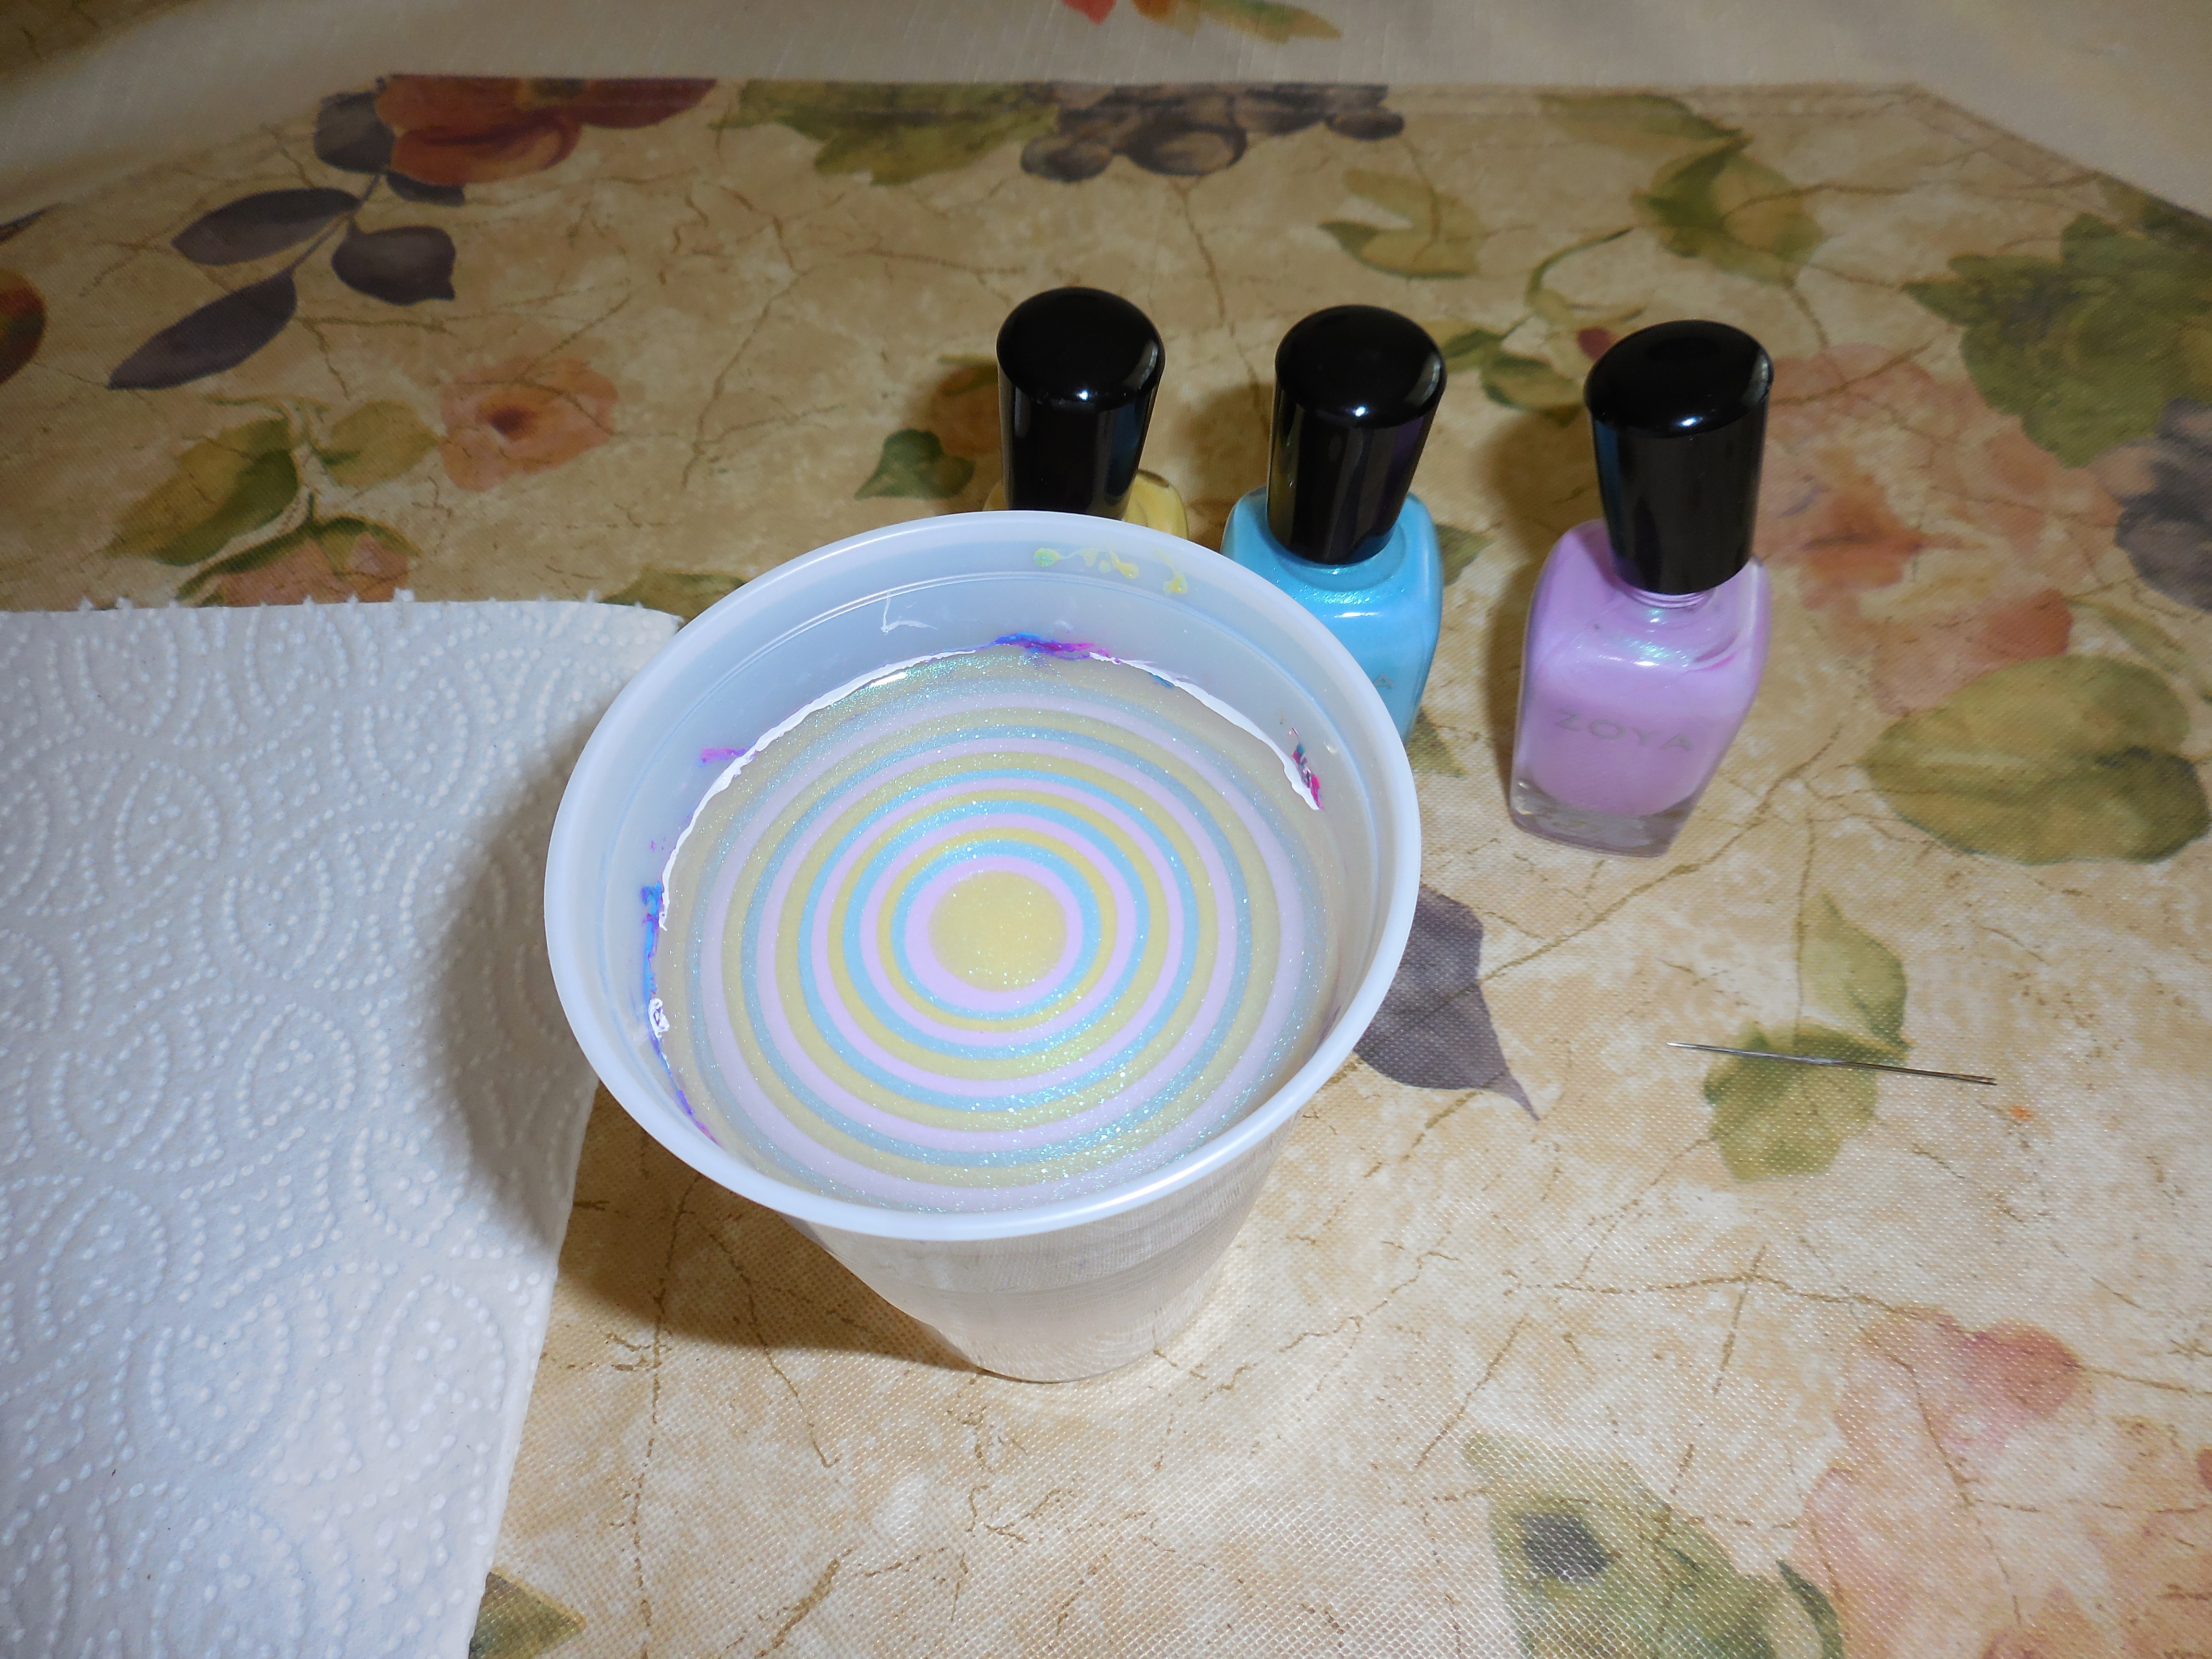
4For this watermarble I used the three shimmers from the Zoya Delight Collection (press sample): Daisy, Leslie and Rayne which work beautifully. In fact, the cremes from this collection also work perfectly.

5Imagine if you didn’t tape up your finger…you would have all this polish on your skin.
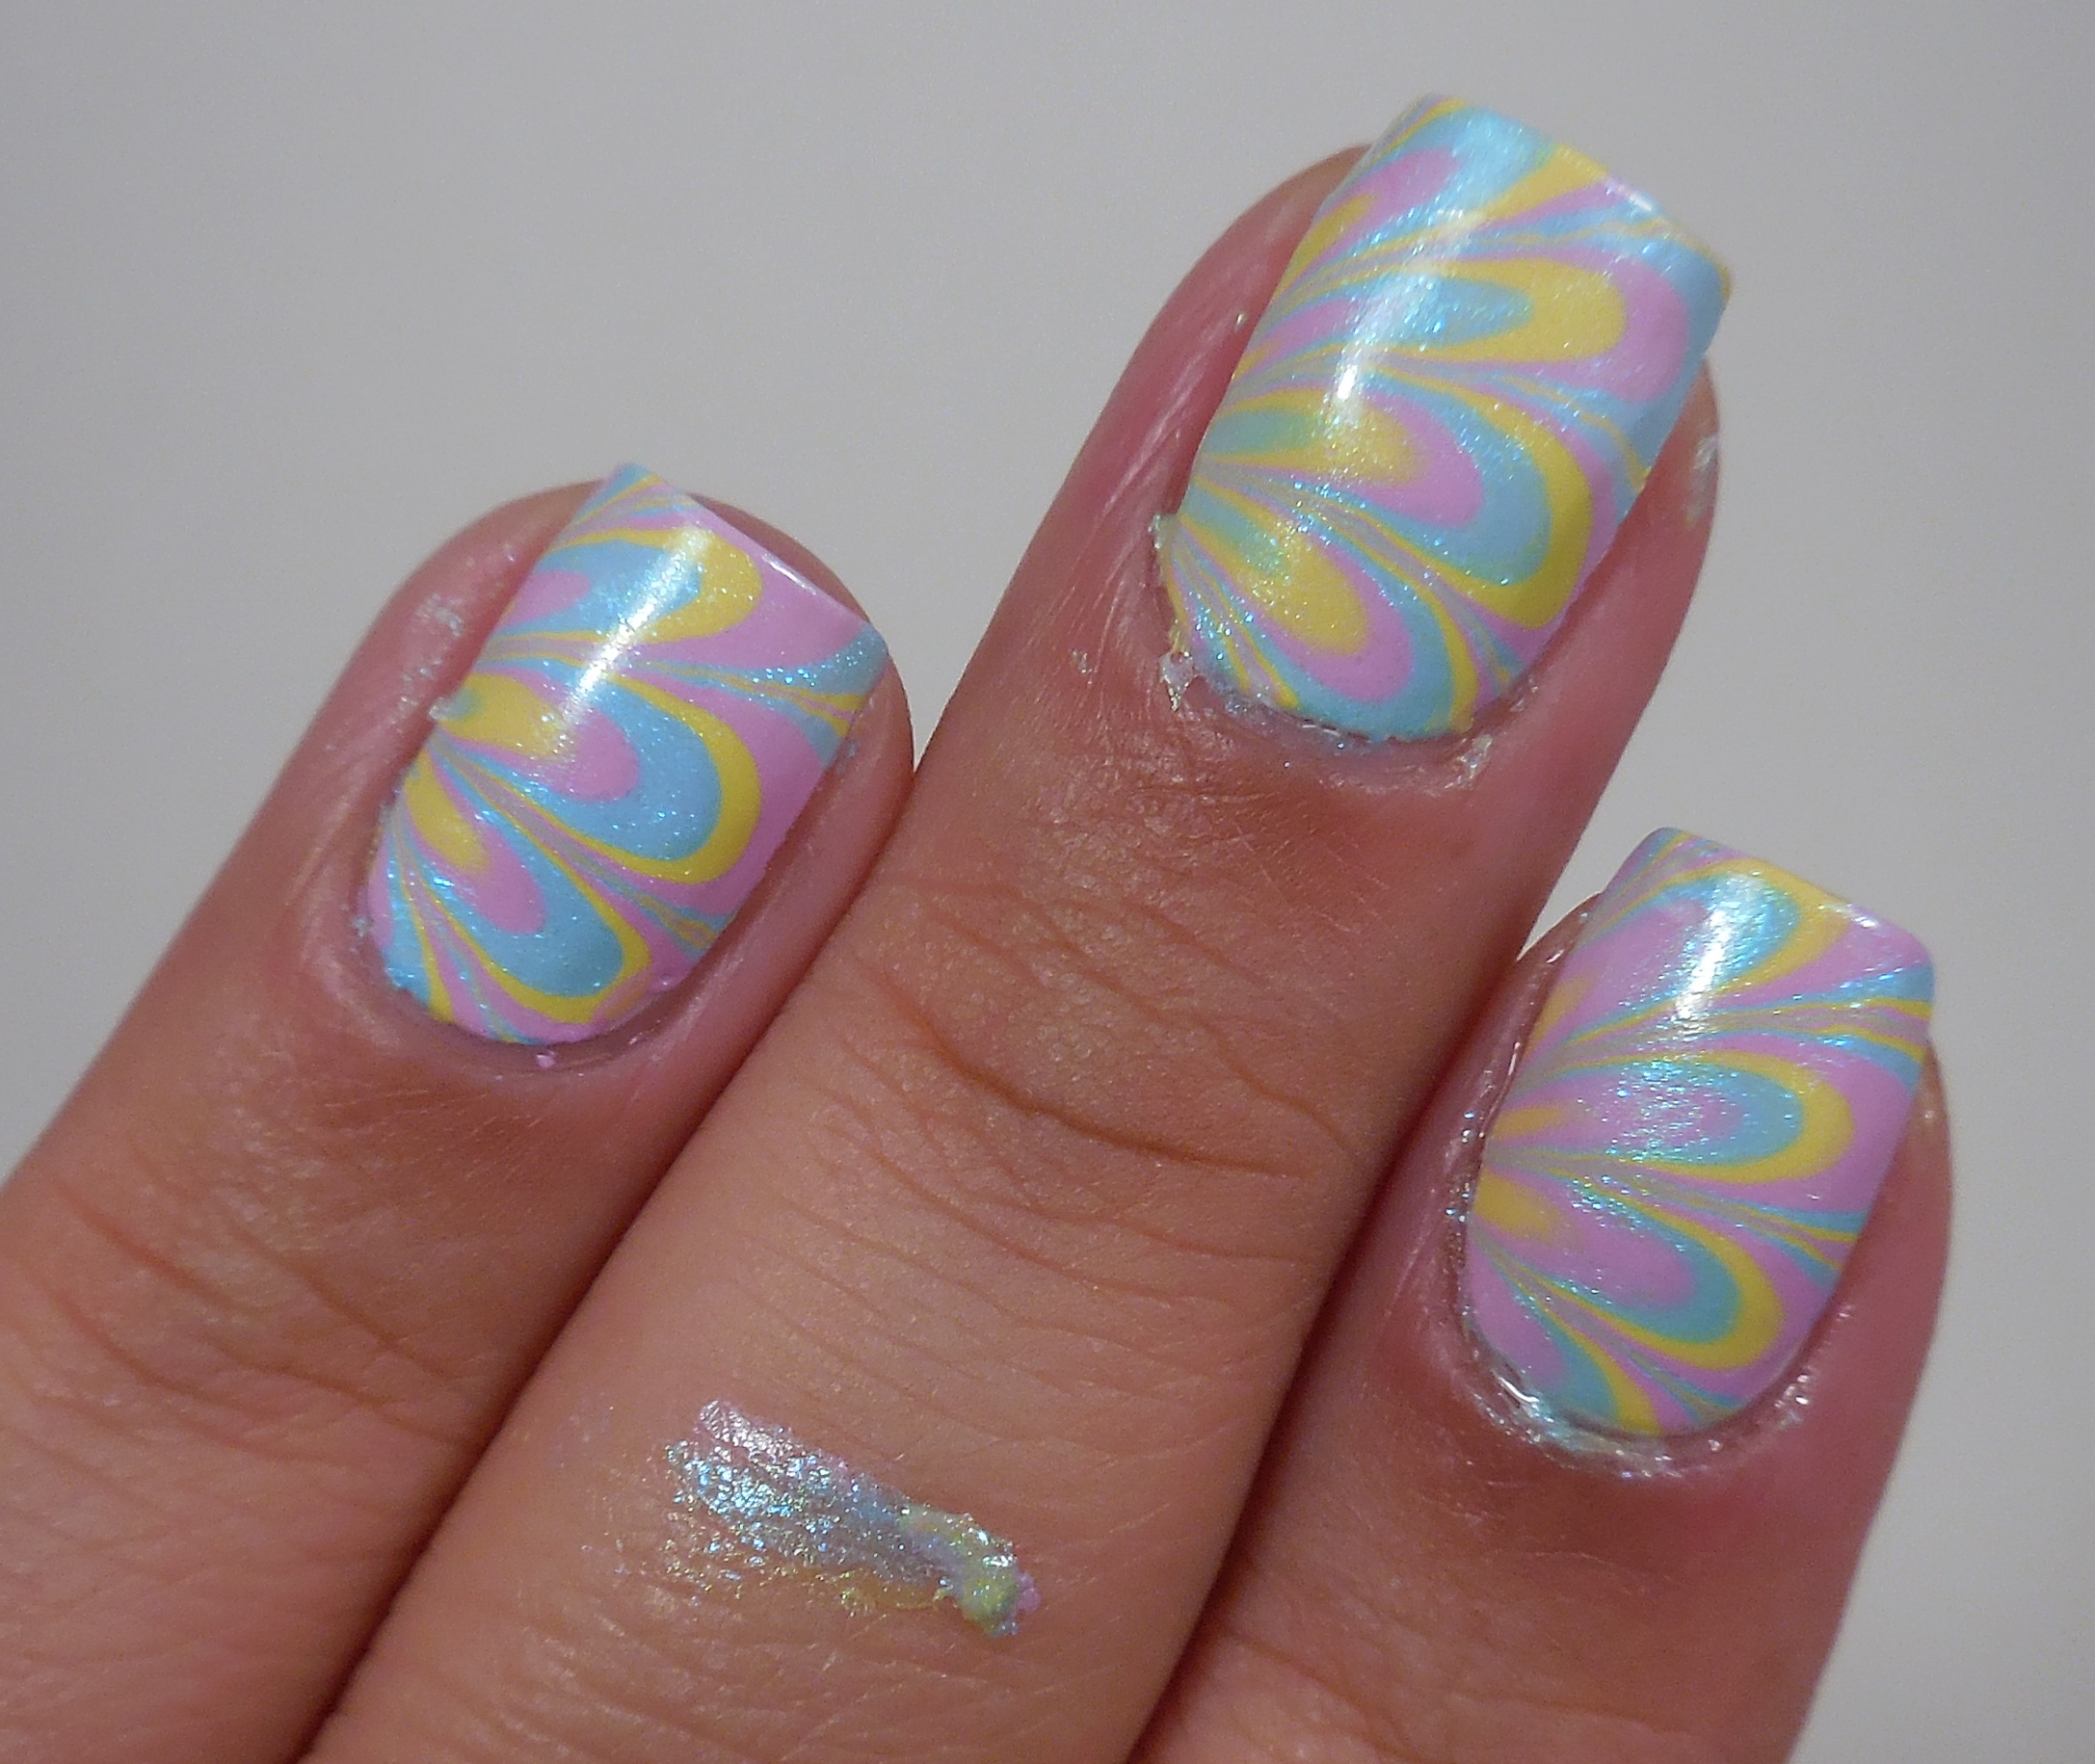
6With the glue and tape, this is what my clean up job ended up being. Not bad, right?
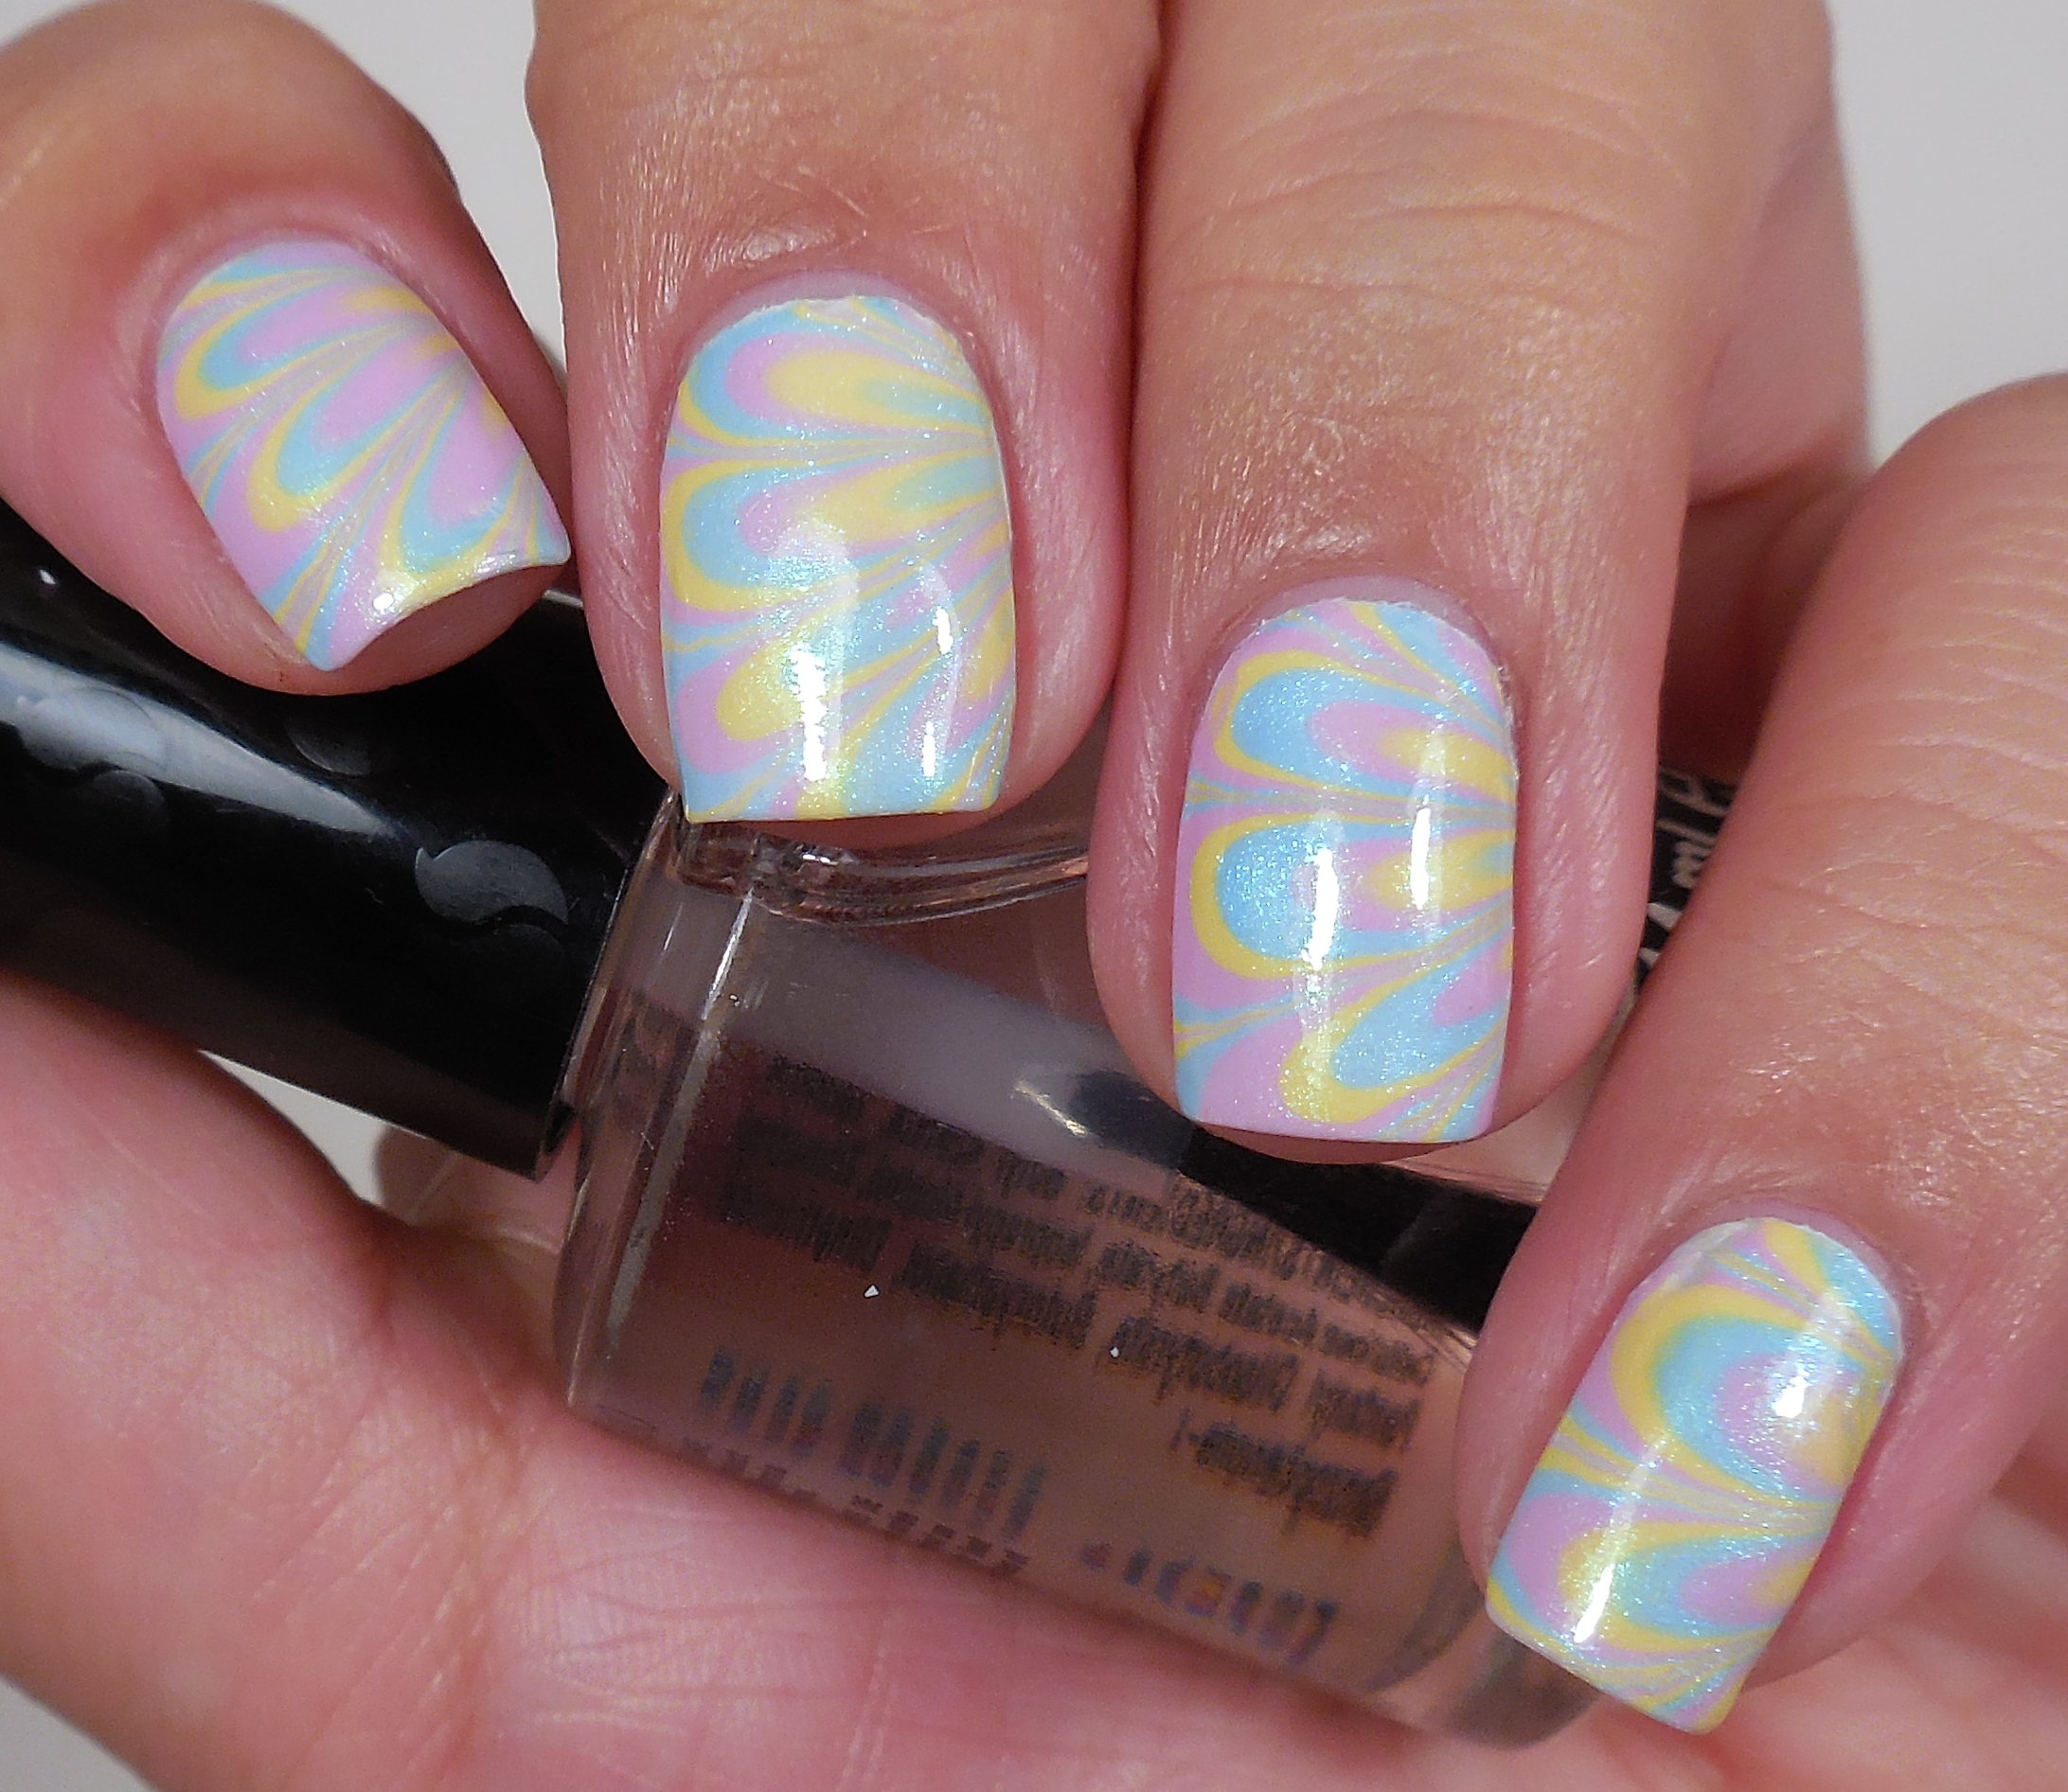
78And this is the finished mani after all the clean up was done. This looks like Easter exploded on my nails, but I think it looks pretty.

So do you think this technique is worth all the fuss? Do you have any other tips that might help others who are watermarble challenged? Thanks so much for stopping by today, and I will talk to you soon!


Have you entered my giveaway? Click the image below to enter!

giveawaycollage

Stamping Saturdays #56

Stamping Saturdays #56

Heeeeeeeeey! Can you tell how excited I am? The reason why I’m so happy is because I have a 4 day weekend and I’m going to be the laziest person in the history of the world. In fact, I’m still in my pj’s right now and I don’t care what anyone thinks. Last night my friend and I decided to go watch 50 Shades of Grey. I know, I know. The theater was packed which didn’t really surprise me, but I was surprised at how bad the movie was. The books were so poorly written that they made me want to barf, but they were somewhat entertaining so I thought maybe the movie wouldn’t be too horrible but it was. I think Jamie Dornan is hot lava, but I don’t think he was what I was expecting for the Christian Grey character. On the other hand, Dakota Johnson was good in he role. Overall, the movie was choppy and just strange. When I got home, I saw that I had gotten some free passes in the mail (thanks, OPI!!), so I’m going to give them away so they don’t have to be mad like me about paying full price to see this film. Anyway, let’s move on from putrid films to awesome nail polish! For today’s Stamping Saturdays I have another holo beauty to show you.

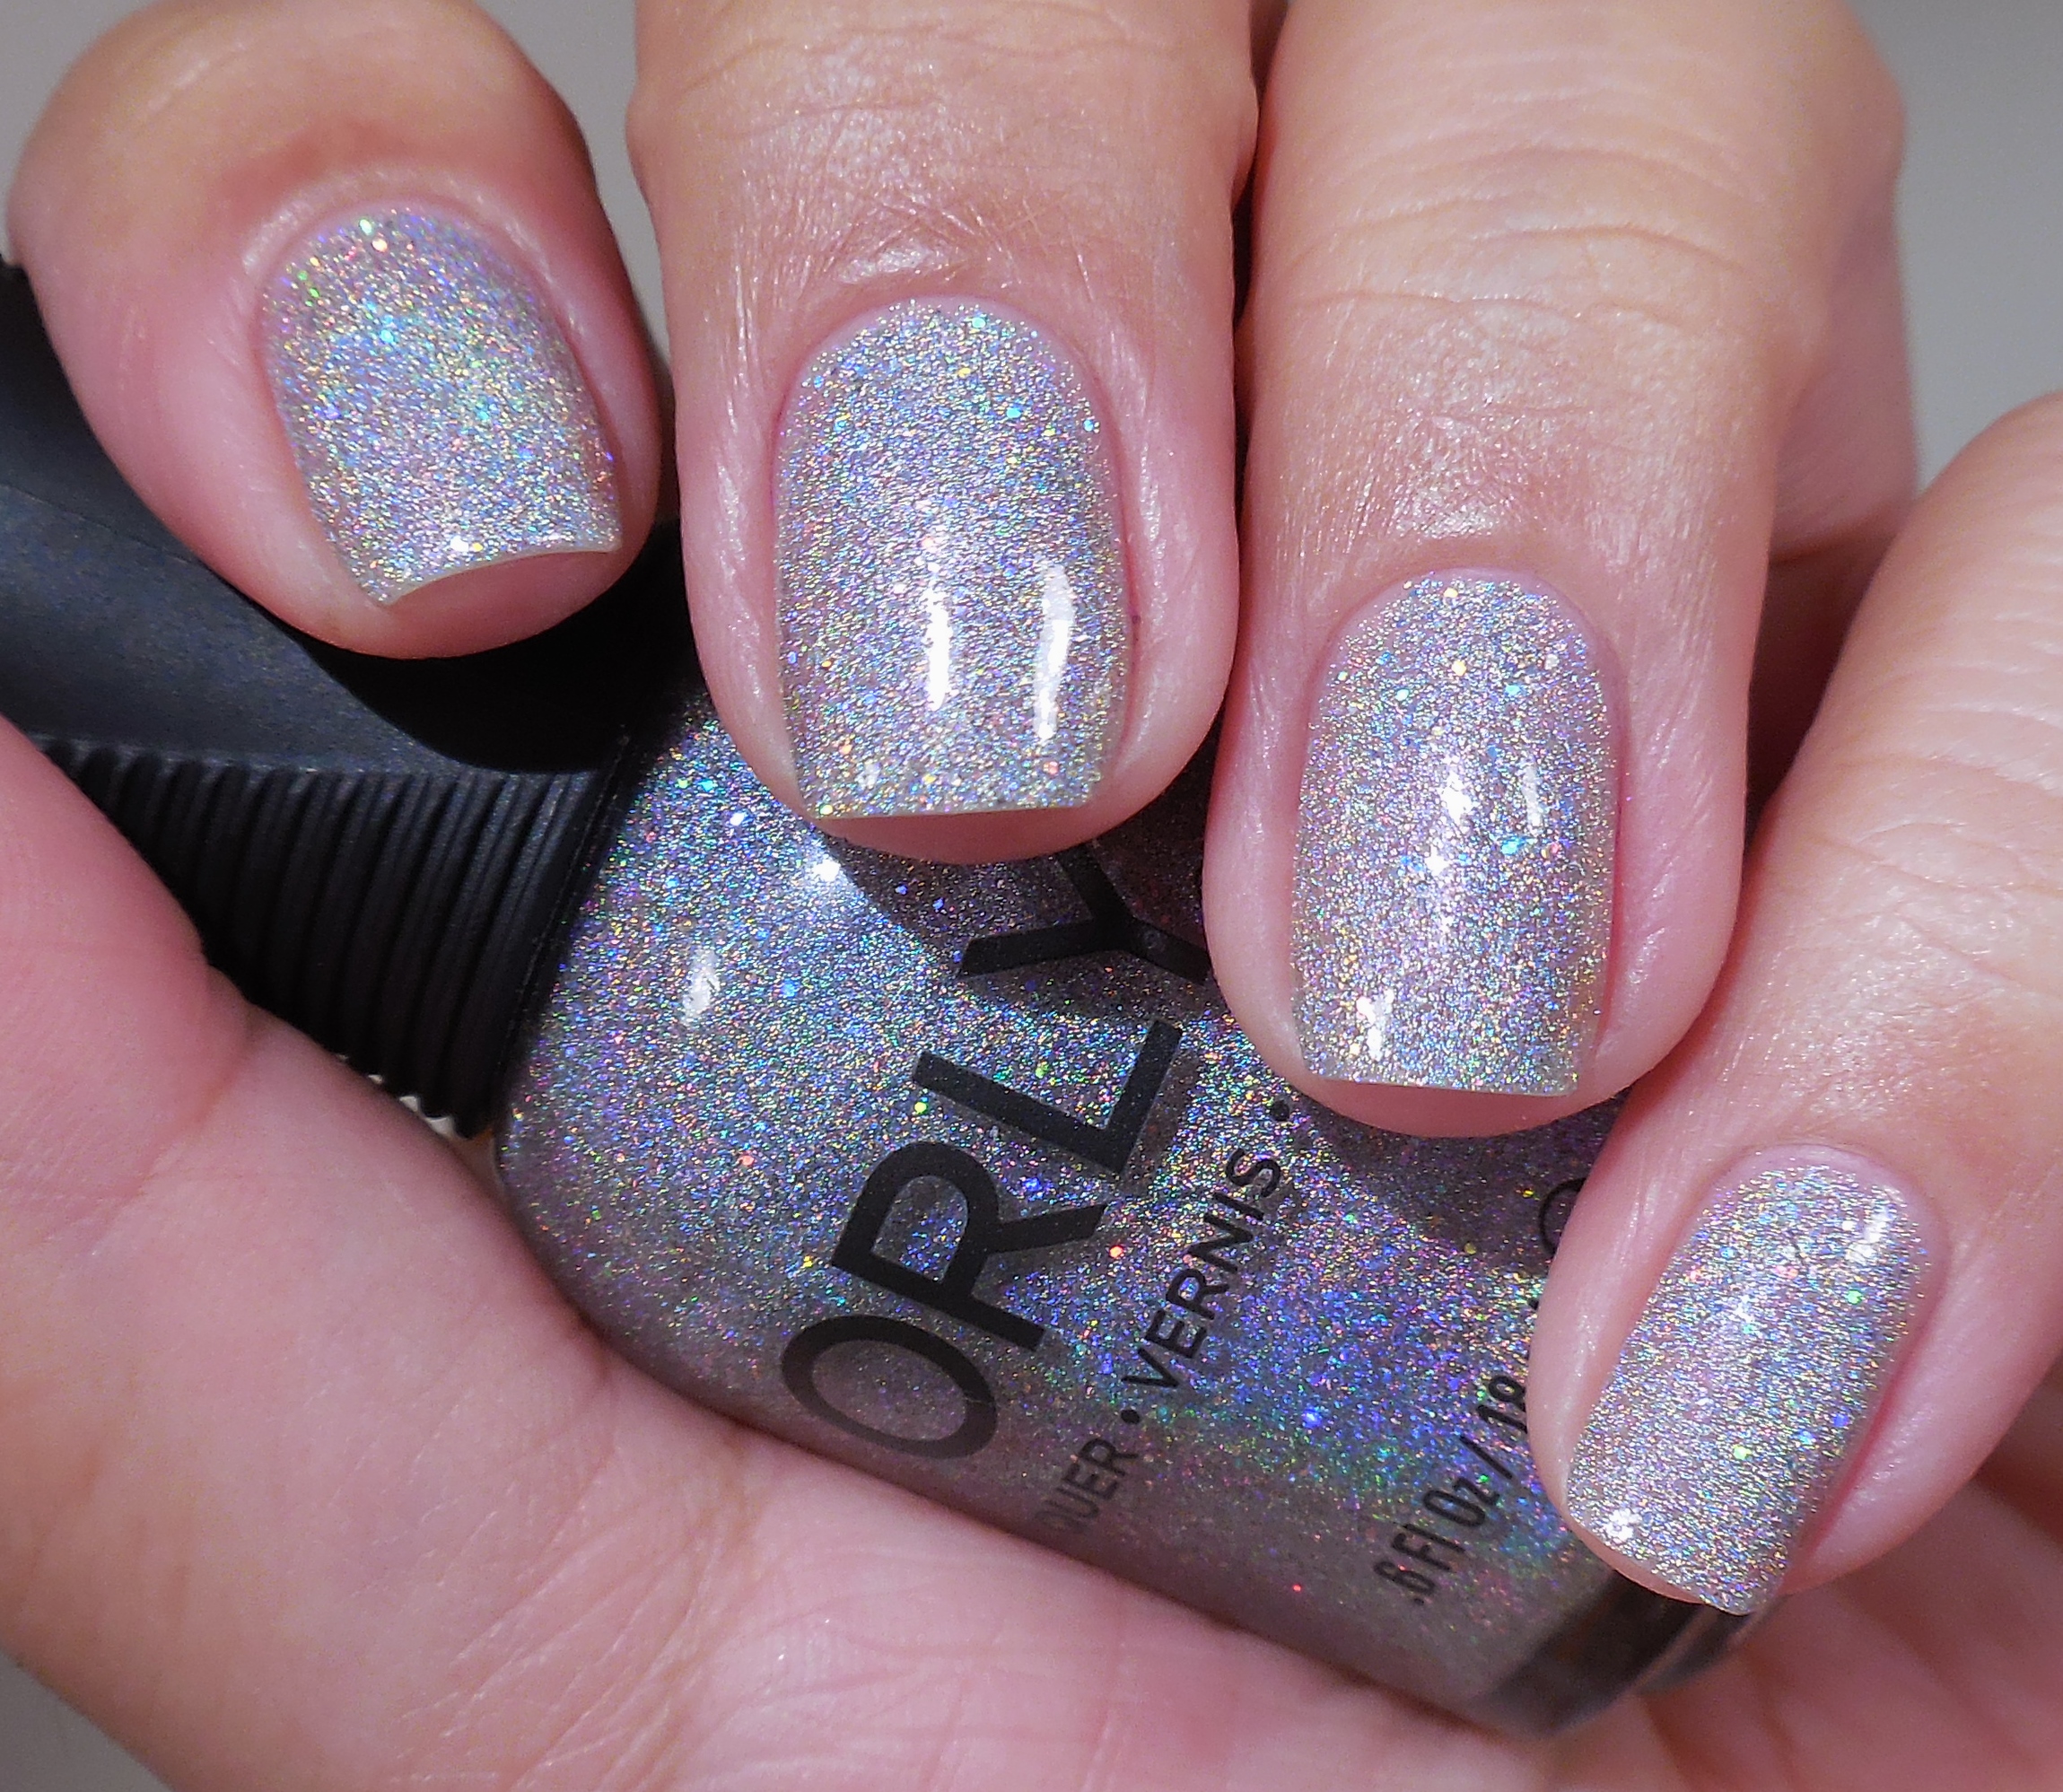
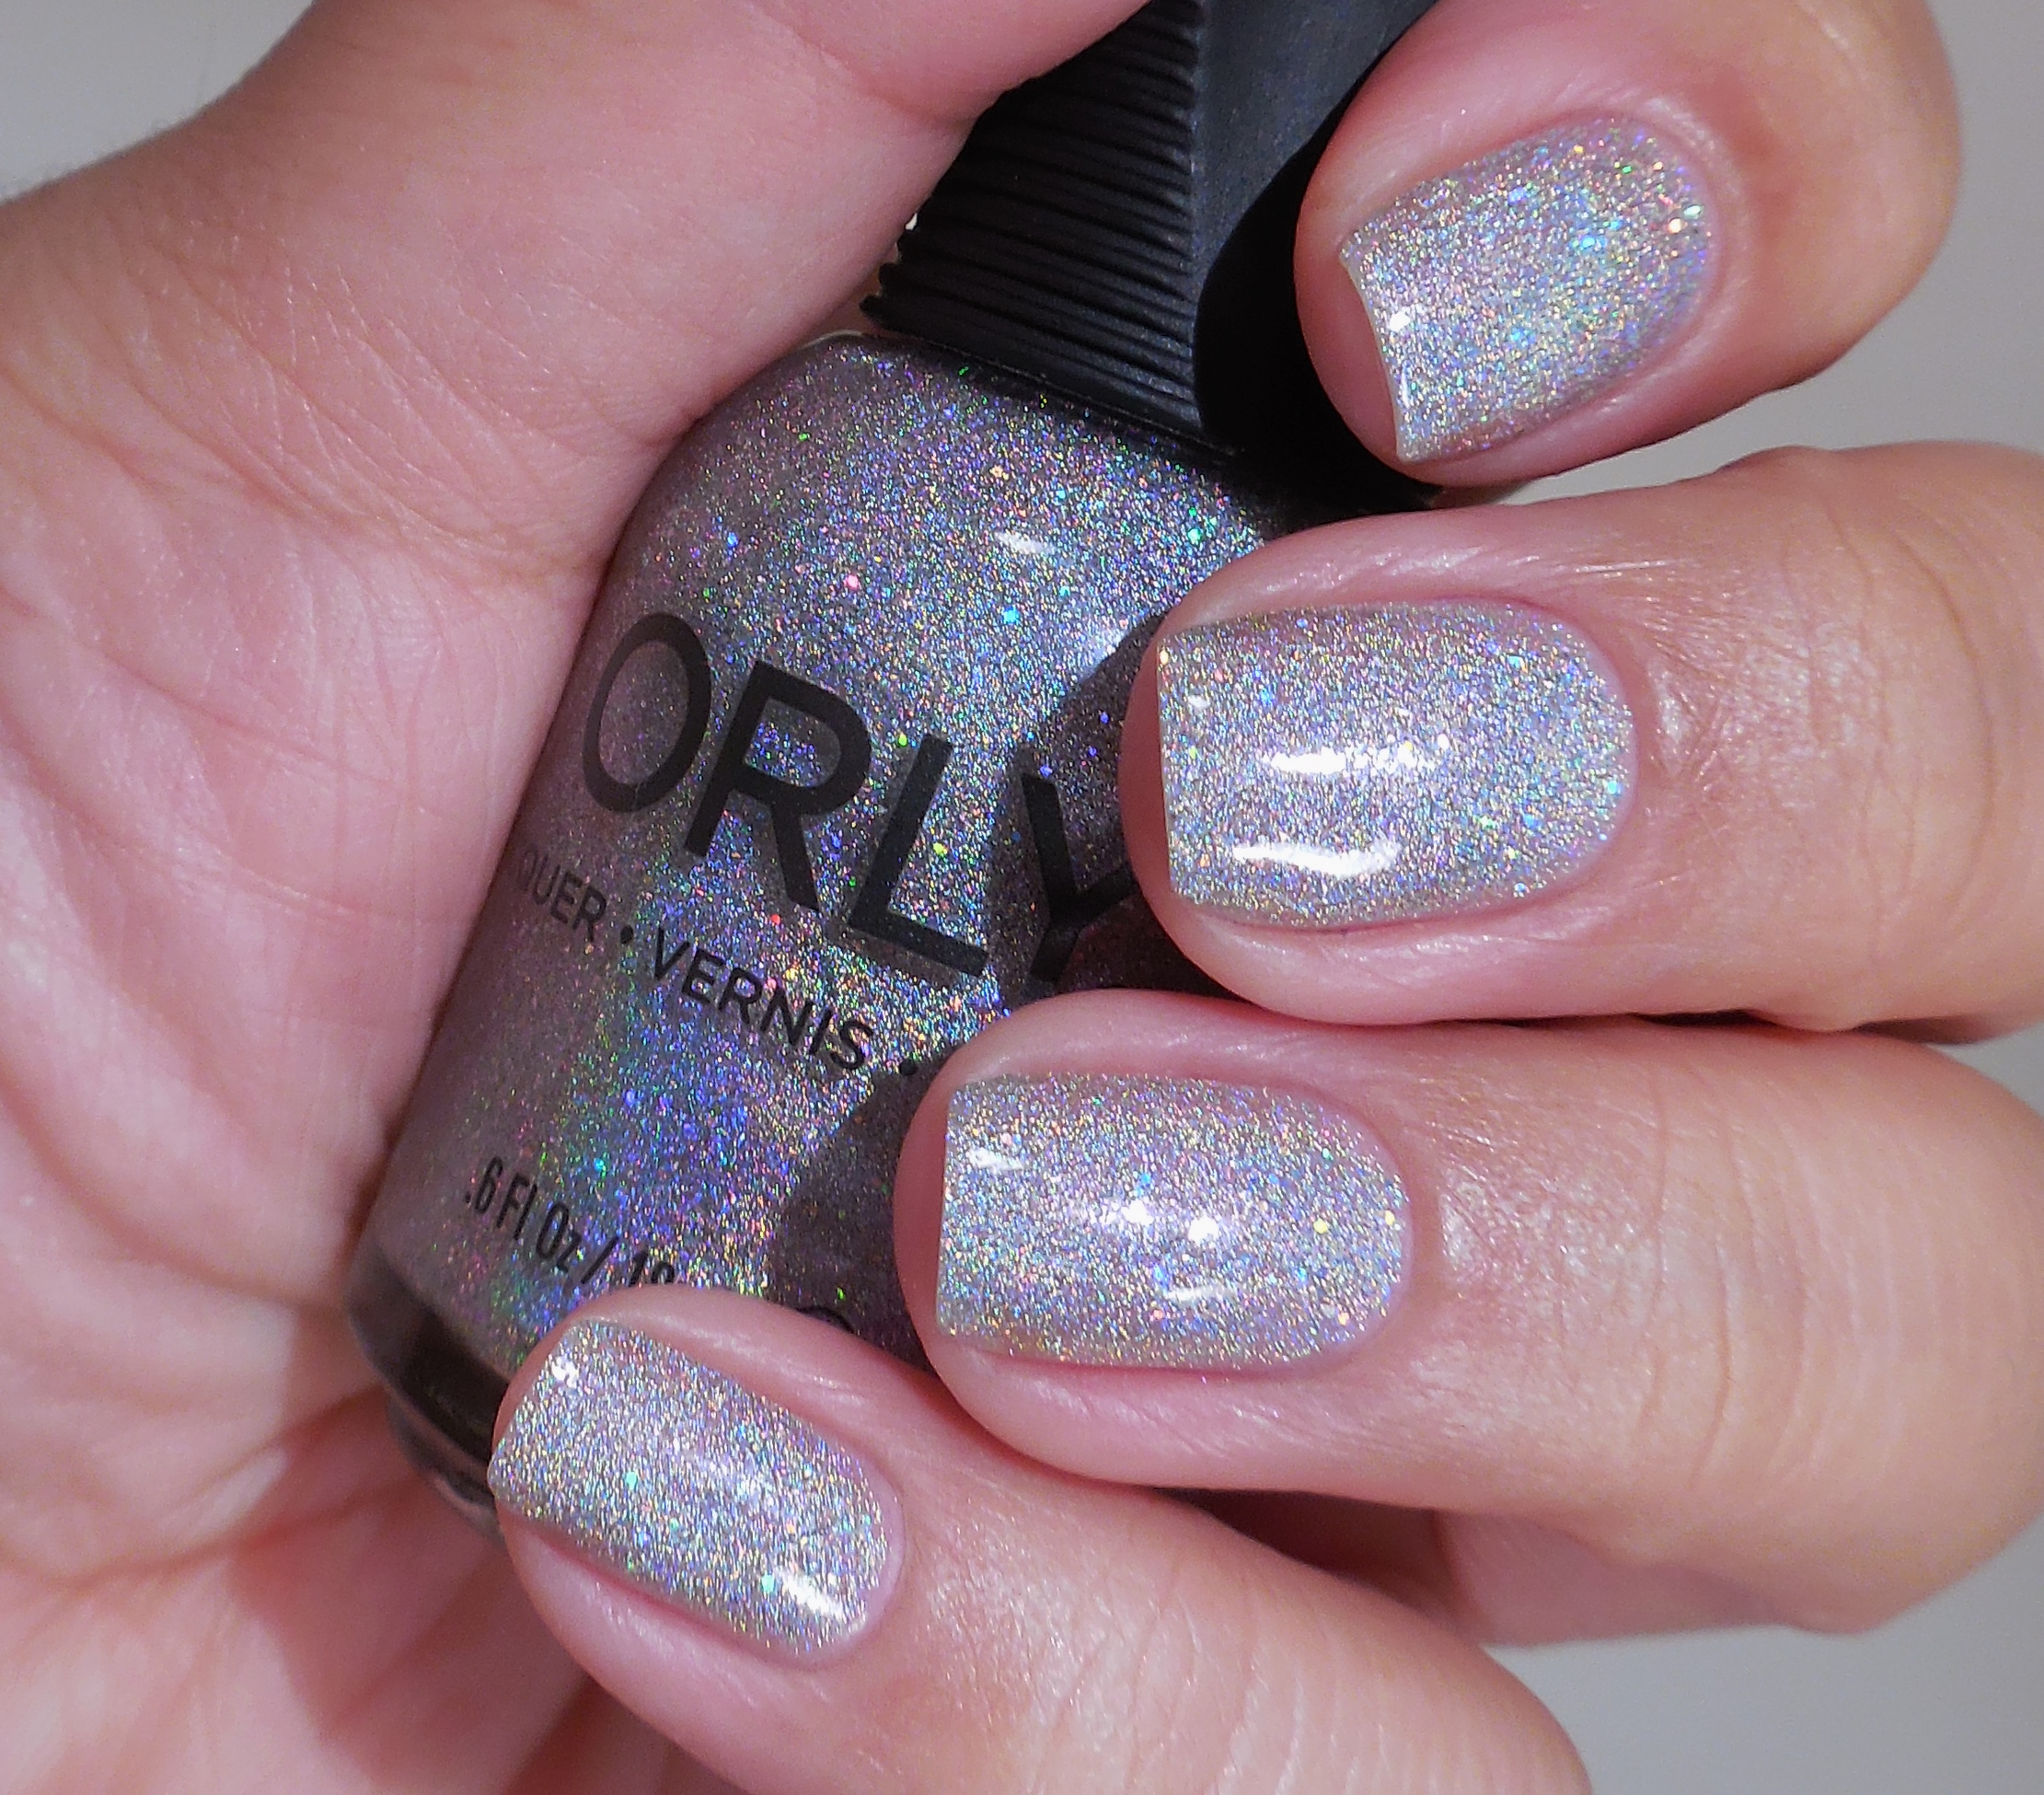
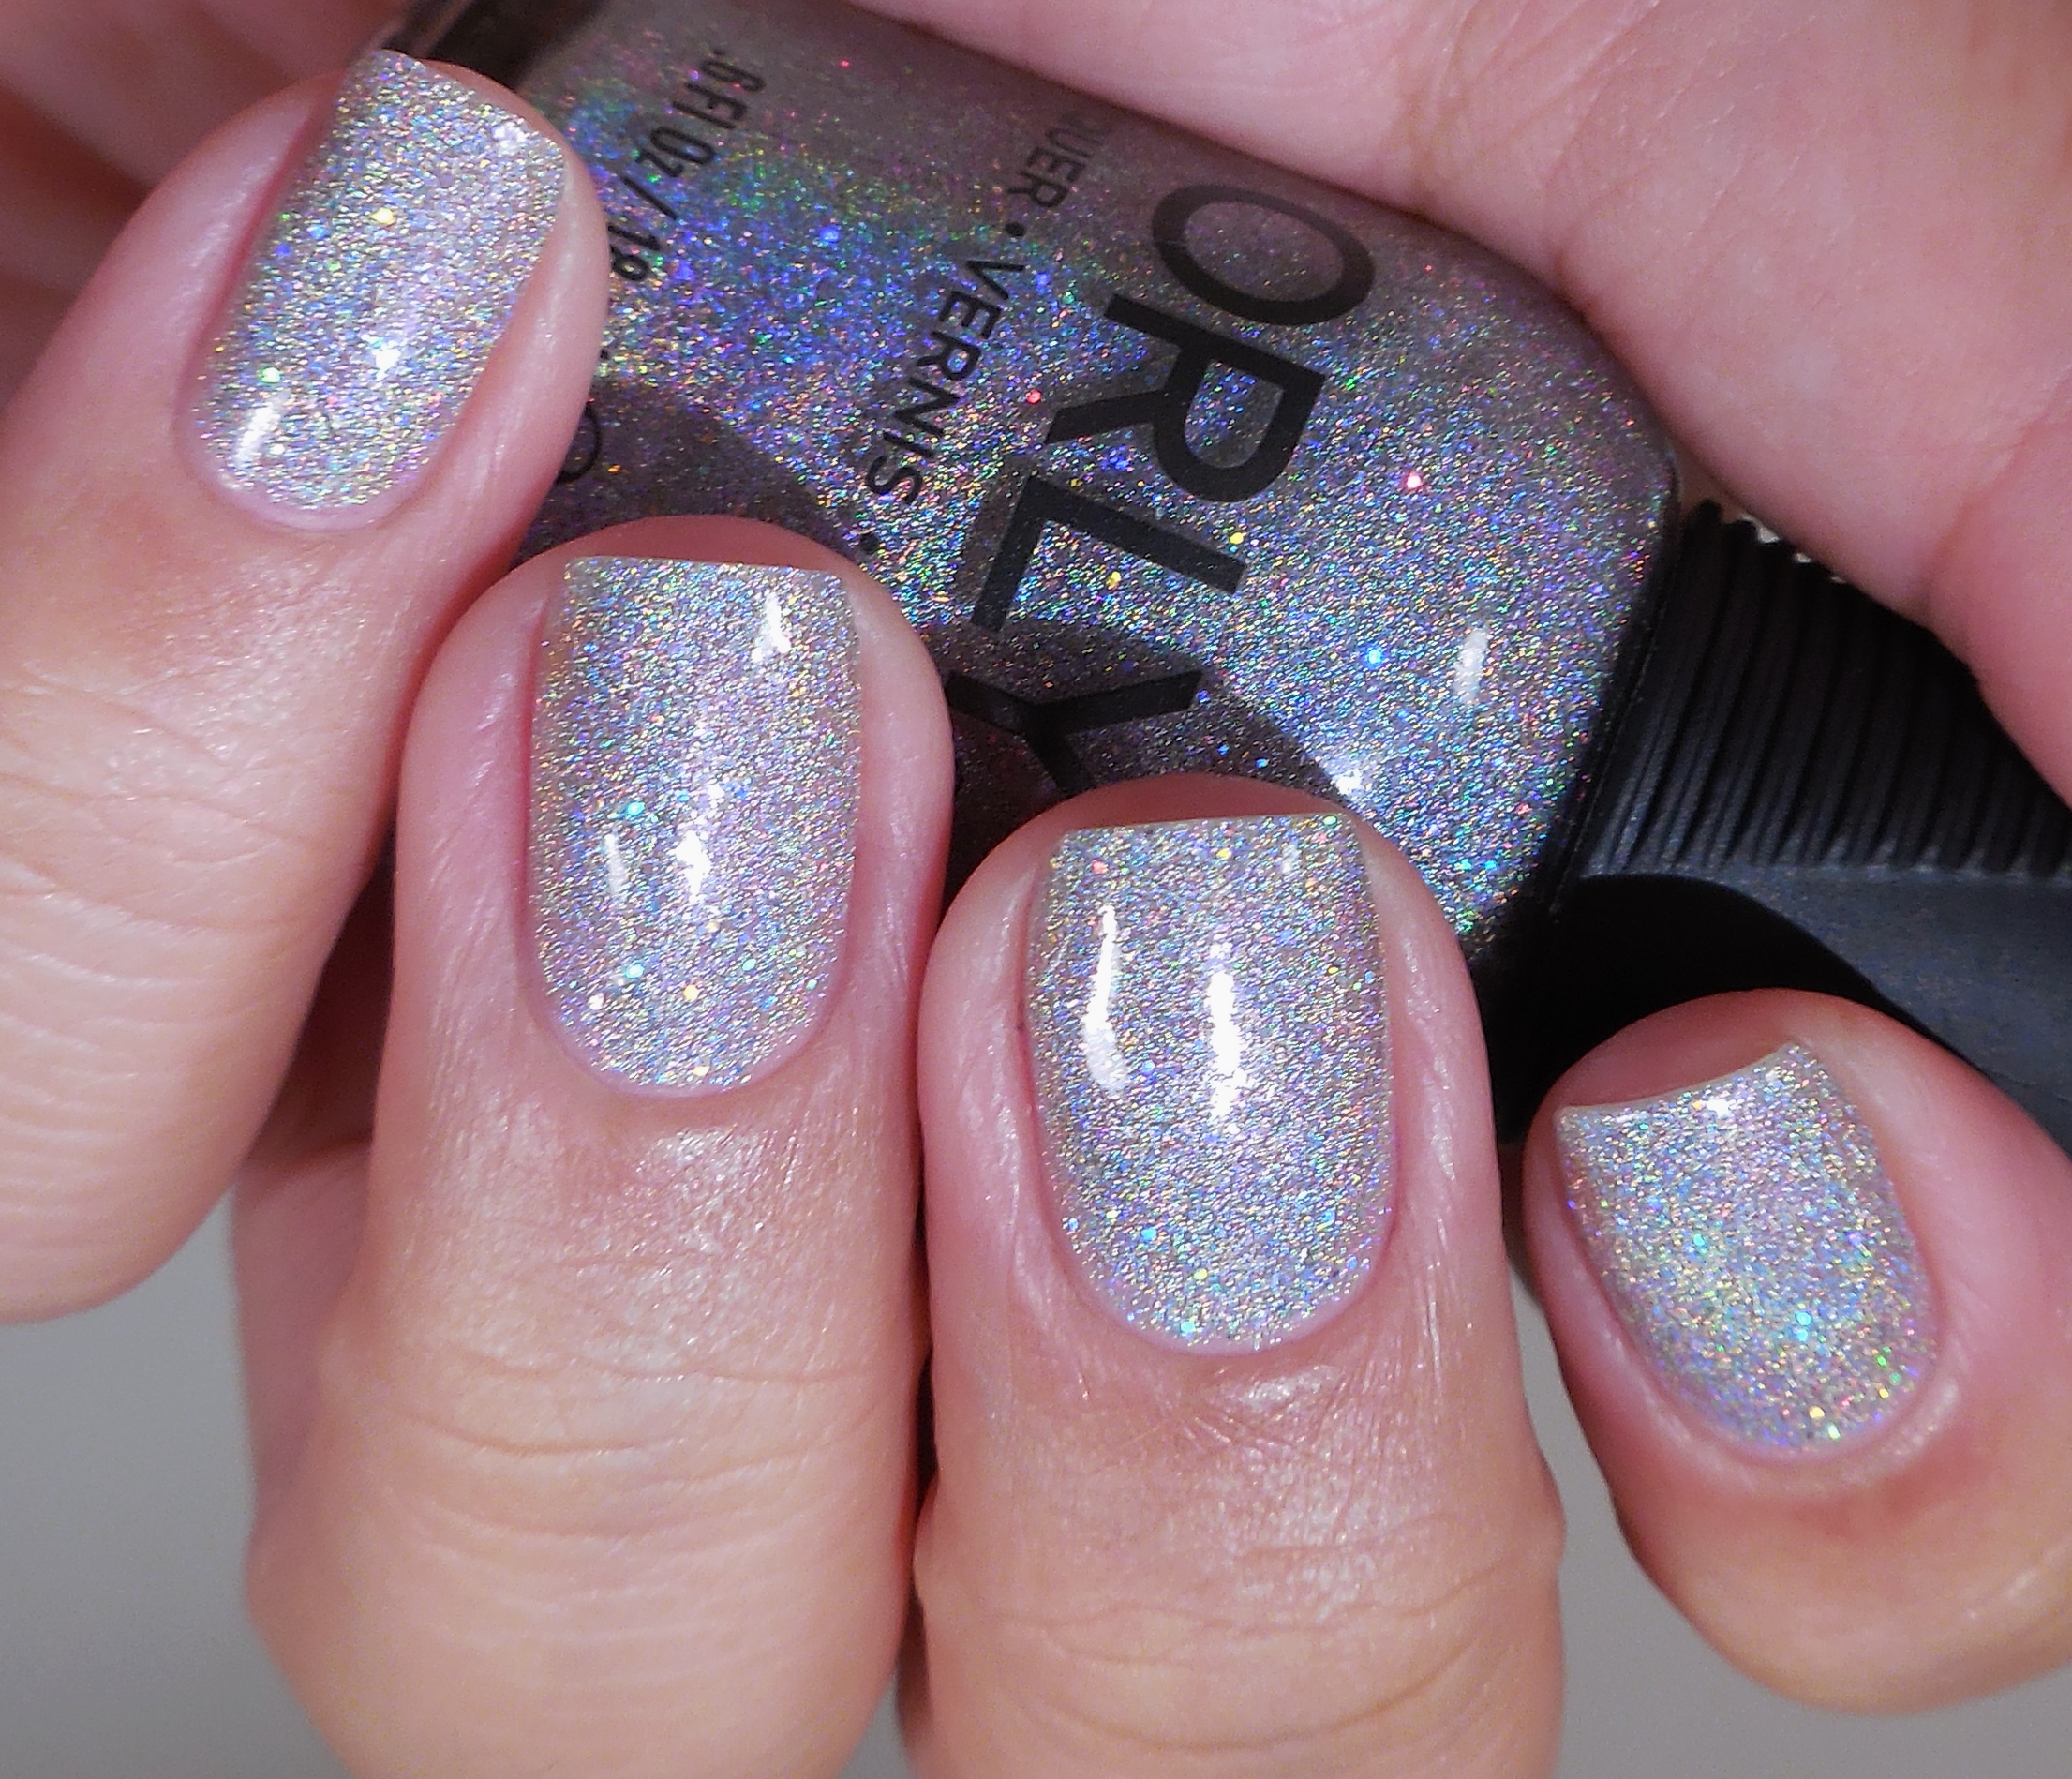
Orly Mirrorball 1Orly Mirrorball 2Orly Mirrorball 3I had such a hard time finding Orly Mirrorball, so when I finally found a bottle, I freaked out. It’s a really gorgeous and delicate linear holo with small holographic glitter. The formula felt a little thin, so be prepared to apply 3 coats

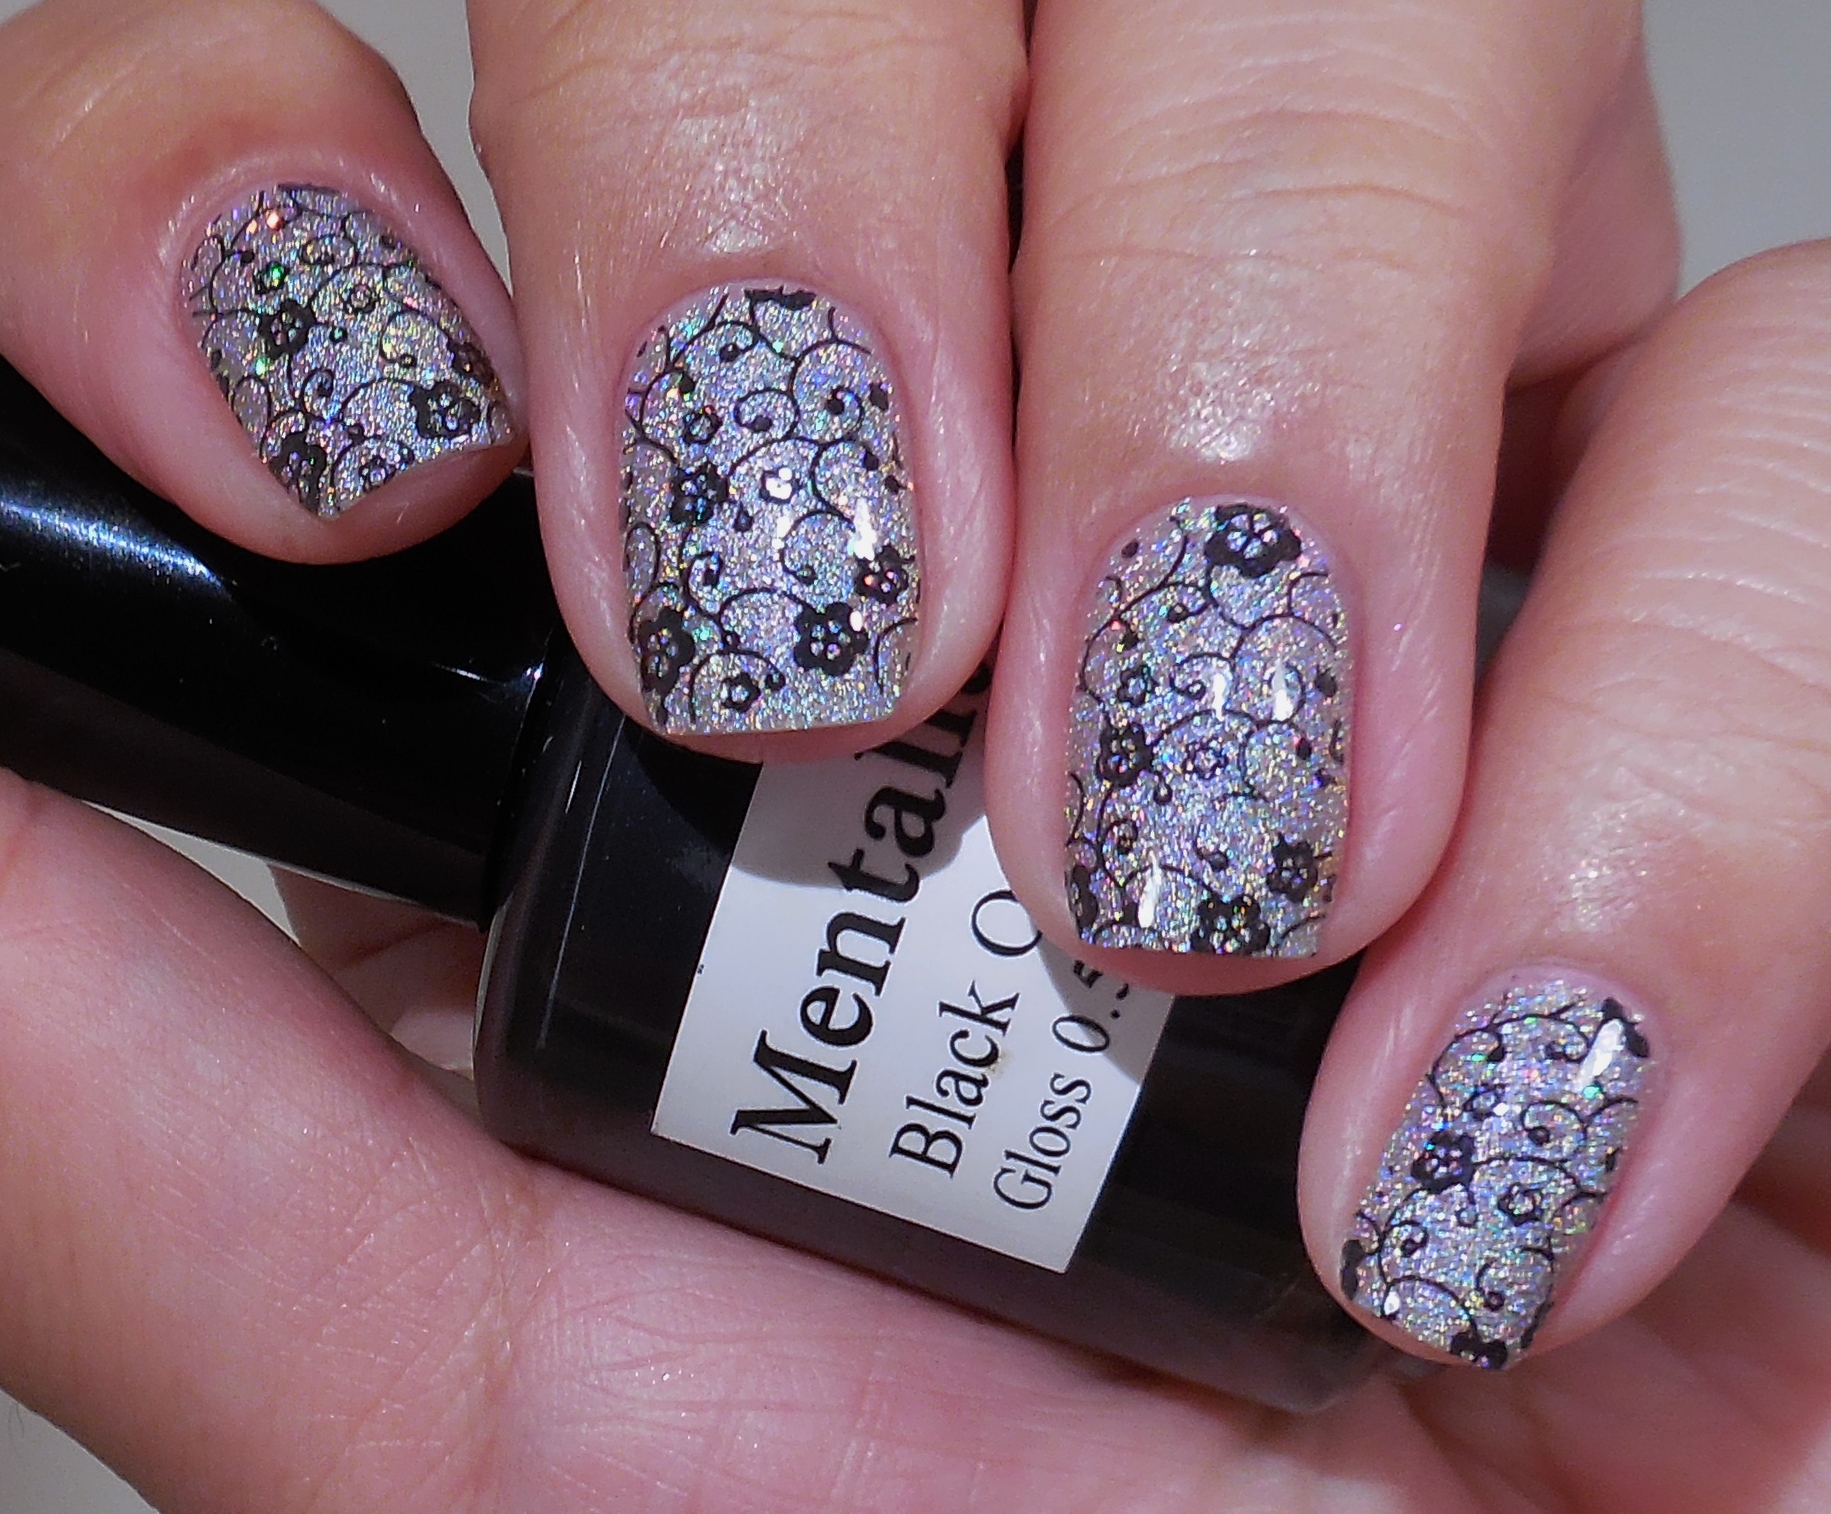
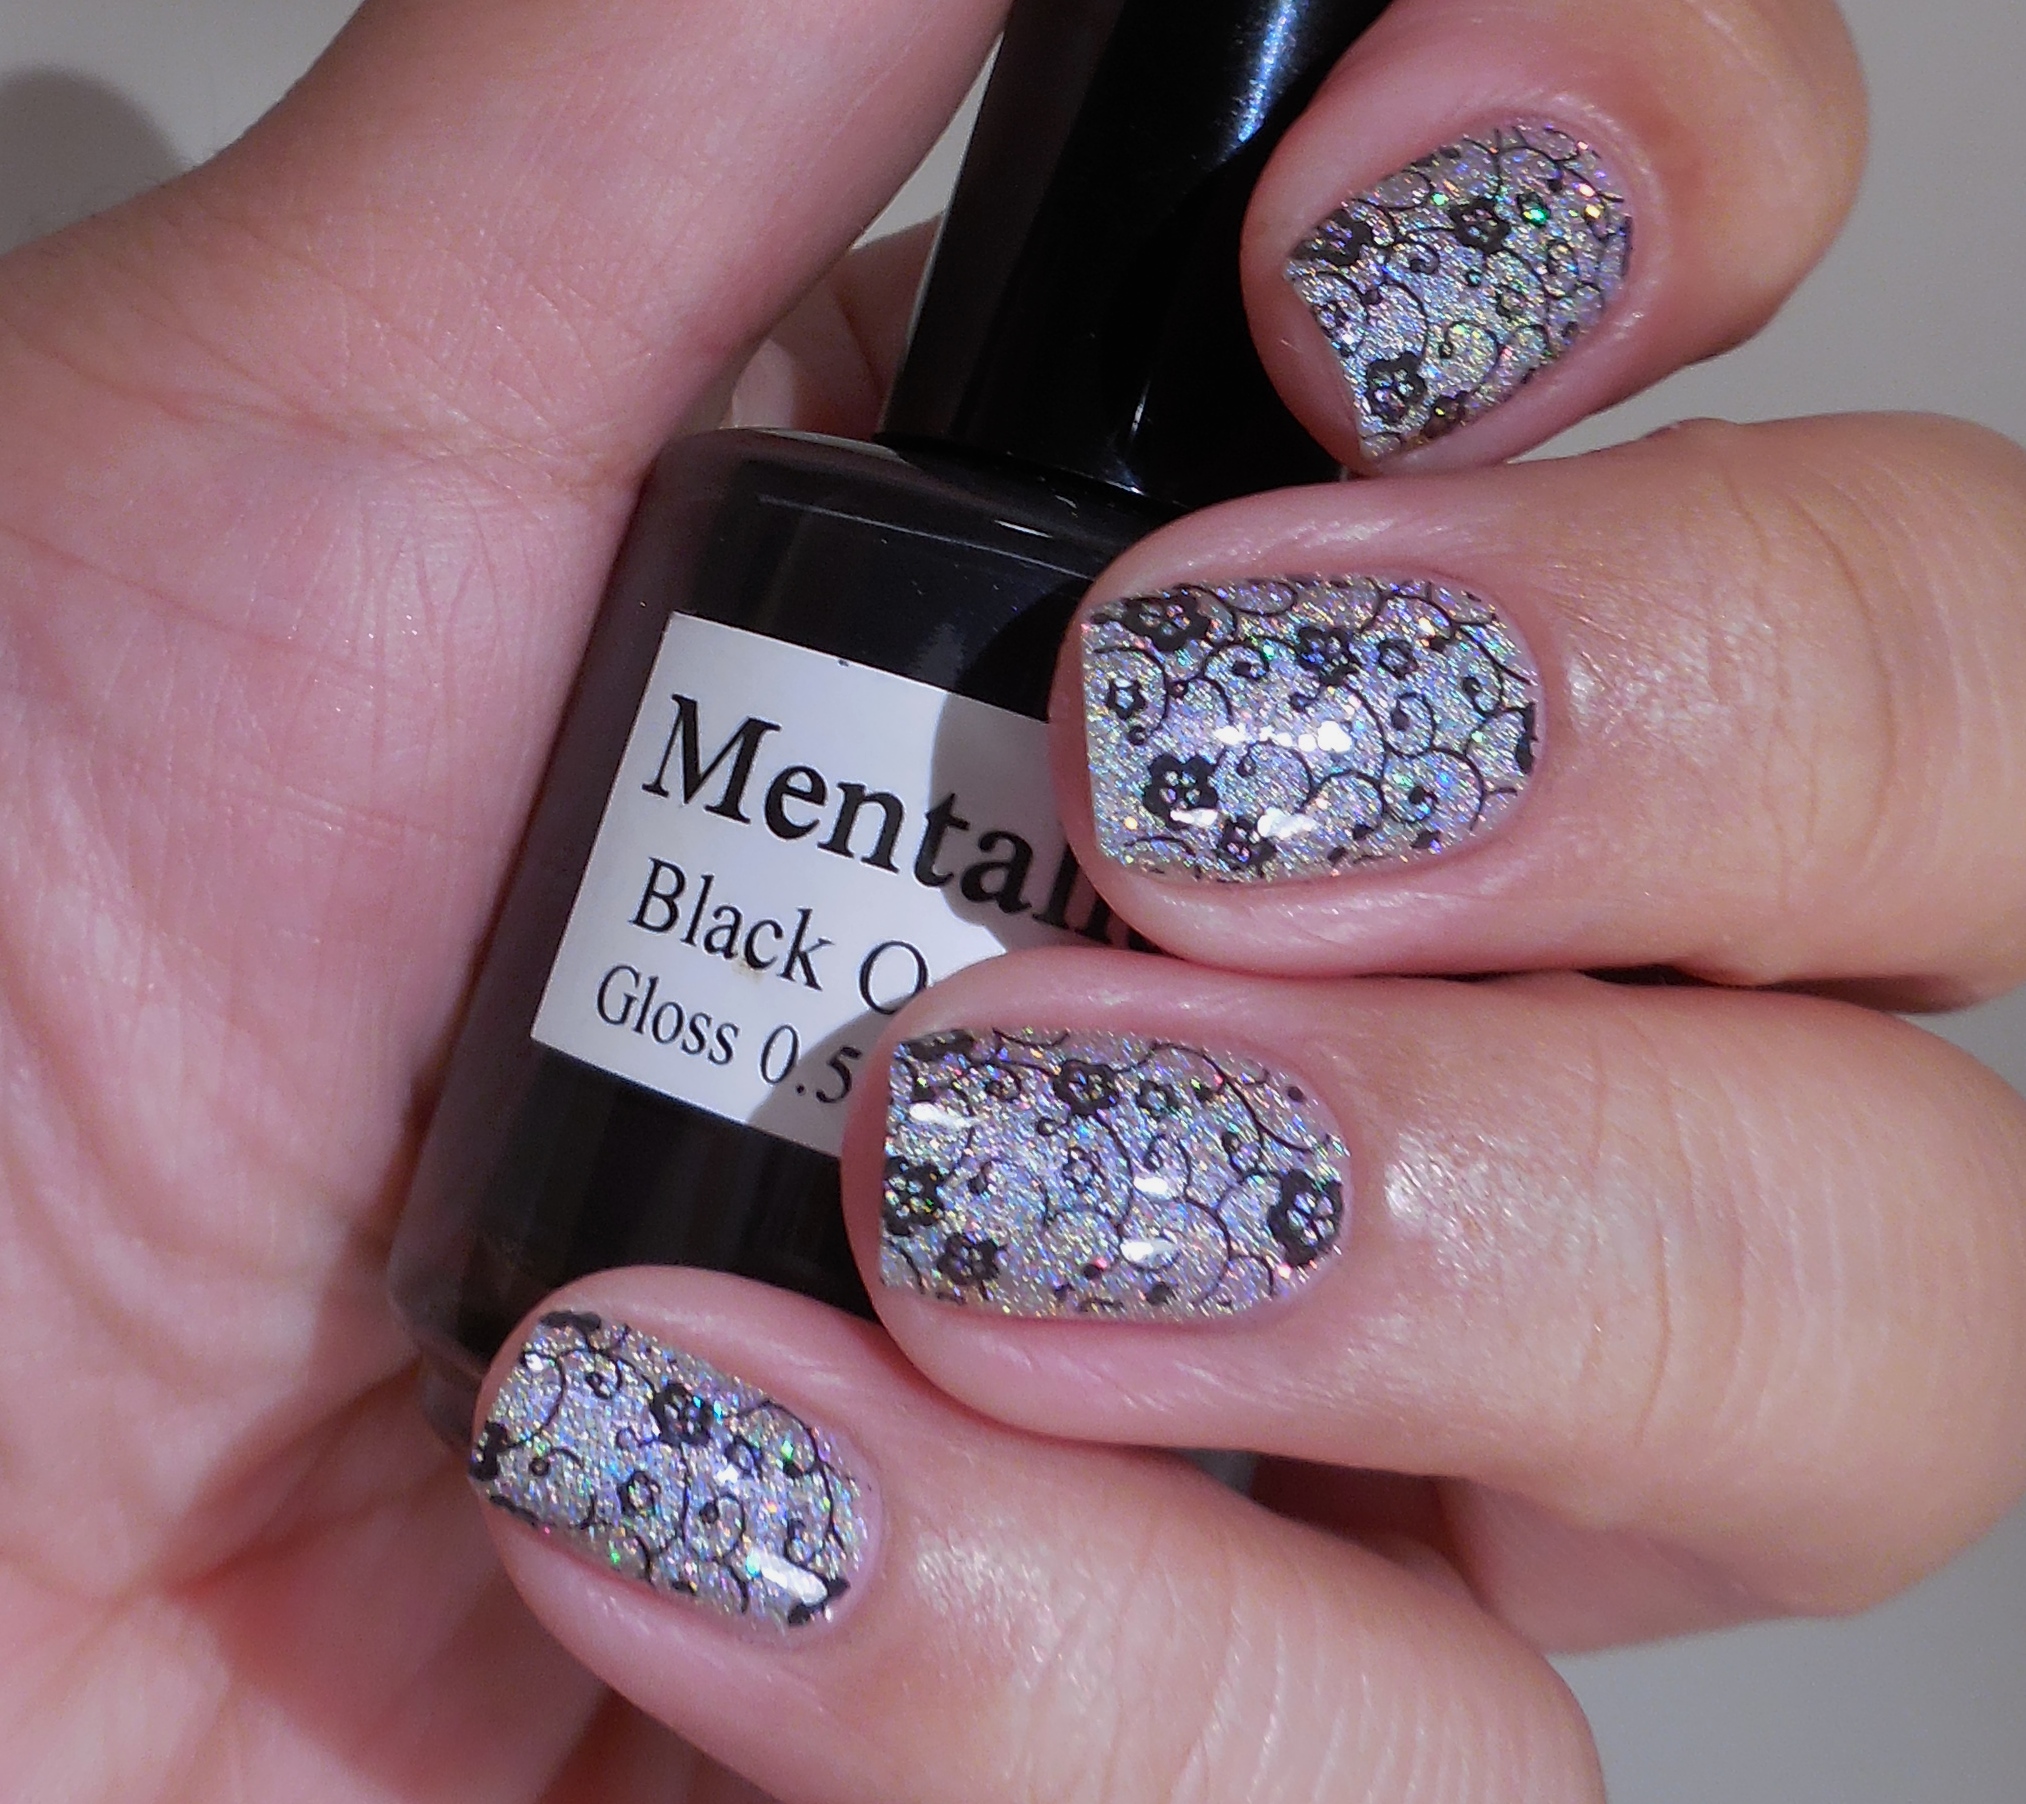
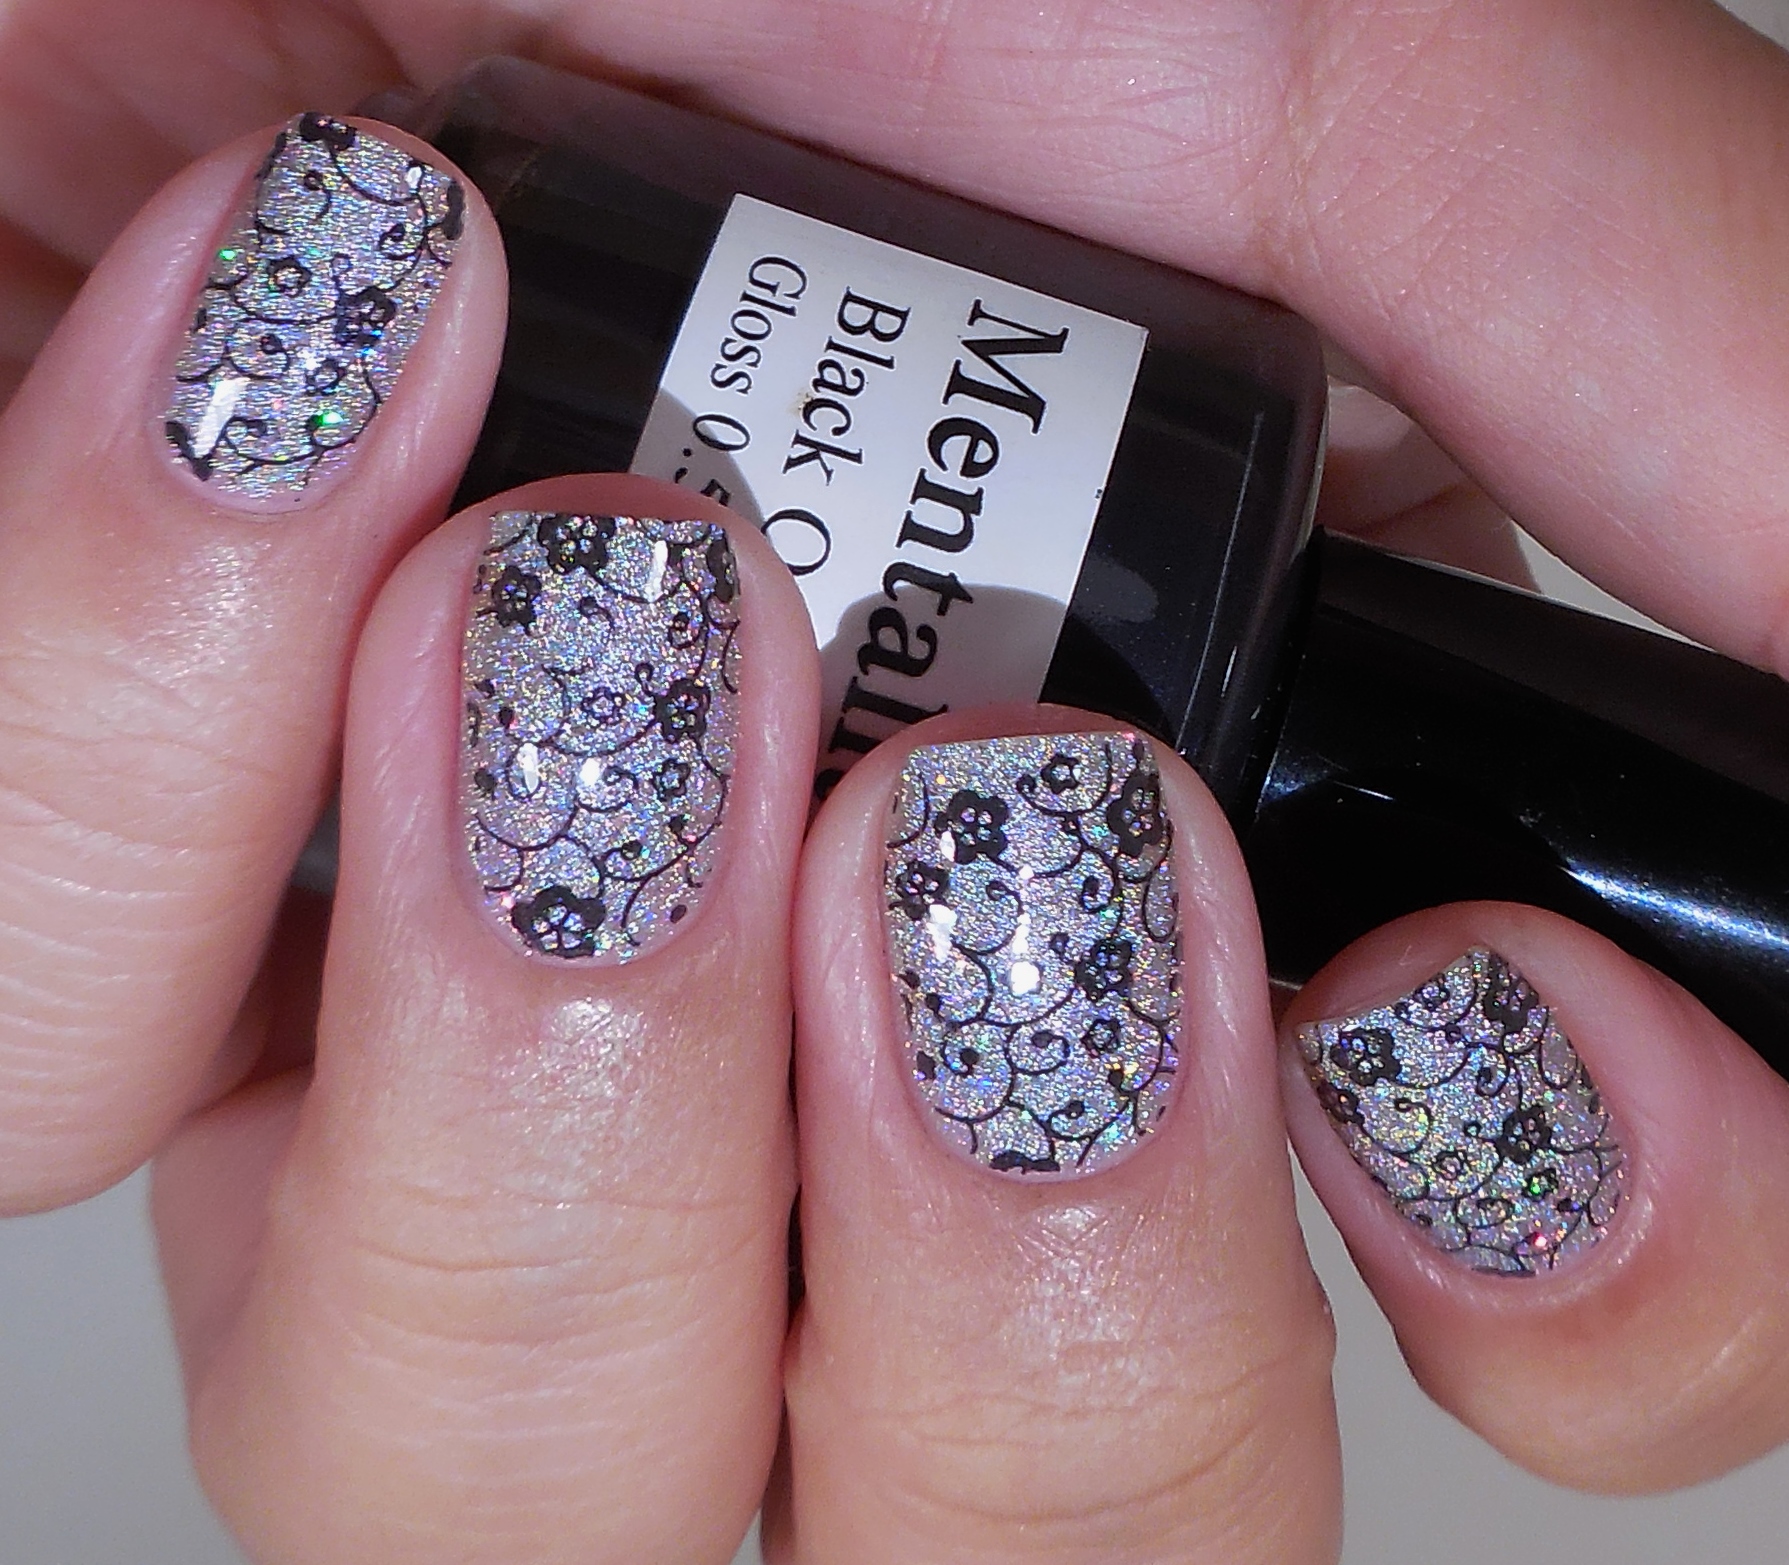
123I used a delicate stamp from Konad plate M73 and Mentality Black Opaque stamping polish. I really like how this turned out.

What do you think about this mani? I hope your weekend is going well and that you enjoy your long weekend if you get Monday off. Thanks for stopping by today, and I will talk to you soon.

 Loading InLinkz ...
The Lacquer Ring – Purple

The Lacquer Ring – Purple

I’m kind of grouchy right now. Not just kind of….but rather super pissed. I had typed up this post and was getting ready to schedule it. When I hit schedule, I got an error message from wordpress that said something like “Are you sure you want to do this?” Then when I tried to go back to my post, it was gone…all of it. I wanted to throw my computer across the room because somehow that would make it all better, right? Anyway, let me get over my bitter party of one right now and get back to the main point of this post–it’s all about ME! Yep, me. I got to pick the color for today’s The Lacquer Ring post so of course I had to go with purple because….well, is there any other choice? Let me show you the purple beauty I decided to use today.

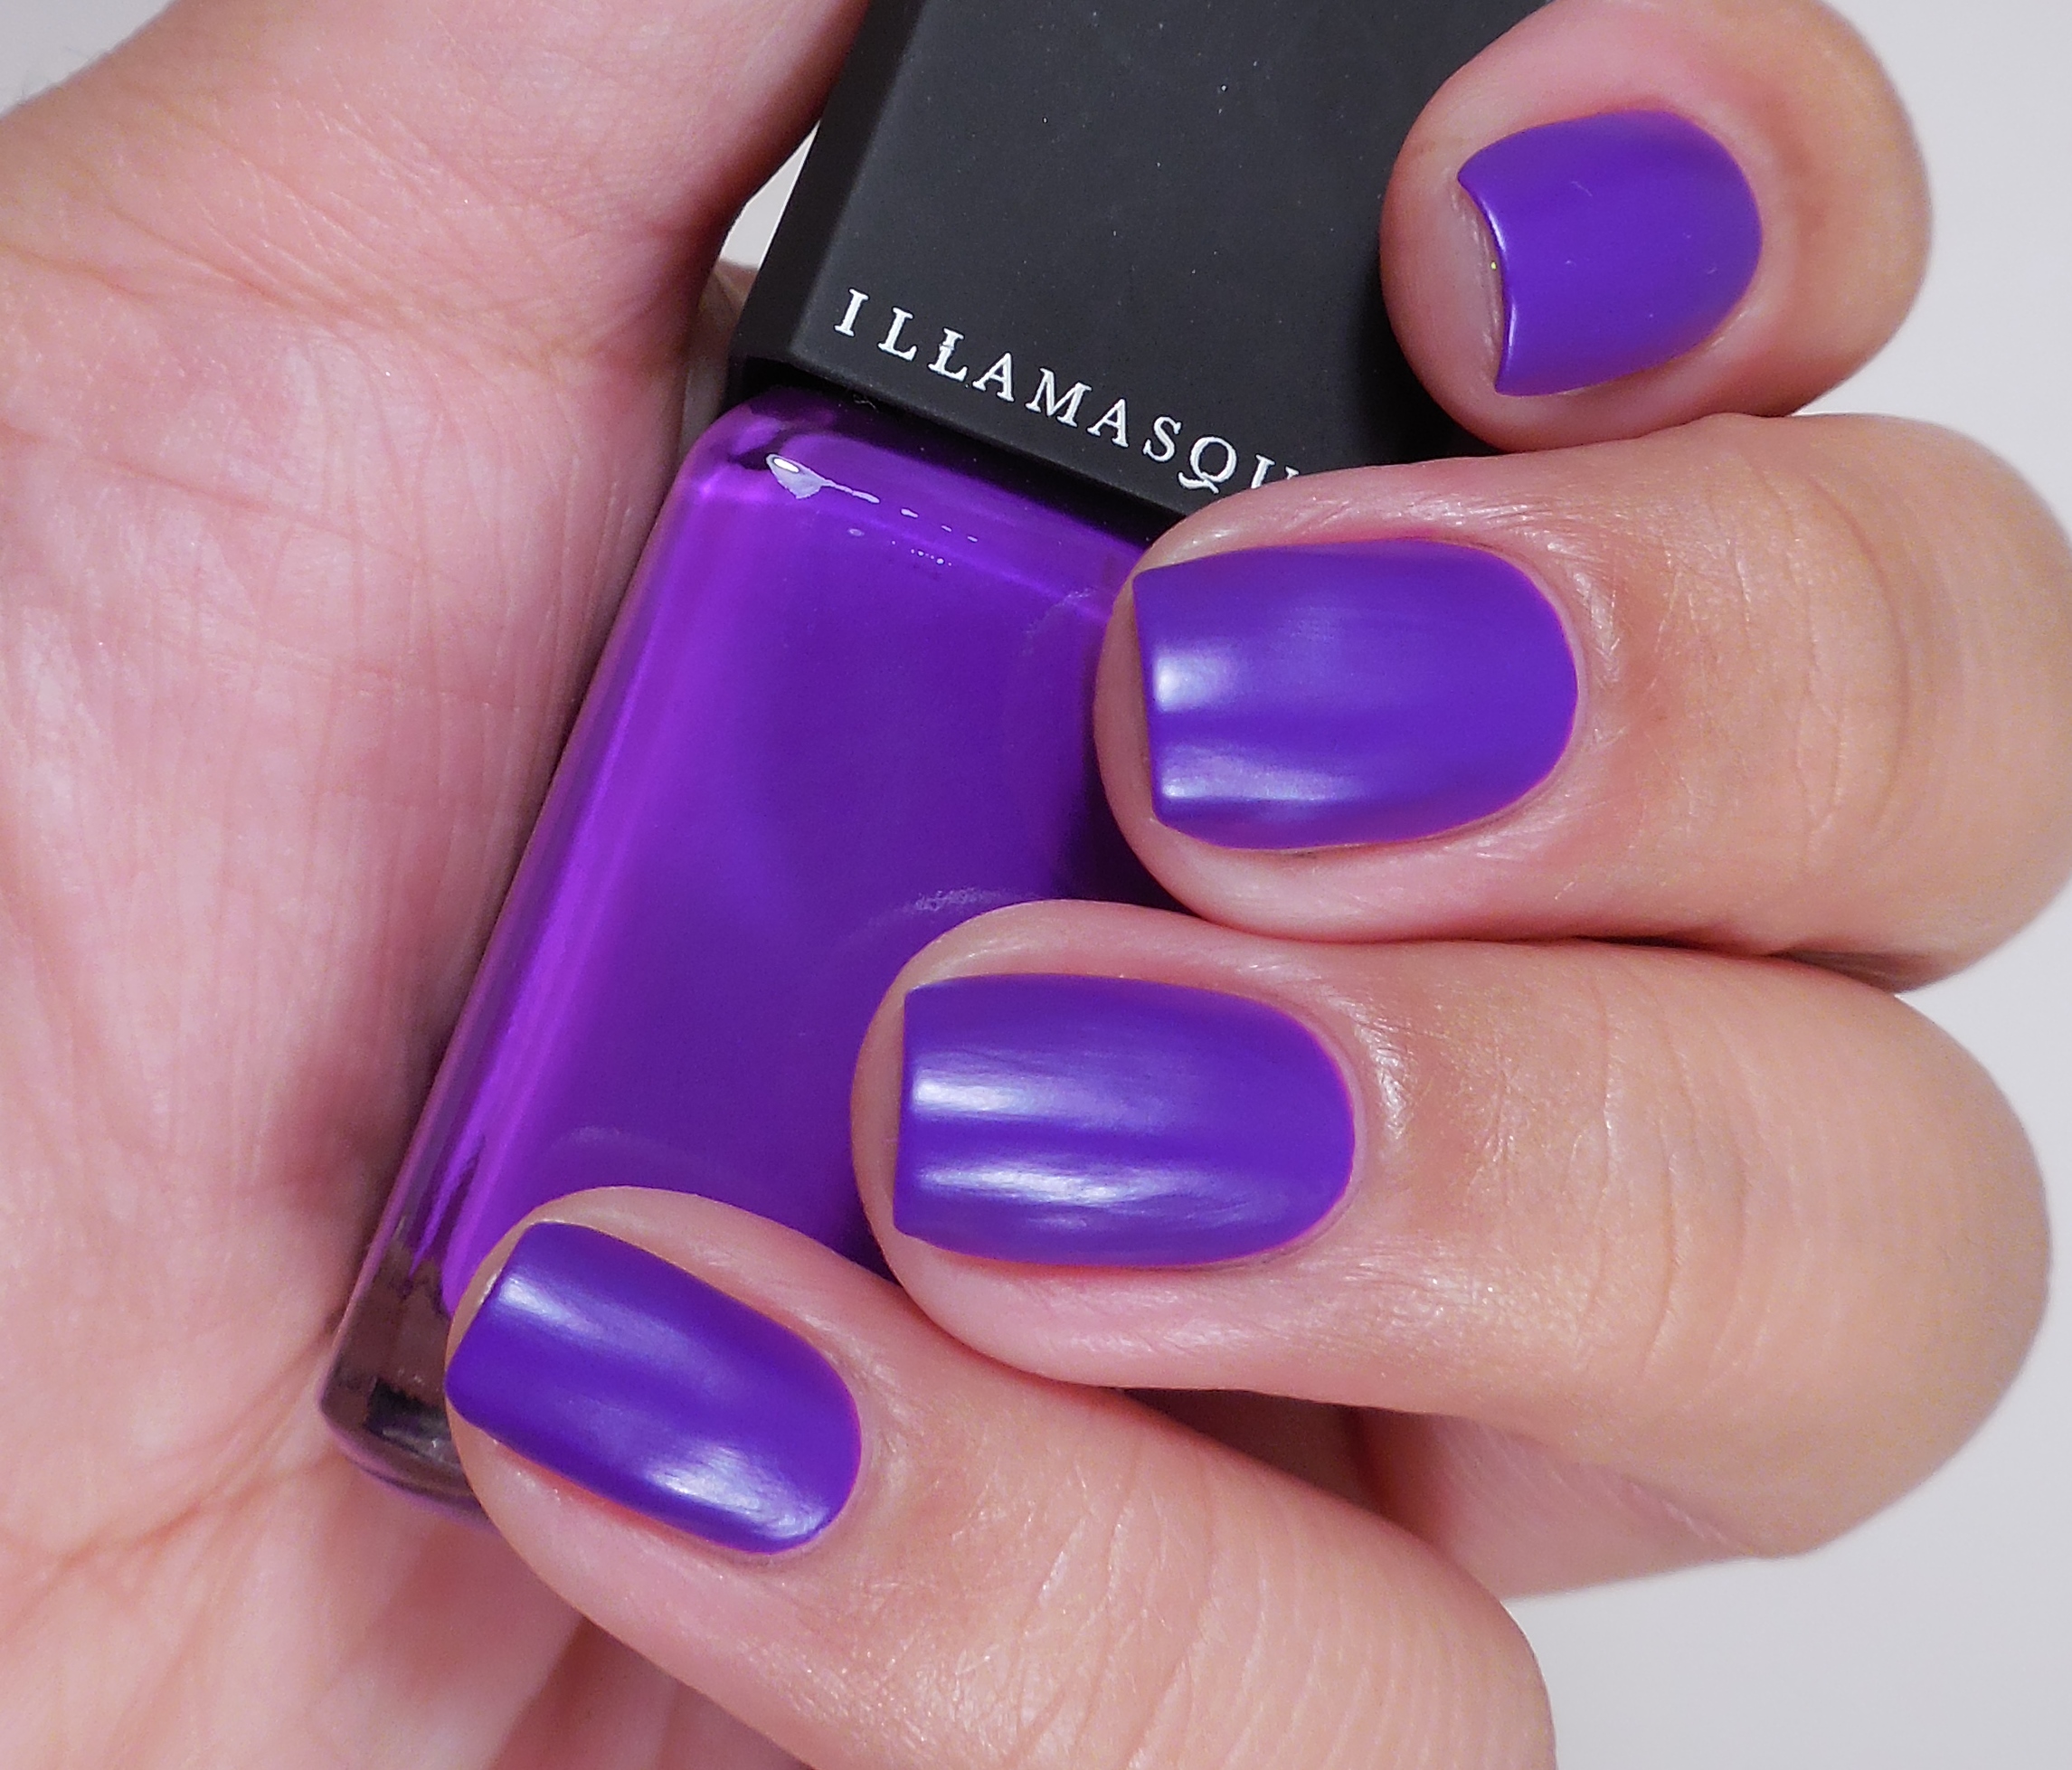
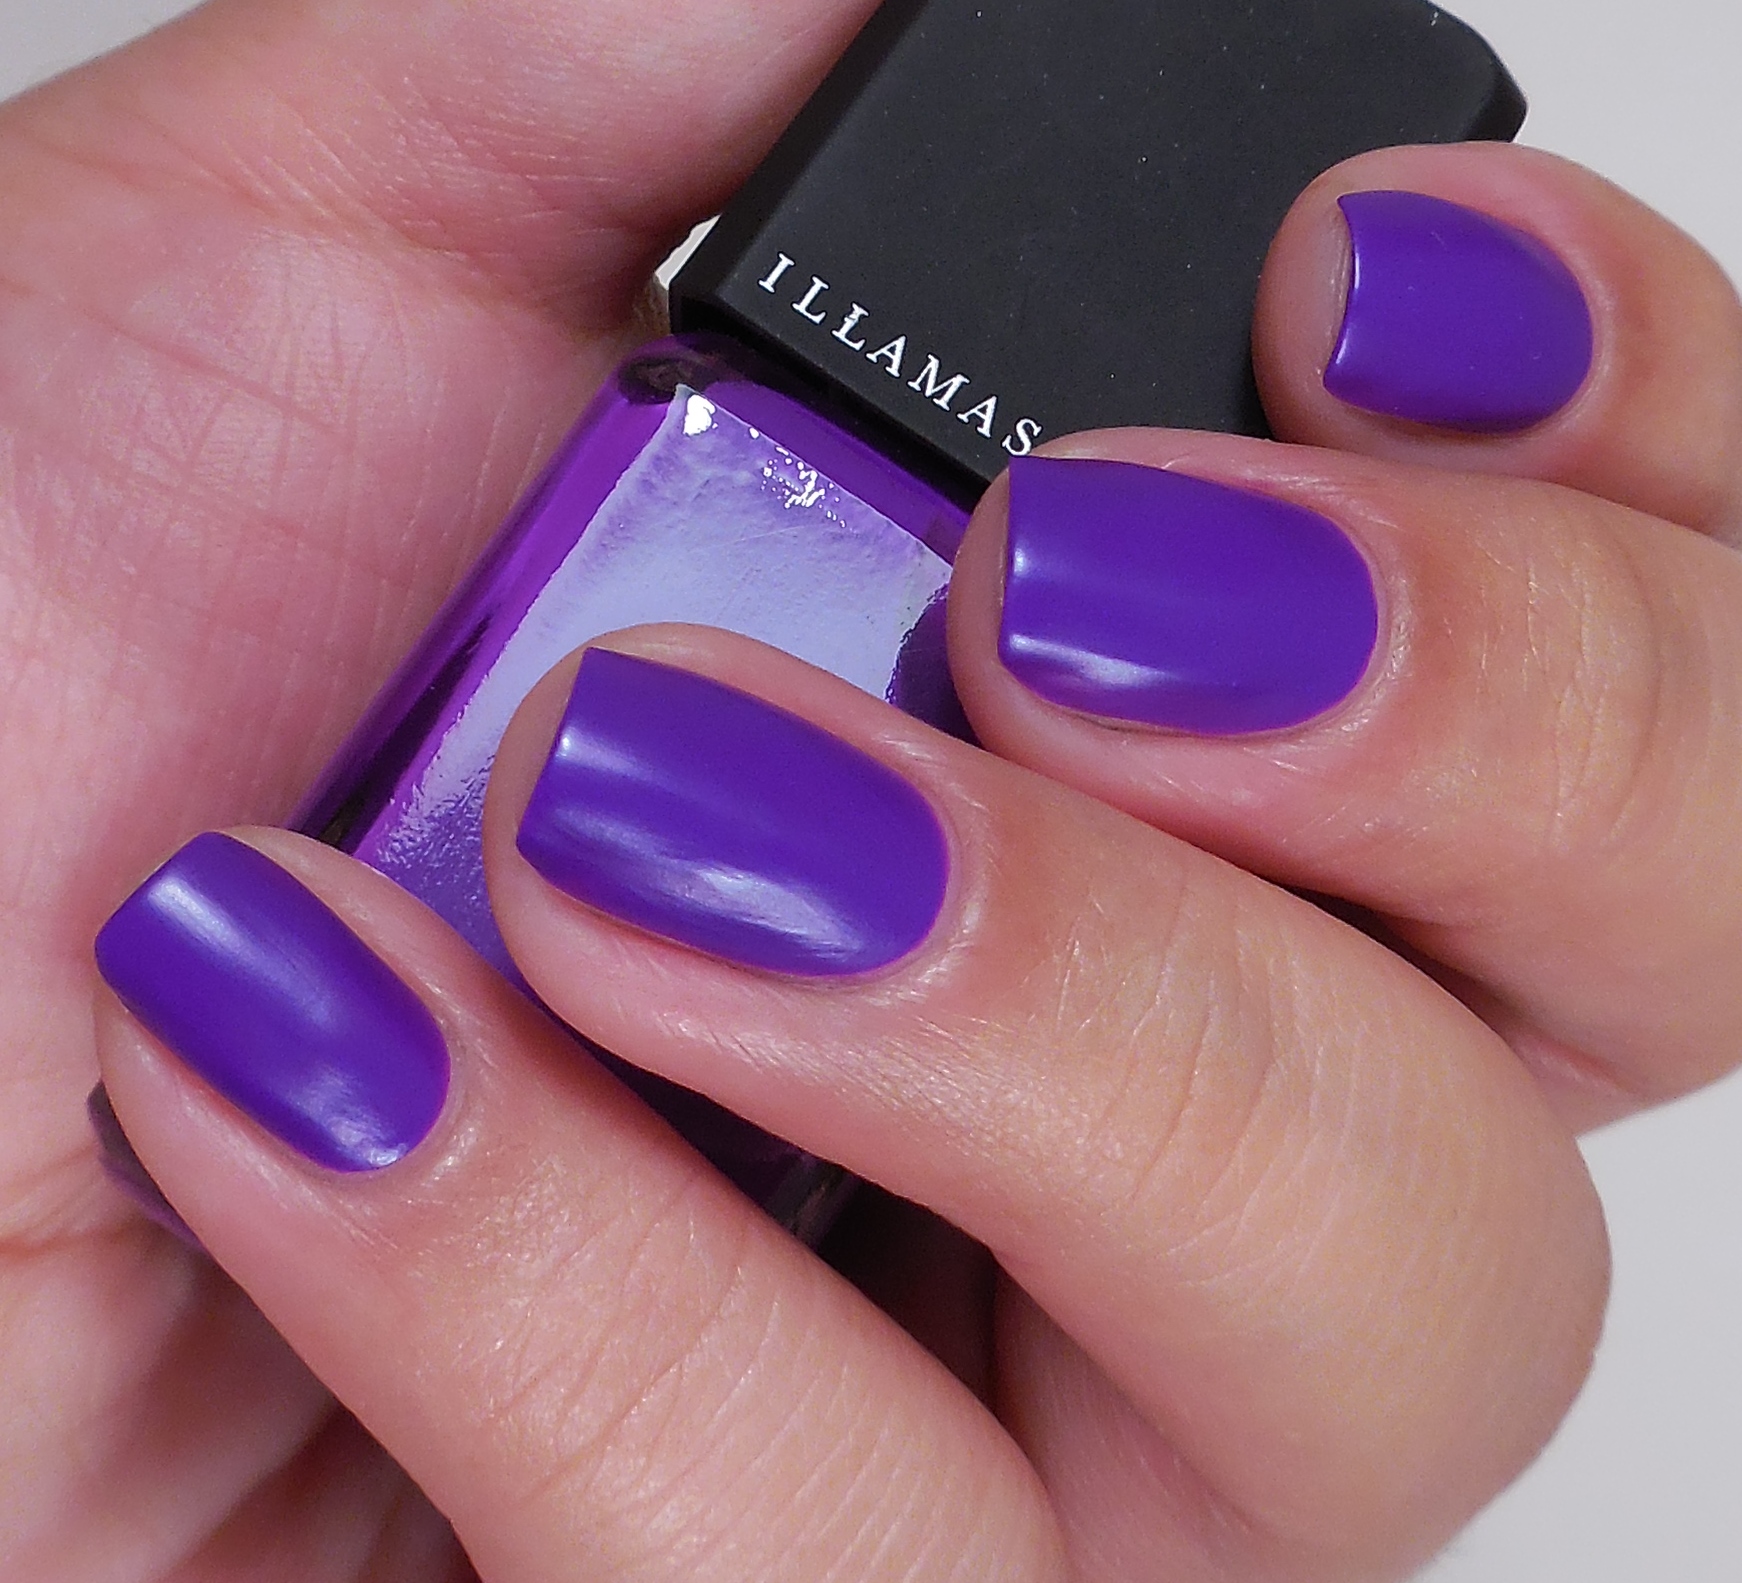
123This gorgeous polish is Illamasqua Prosperity and has a unique rubber finish. It’s not quite satin not matte…it really is rubber-like! I absolutely adore Illamasqua, but ever since Sephora stopped carrying the brand, there really is nowhere to get it locally and I refuse to pay for shipping. I’m cheap like that. When Amy told me that Illamasqua was back on Hautelook, I freaked the efff out and headed over there to see what they had. Six polishes later and 10 minutes of cursing Amy for tempting me this way, I got my hands on a few polishes that I had been kicking myself for missing. Ok, I didn’t really curse Amy but dangit she is such an enabler! The only thing I hate about Hautelook is that the shipping takes freaking eons so I should expect to get my polishes by…2017?

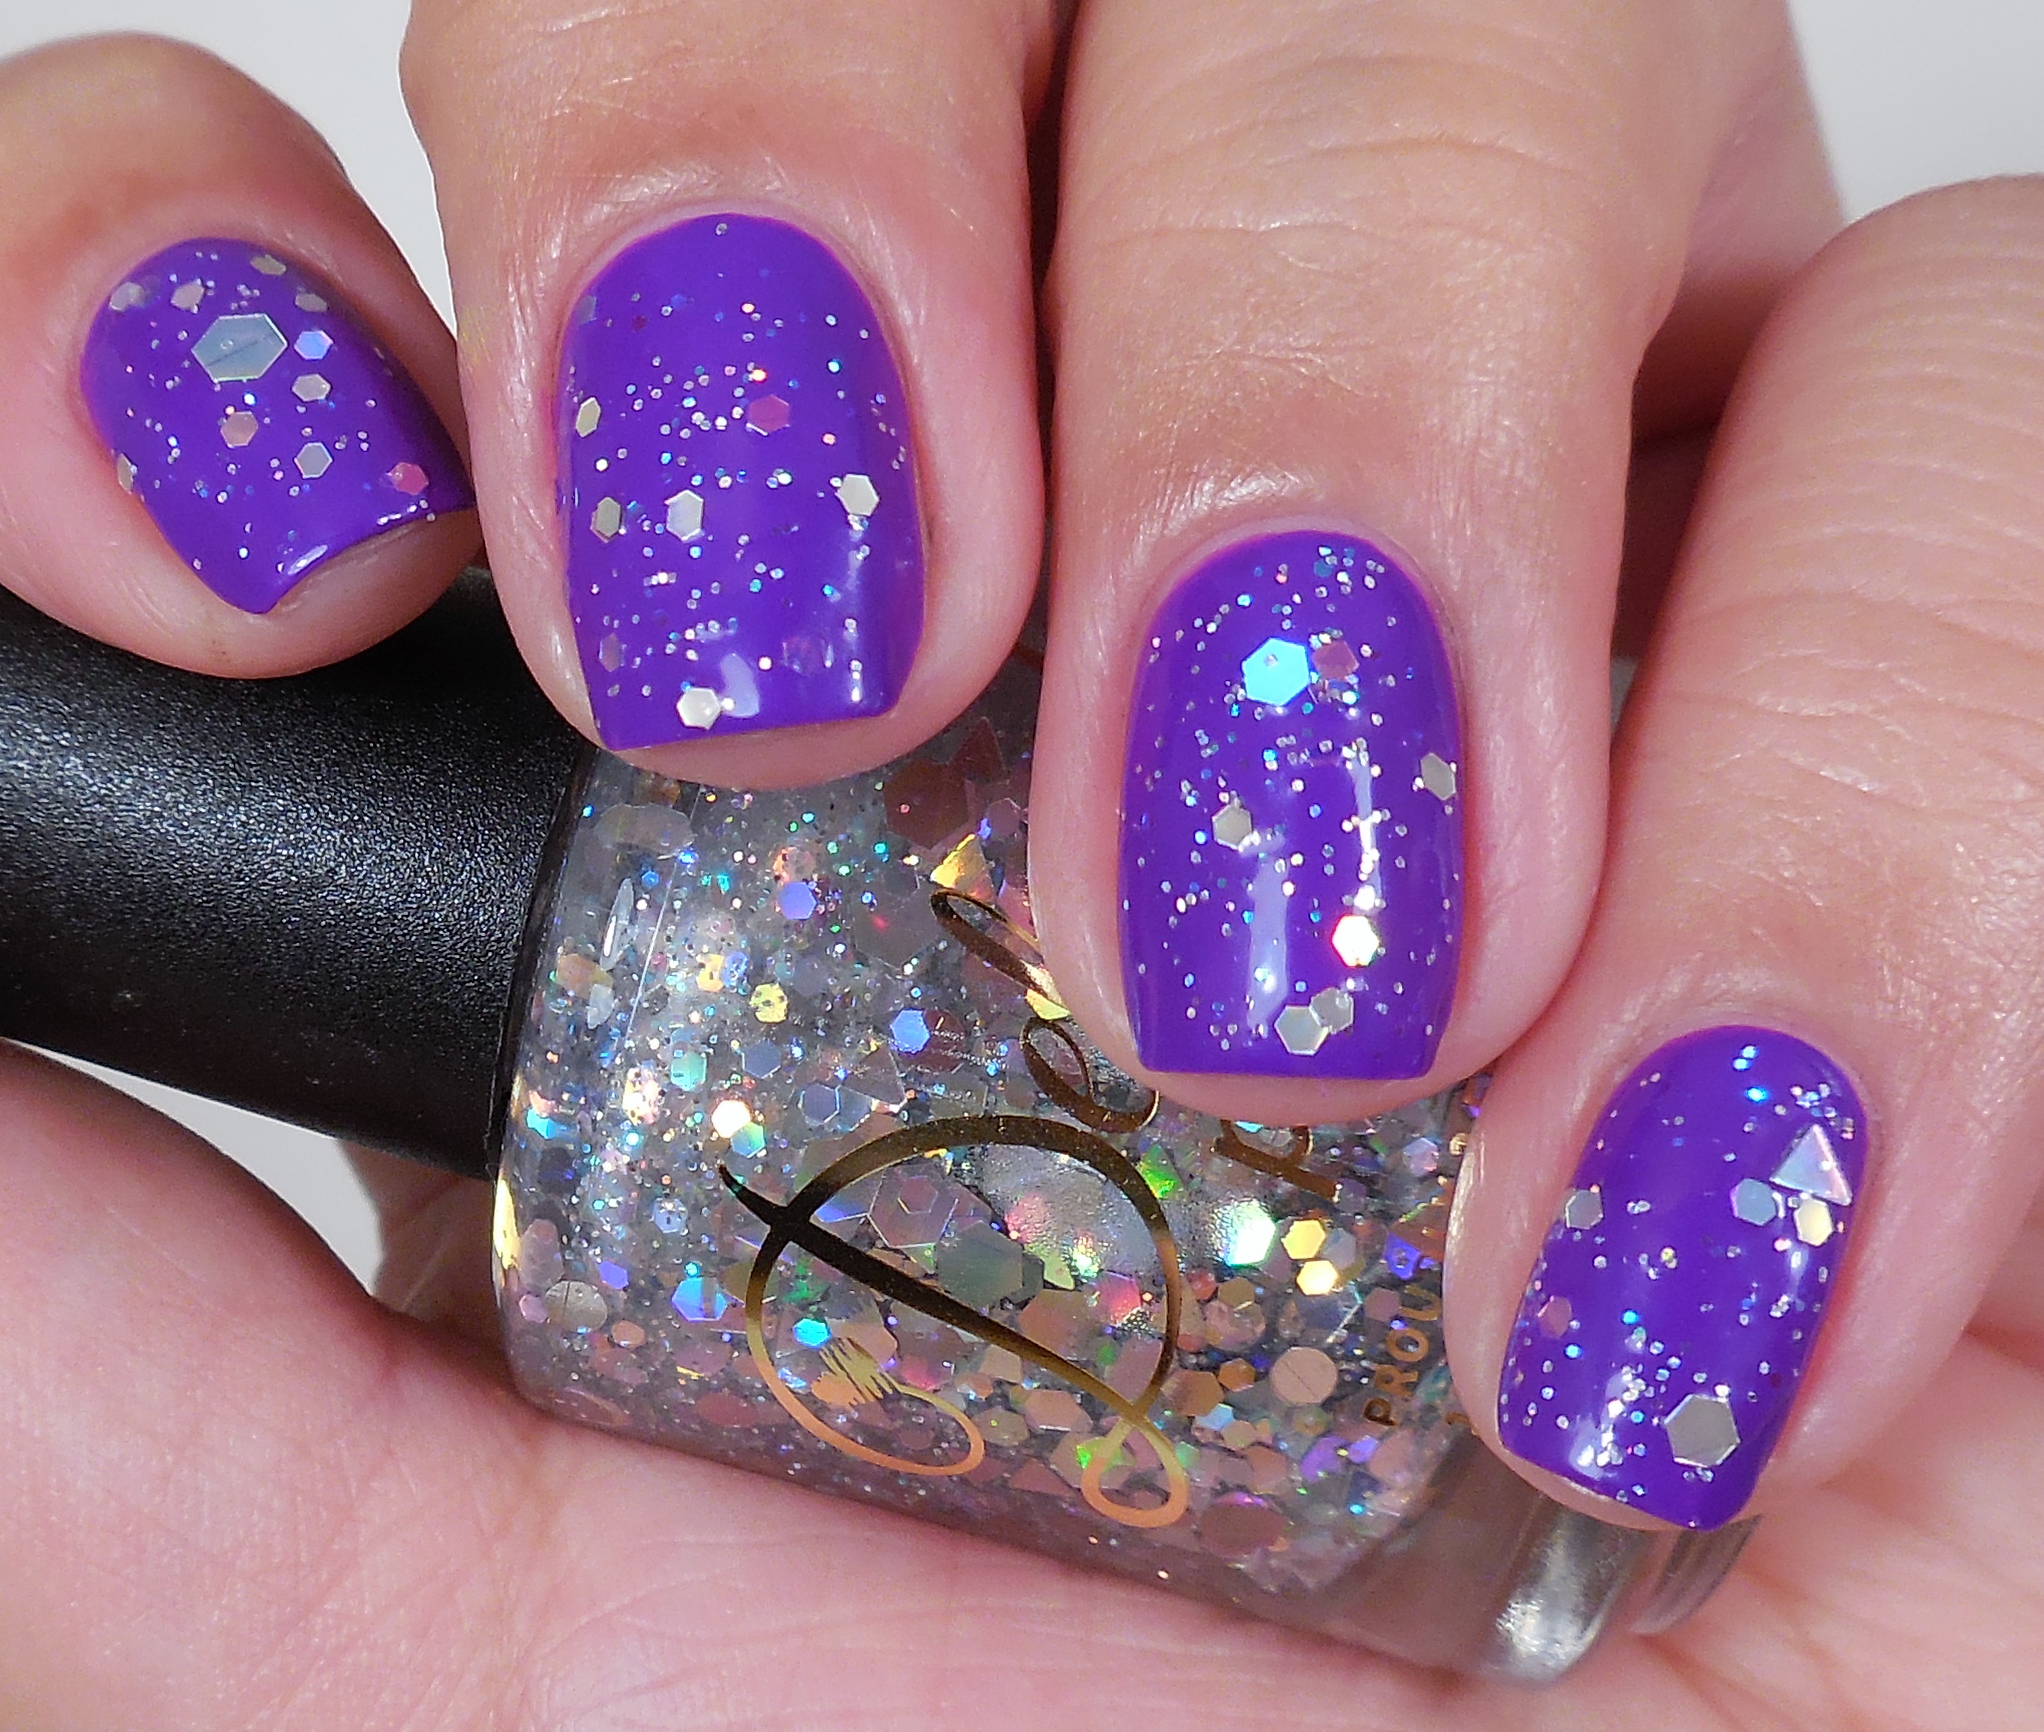
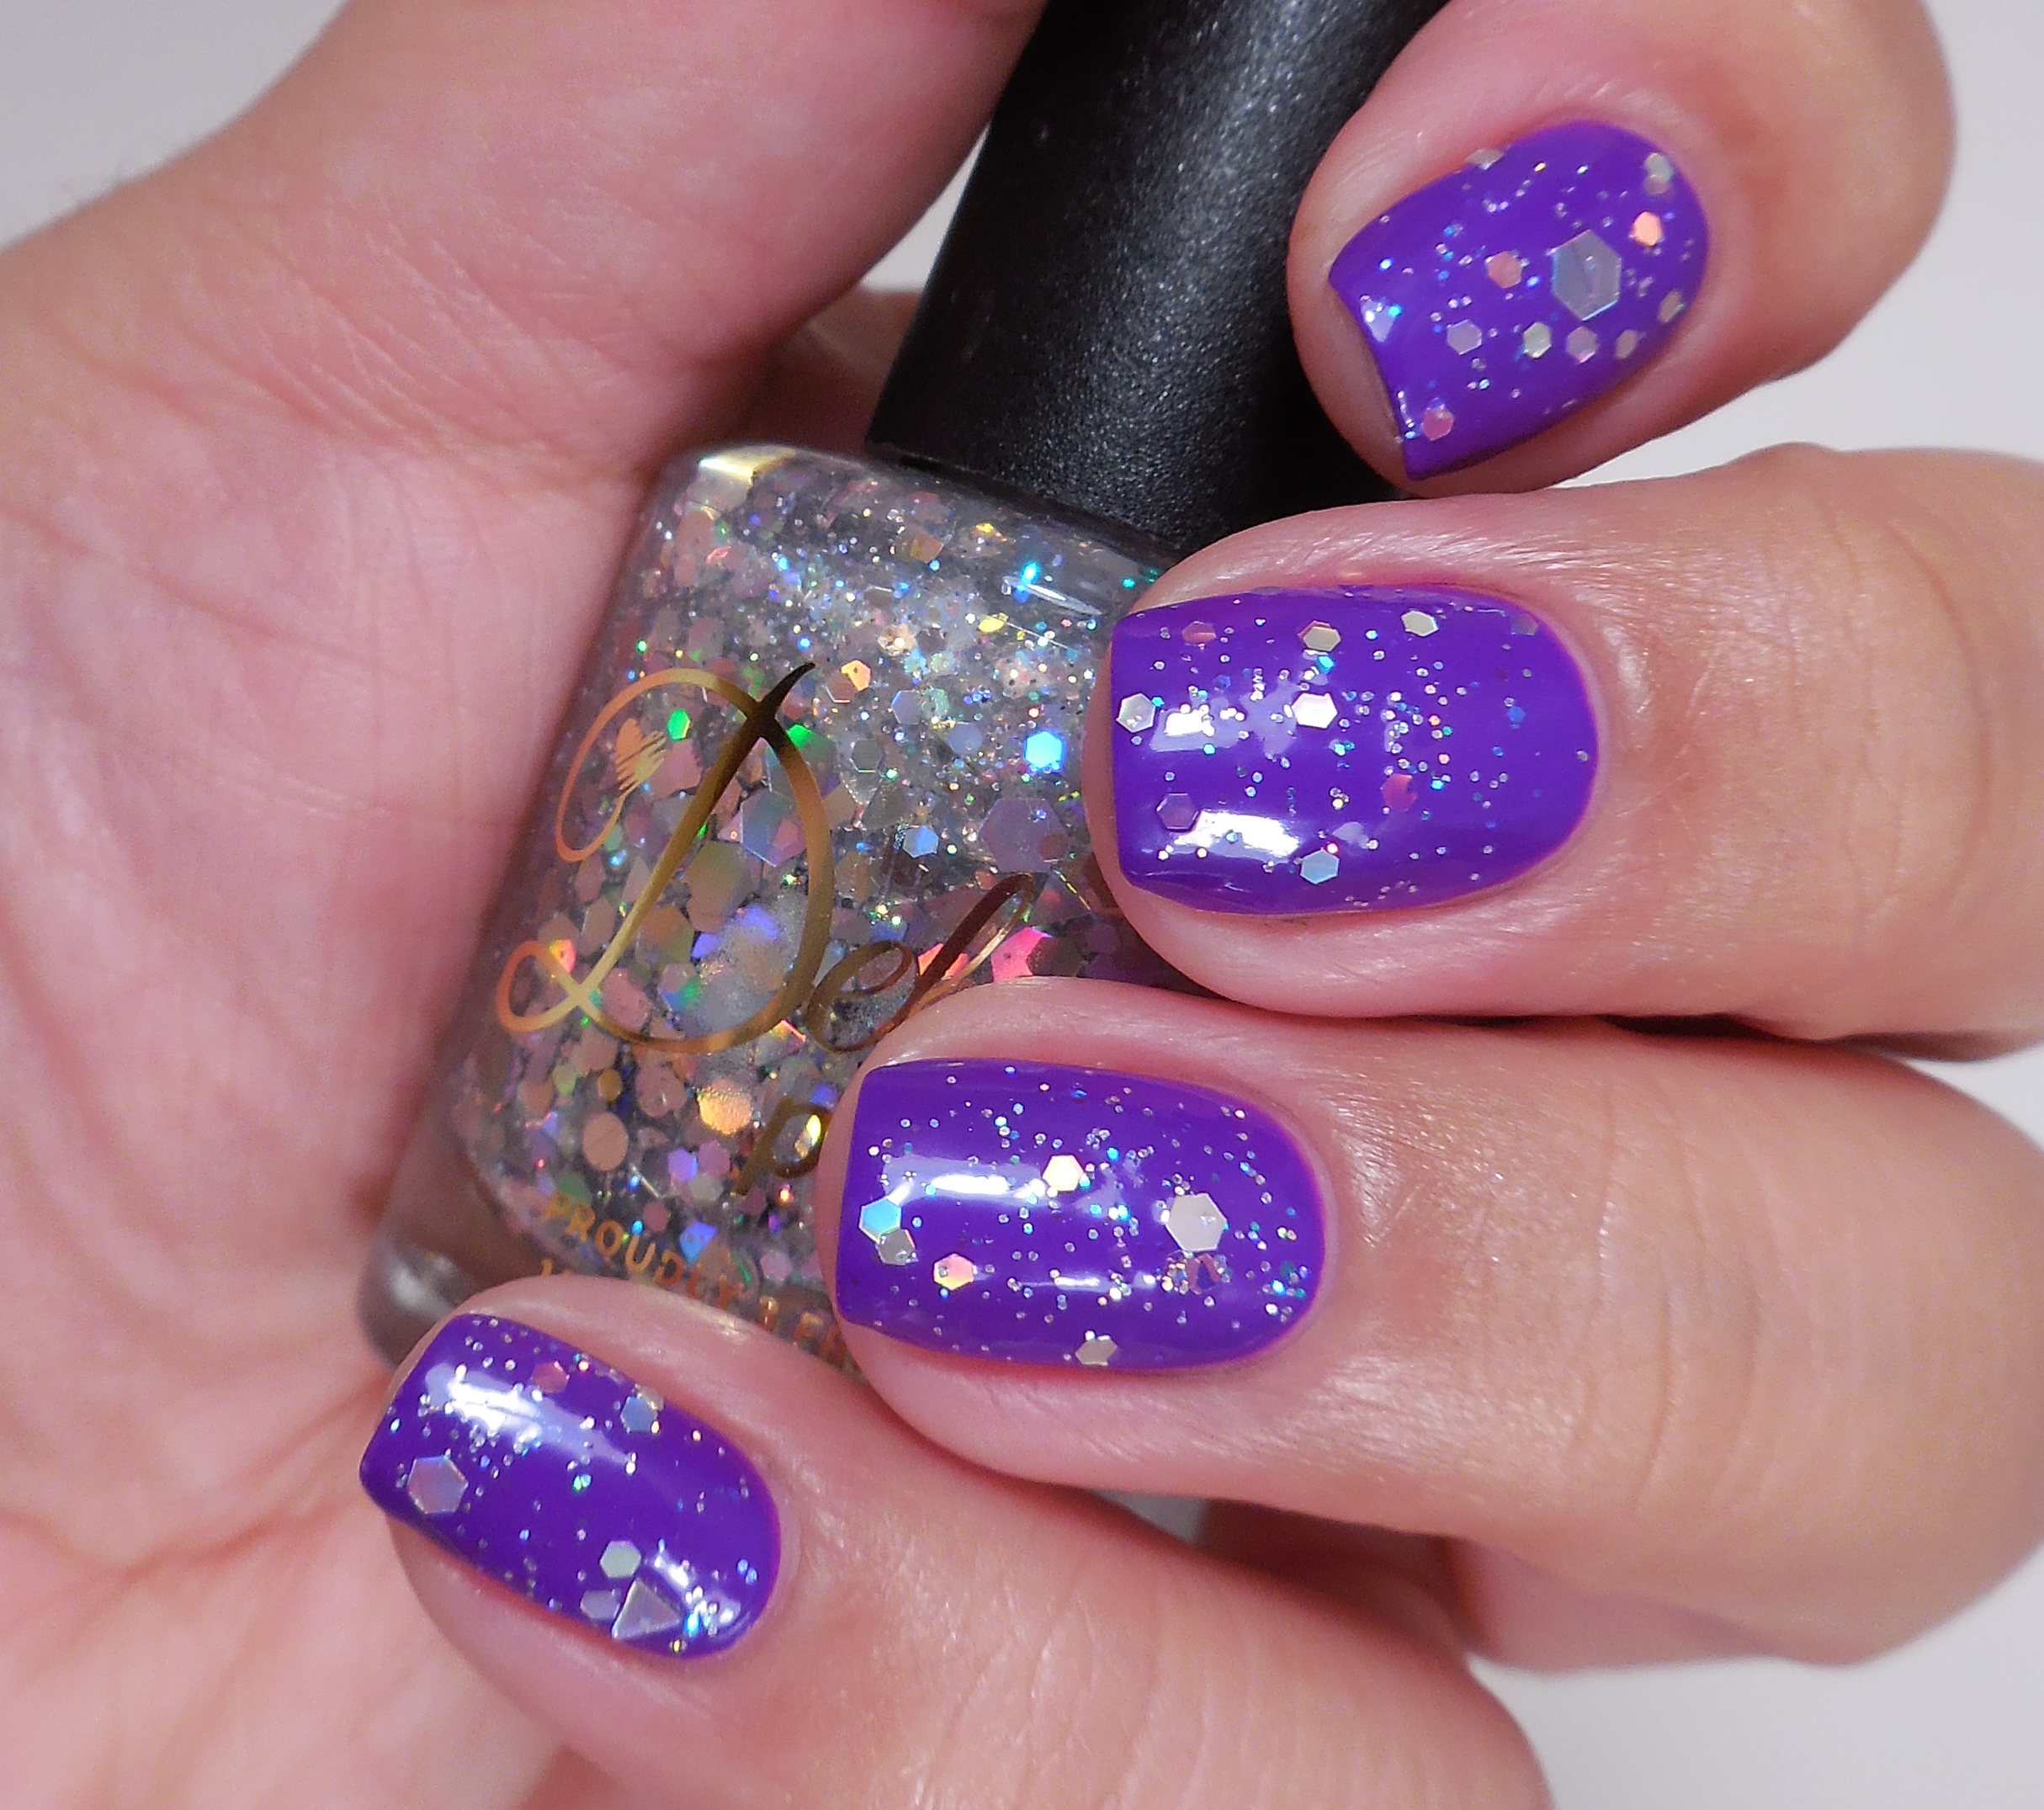
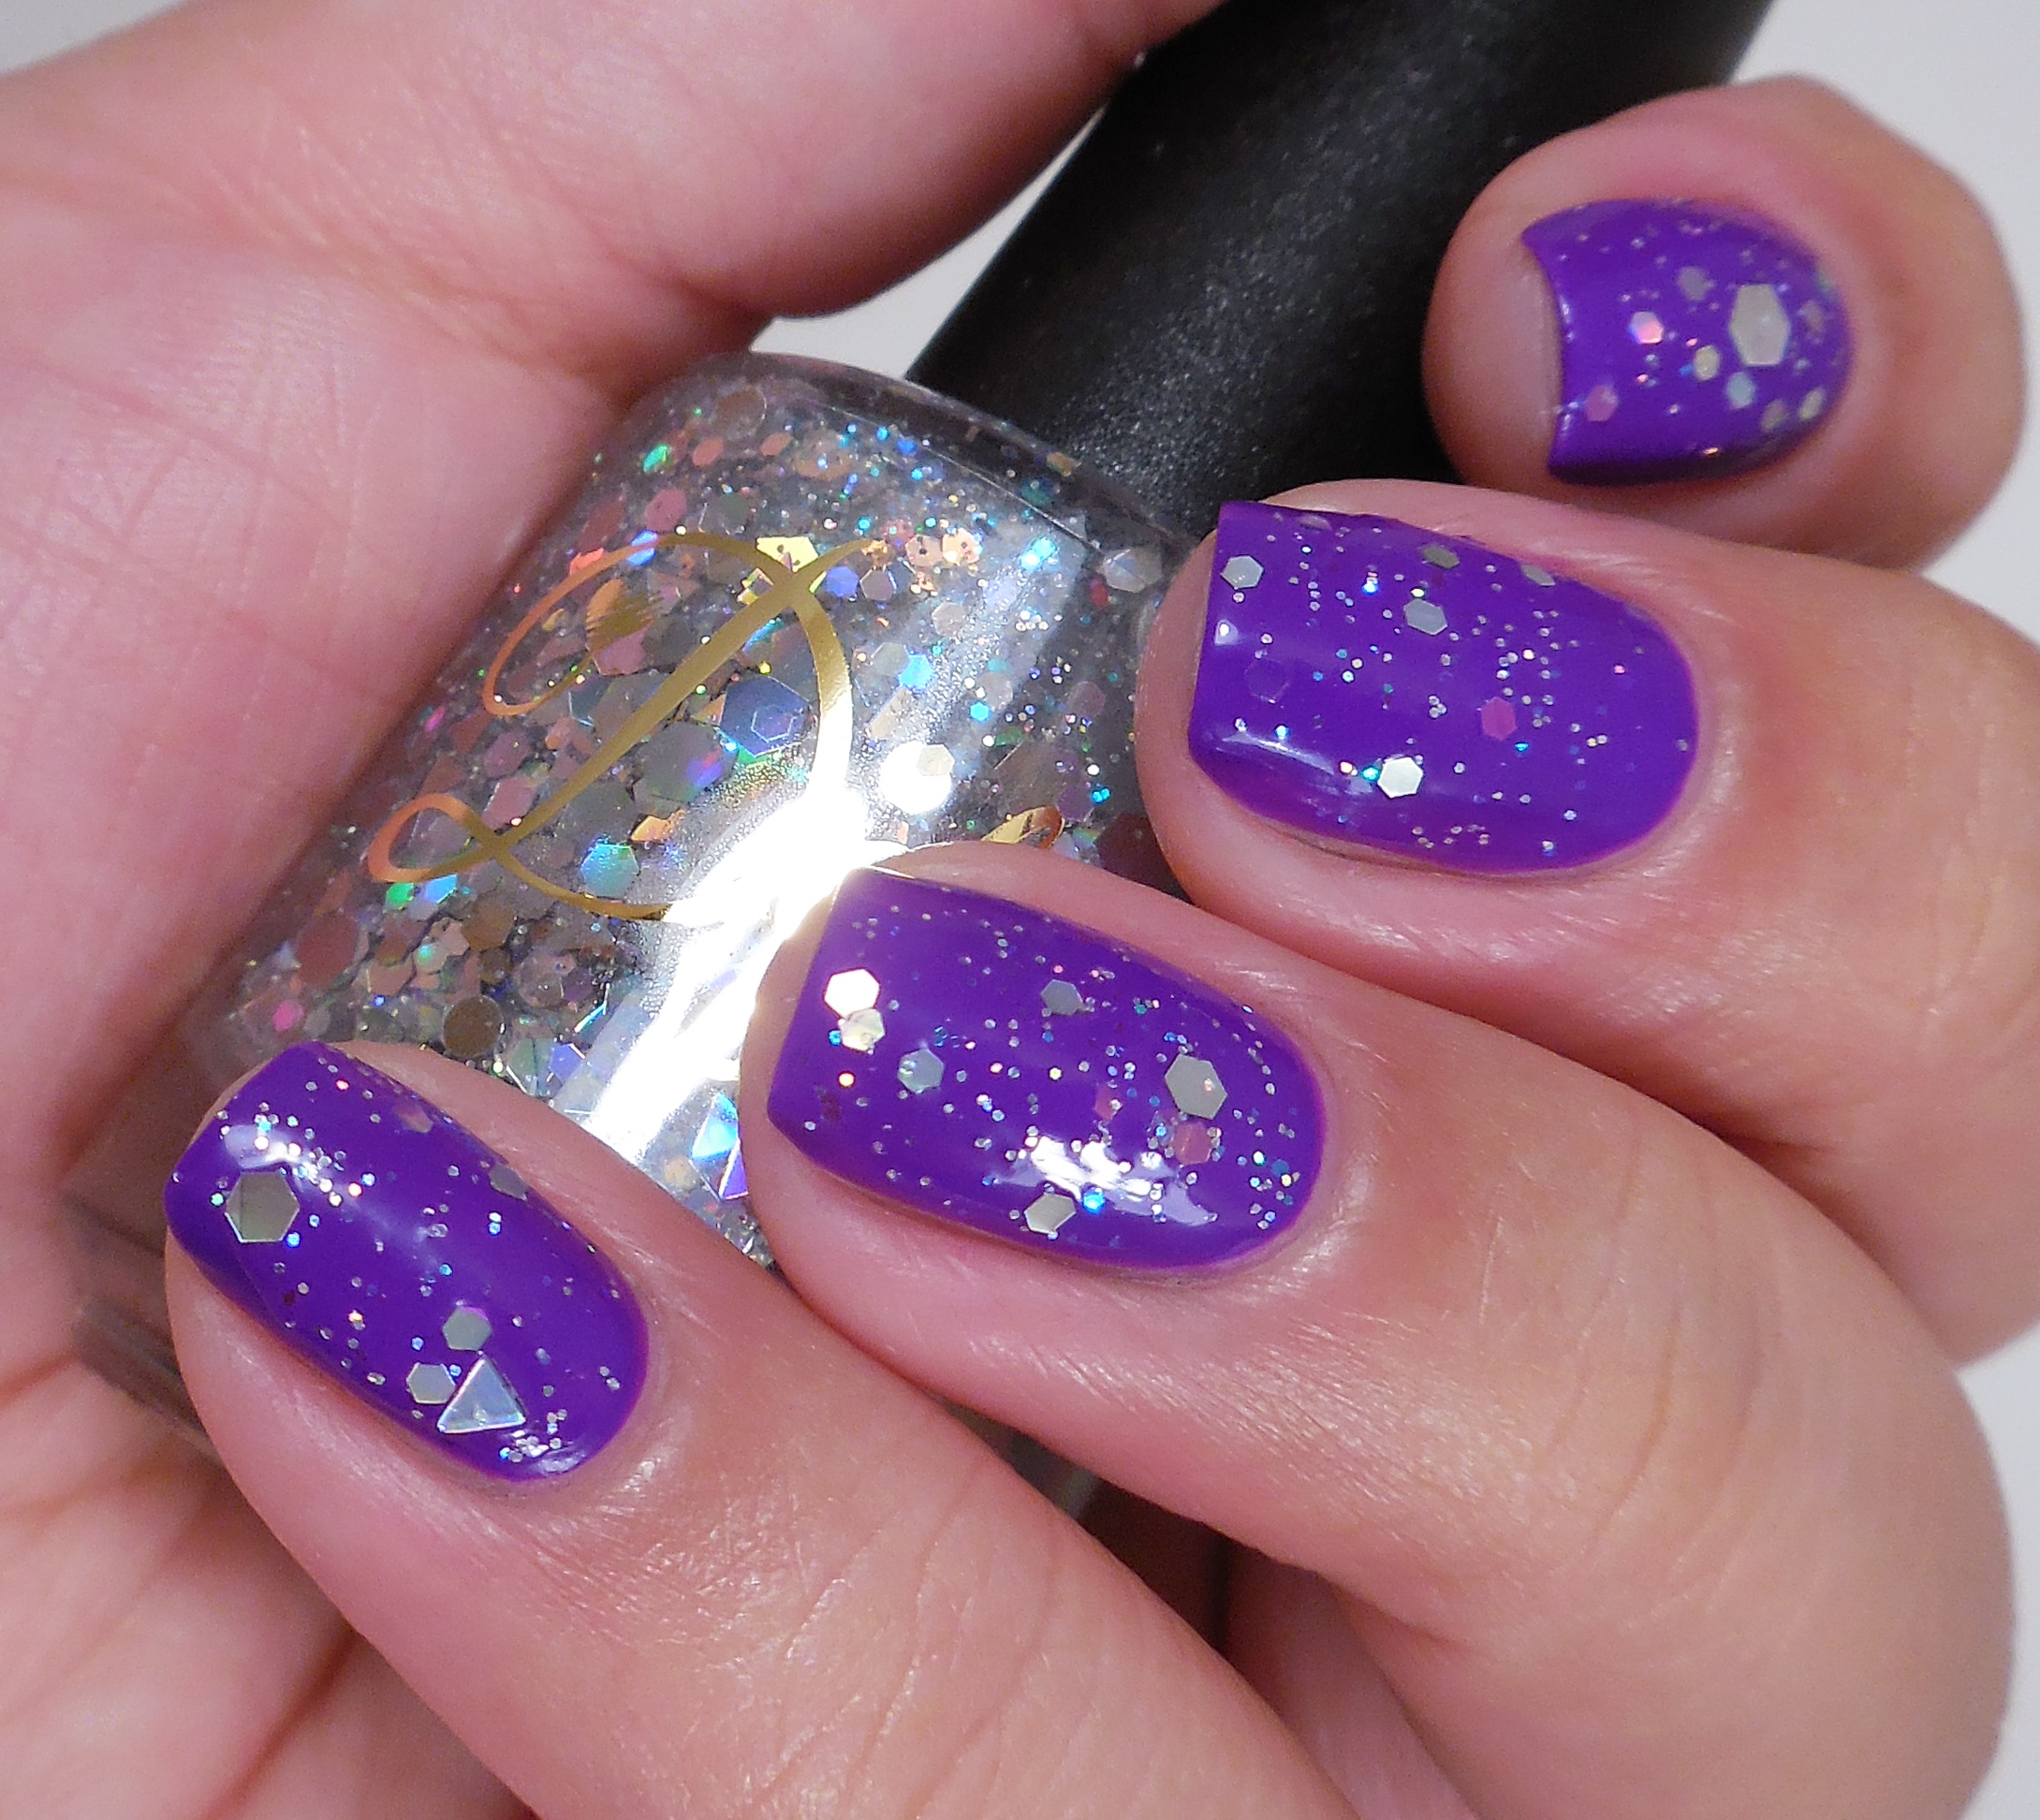
456Since I’m all about the bling, bout the bling, no treble…oh wait, no. I had to make everything sparkly so I applied a coat of Delush Polish Nue Girl (press sample) just cause I love it and cause I love sparkles. You guys…I am dying about the upcoming spring collection that Delush has for us. Like seriously dying over how gorgeous it is. Ok, I’ll stop gushing.

Well, I hope that you like this gorgeous purple as much as me. Do you have any purple polish recommendations for me? I’m always excited to find new purples so let me know below! Thanks so much for stopping by today, and I will talk to you soon.

 Loading InLinkz ...
Zoya Delight Collection Spring 2015

Zoya Delight Collection Spring 2015

PressSample


I meant to have this post up on Monday, but it just didn’t happen. My parents are visiting so everything went to hell. On Friday I had the worst stomach bug ever, and I’m still wondering if it was stress or something else. Fortunately it was gone by Sunday because I would have missed out on my mom’s cooking the first day–oh man my mom is the best cook in the world. So besides my parents being in town and my getting some extra time with the Peanut Brat, everything has been going ok. My nails are still in recovery mode. The damage is growing out rather quickly, but I’m nearing the point where the most severe damage is near the tips of my nails now so I’m expecting a lot of breaks and issues in the next couple of weeks. My nail bed is horribly uneven still so I’m experiencing issues with applying polish evenly since it always looks off because my nails are jacked up. Oh well…I’ll just have to deal with it and take my punishment for being dumbass. This weekend I managed to squeeze in some time to swatch the Zoya Delight Collection and boy was it a…delight? Read on to find out what I thought!

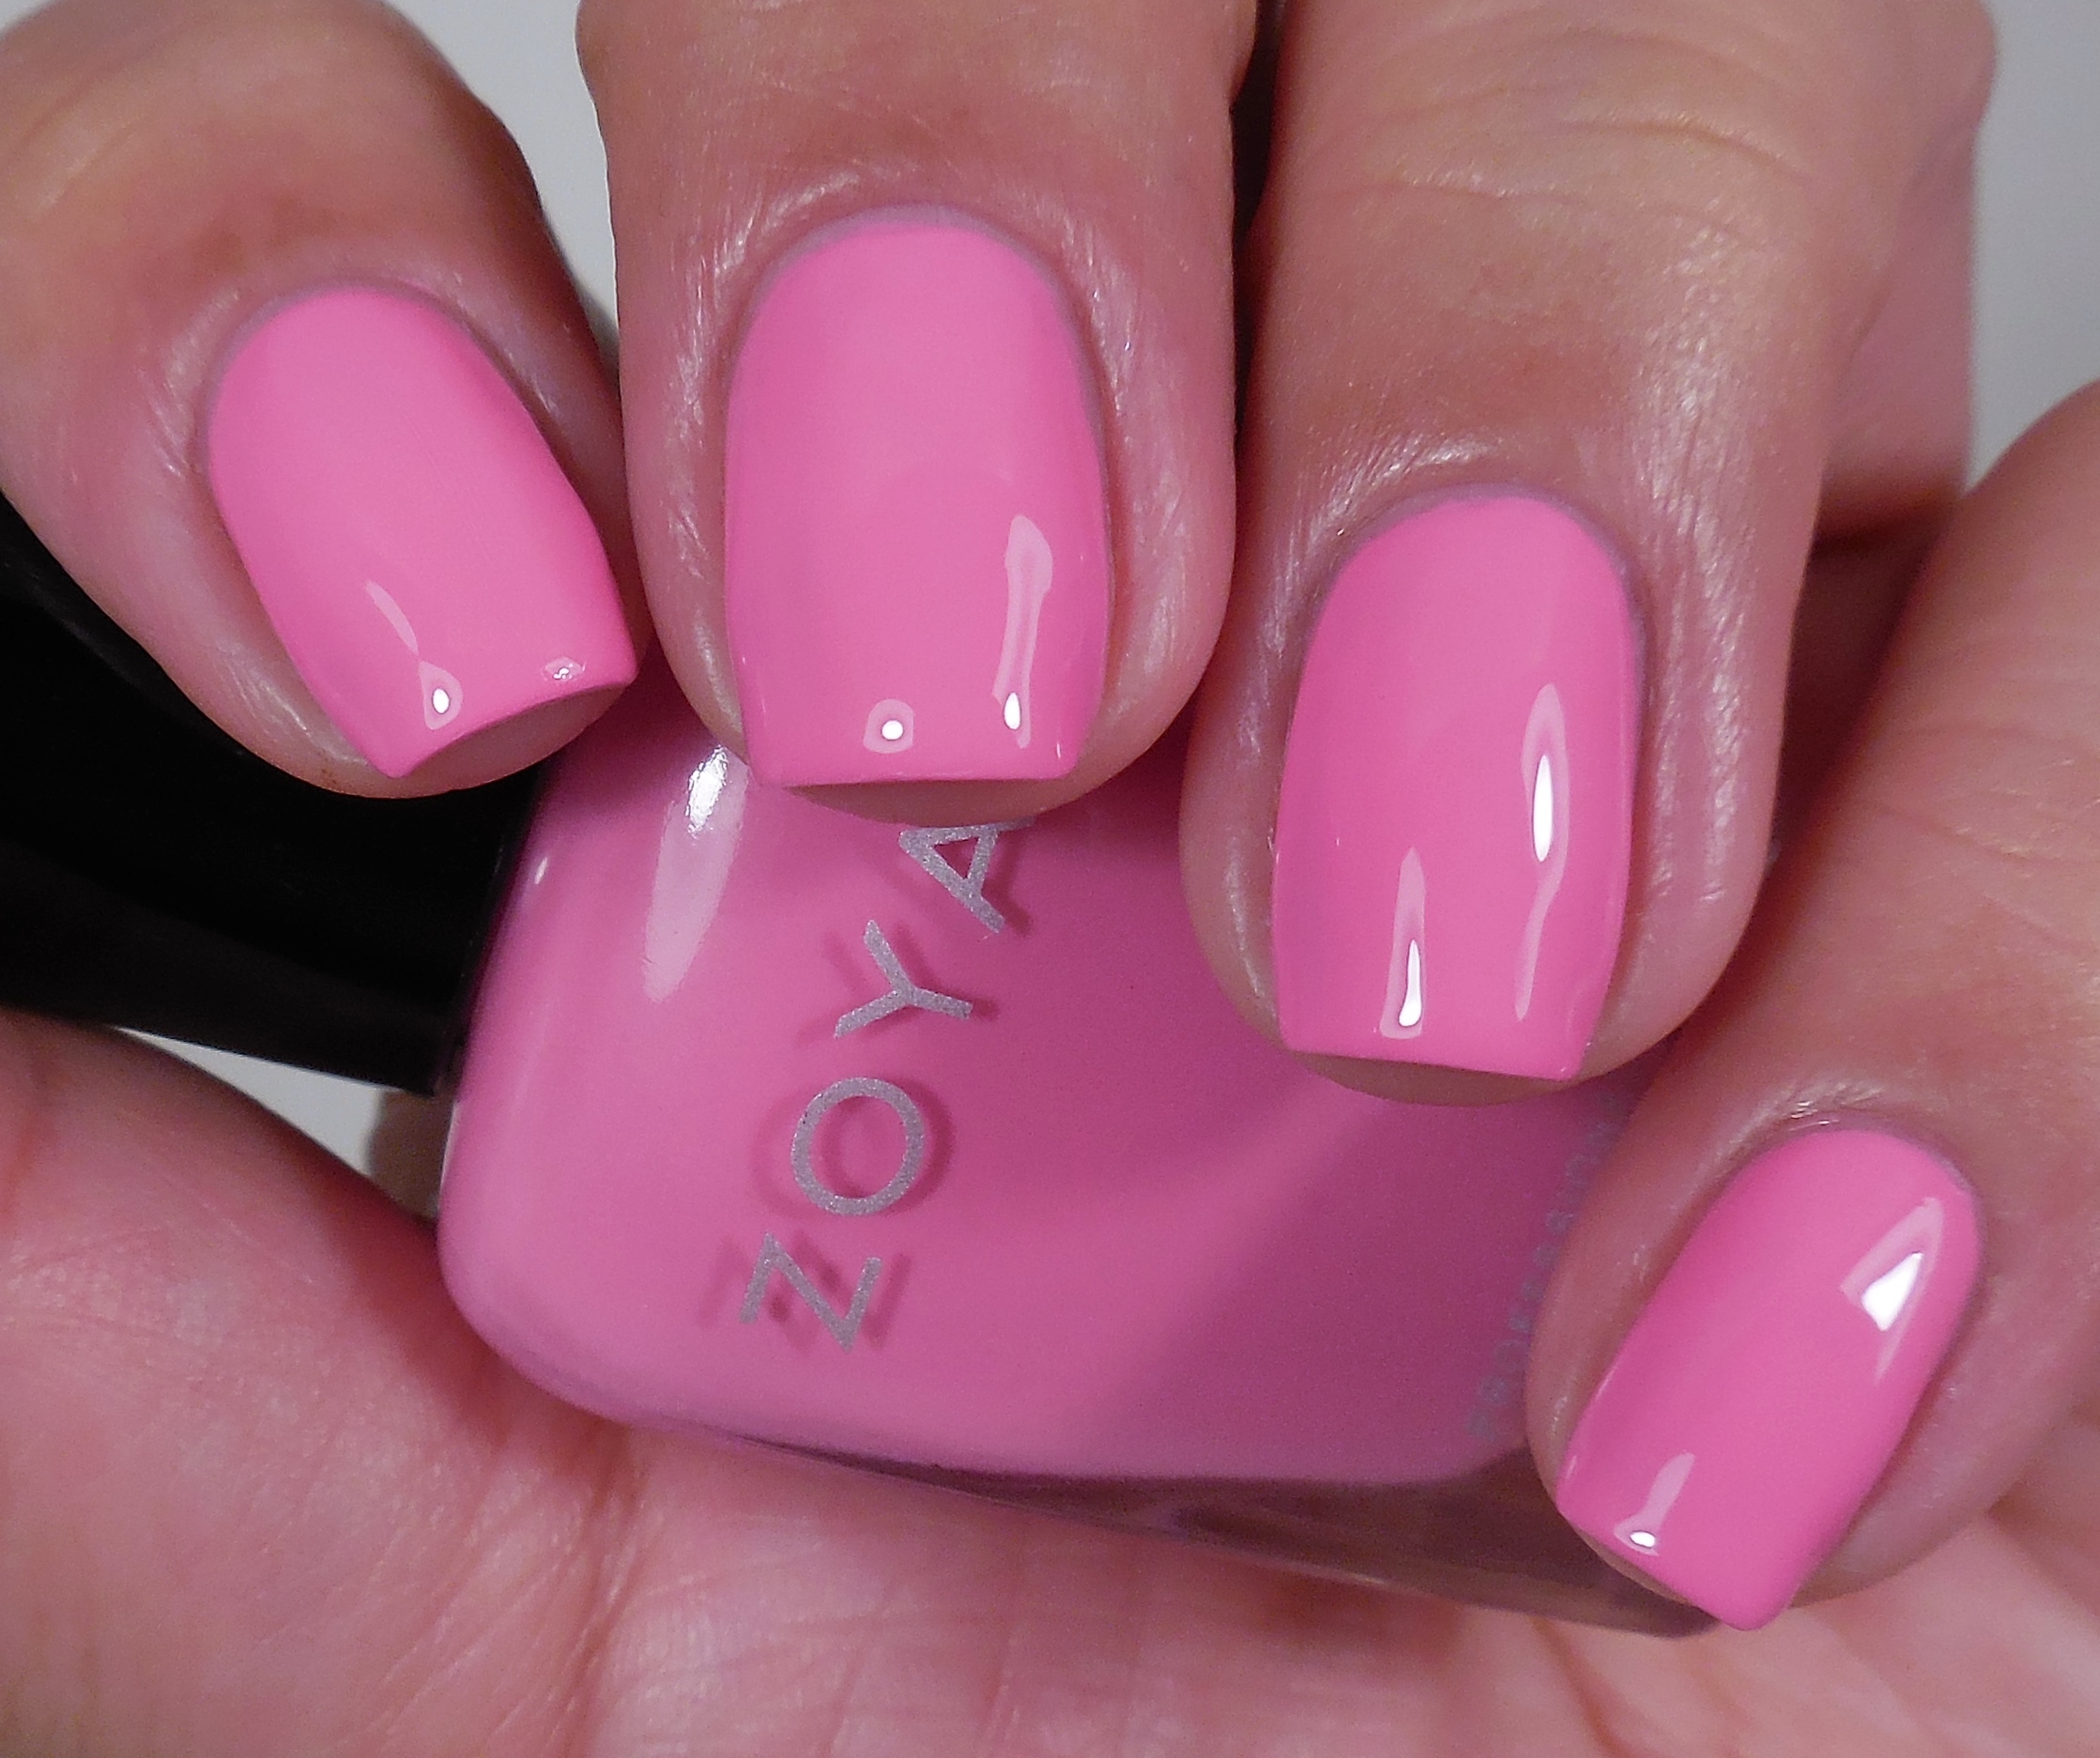
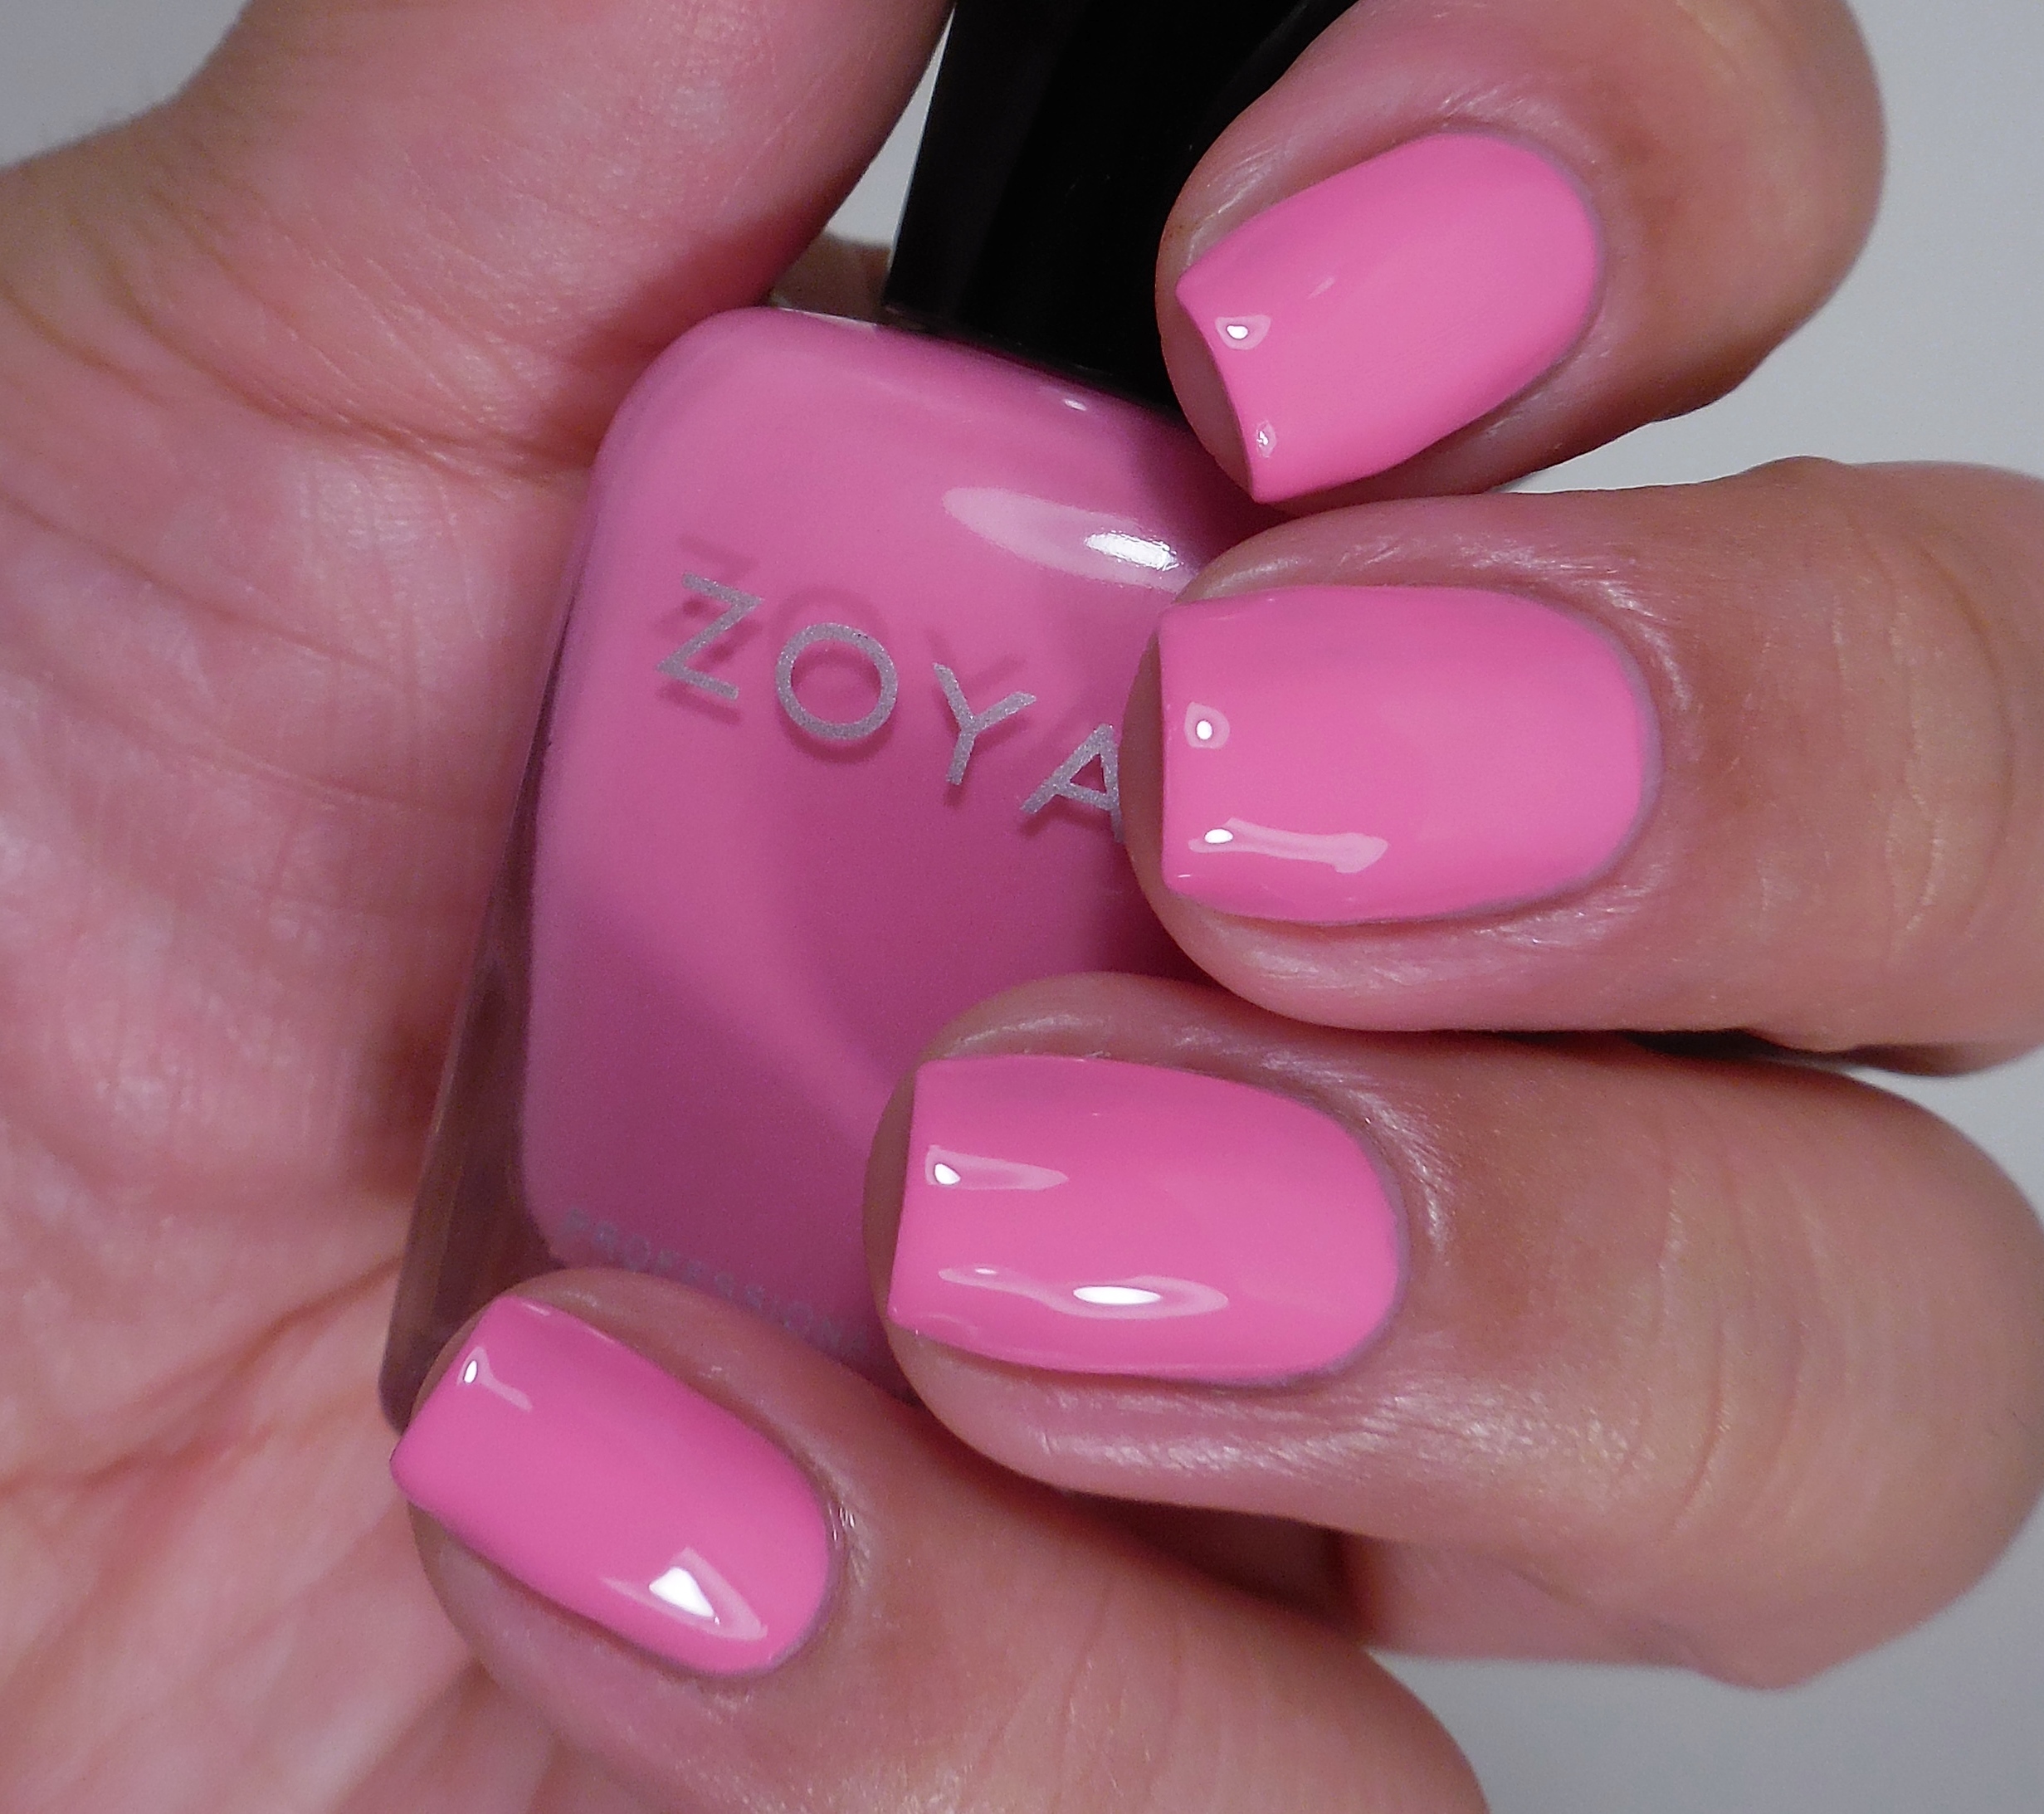
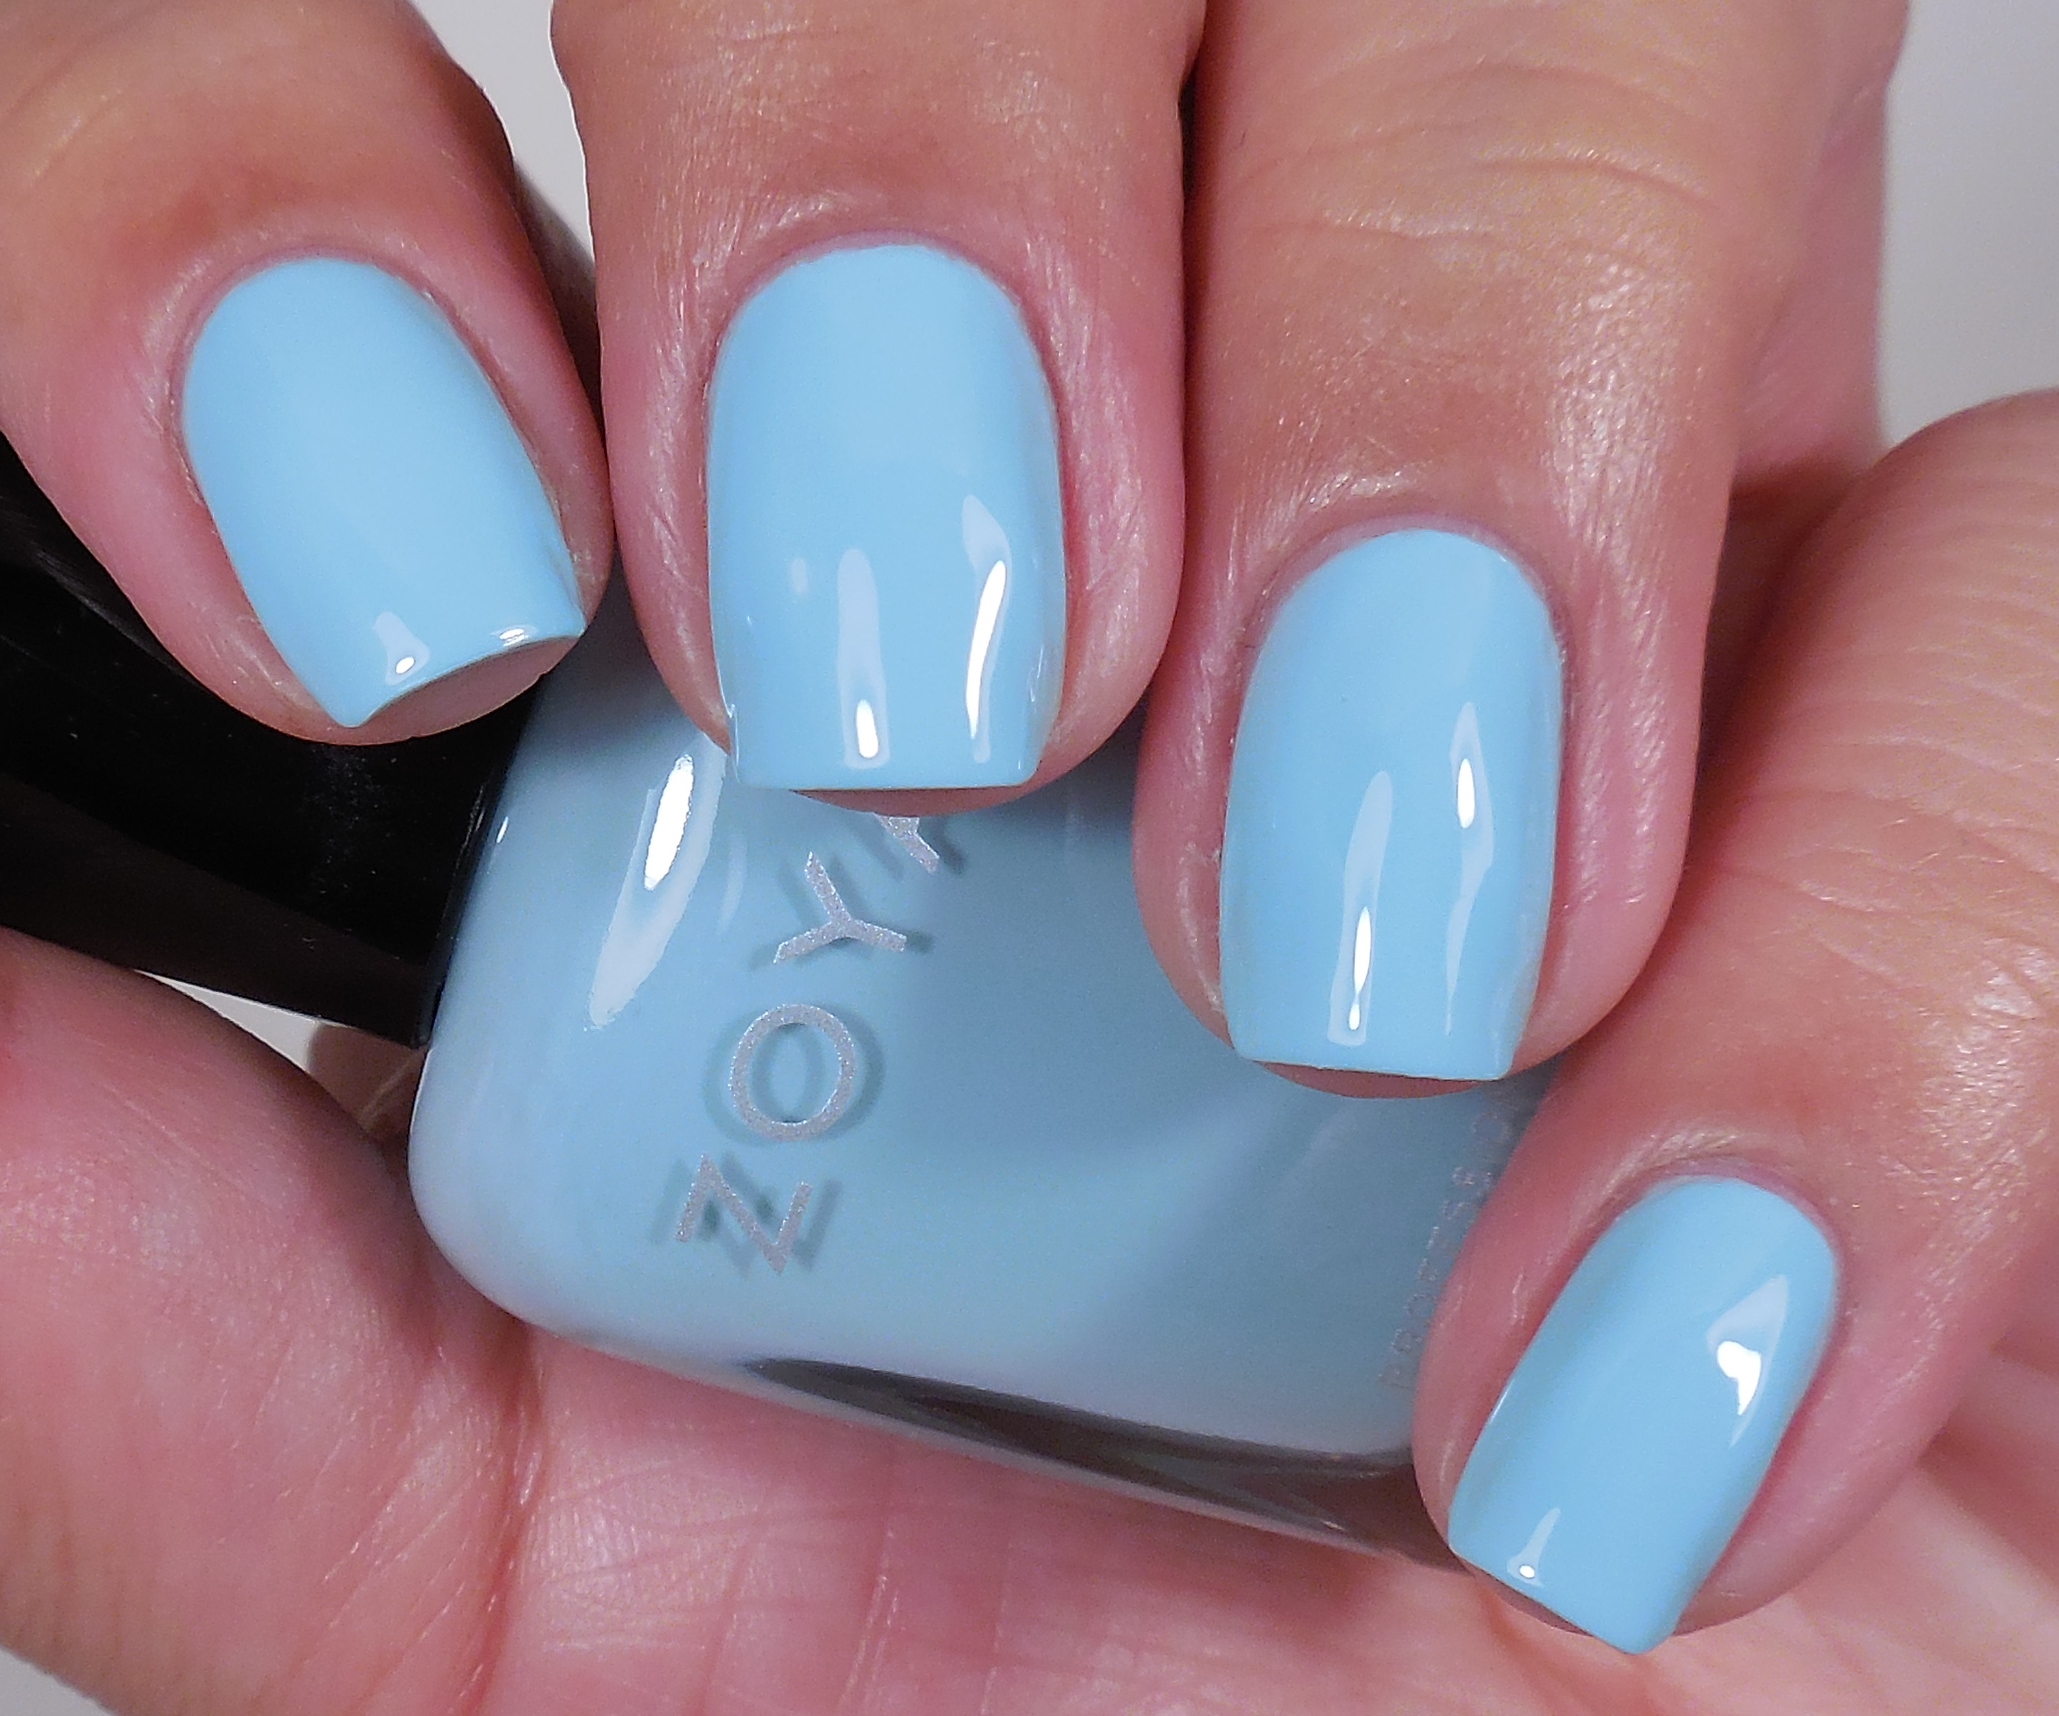
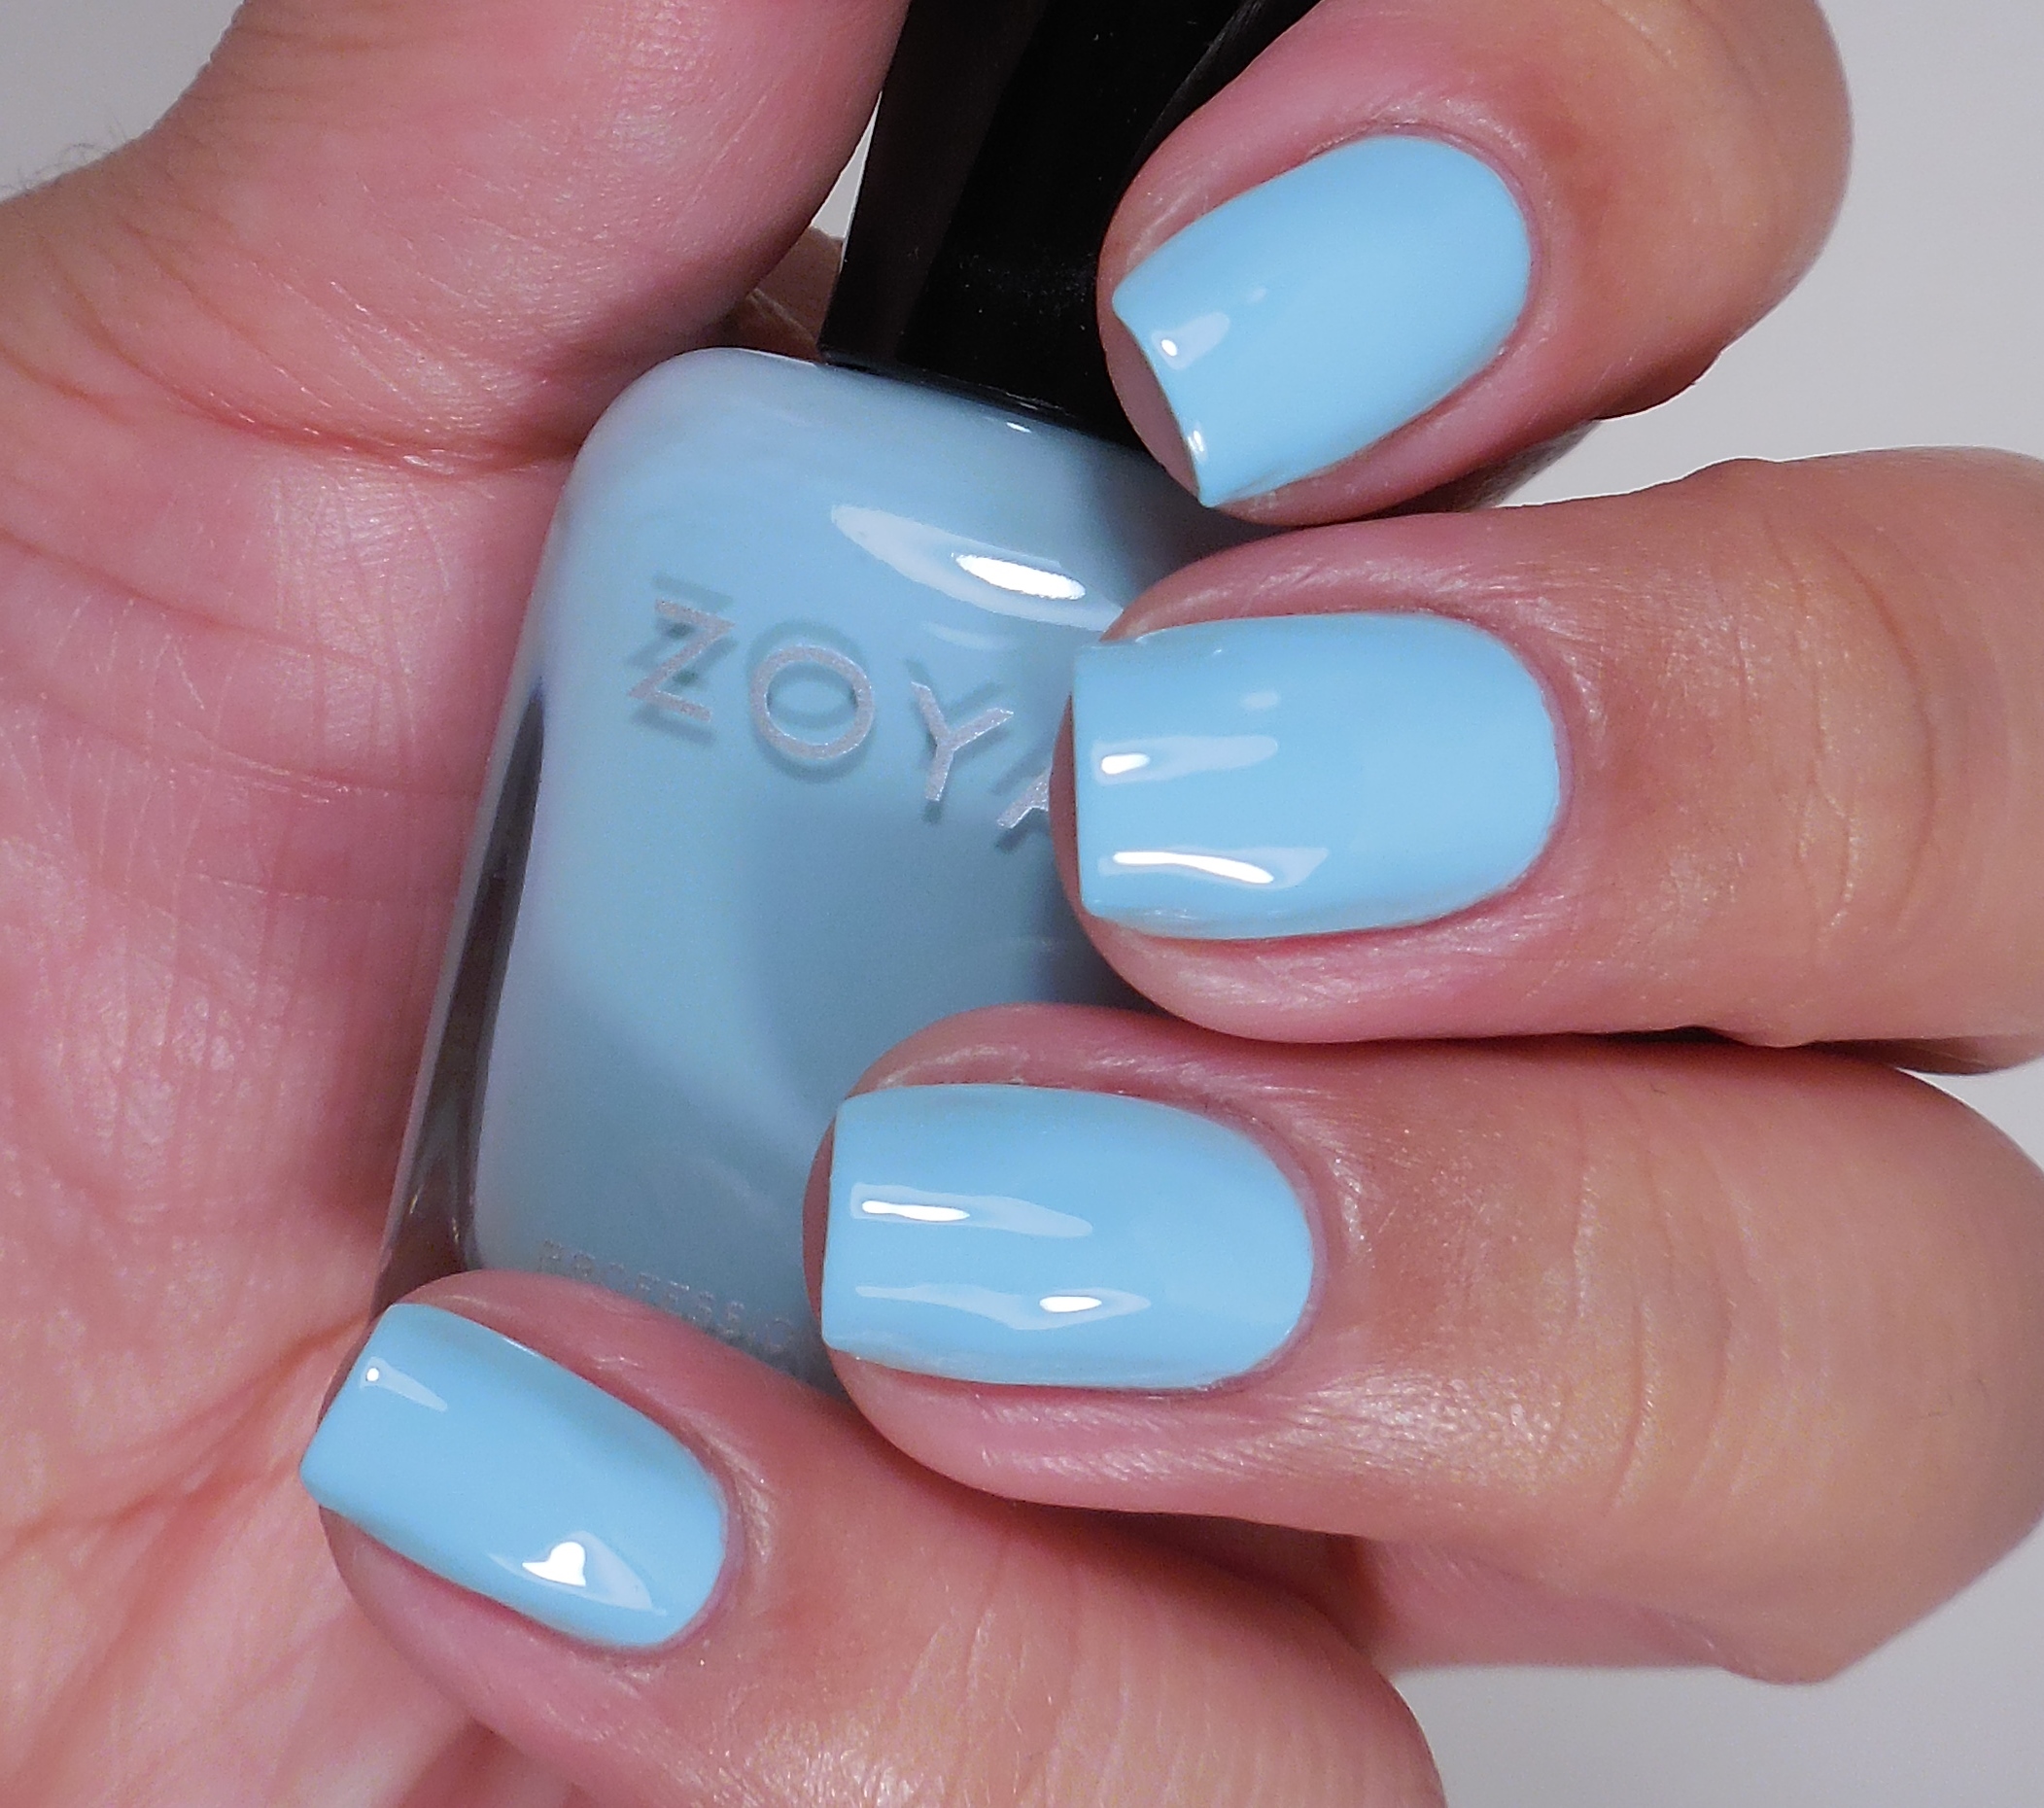
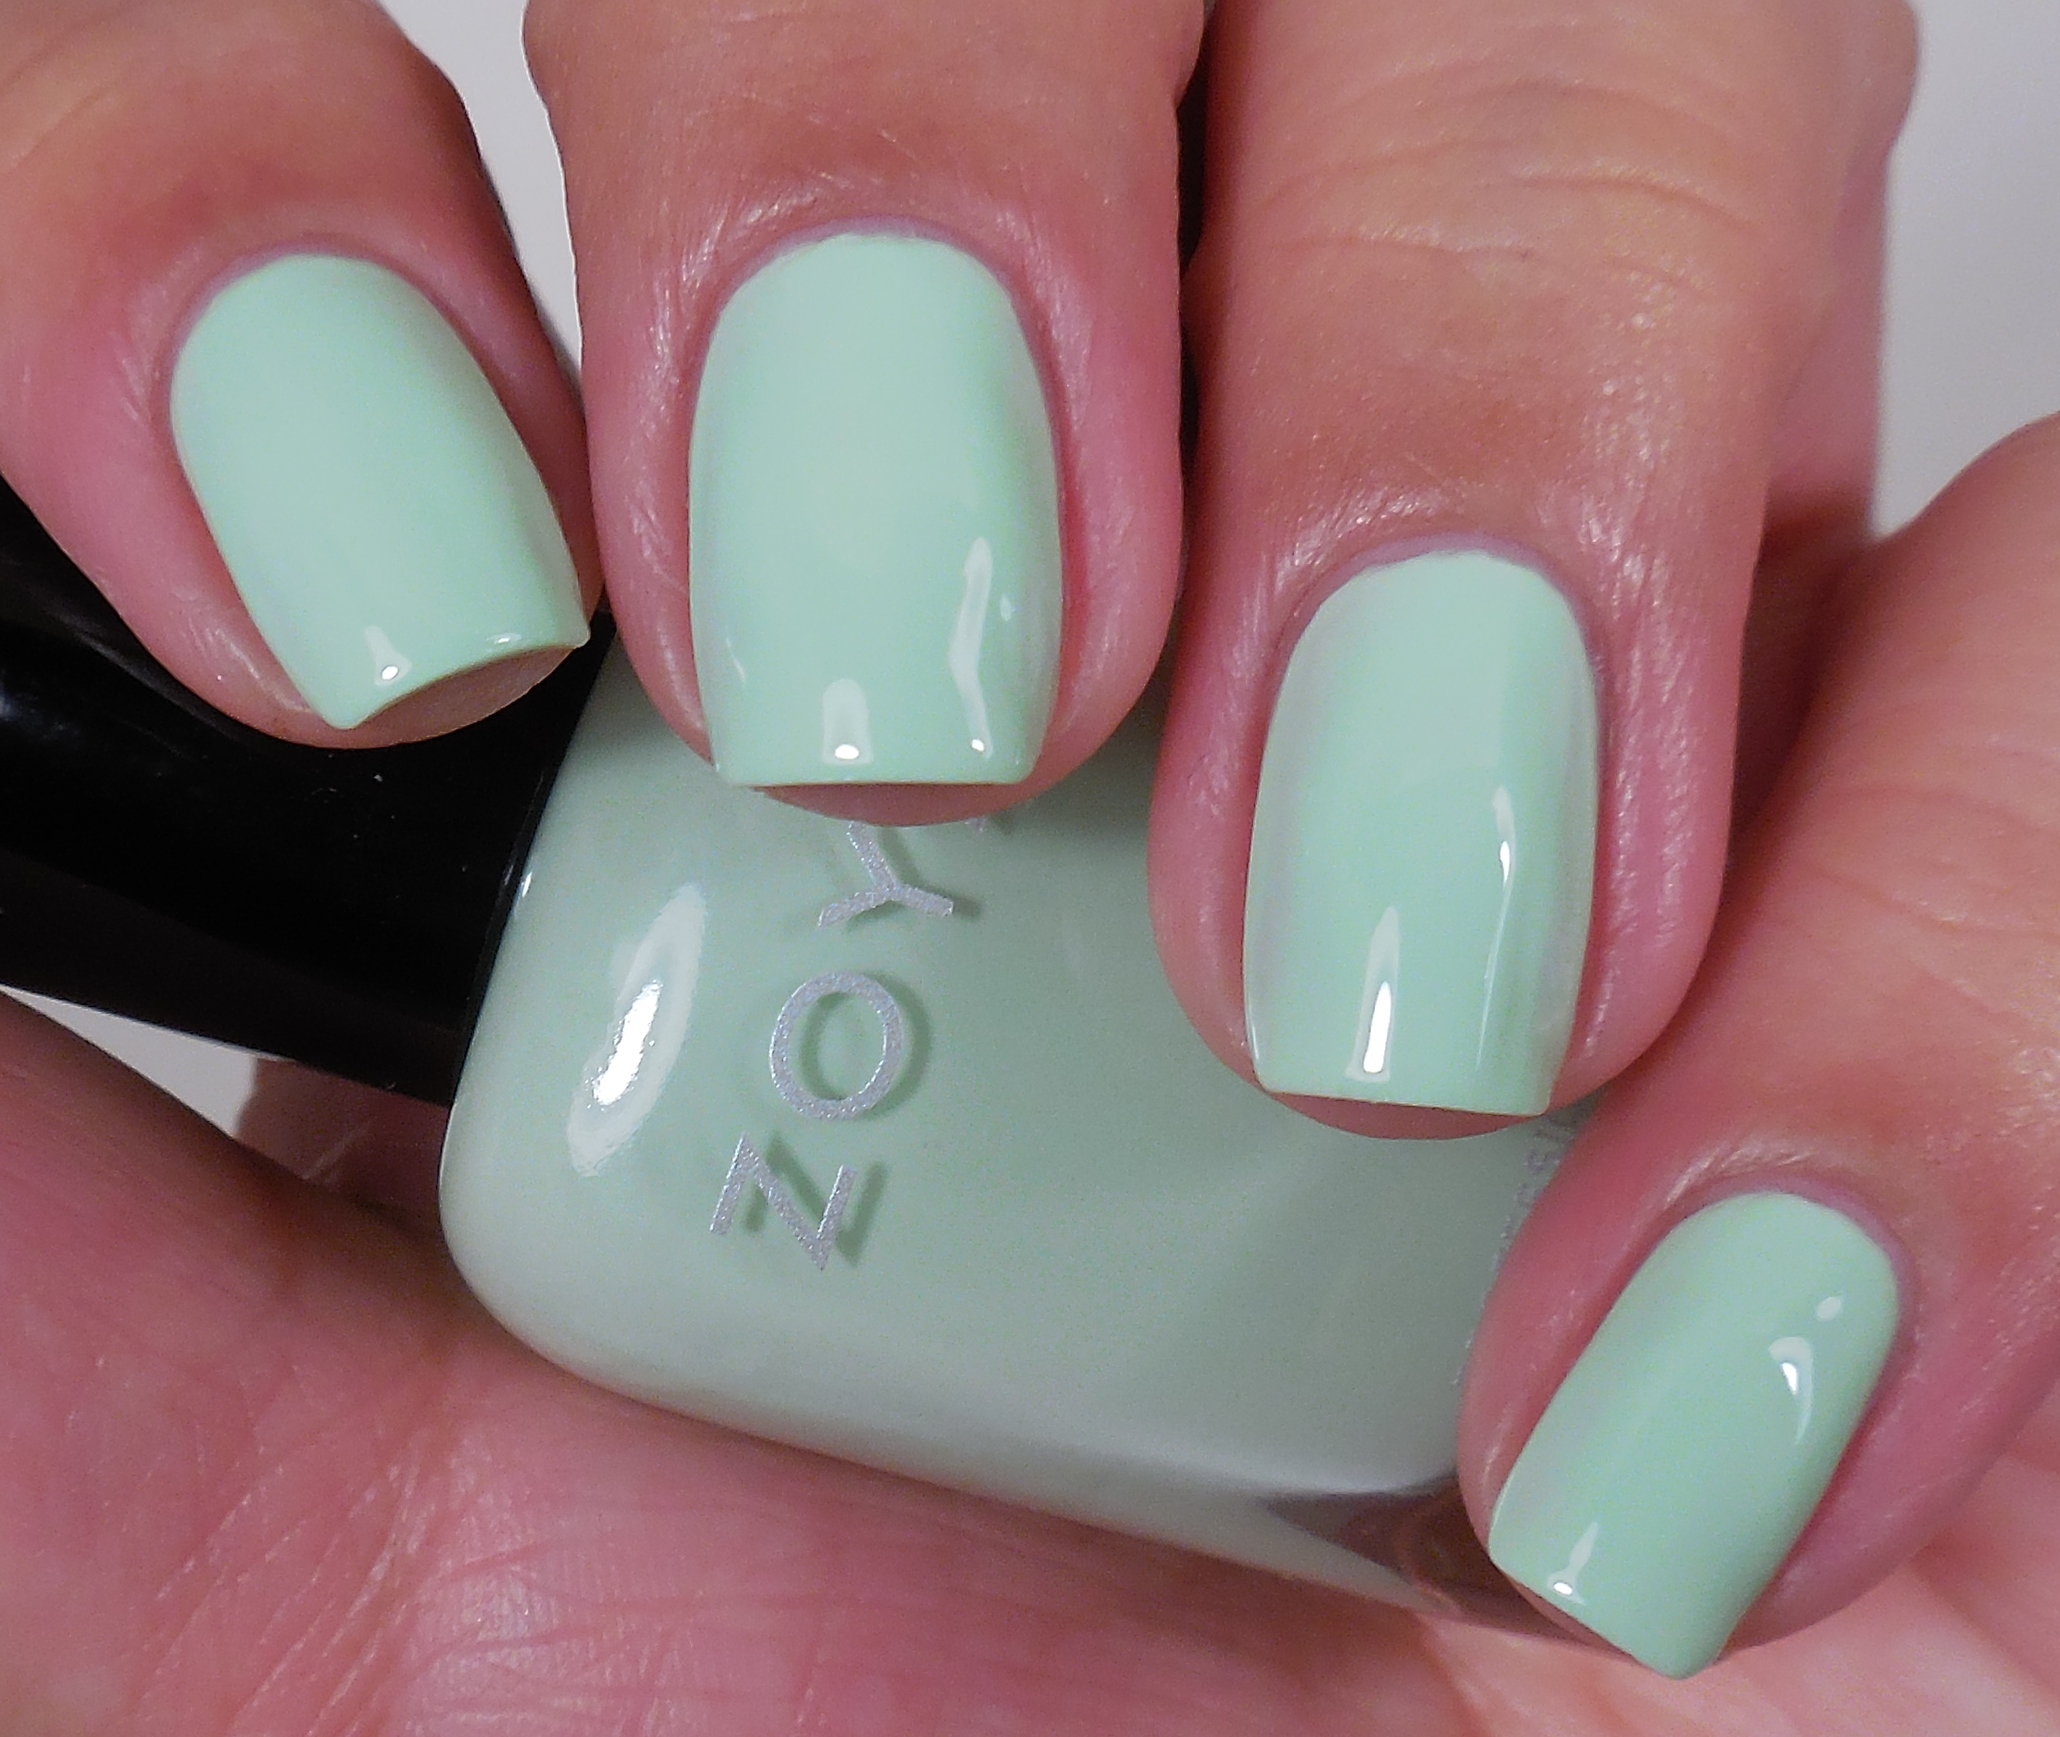
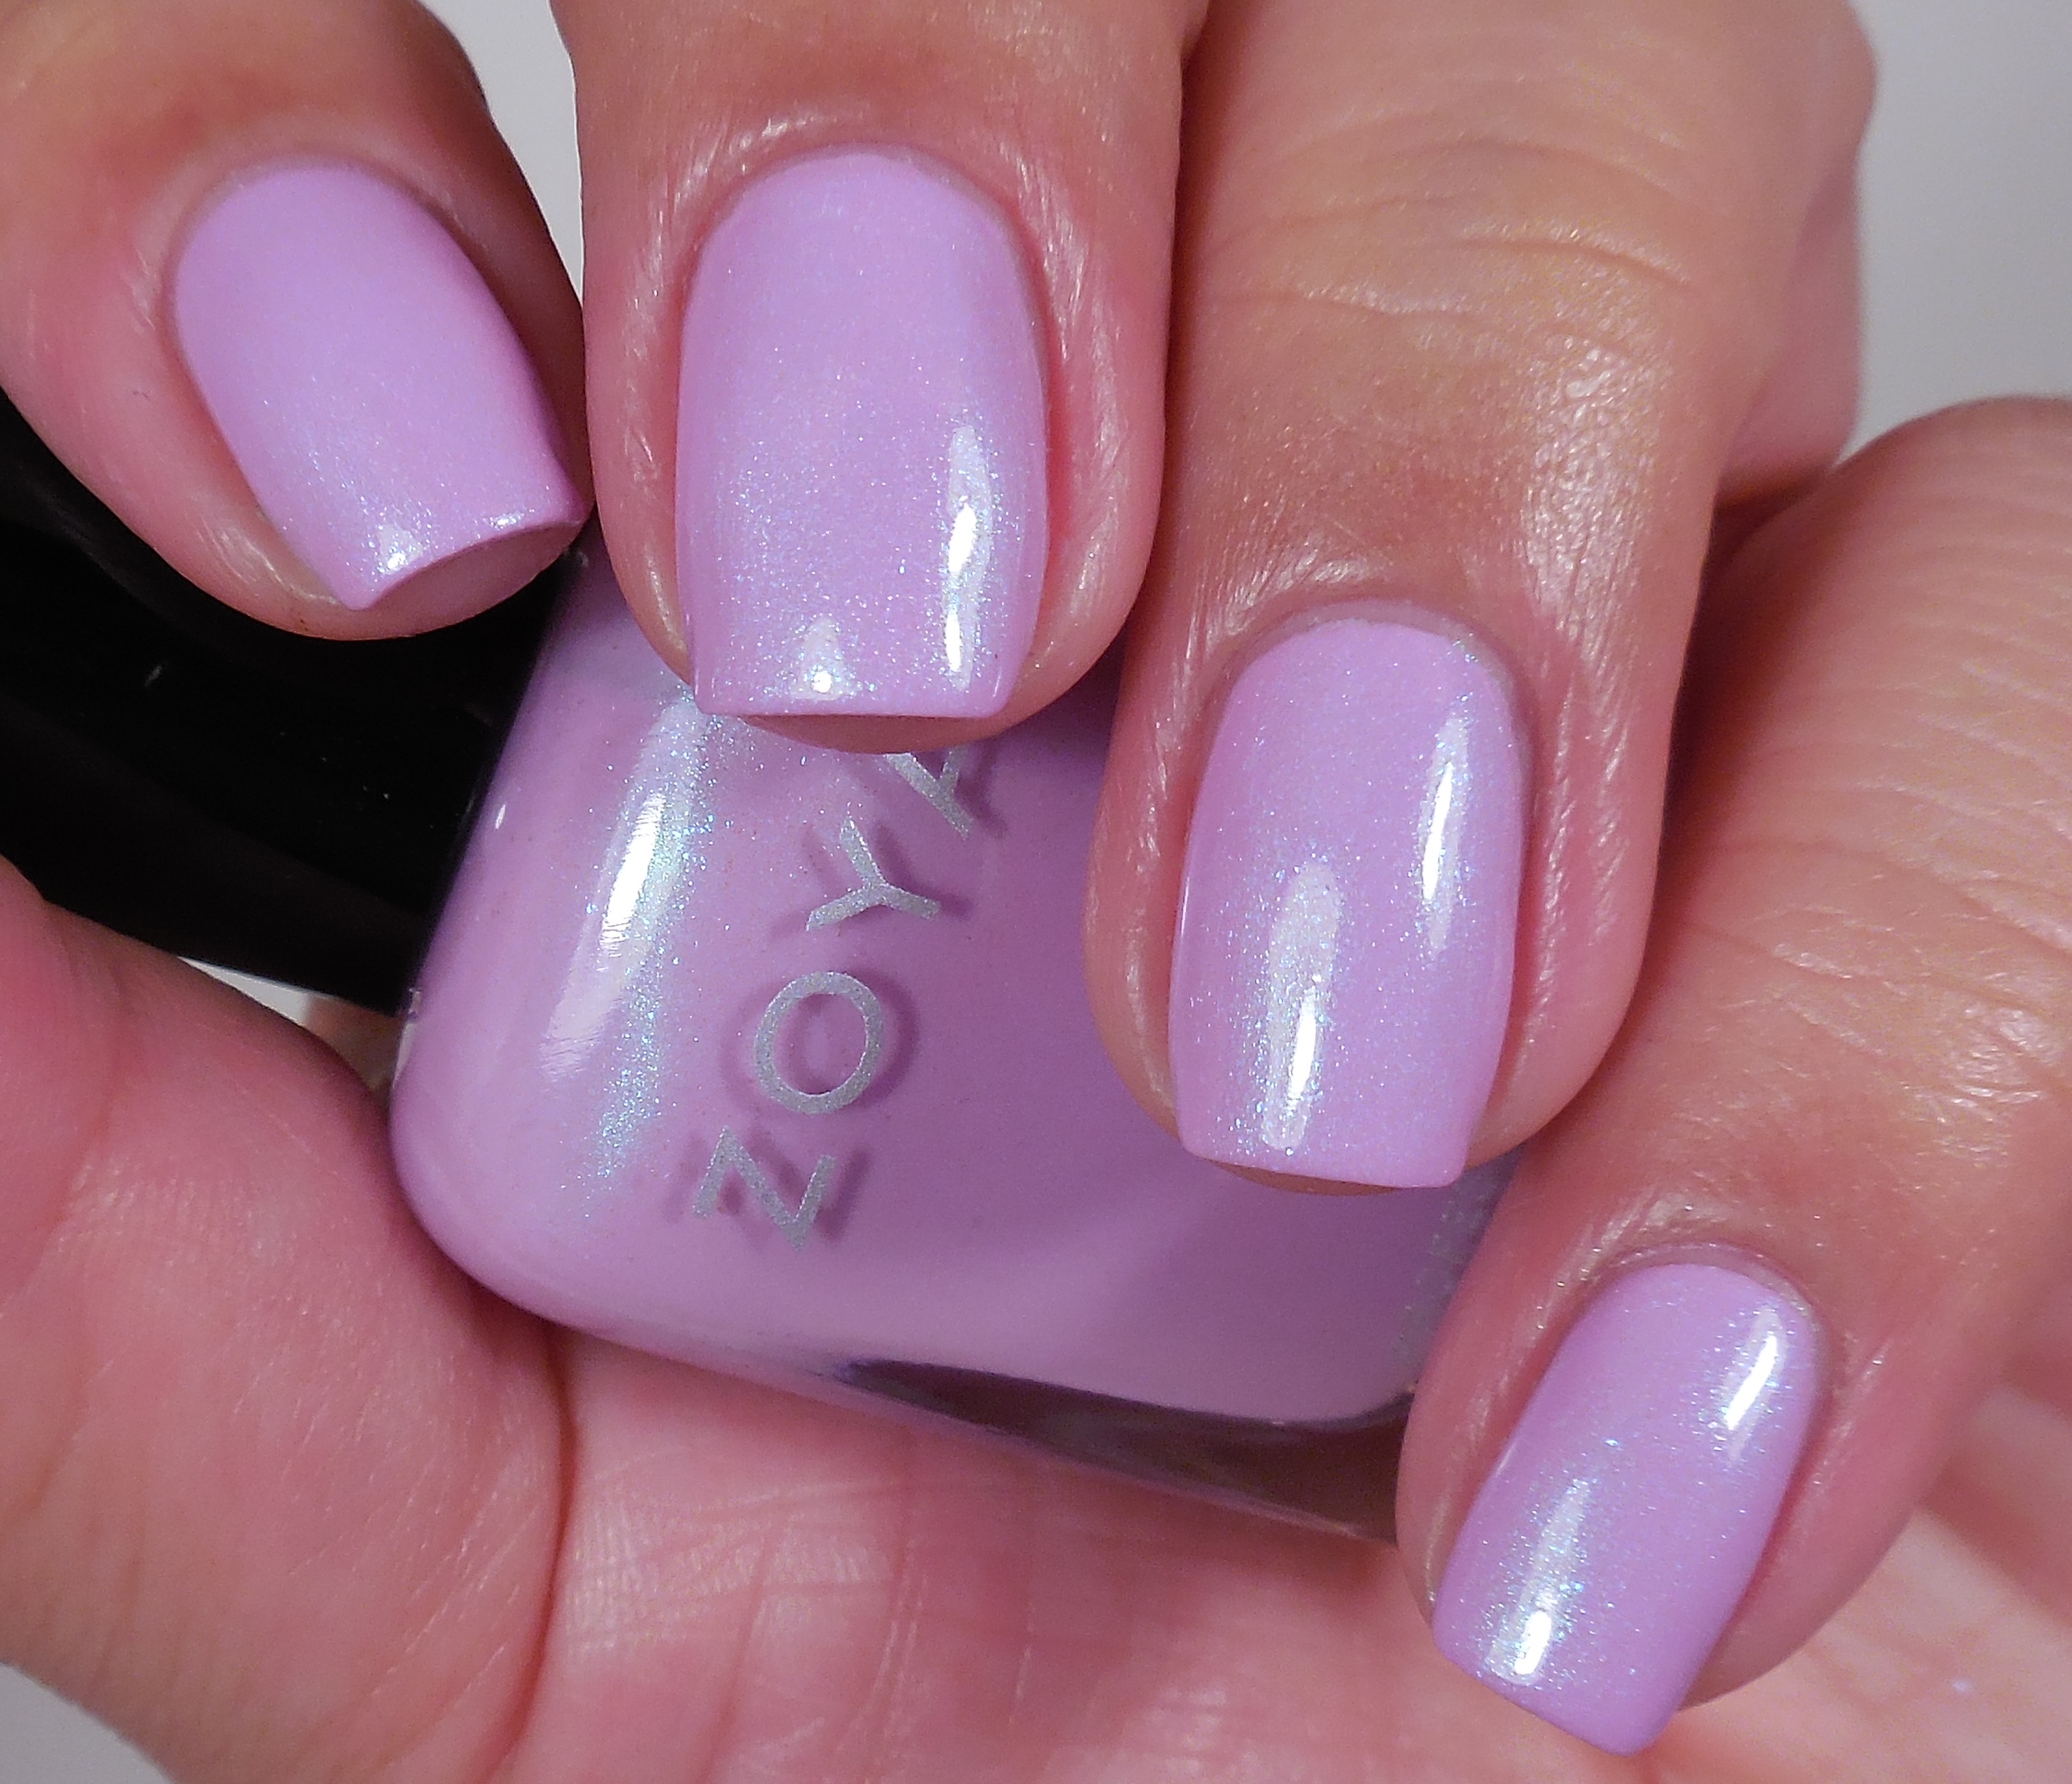
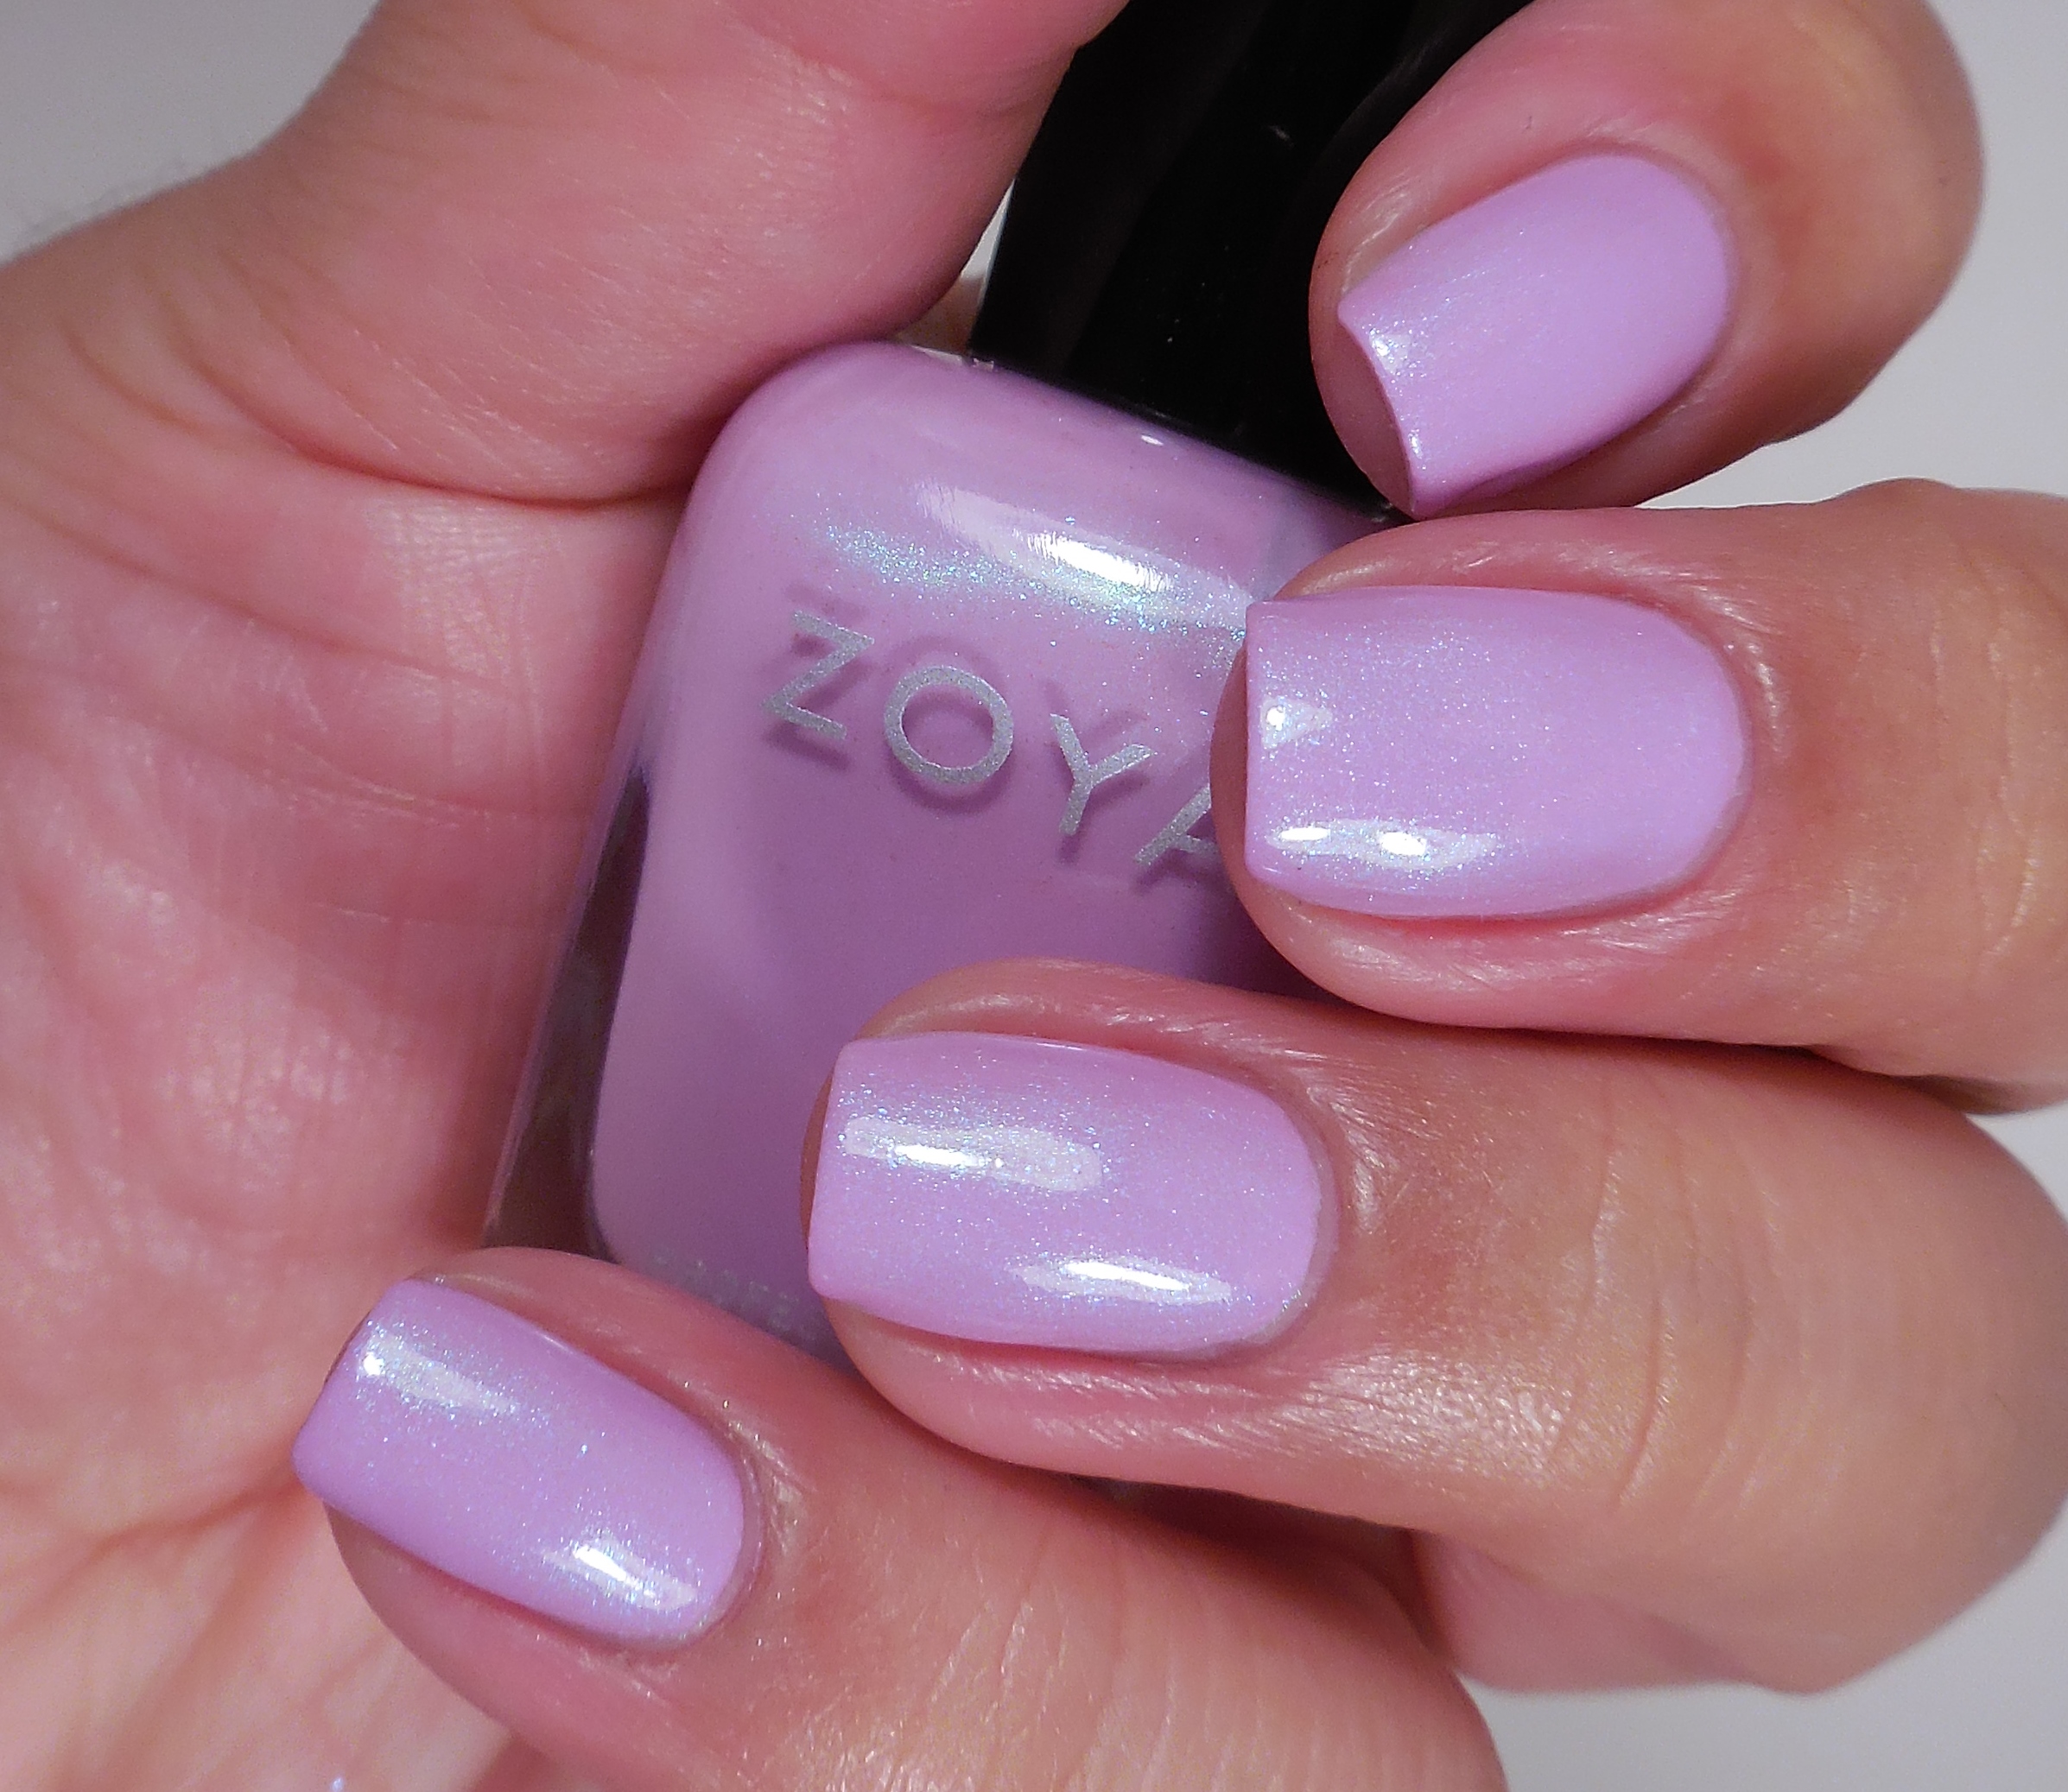
12Zoya Eden

34Zoya Lillian

56Zoya Tiana

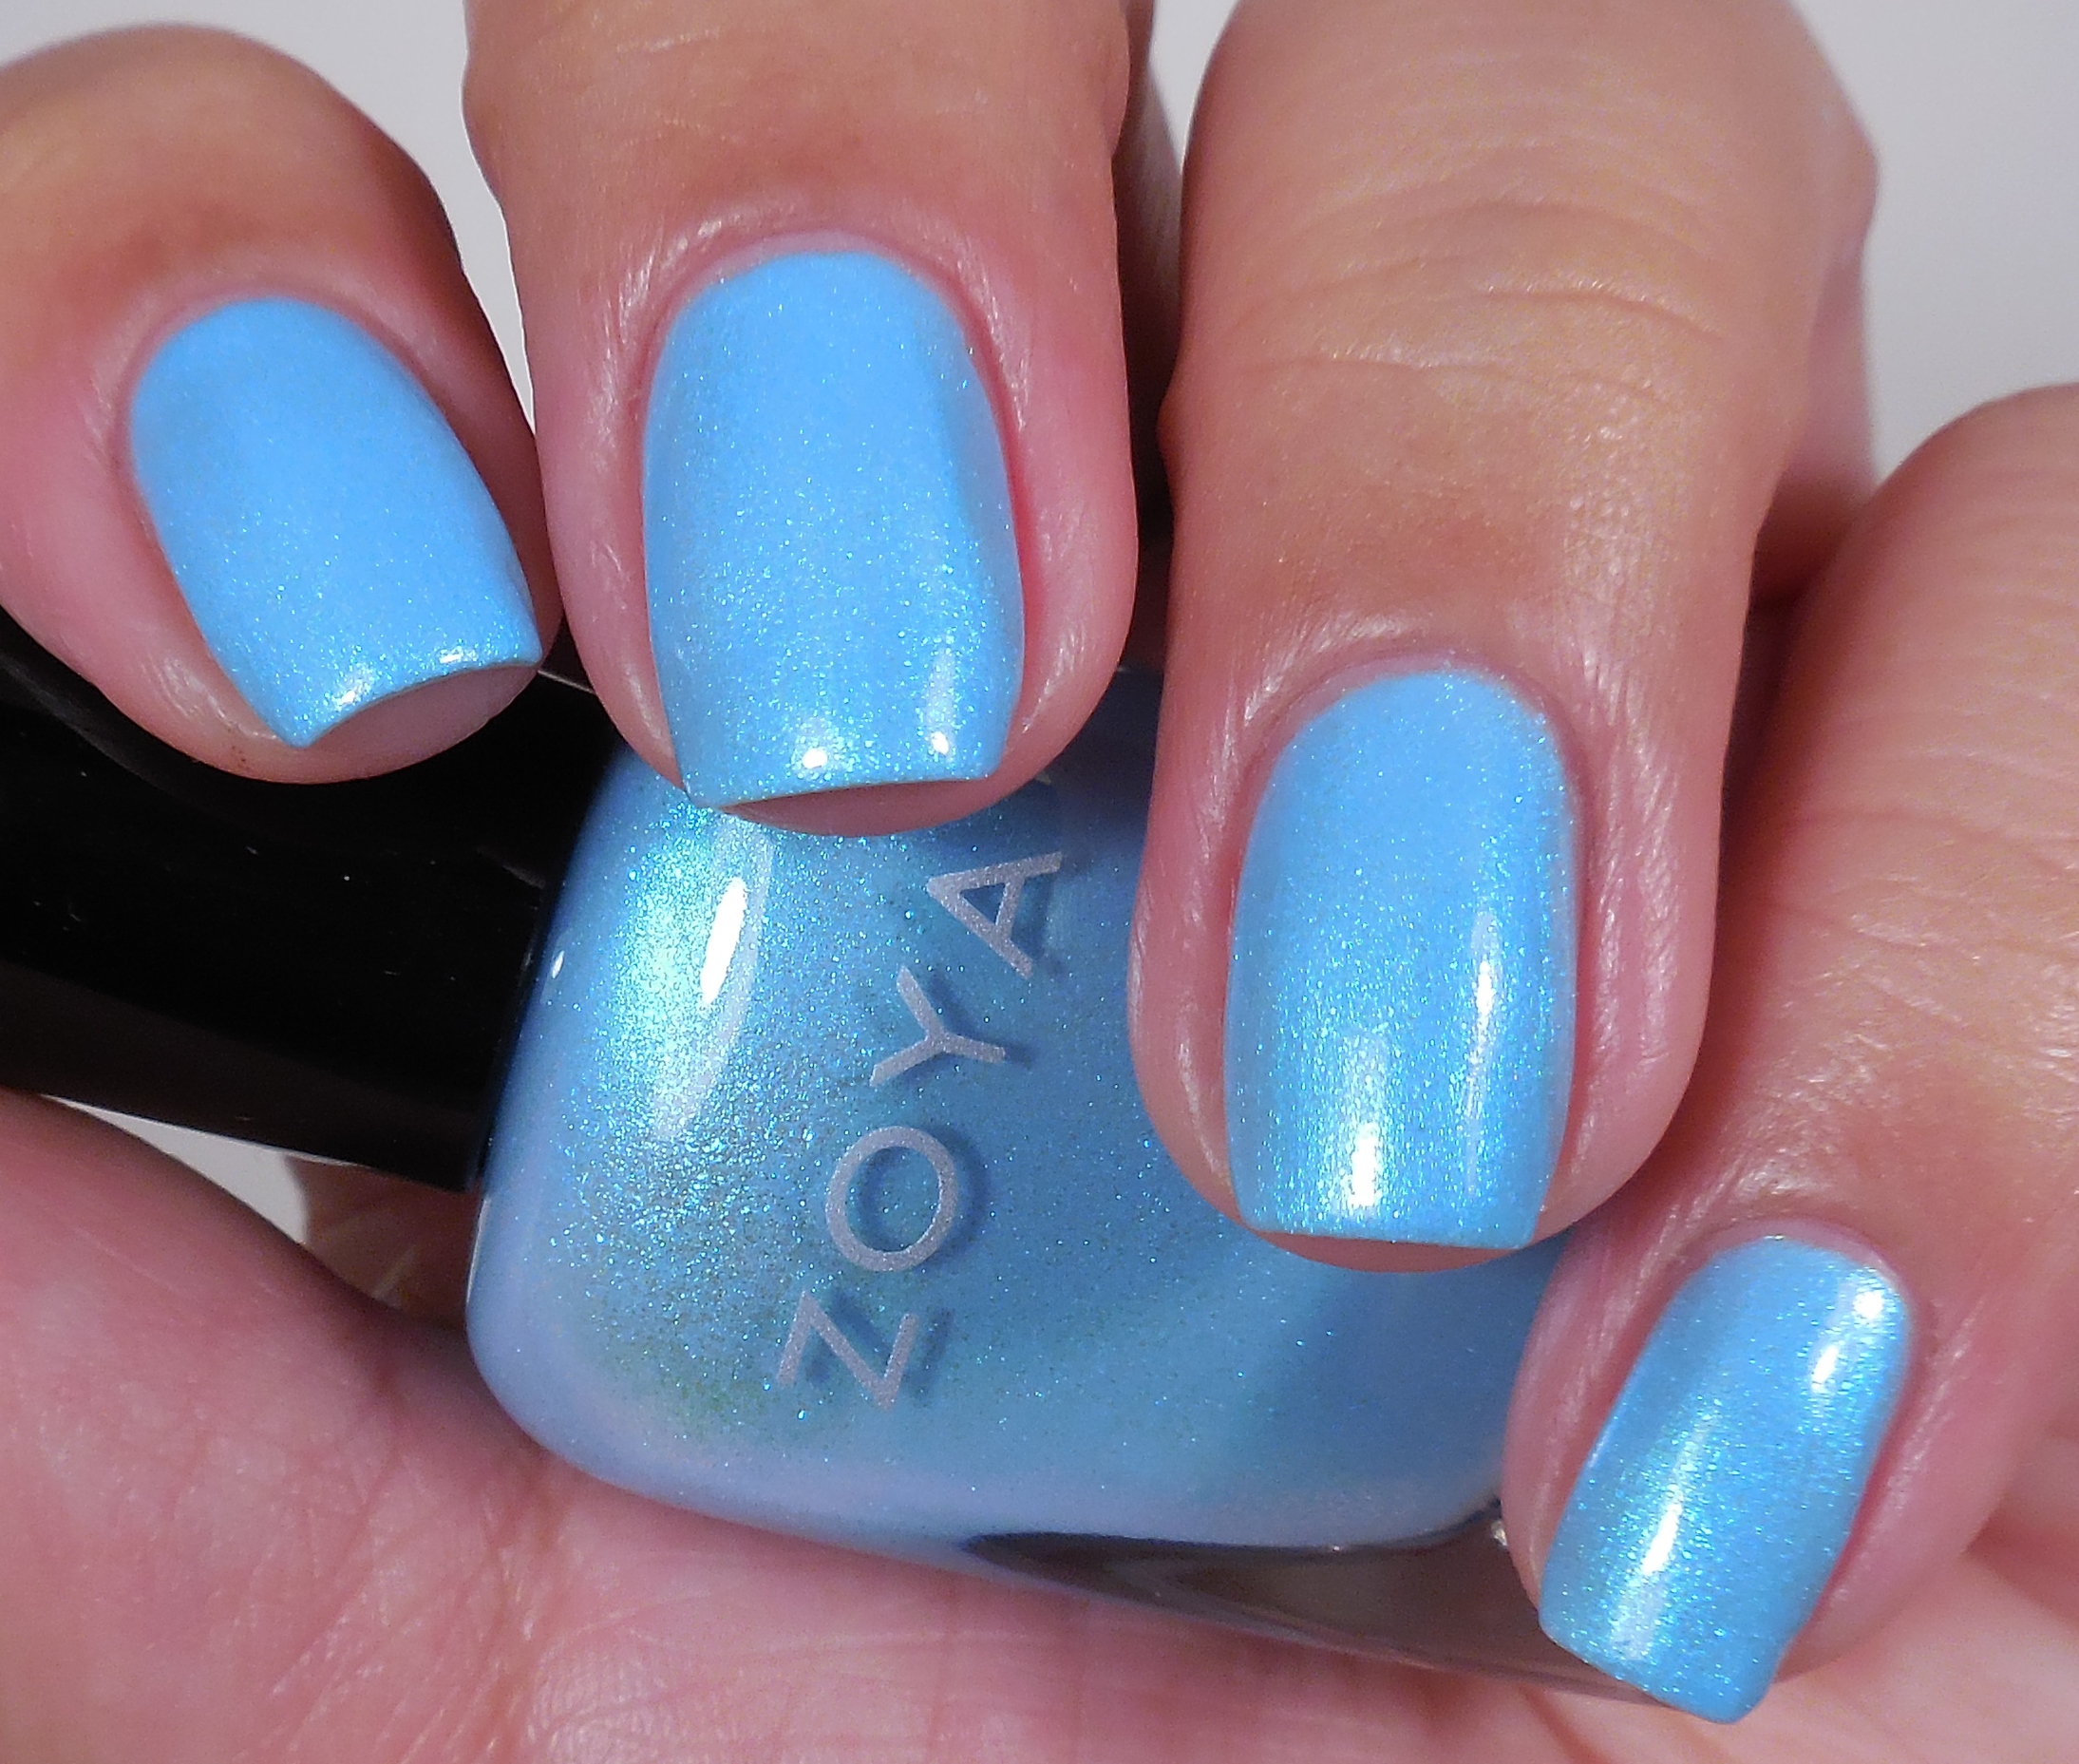
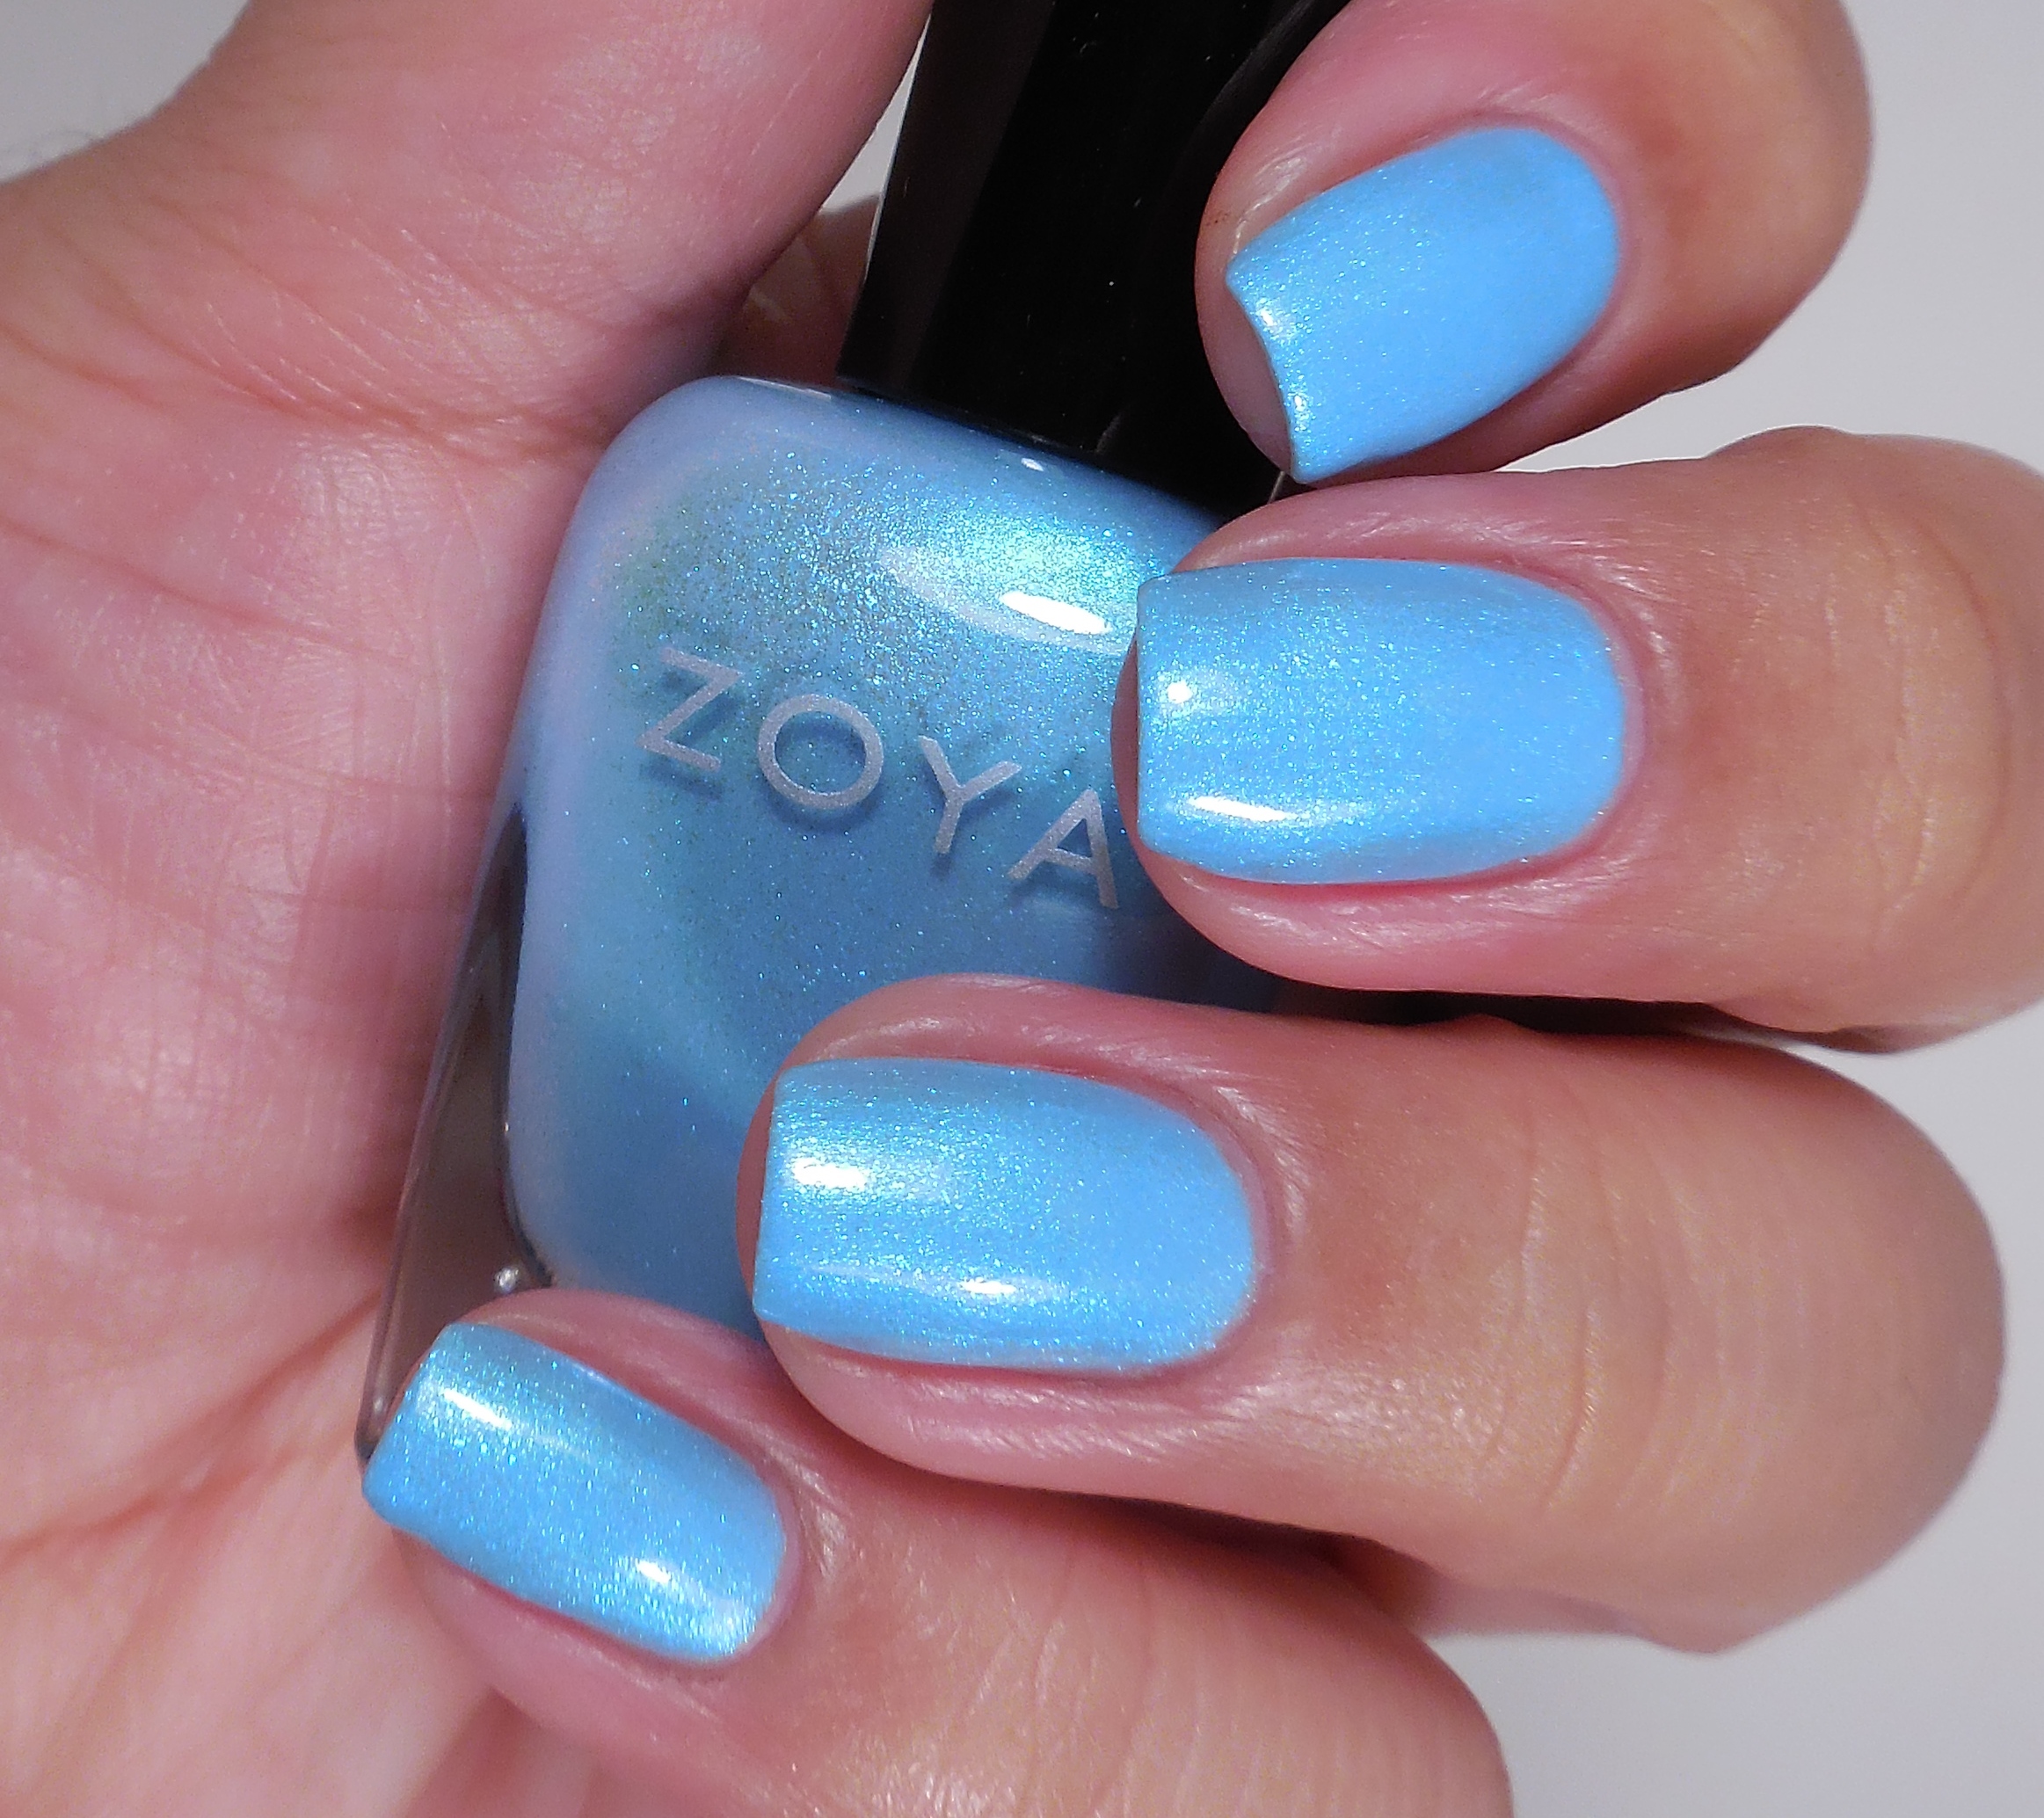
78Zoya Leslie

910Zoya Rayne

1112Zoya Daisy

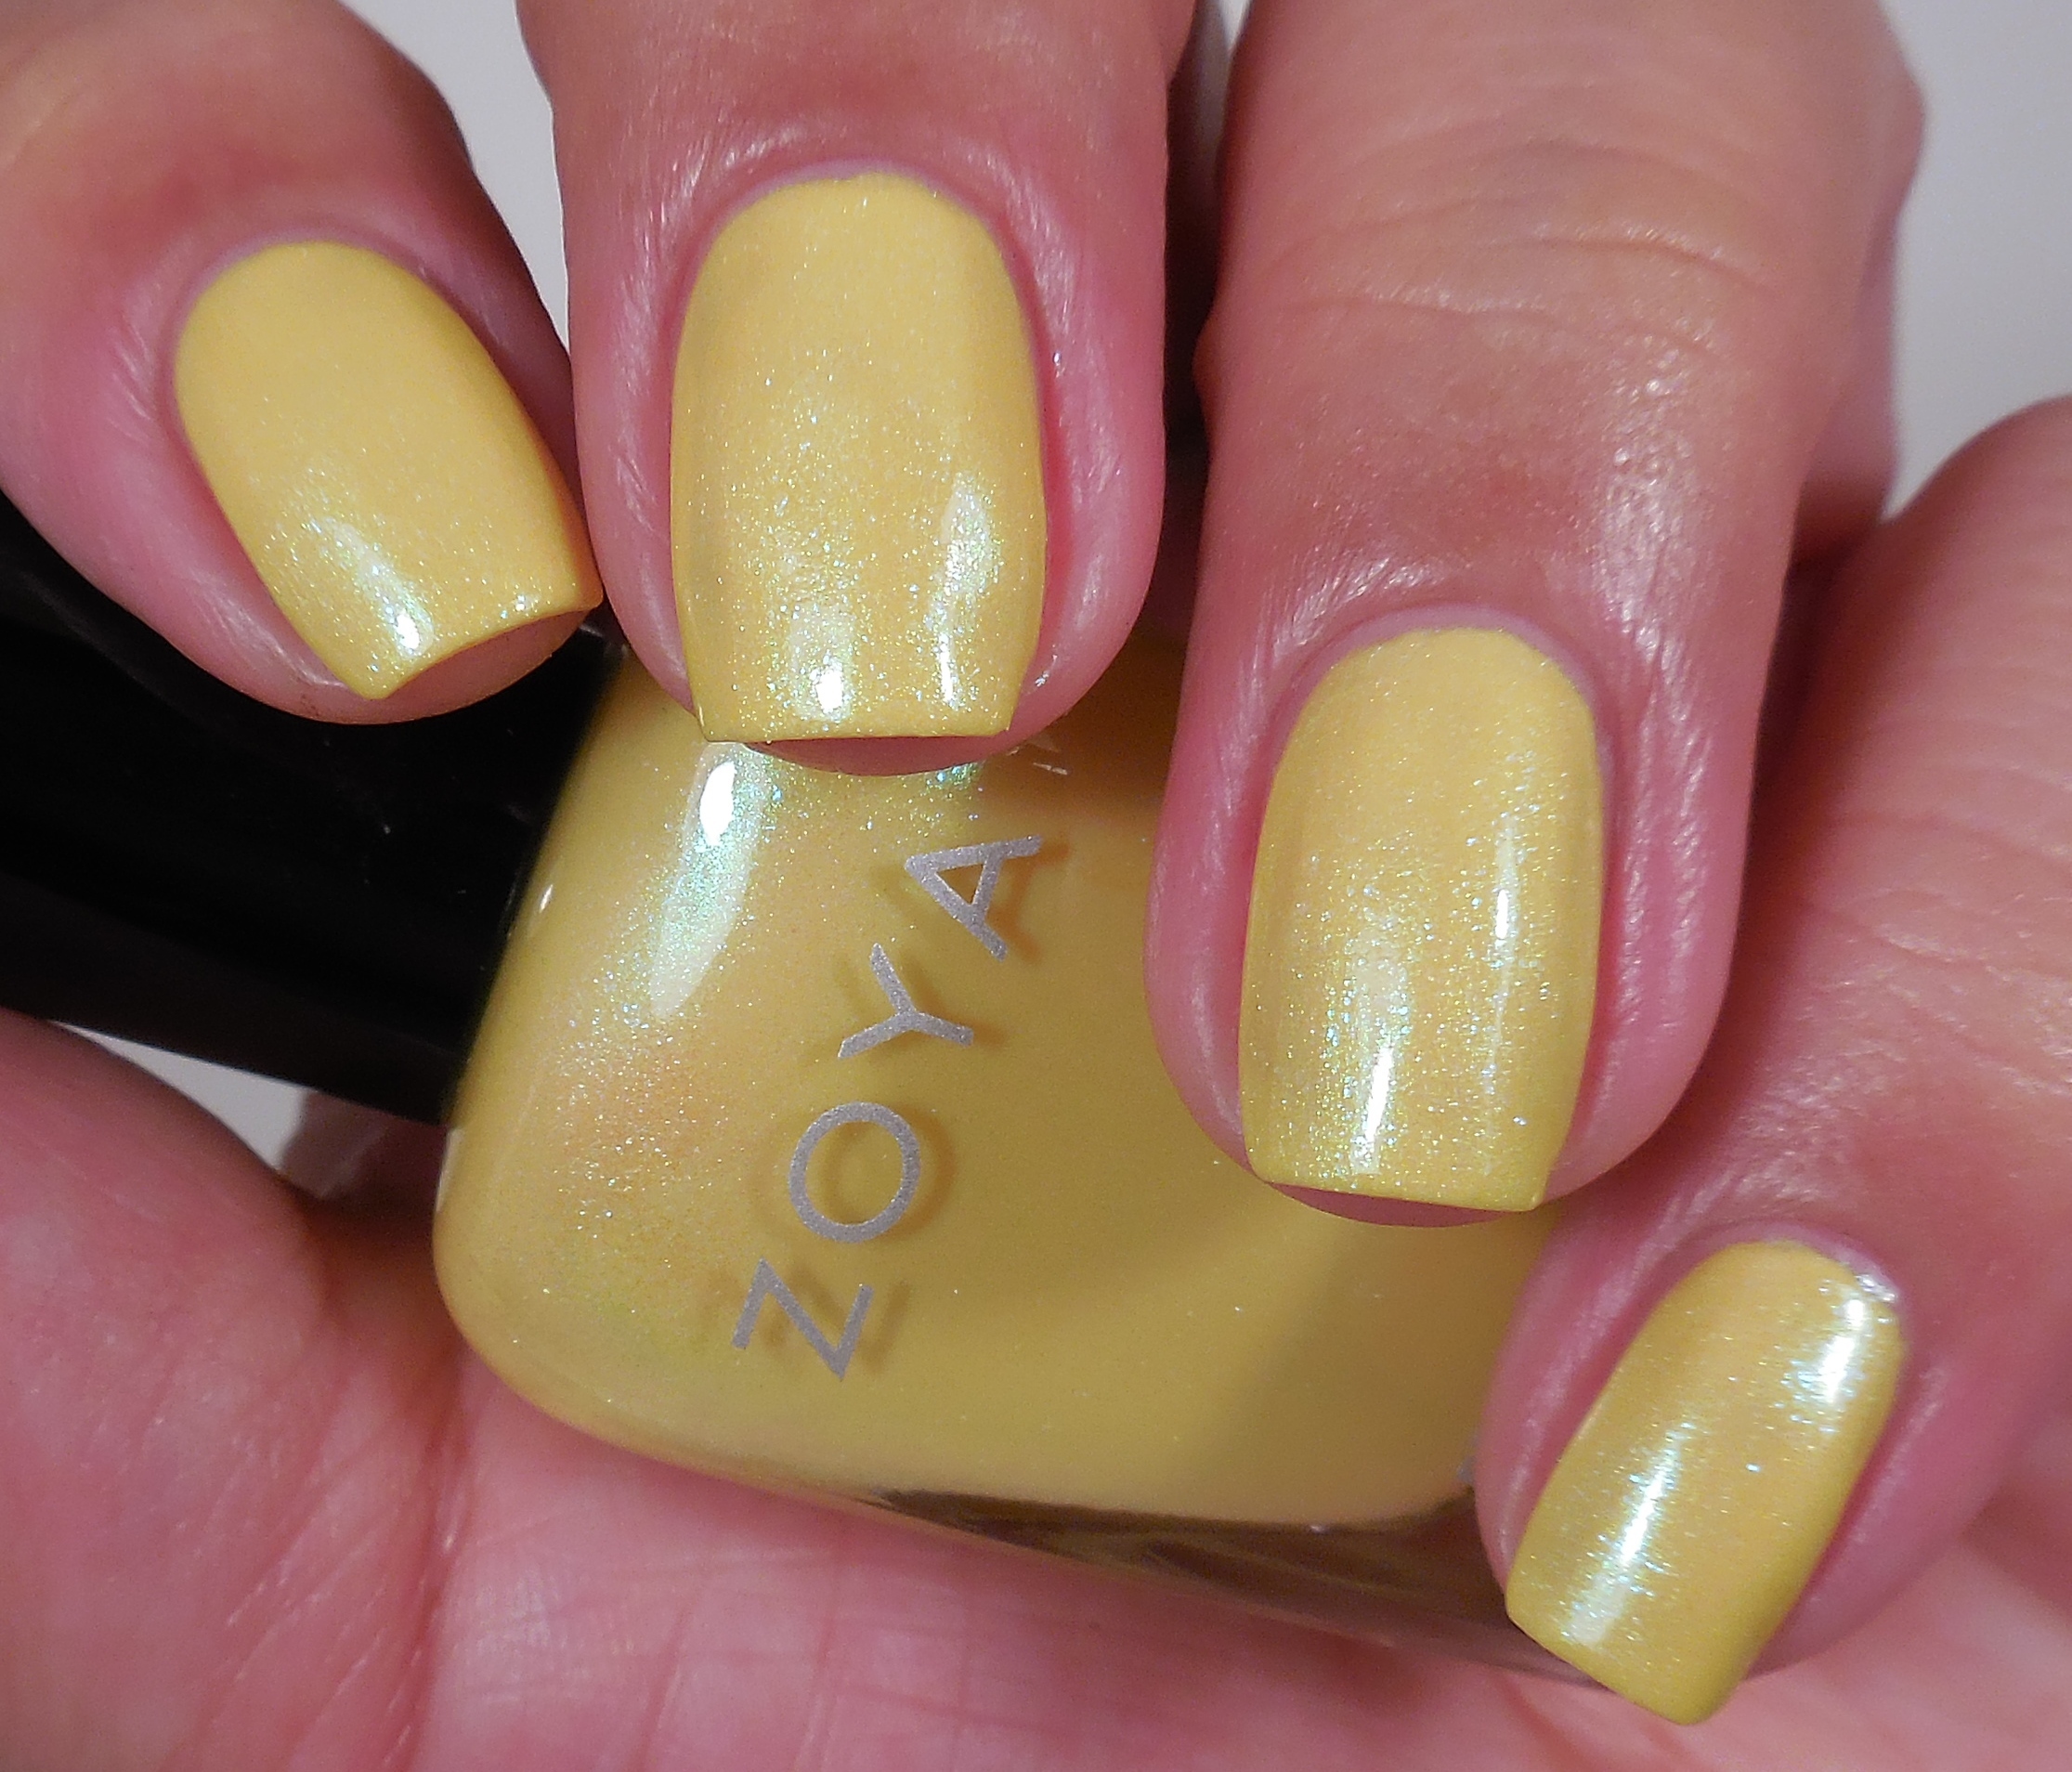
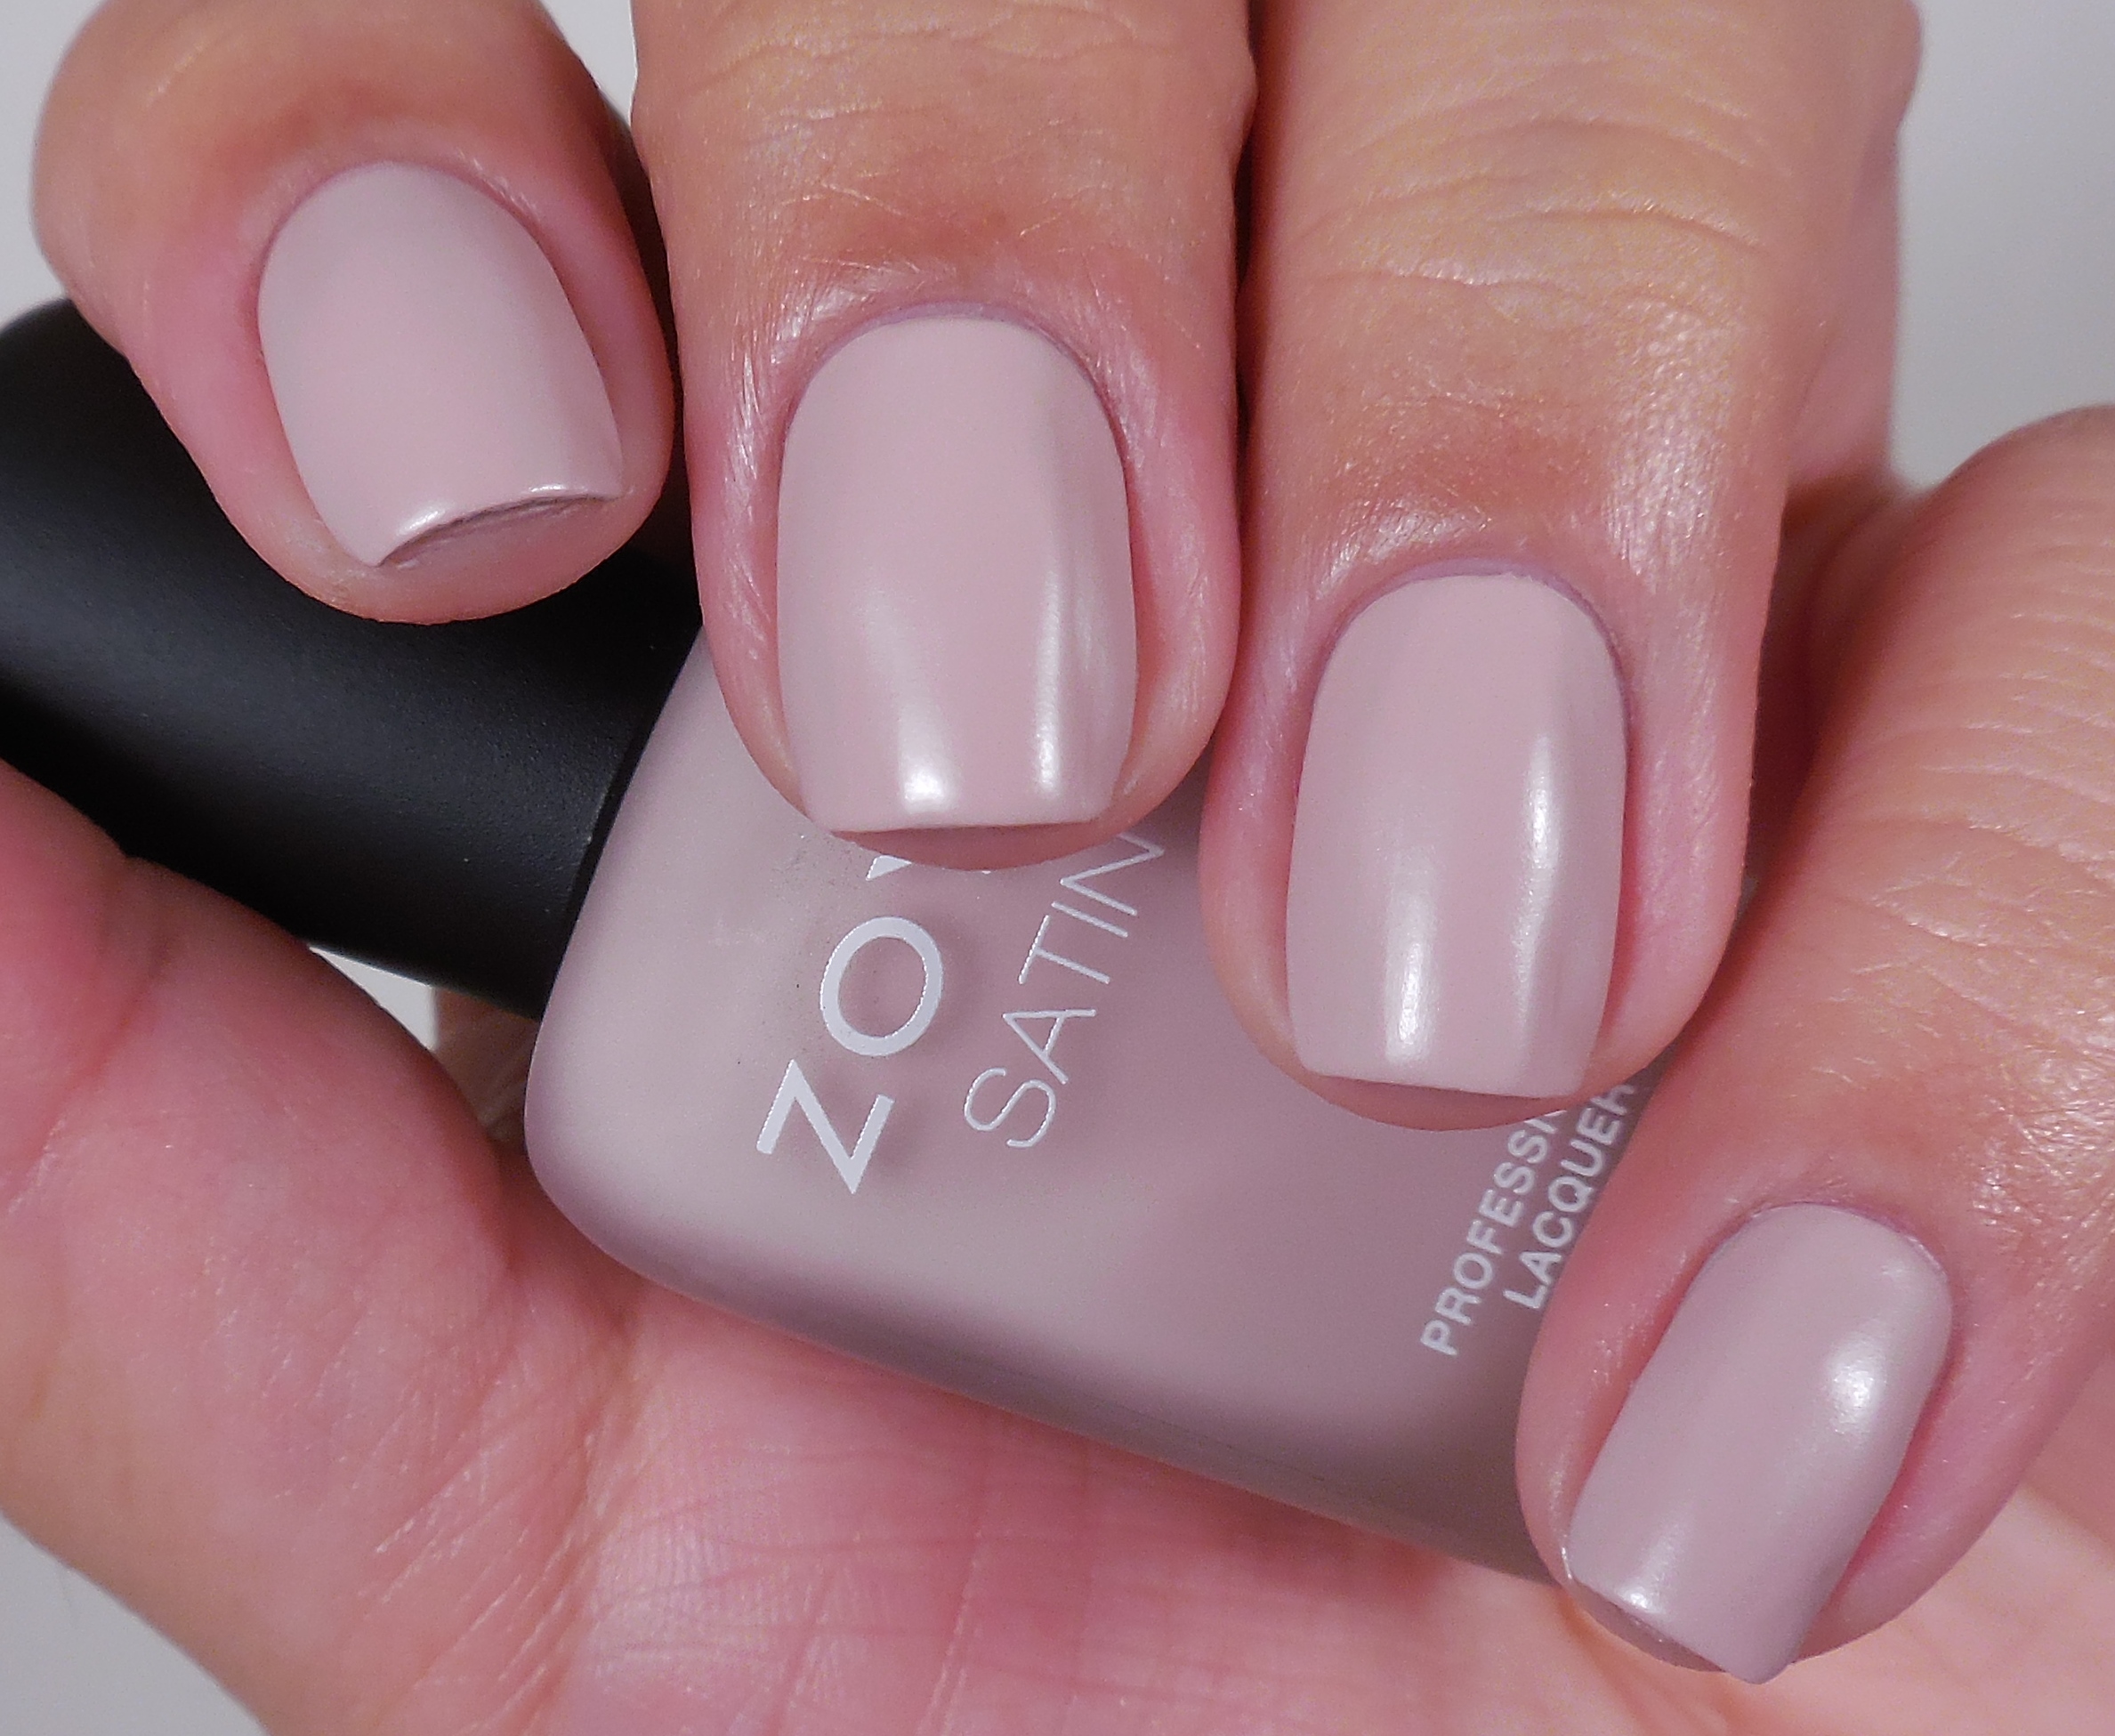
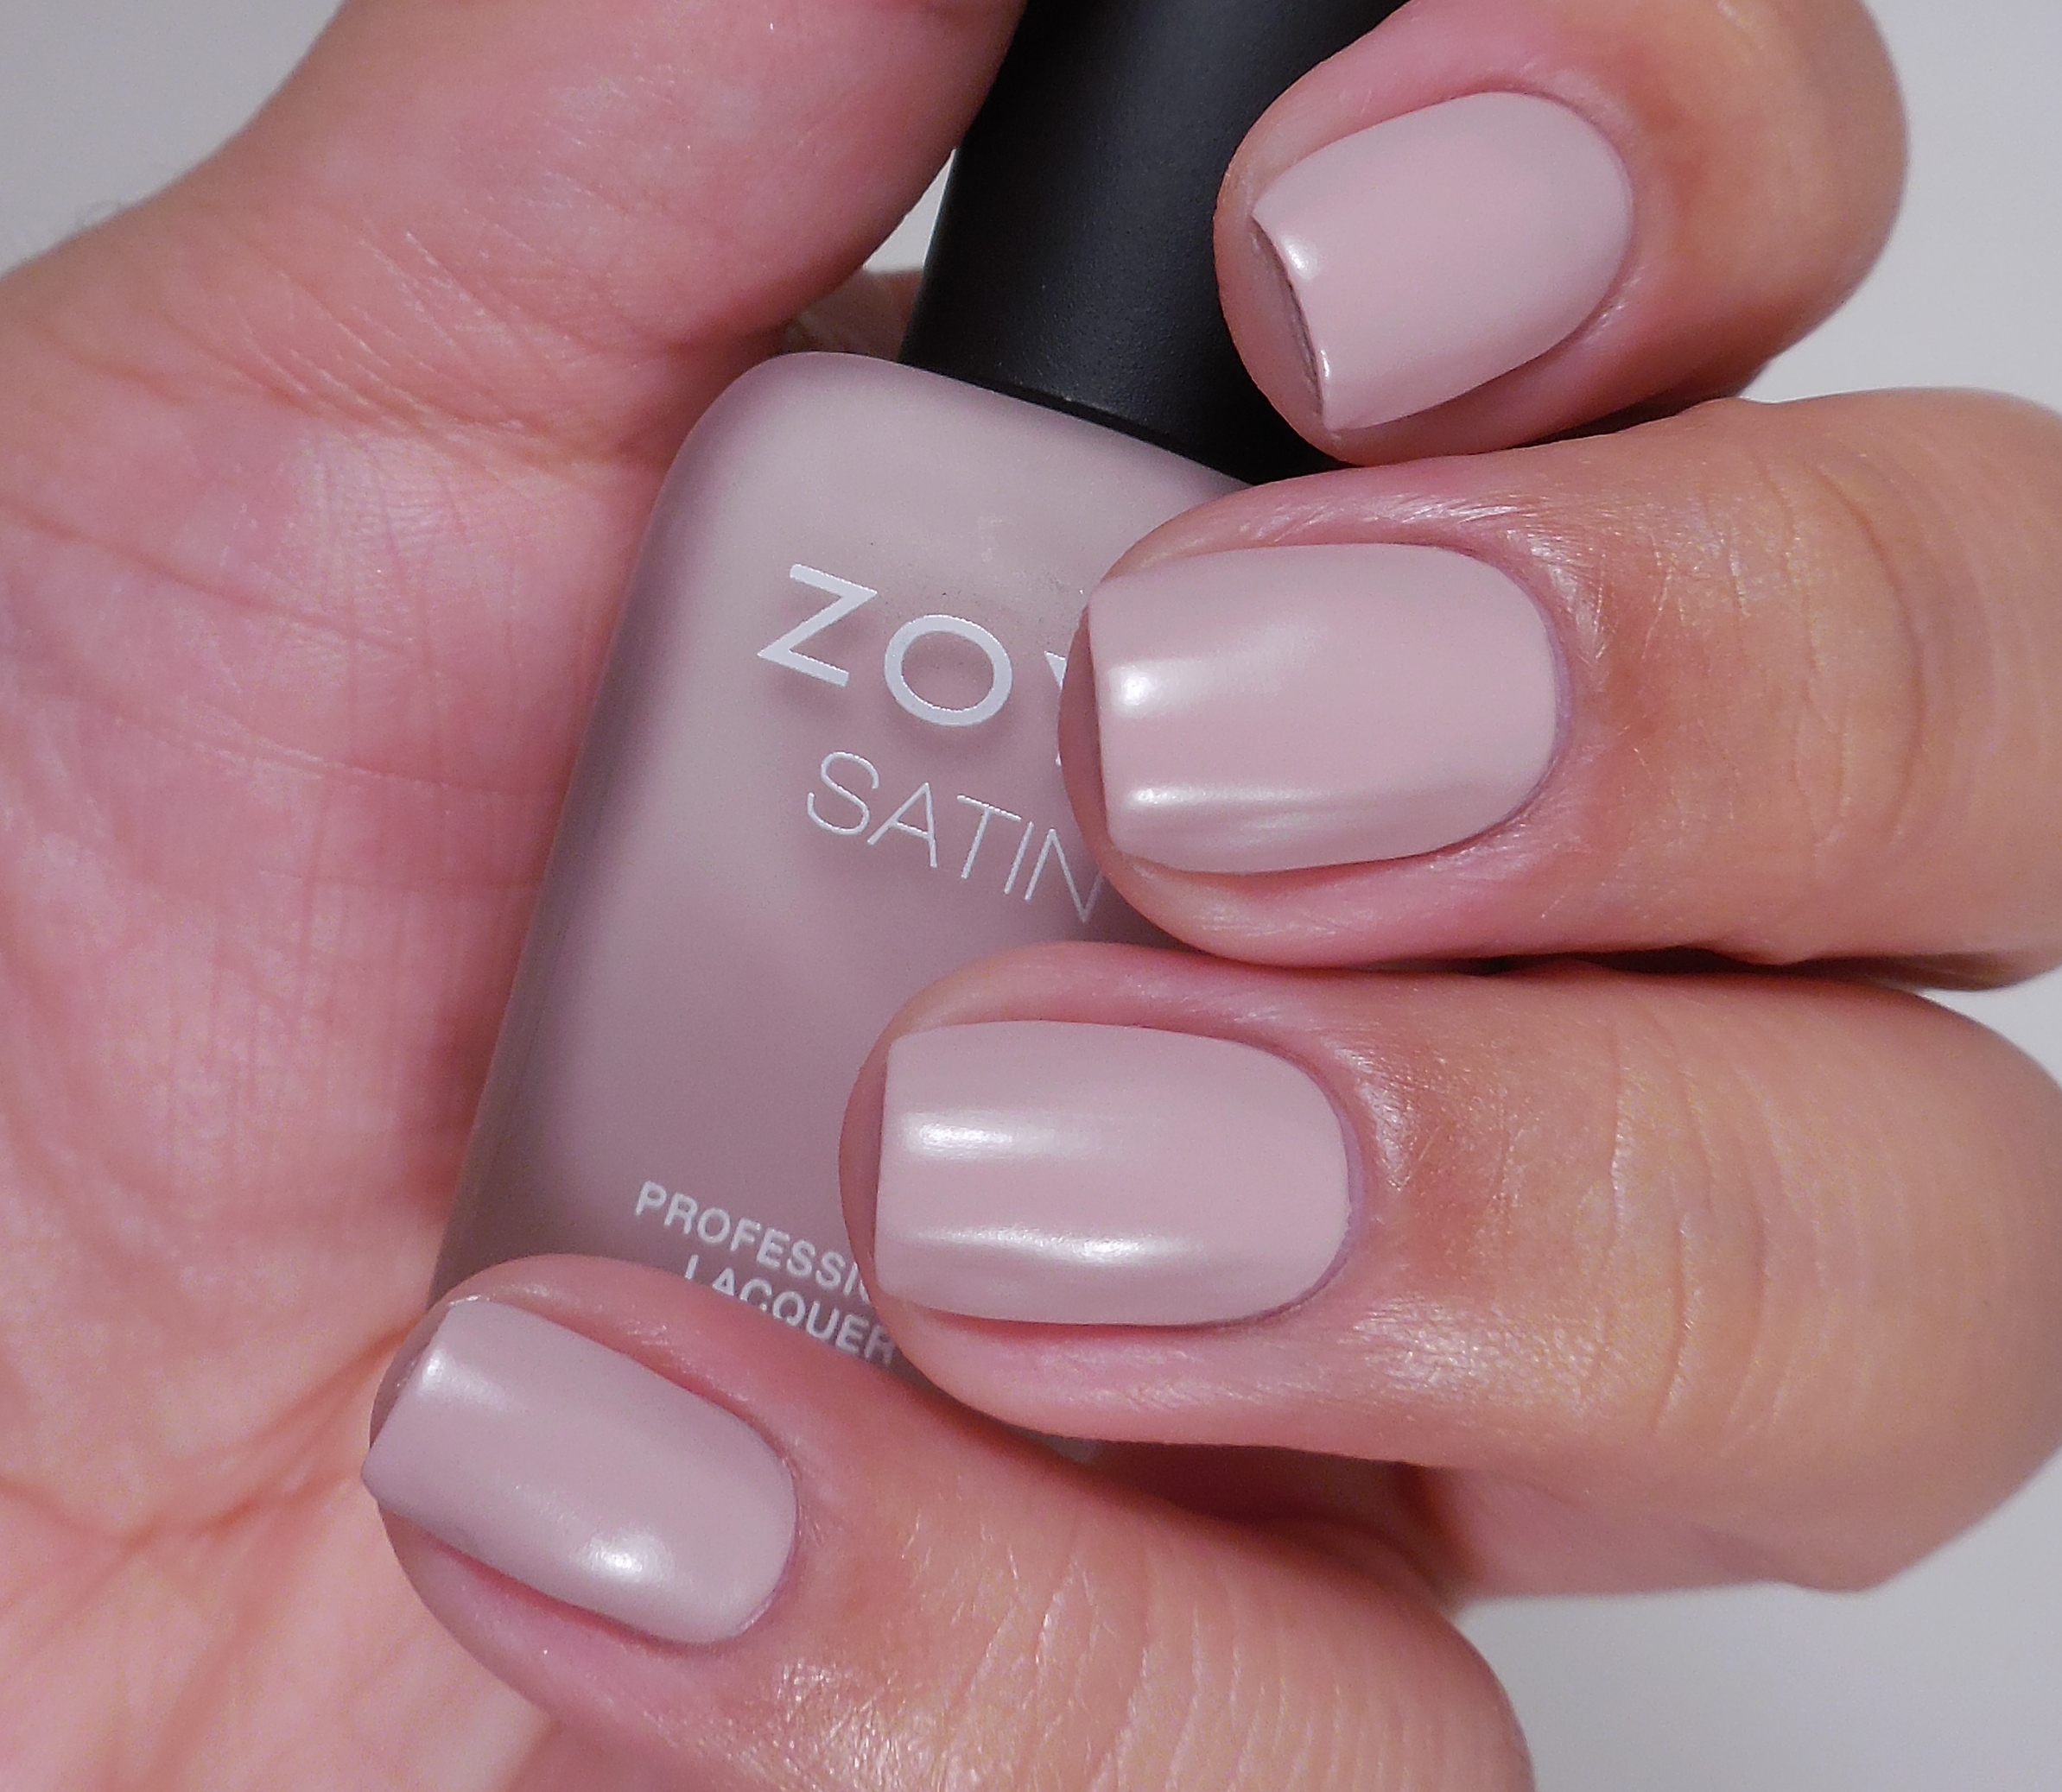
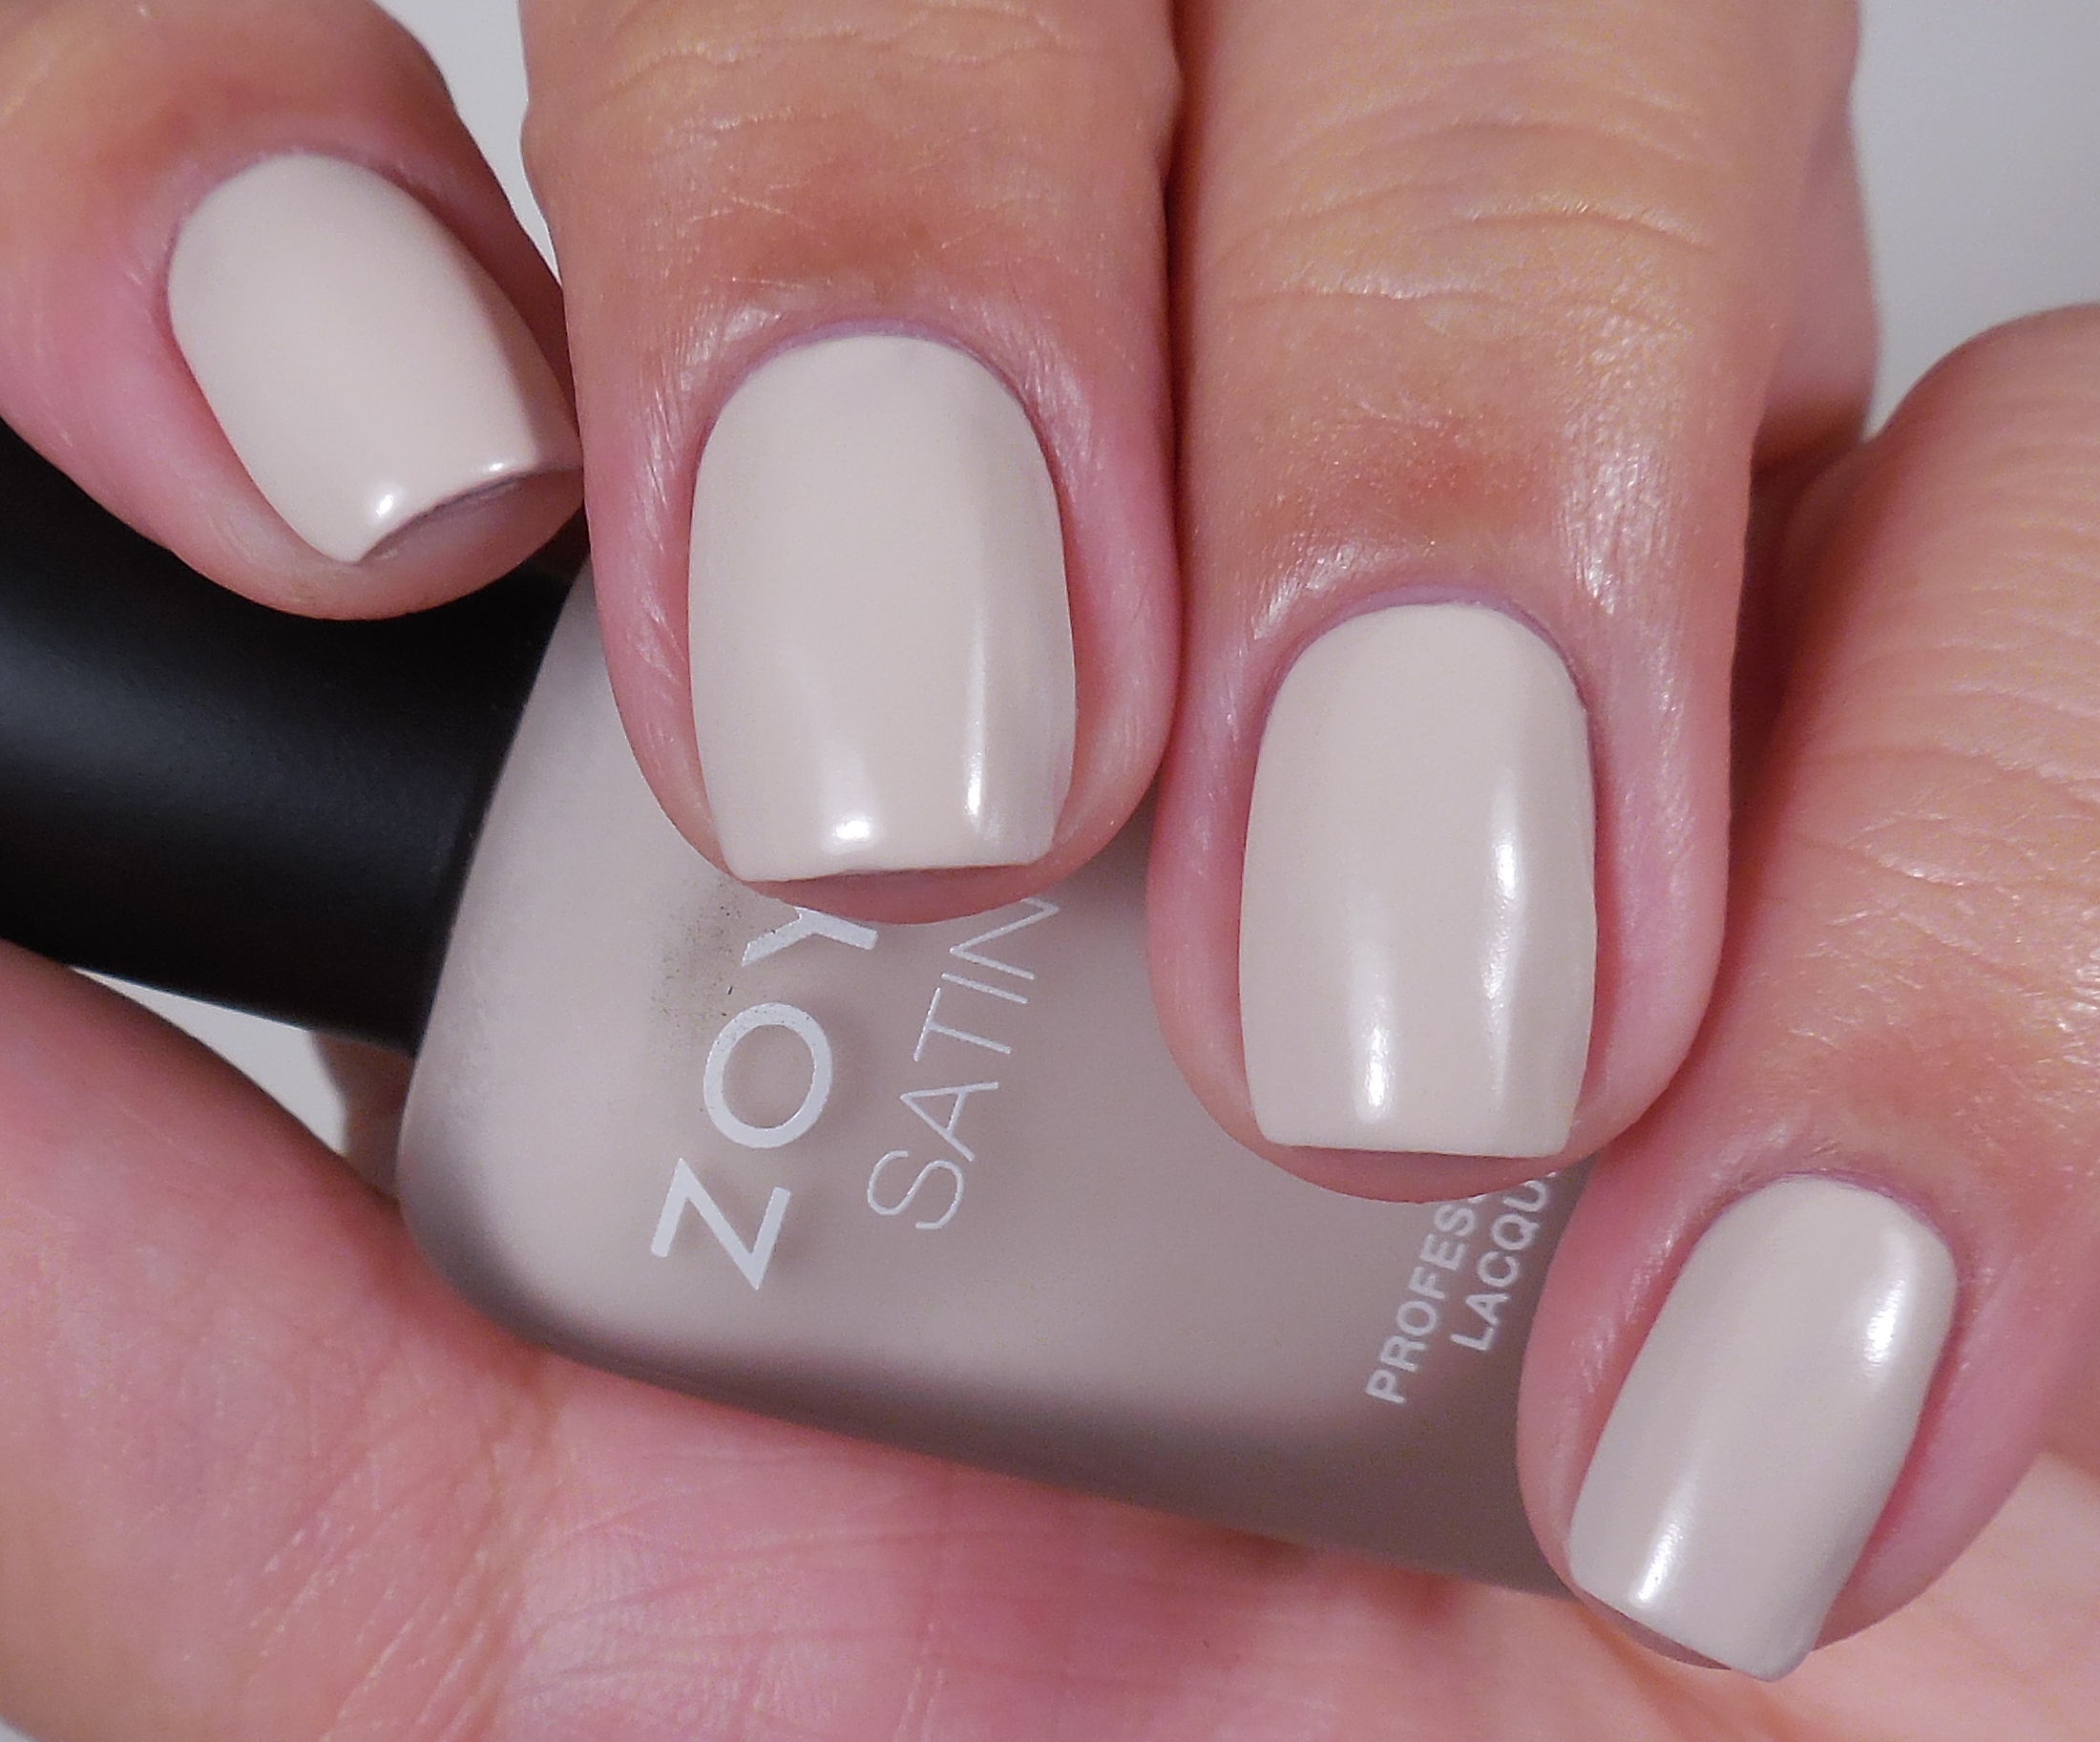
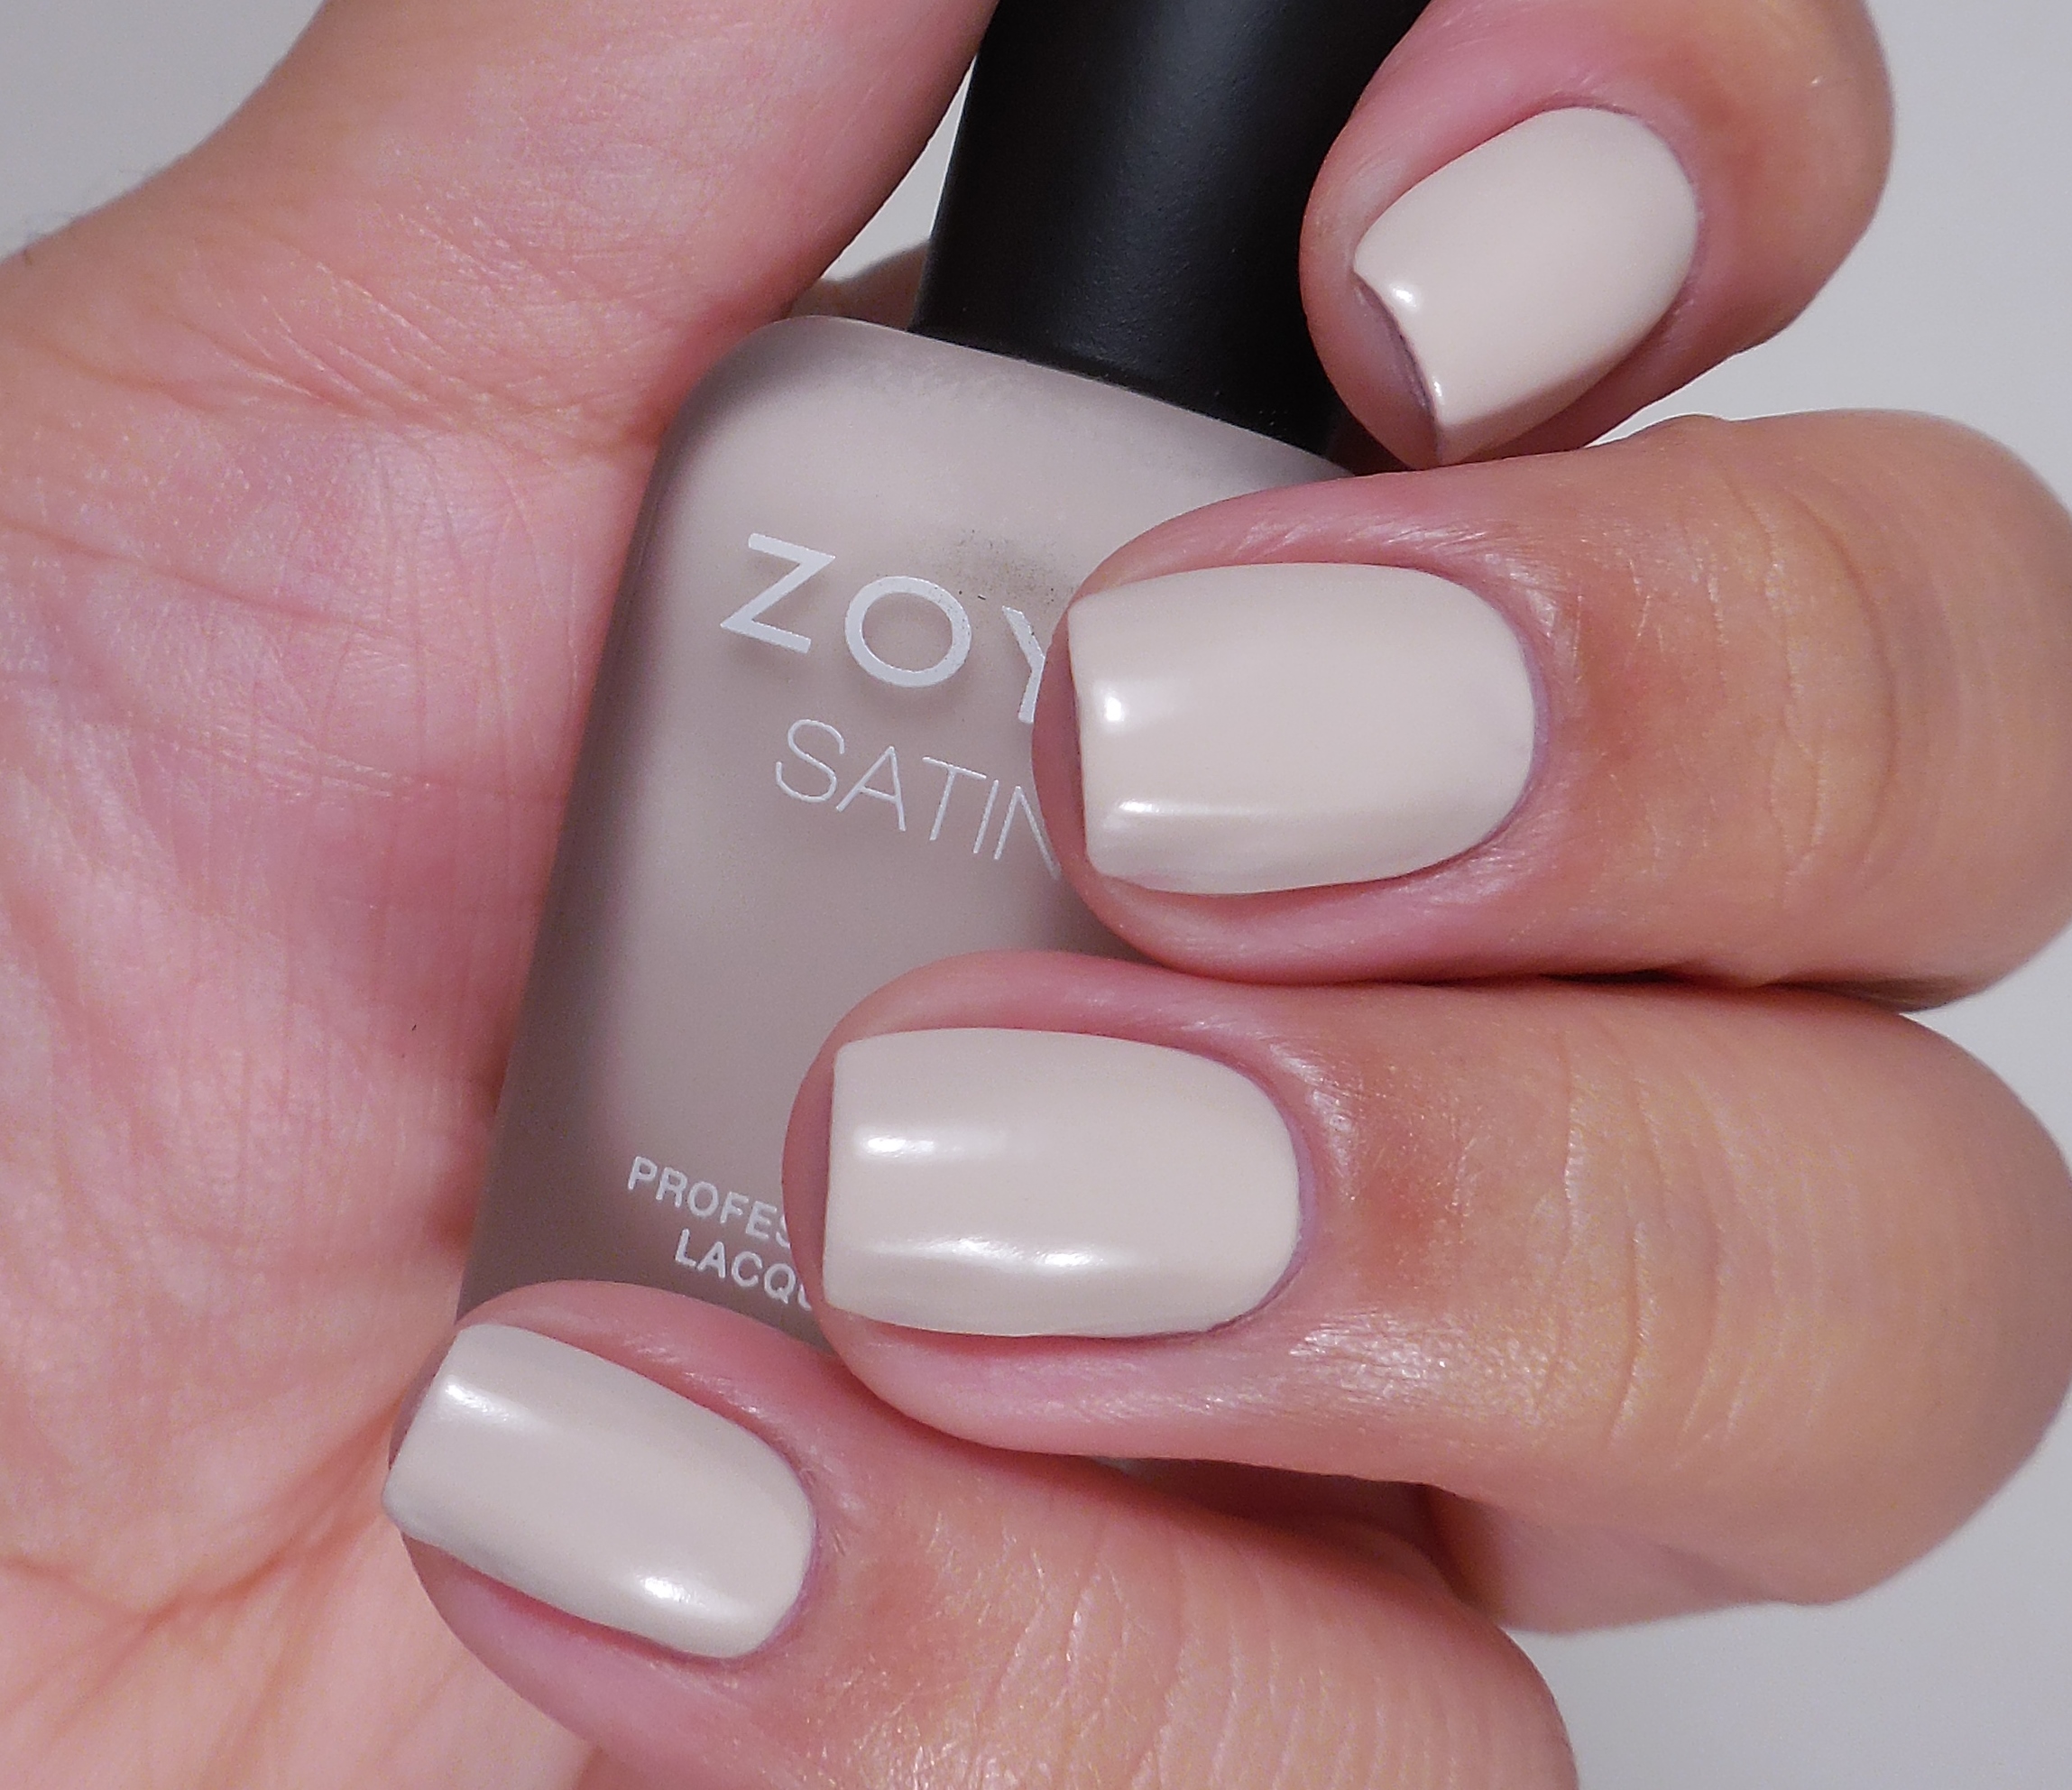
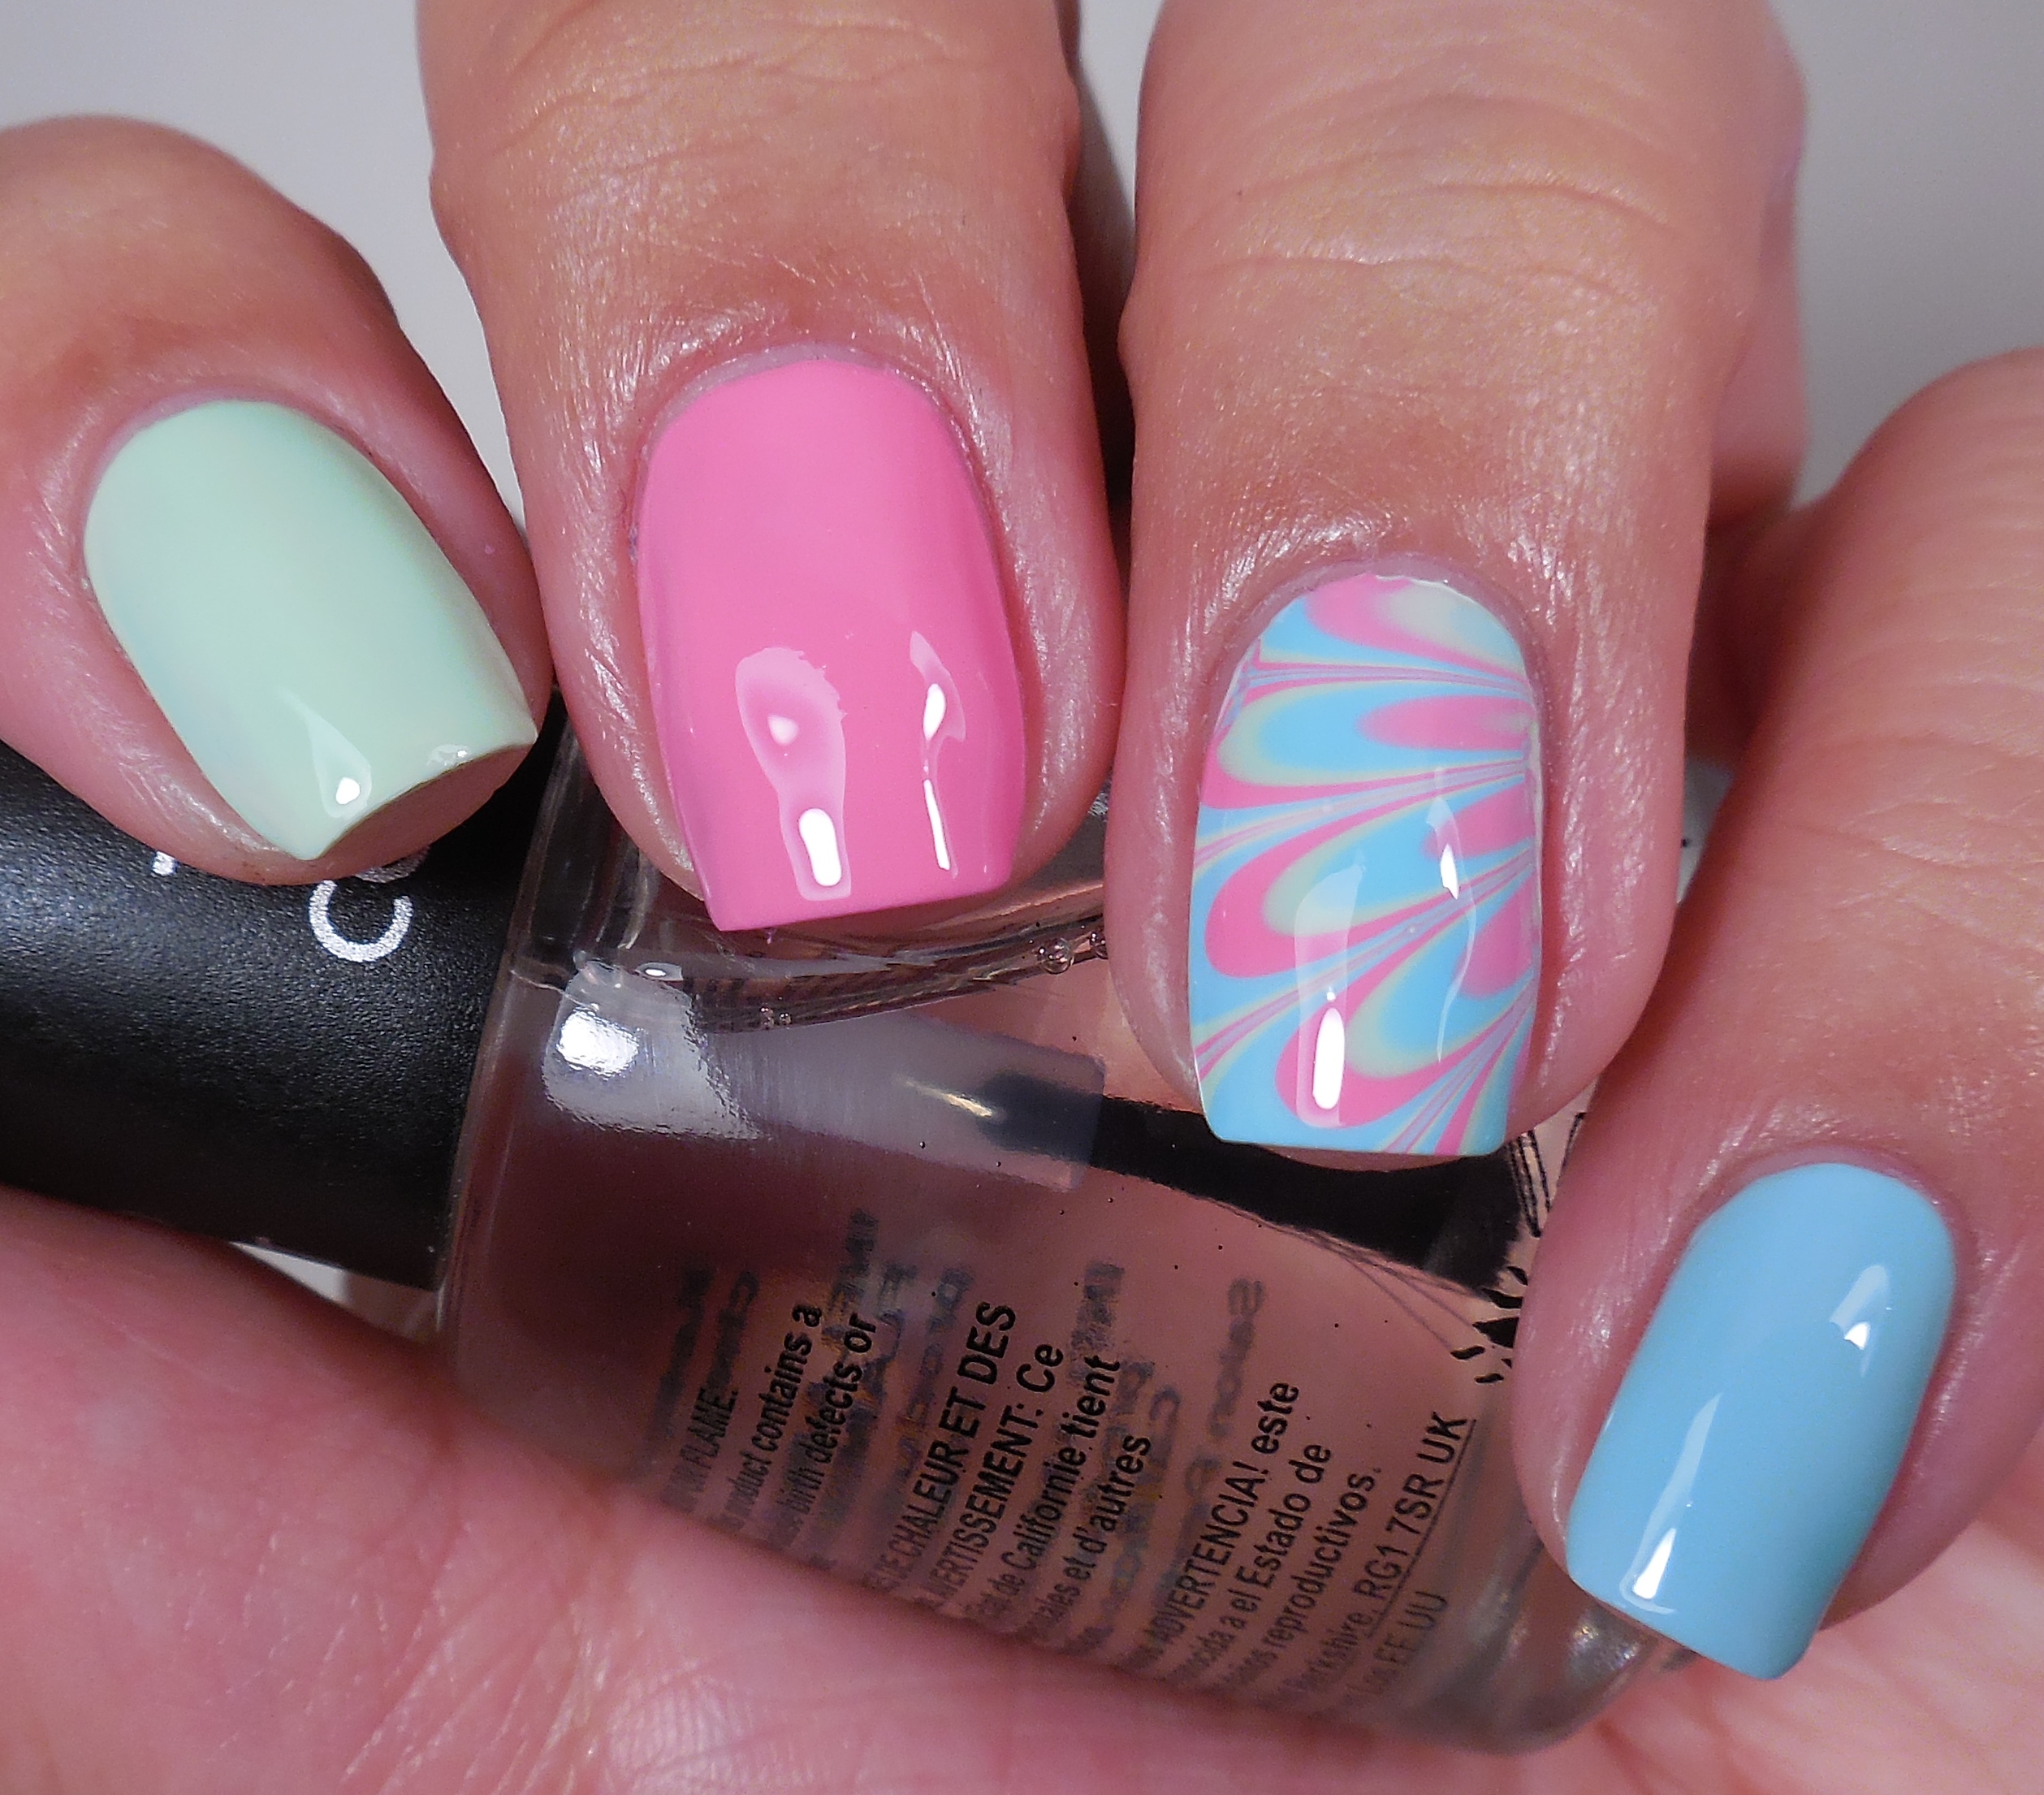
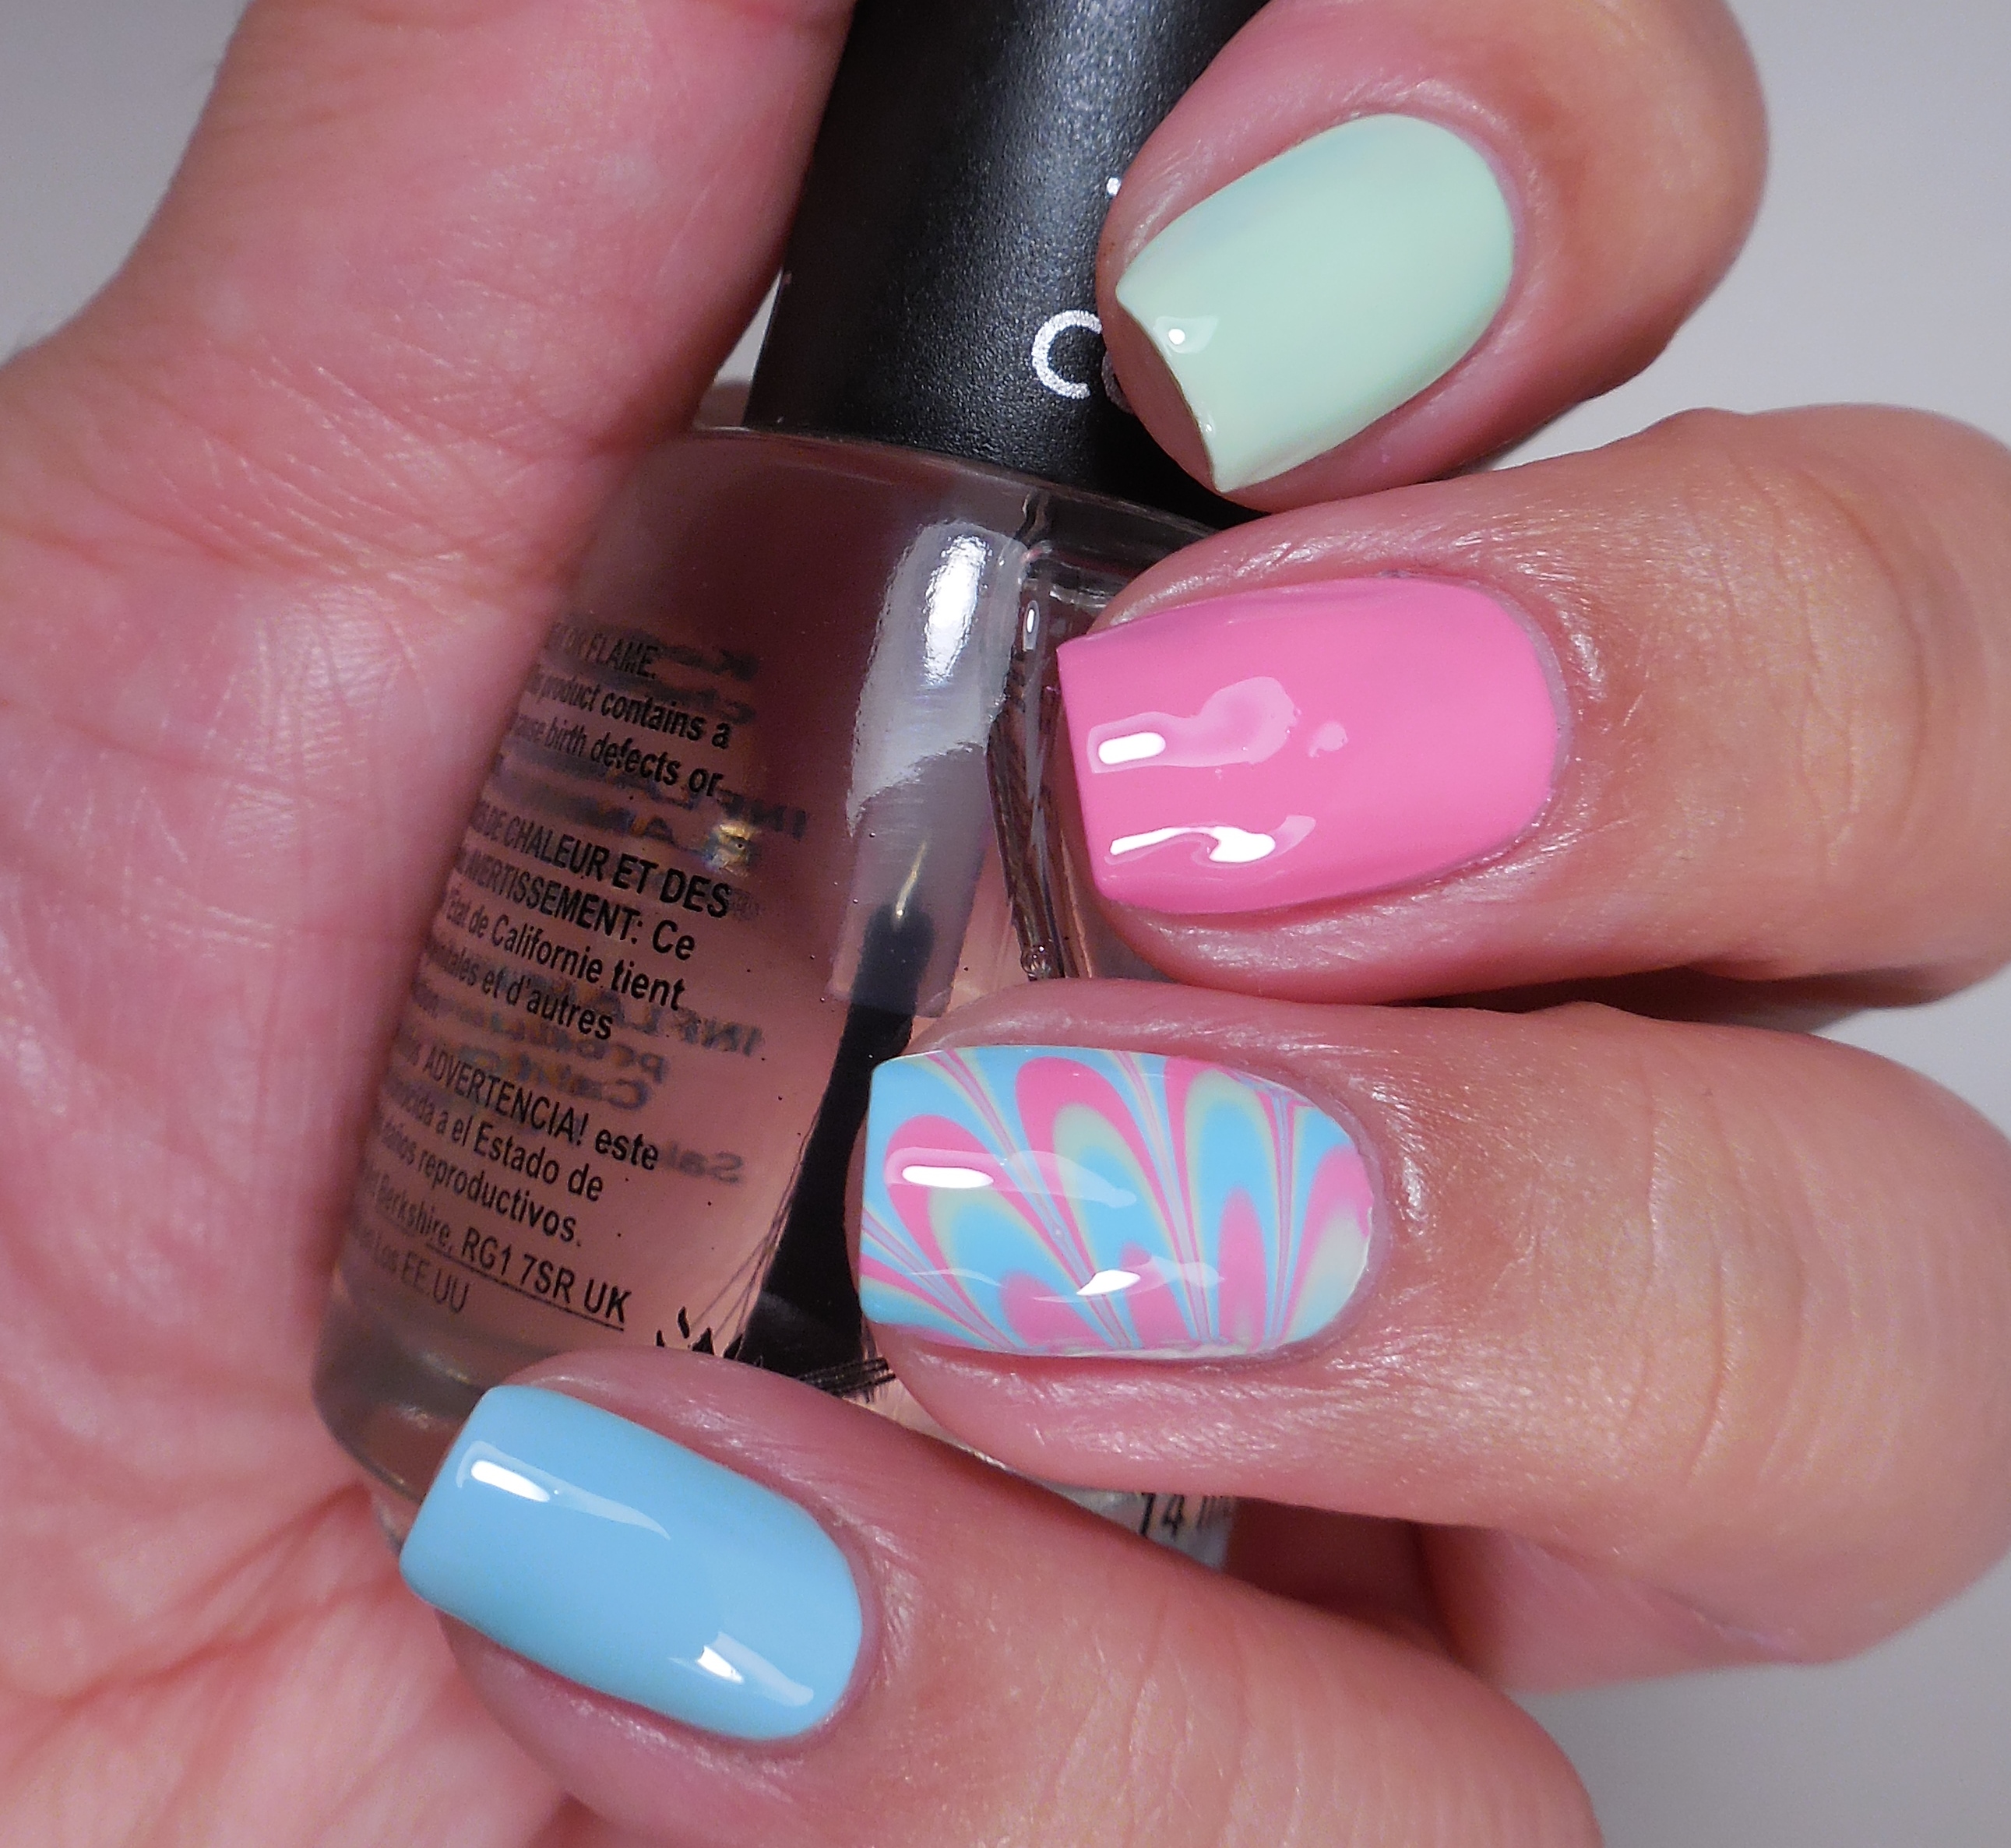
Saying that I really enjoyed the Zoya Delight Collection isn’t enough–I really loved it. The combination of 3 creamy and delicious cremes with 3 metallic shimmers is genius because it gives us almost two collections without being overwhelming. I loved the delicate colors and really enjoyed the welcome pop of shimmer in one half of the collection. I didn’t have problems with the formula despite the light color which is really exciting to me. I’ve also been caught up in my own watermarble world that I used the three cremes for an accent watermarble nail:

I think that it turned out really nice. What do you think?

1314Overall, this collection gets a big thumps up from me. What do you think if these polishes? Will you be picking up any of these colors? If I had to pick a favorite, it would have to be Leslie for sure! The Zoya Delight Collection can be purchased on zoya.com where they retail for $9 a bottle. Thanks so much for stopping by today, and I will talk to you soon!

Stamping Saturdays #55

Stamping Saturdays #55

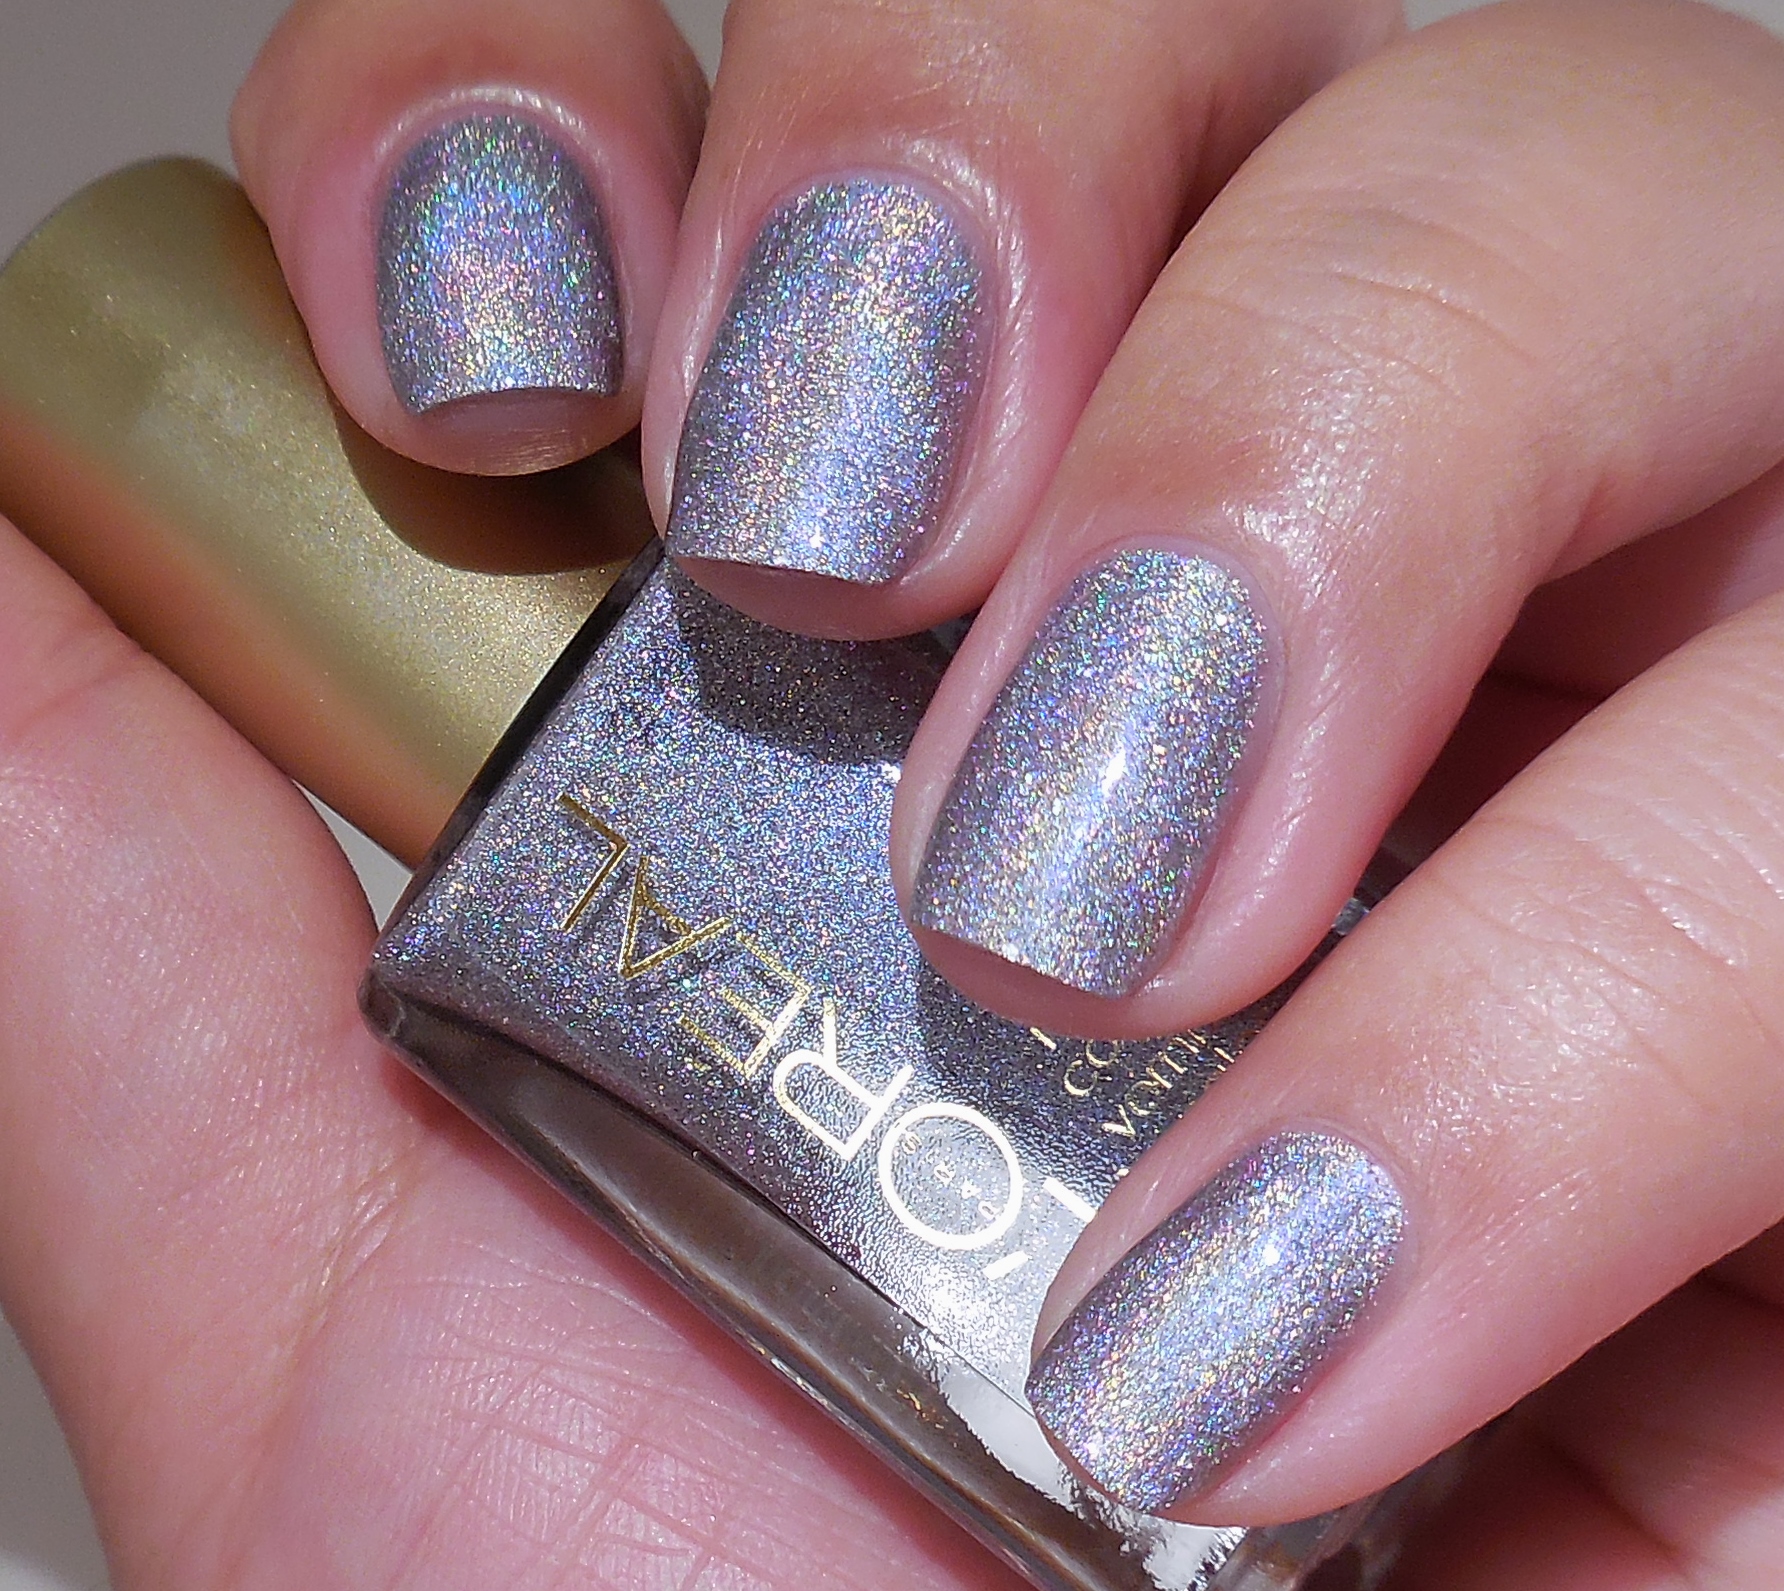
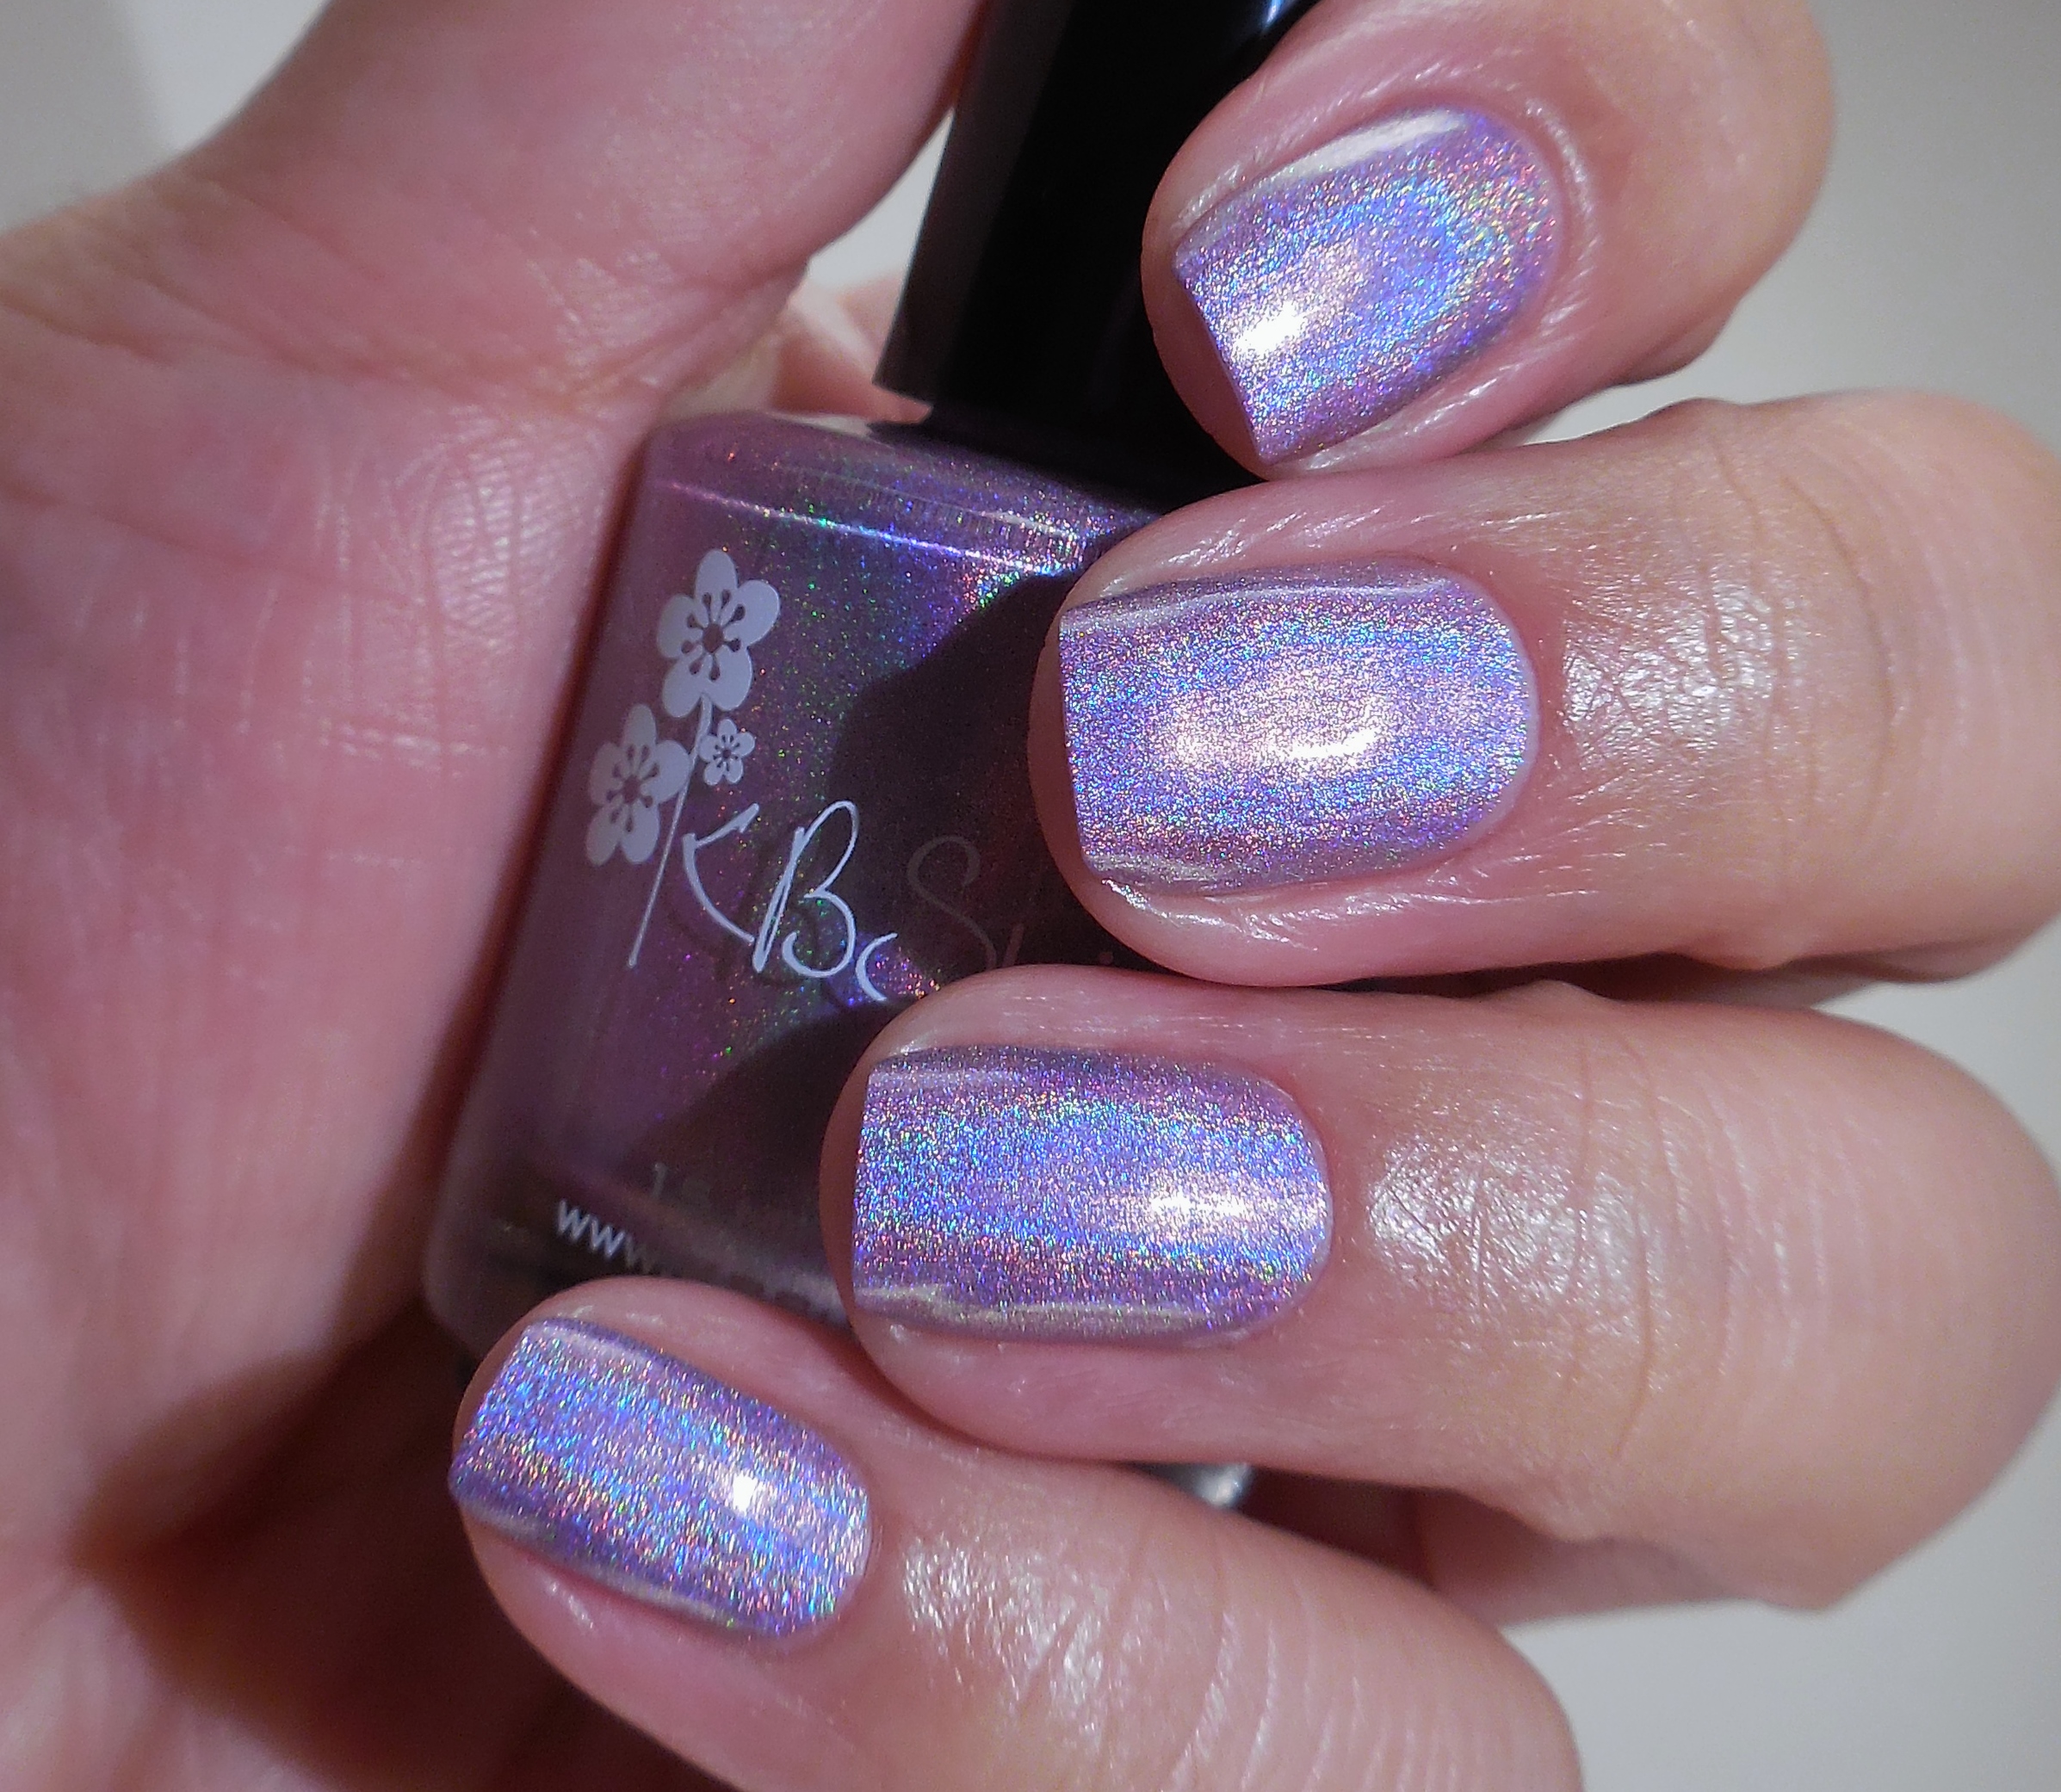
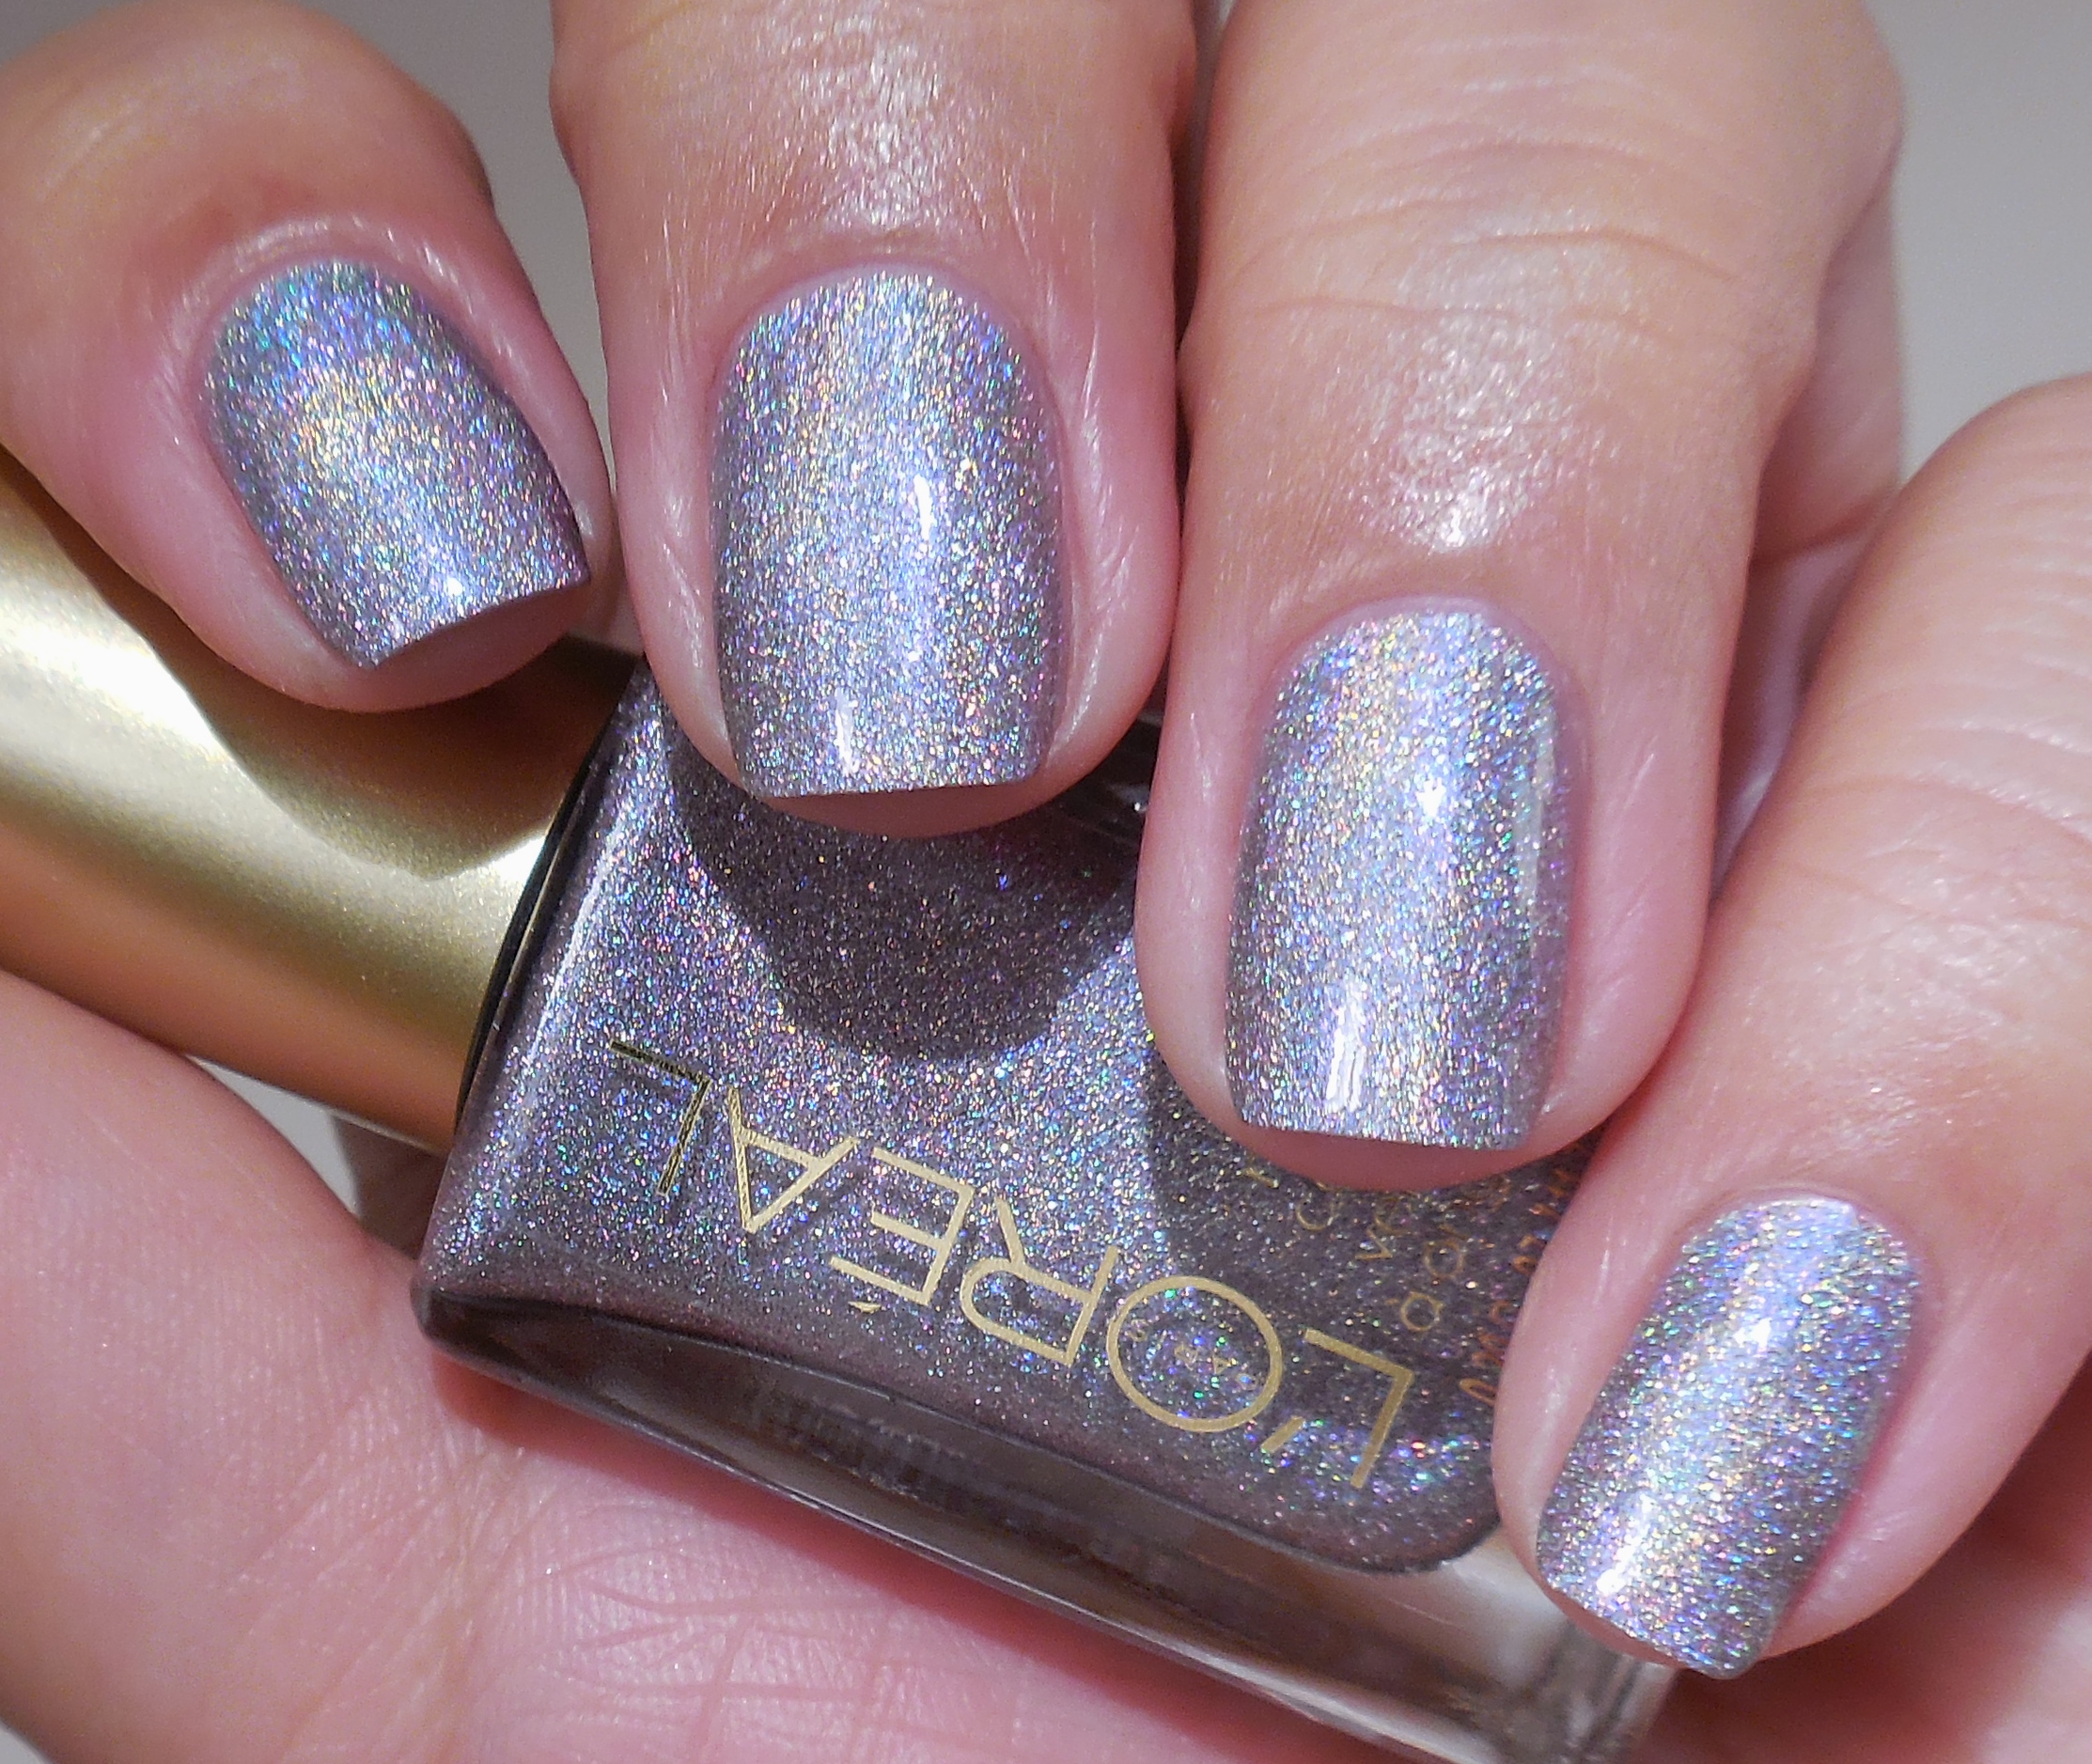
I’m sorry that I’m showing you L’Oreal Masked Affair today because I know how hard it has been for some of you to get your hands on it. Ok, I’m not that sorry because it is a gorgeous polish, and I was excited to find it after all the swatches I had seen. I normally have a hard time finding drugstore stuff like this because the stupid displays have like 2 of each polish, so this was a major win. I don’t think that we will ever get tired of holographic polishes–this is definitely a good one. Let me show you this baby on its own before I show you how I jazzed it up for today’s Stamping Saturdays.

L'Oreal Masqued Affair 1L'Oreal Masqued Affair 2L'Oreal Masqued Affair 3Ghhhaaaaa! Gorgeous. There are plenty of silver holos out there, but this isn’t really silver–it leans lavender and has a unique finish. The formula is a little thin which is normal for drugstore polishes, but it does build up nicely. I applied 3 coats for my swatches above.

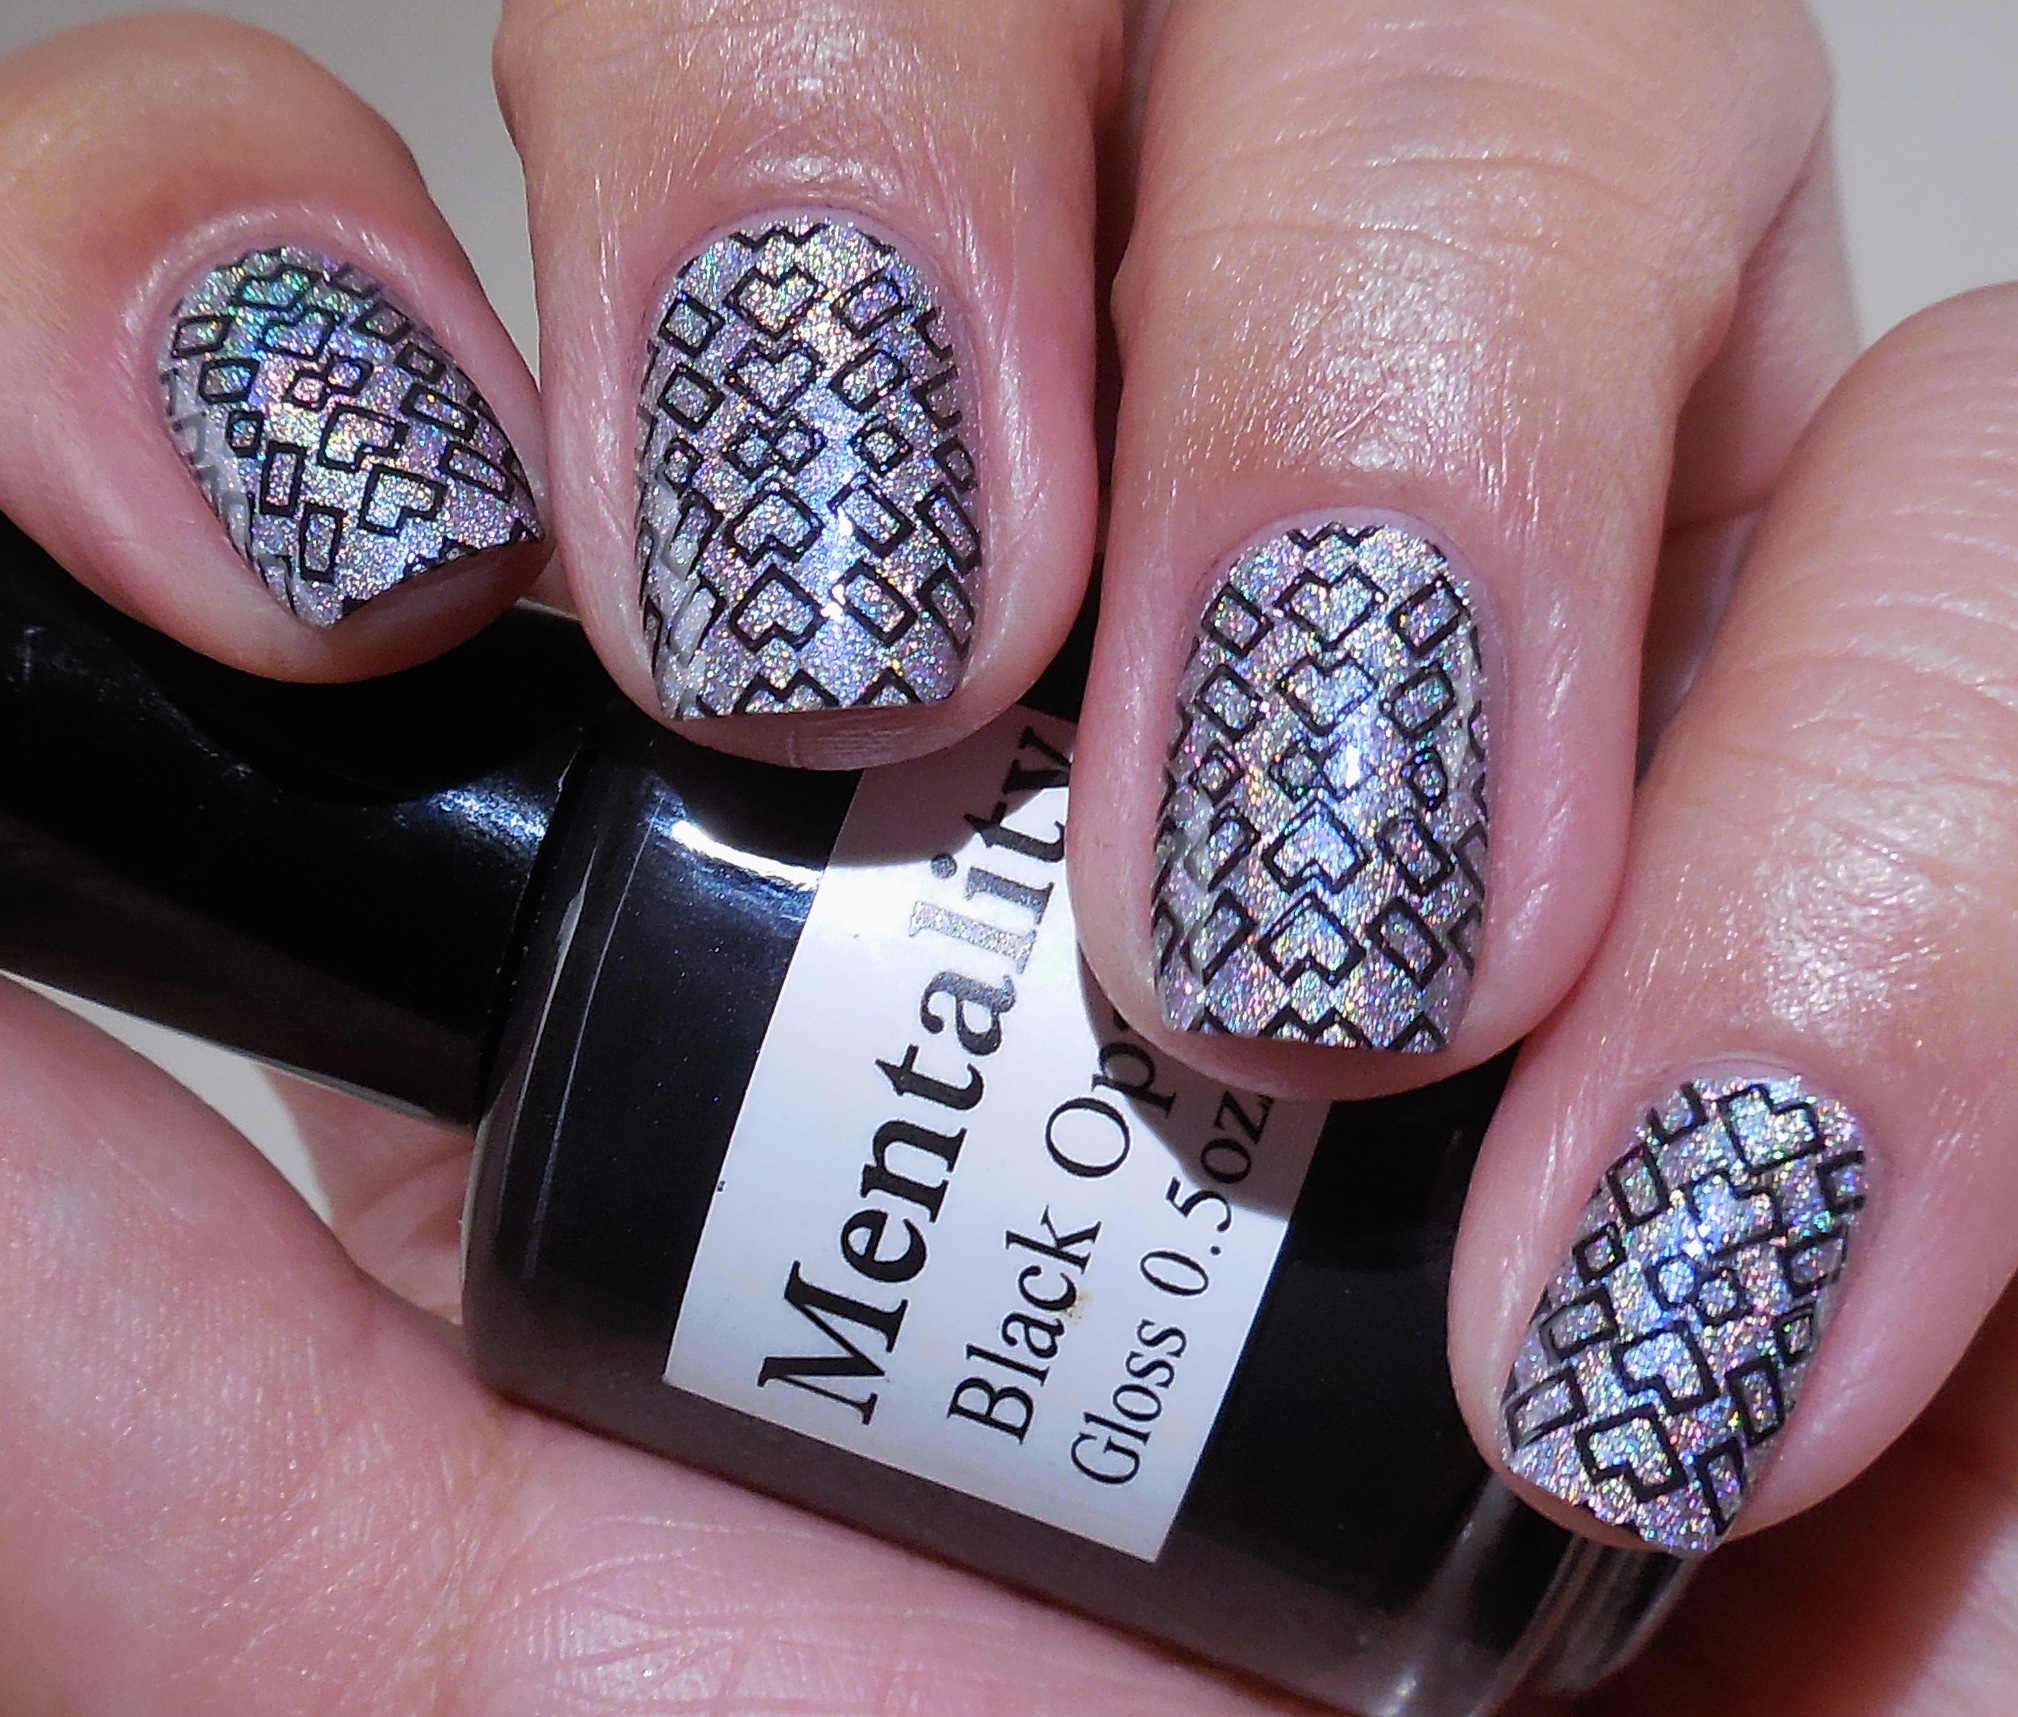
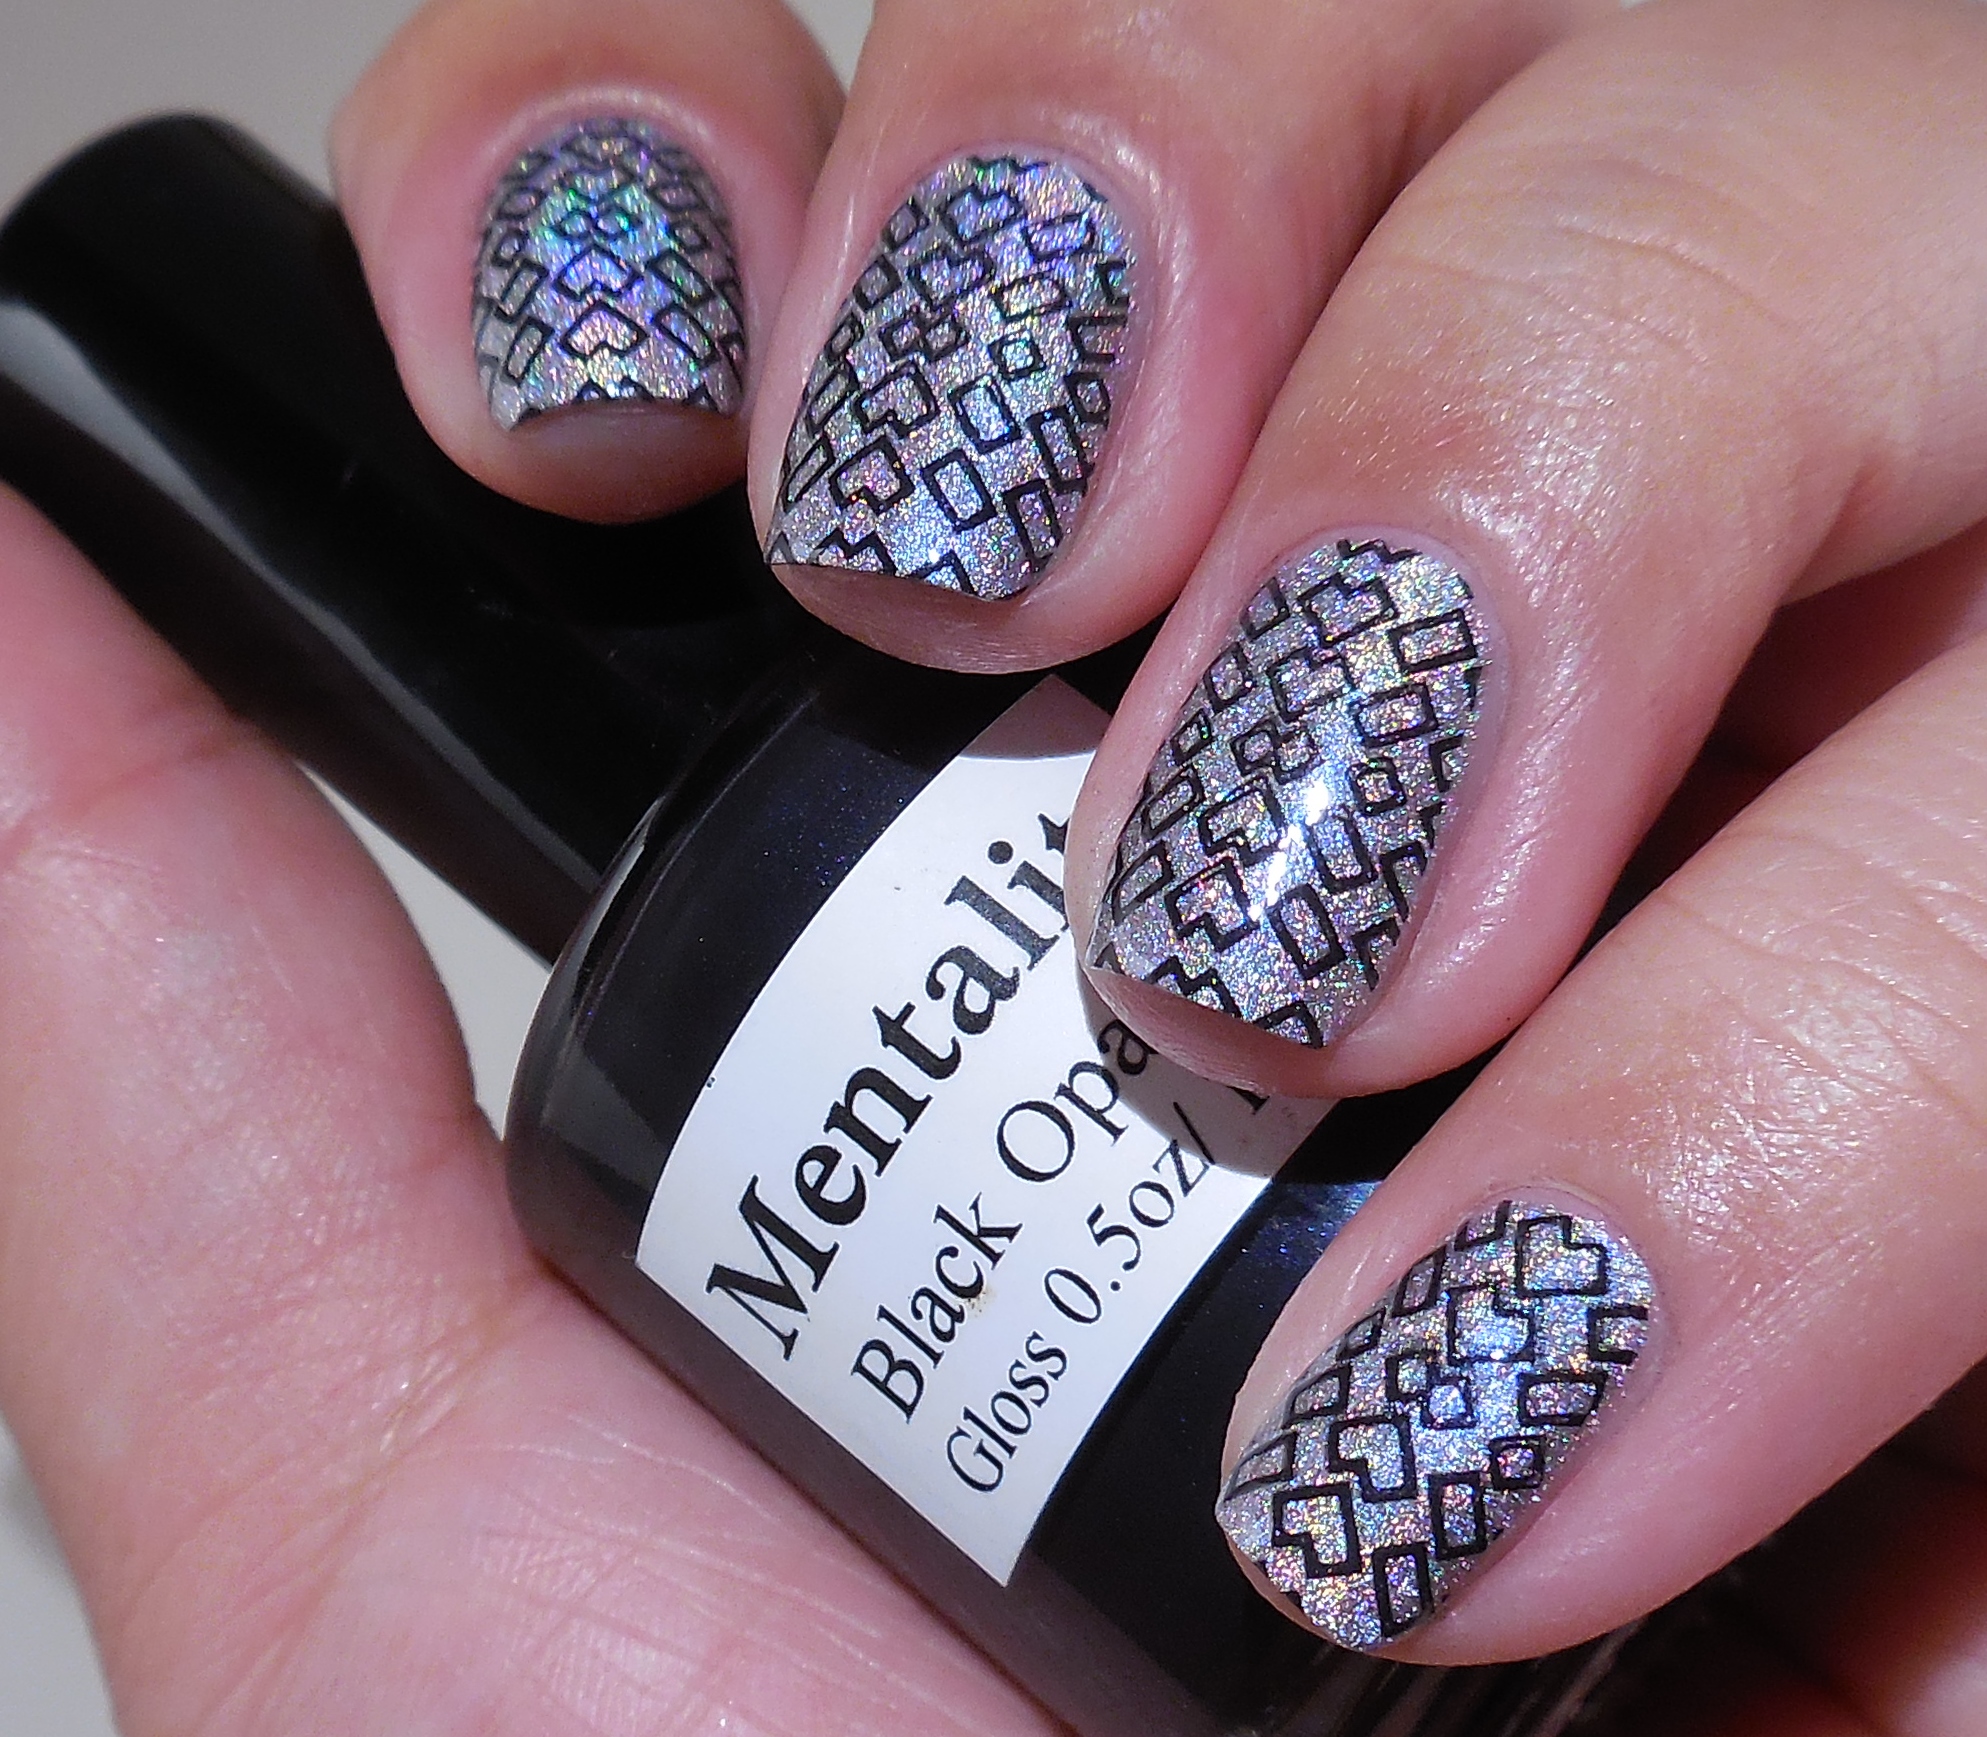
123Since I didn’t want to cover up a lot of this beautiful polish, I used a delicate stamp. As usual, I used my Mentality Black Opaque polish for the stamping. The image I used comes from plate MoYou London Pro Collection 18 (press sample) which is one of my favorite plates!

So what are you up to today? I’m watching Peanut today so it’s been a busy morning. I just managed to put him down for his nap so that’s why I’m posting this kinda late. Anyway, I hope you’re having a nice weekend, and I will talk to you soon.


 Loading InLinkz ...
Kilimanjaro

Kilimanjaro

I’m going to tell you a story today. When I was in my late teens, I met one of my best friends in the whole world. We met the first day of college in 1997 (fuck we’re old) in French class. He walked in and I was reading a book. He asked me if this was French 200 and I looked up and said yes and went back to reading my book. Later on he told me he thought I was a total bitch. Hey, maybe I was but whatever–we became friends. In our early 20’s I got the idea what we absolutely had to climb Mt. Kilimanjaro and it seemed like a feasible idea since we were both working for Air France at that time. We made plans to go before our 30th birthdays, but then life happened and we never made it. We’re in our mid-30’s now and still talk about going, but I don’t see how that’s going to happen. Daniel hikes and does a lot of physical stuff while I’m terribly out of shape and can’t climb a few flight of stairs without getting tired. So what did I do when I couldn’t get to Kilimanjaro? I reached for Everest…yes, my Everest of nail techniques: watermarbling. I’m a swatcher at my core so “nail art” has never been my forte, but I try to do some creative things which is why I am so into the Stamping Saturday series. I’ve been trying to figure out watermarbling for the last year–no joke. Every time I have tried it, it has been such a hot mess that I get frustrated and forget about it for a couple of weeks until I get the idea to give it one more shot and end up with the same horrible results. This has been my routine for the last year–isn’t the definition of insanity  doing the same thing over and over and expecting a different result? SHUT IT!! Anyway, something clicked last week. I did my first successful watermarble and documented it on Instagram:
After that experience I got a little cocky. I thought I was a watermarble queen and decided that I would now try to do the decal method since I hate the clean up that is involved in the traditional method even when using tape, glue, latex, etc… If you don’t know what I’m talking about, this is a video from Yagala on IG that shows the method in action:


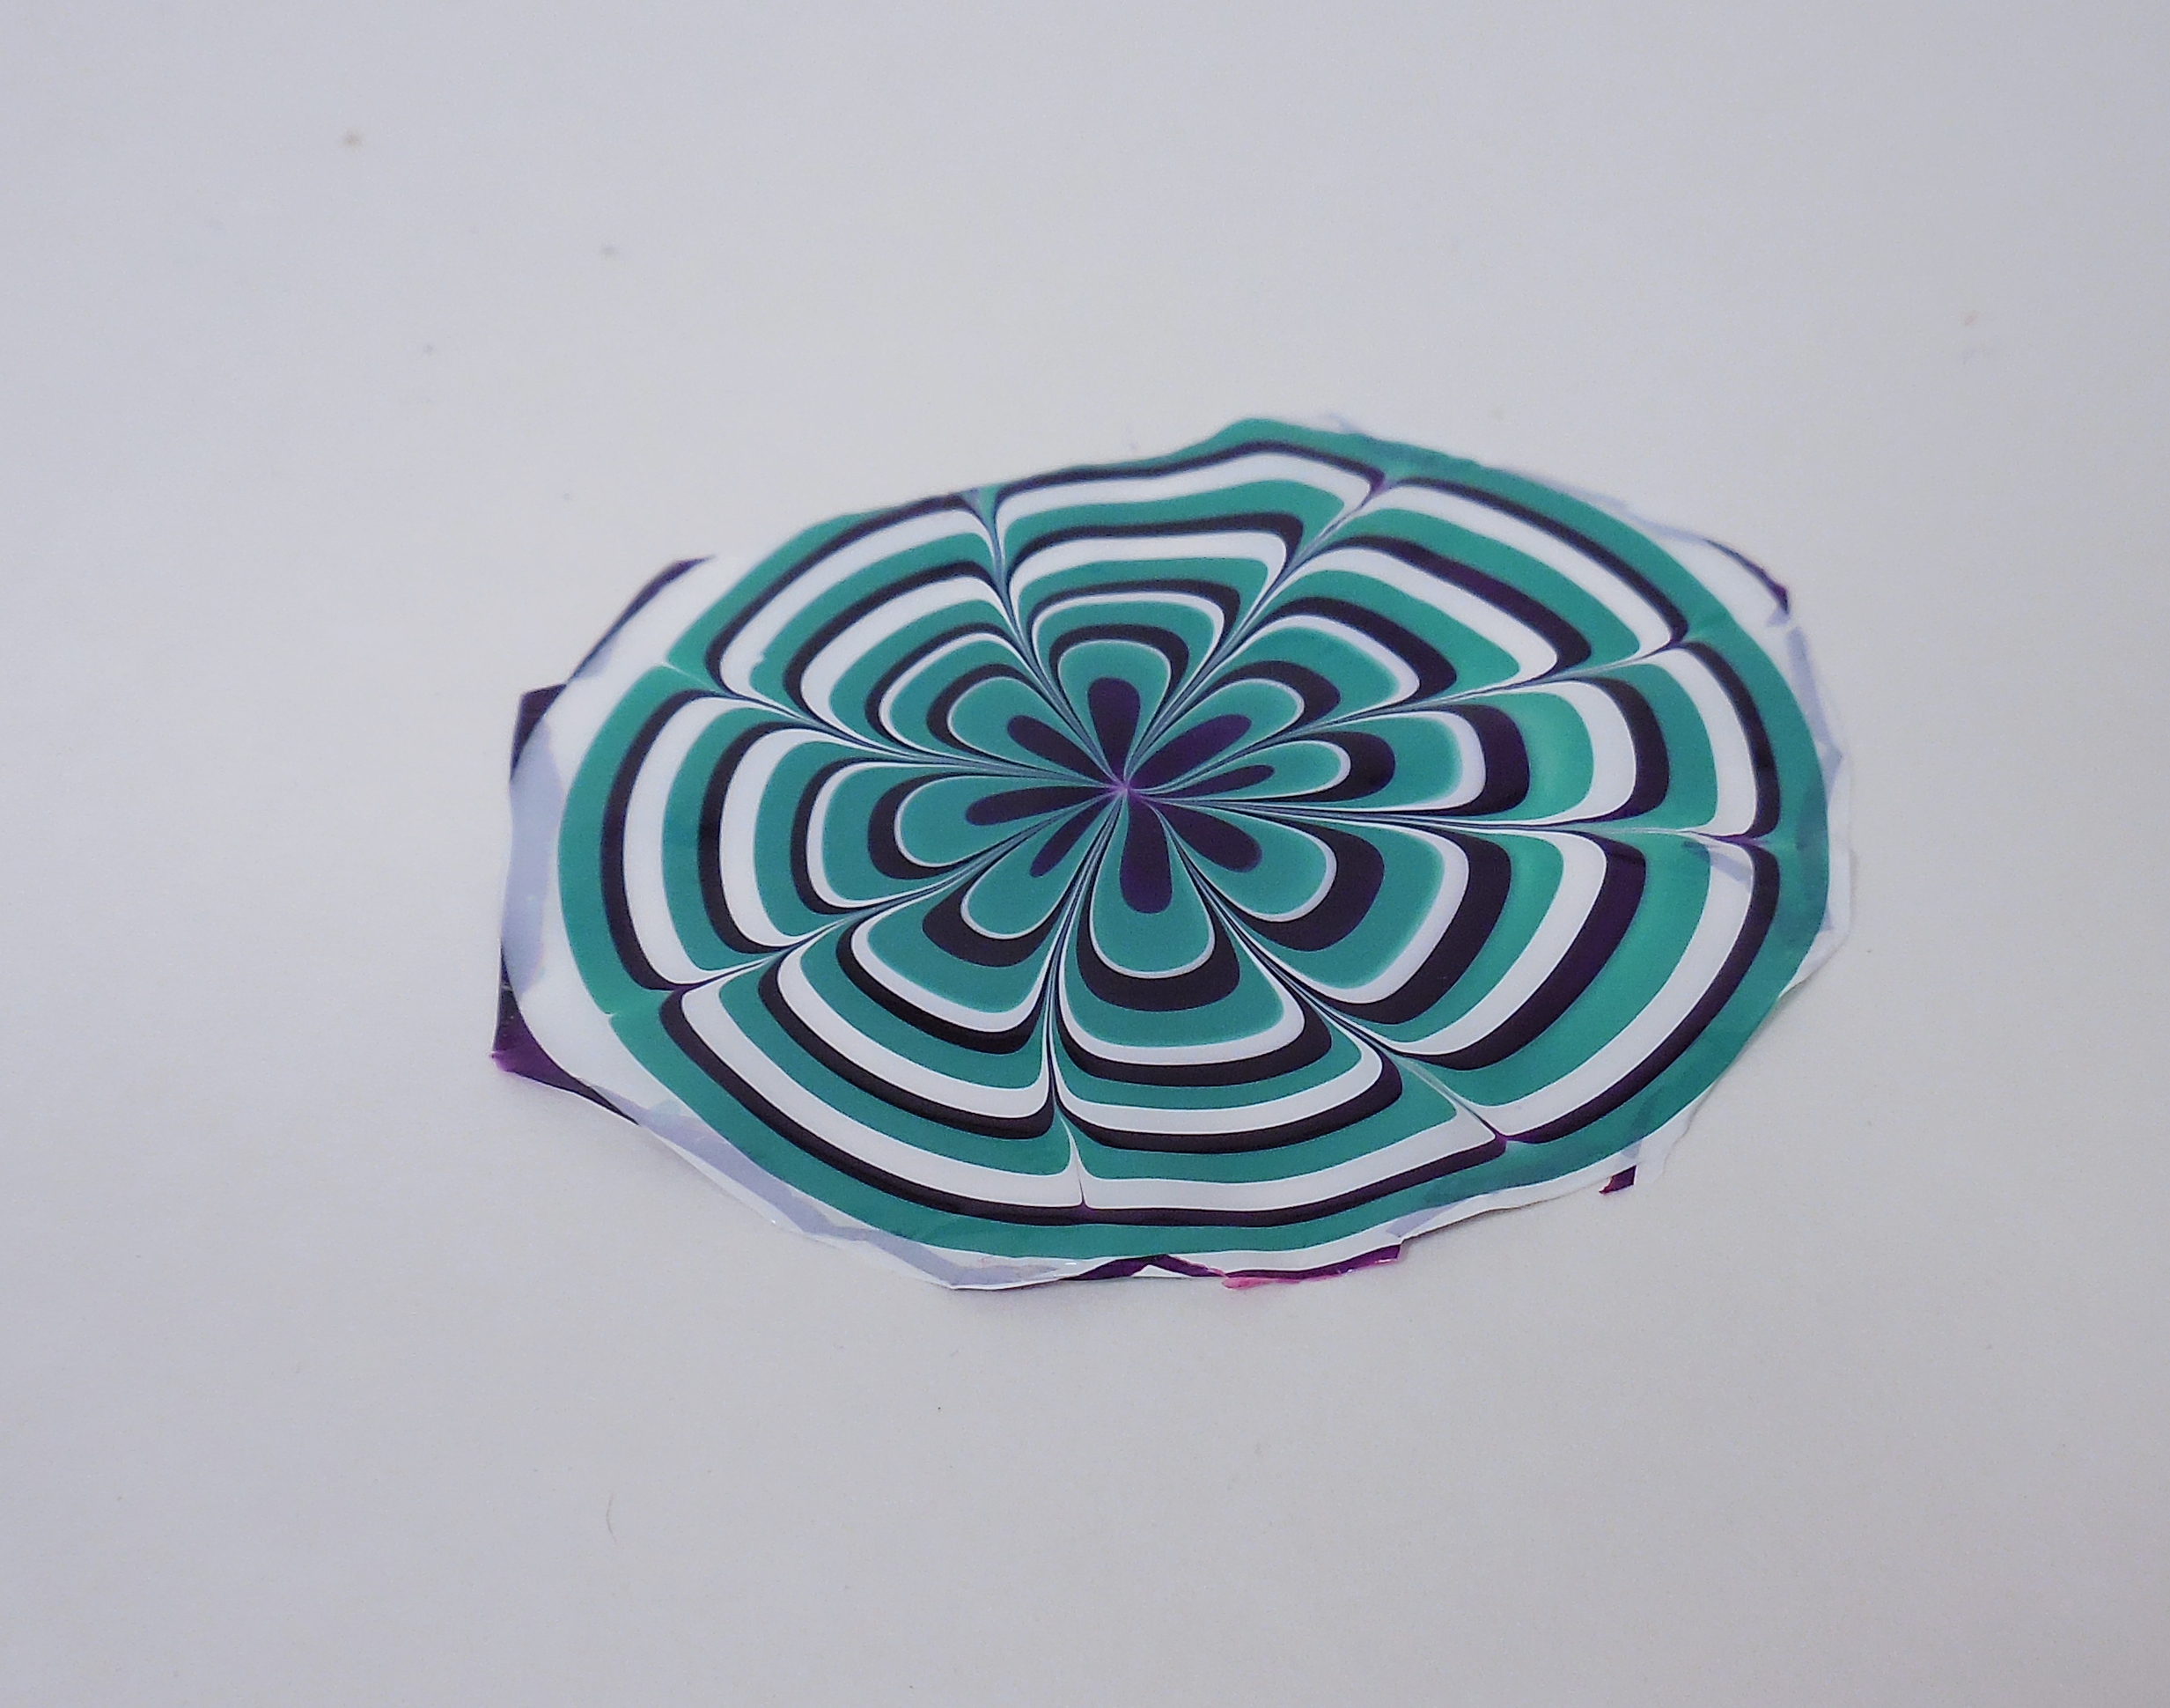
Pretty amazing, right? Well, it started it out well enough for me anyway. I used three OPI polishes for my watermarble because I have found that they work really well for me. In fact, I haven’t found a single OPI creme that doesn’t watermarble beautifully. This was my decal after I pulled it out of the water and let it dry: DSCN3212Pretty, right? Once I had my decal done, I basically cut it up into 4 pieces, painted my nails white, and lined up each piece on my nails while the polish was still tacky and kind of cut off the excess. After all that, I still had to do some minor clean up and then top coated everything with Seche Vite.

DSCN3222DSCN3223It’s not too bad, but I also don’t think it is that pretty or neat. I kind of smeared the design in certain areas while I was pressing the decal on my nails and that really annoyed me. I really wanted it to be perfect before I posted it on my blog, but I guess it just isn’t meant to be. I think that it looks nice from far away, but you can see all the fails up close. In the immortal words of Cher:

monet

For me, this is the equivalent of getting altitude sickness at Everest Base Camp. Womp womp. Watermarble, I don’t know why you hate me so.

gif-i-wish-i-could-quit-you-brokeback

I don’t know if I’m done with you yet, but I think I am ready to move on for a bit. I can’t take the disappointment anymore. What are some of the techniques that you just can’t master? Do you have any tips for me? Thanks so much for stopping by today, and I will talk to you soon.

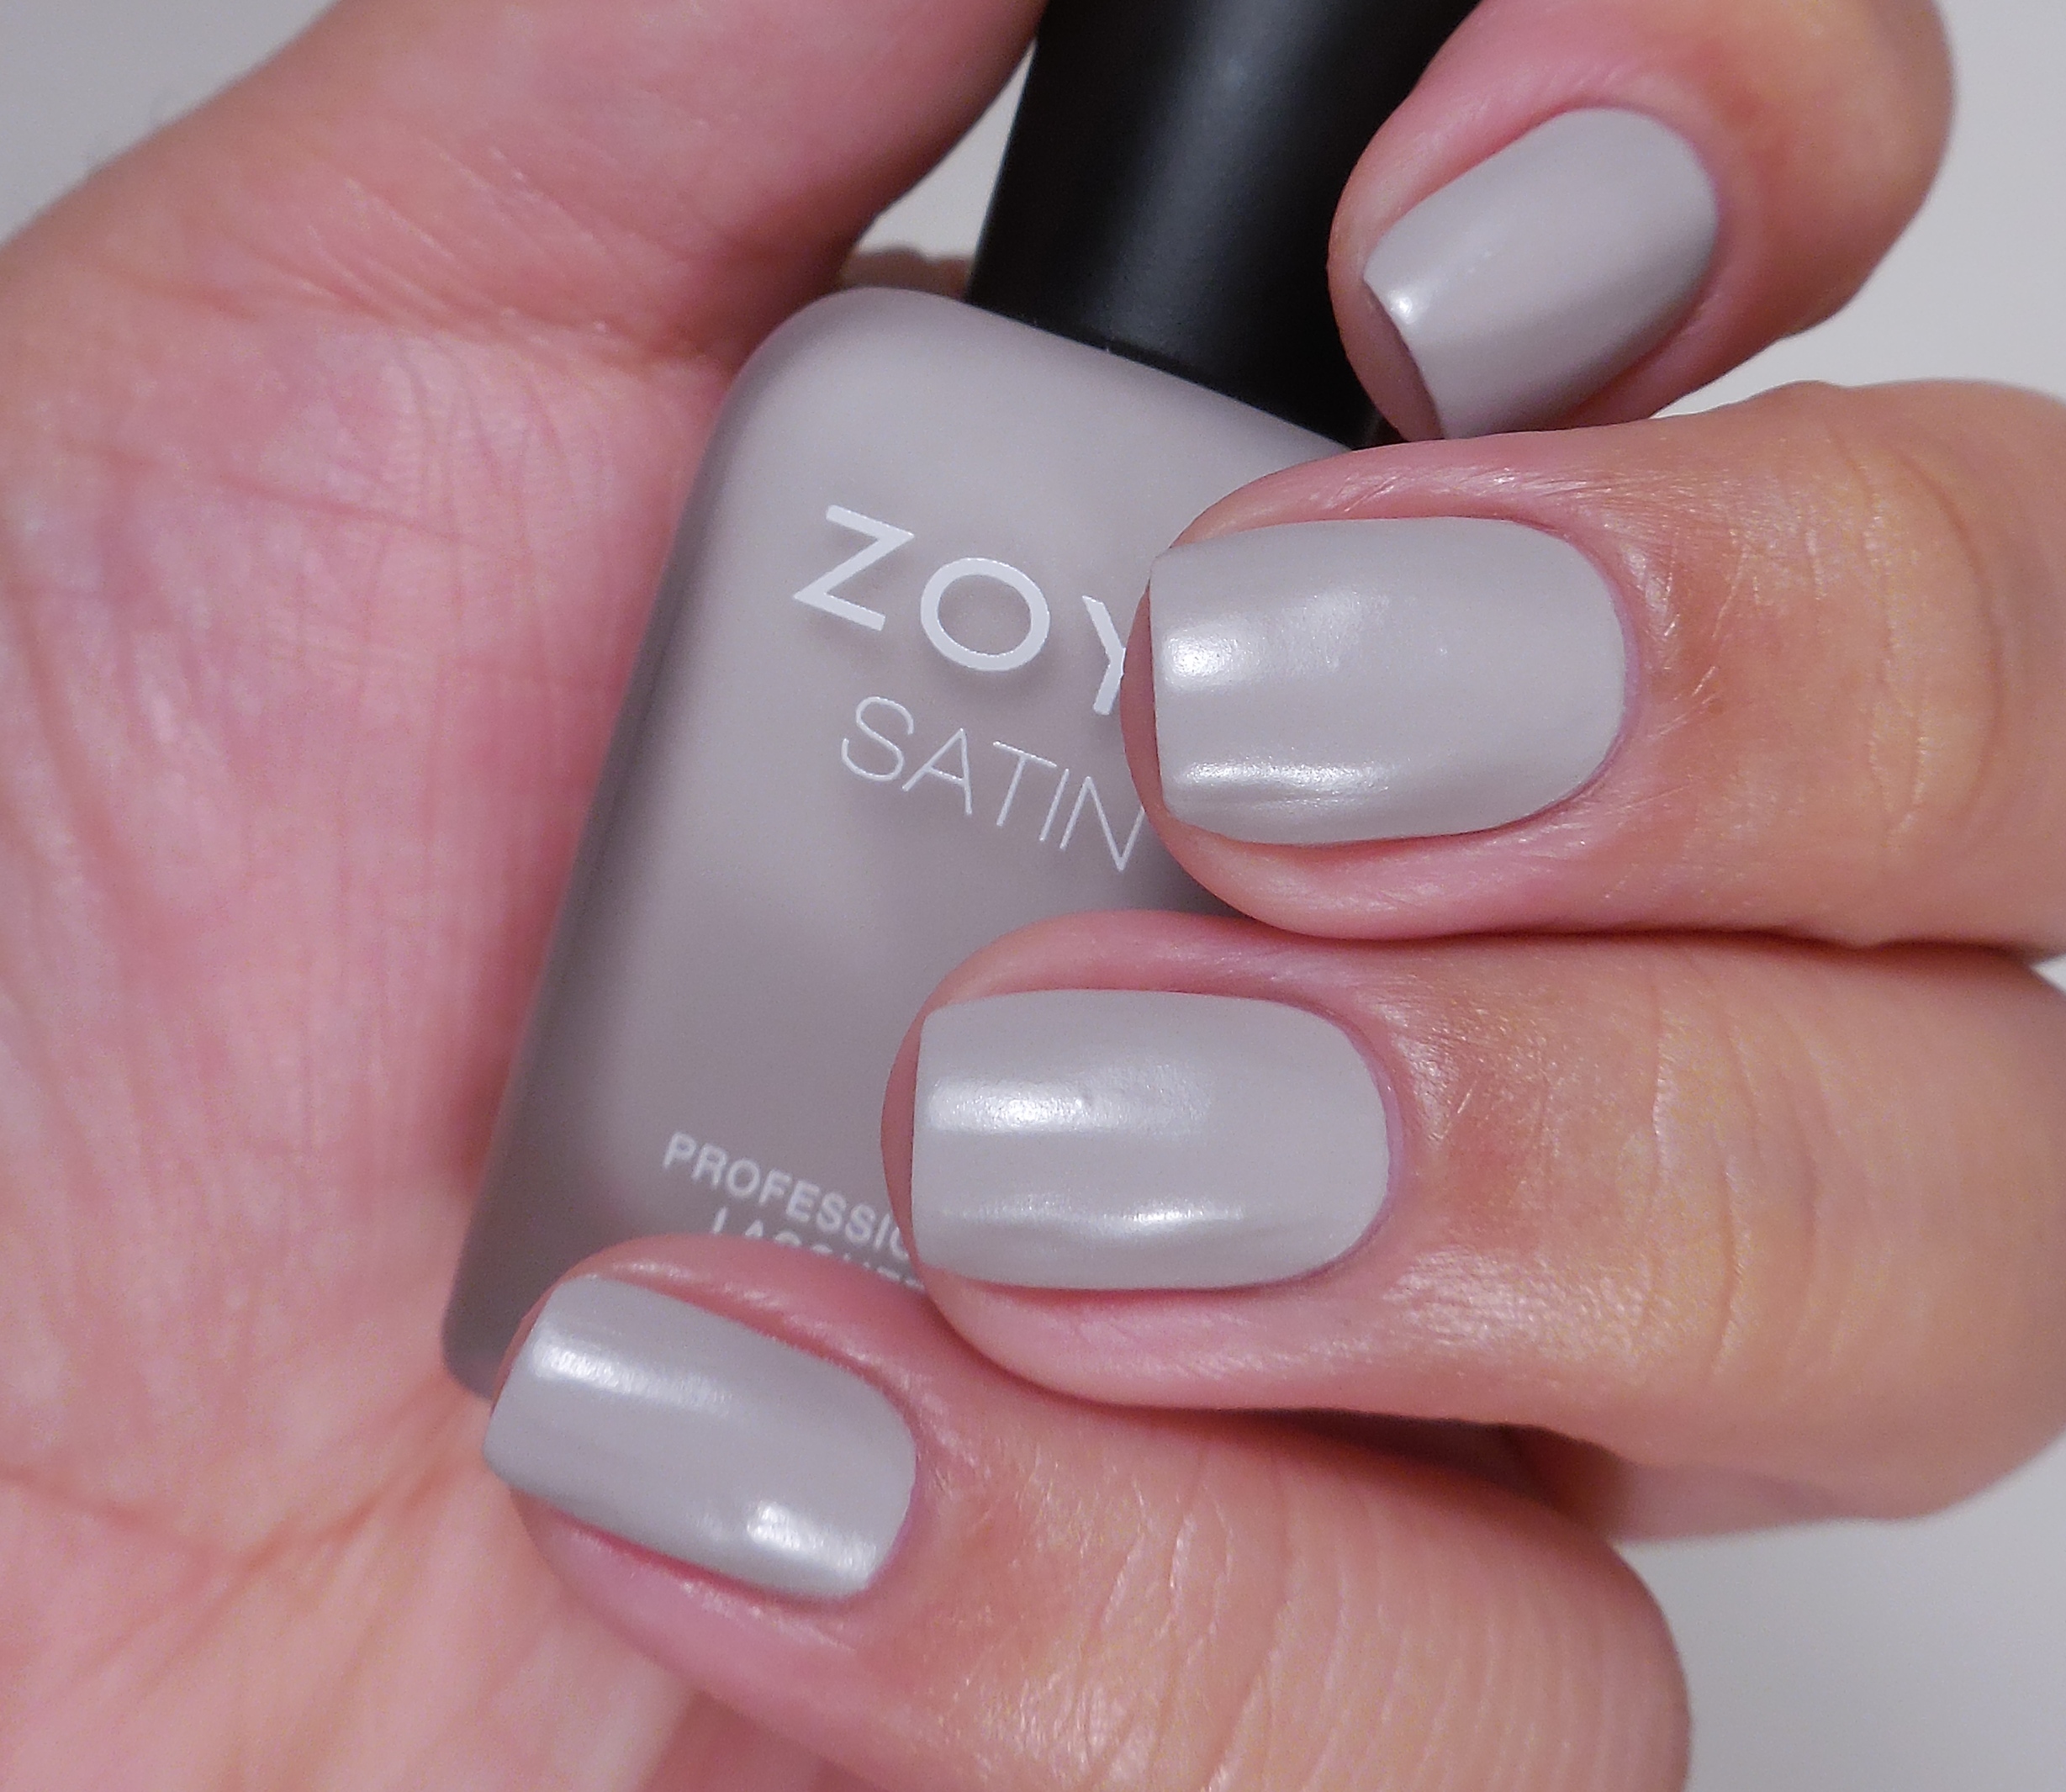
Zoya Naturel Satins Collection

Zoya Naturel Satins Collection

PressSample


I can’t believe how much swatching I got done this weekend and now I have tons of stuff saved up to show you. I was in a swatching mindset and things were just going my way so that’s how I managed to get so much done. One of the collections that I swatched this weekend is the Zoya Naturel Satins Collection. To be perfectly honest, I was totally expecting to hate this one so hard because I just kind of hate dealing with most matte/satin collections because the formula on them ends up being a huge pain in the ass. Well, I know you are dying to hear what I thought (not), so let me show you my swatches before I get into it.

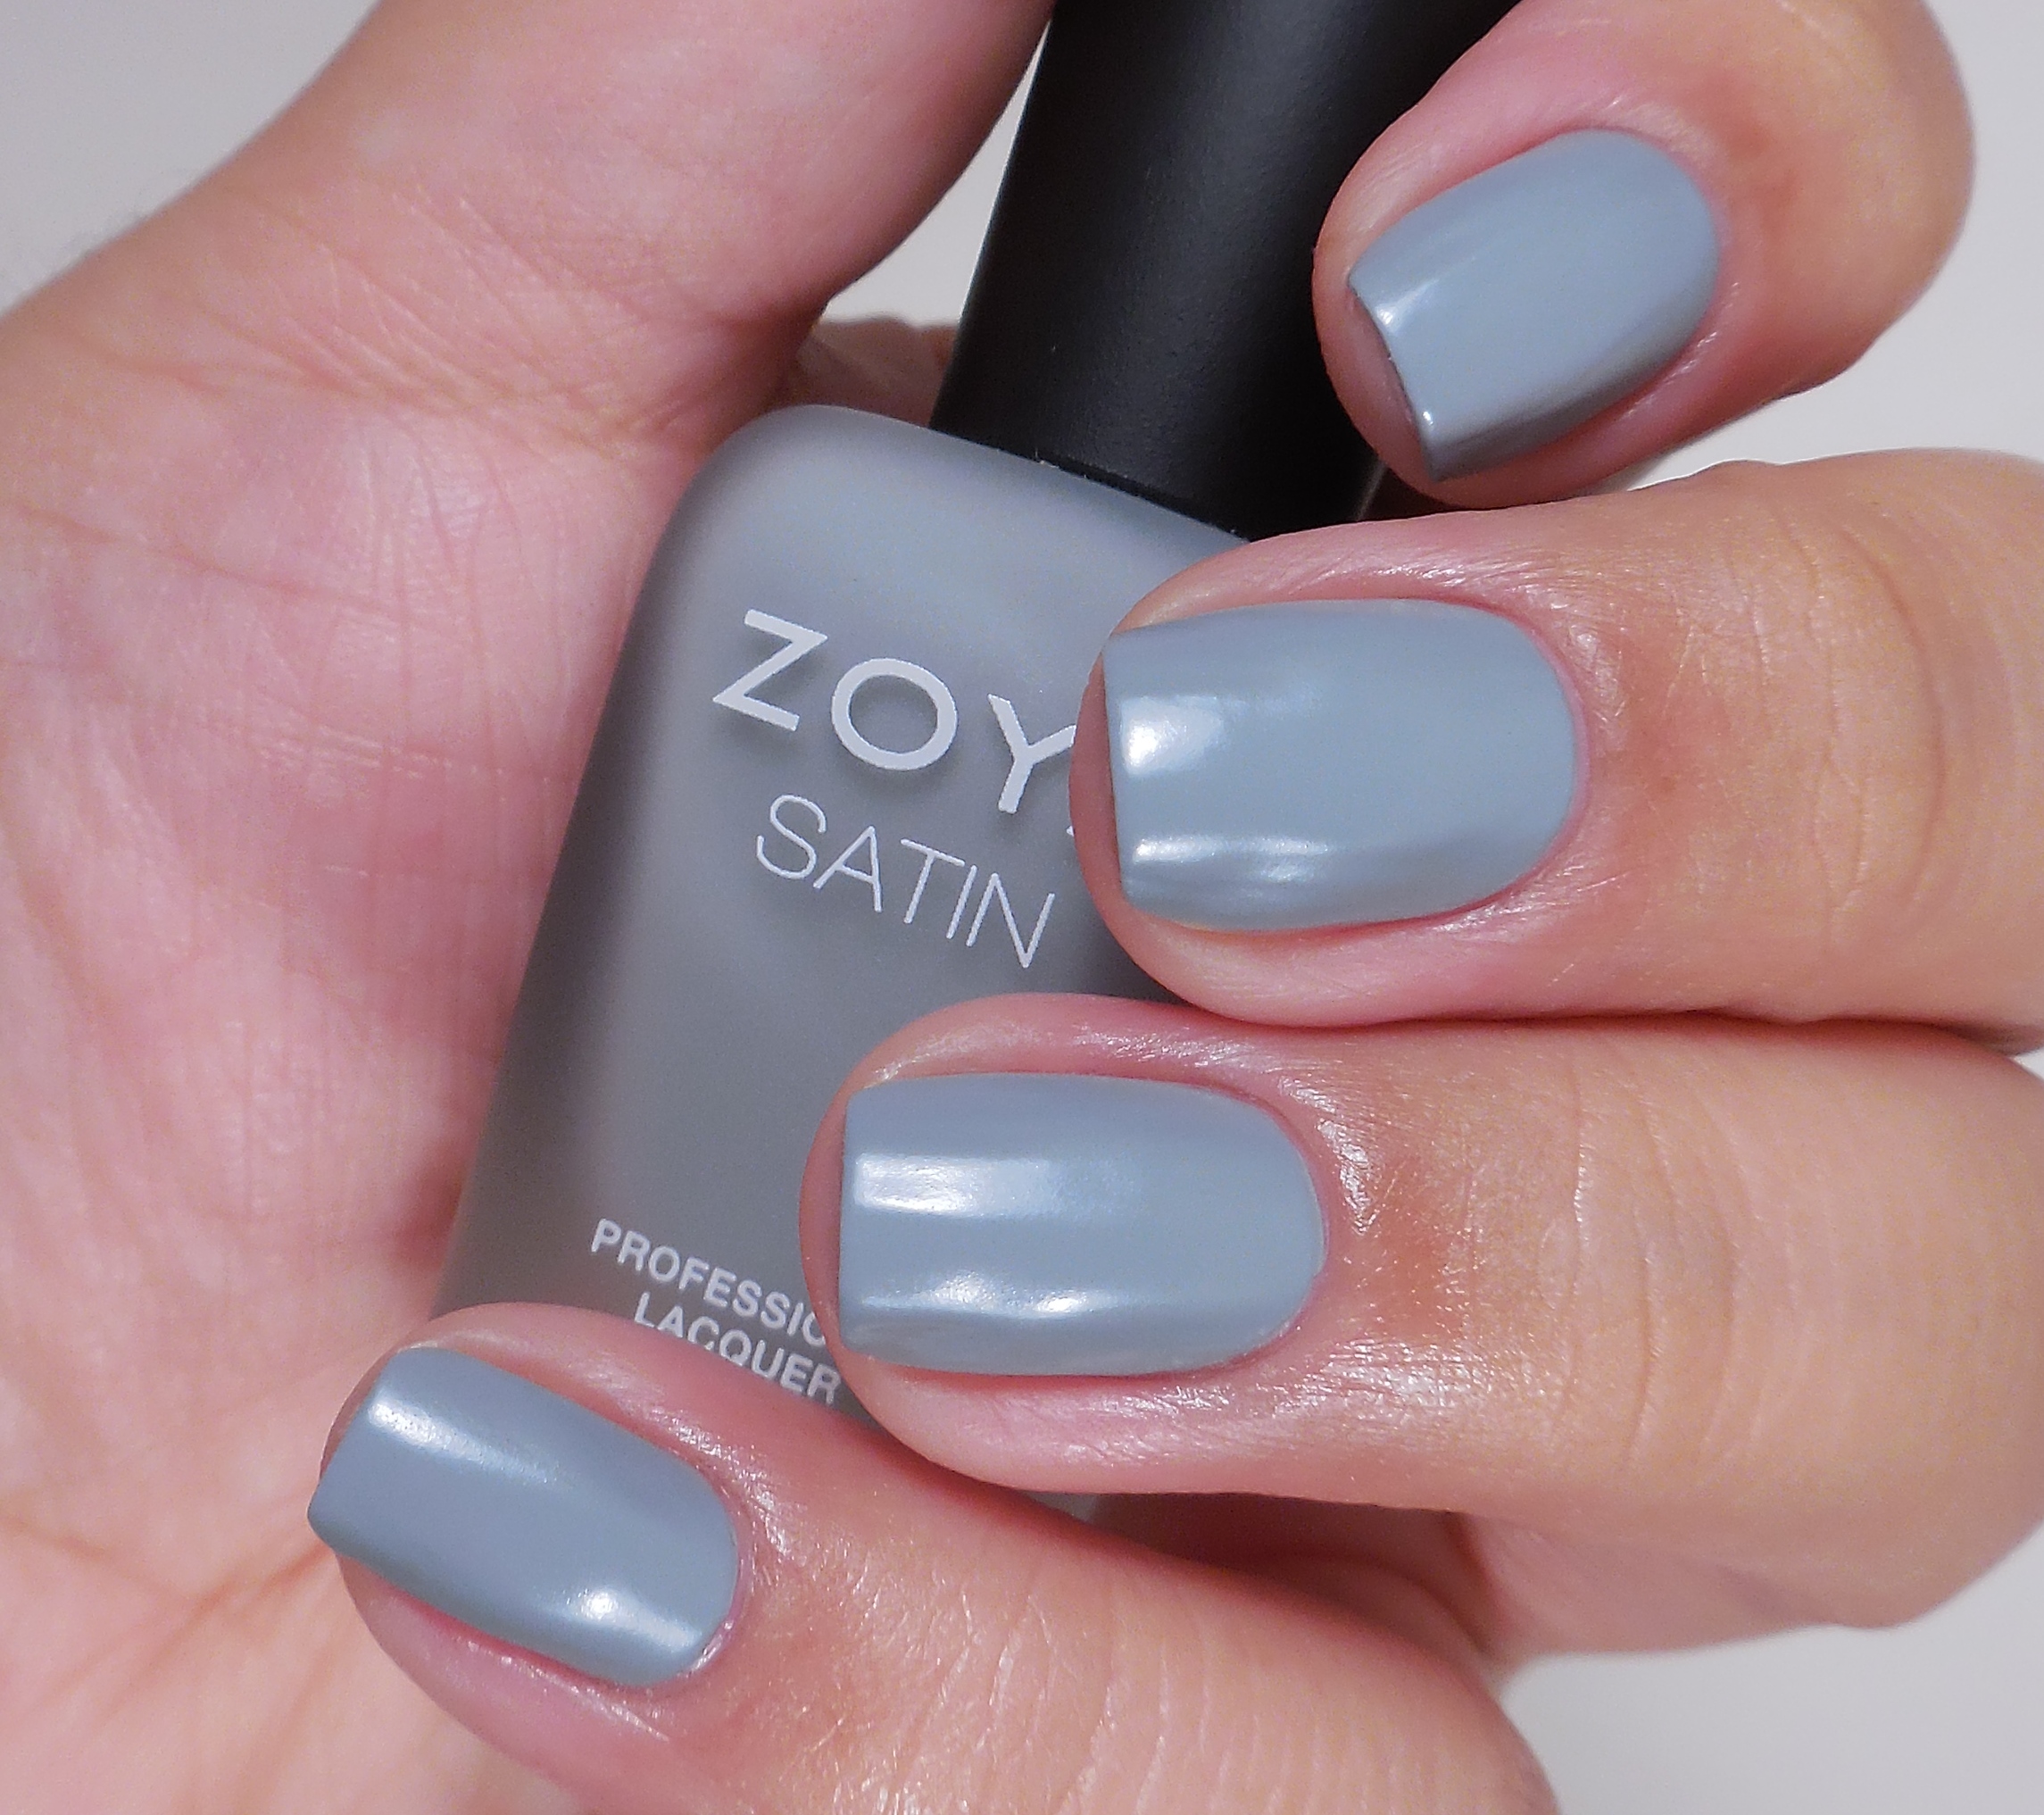
Zoya Tove 1Zoya Tove 2Zoya Tove

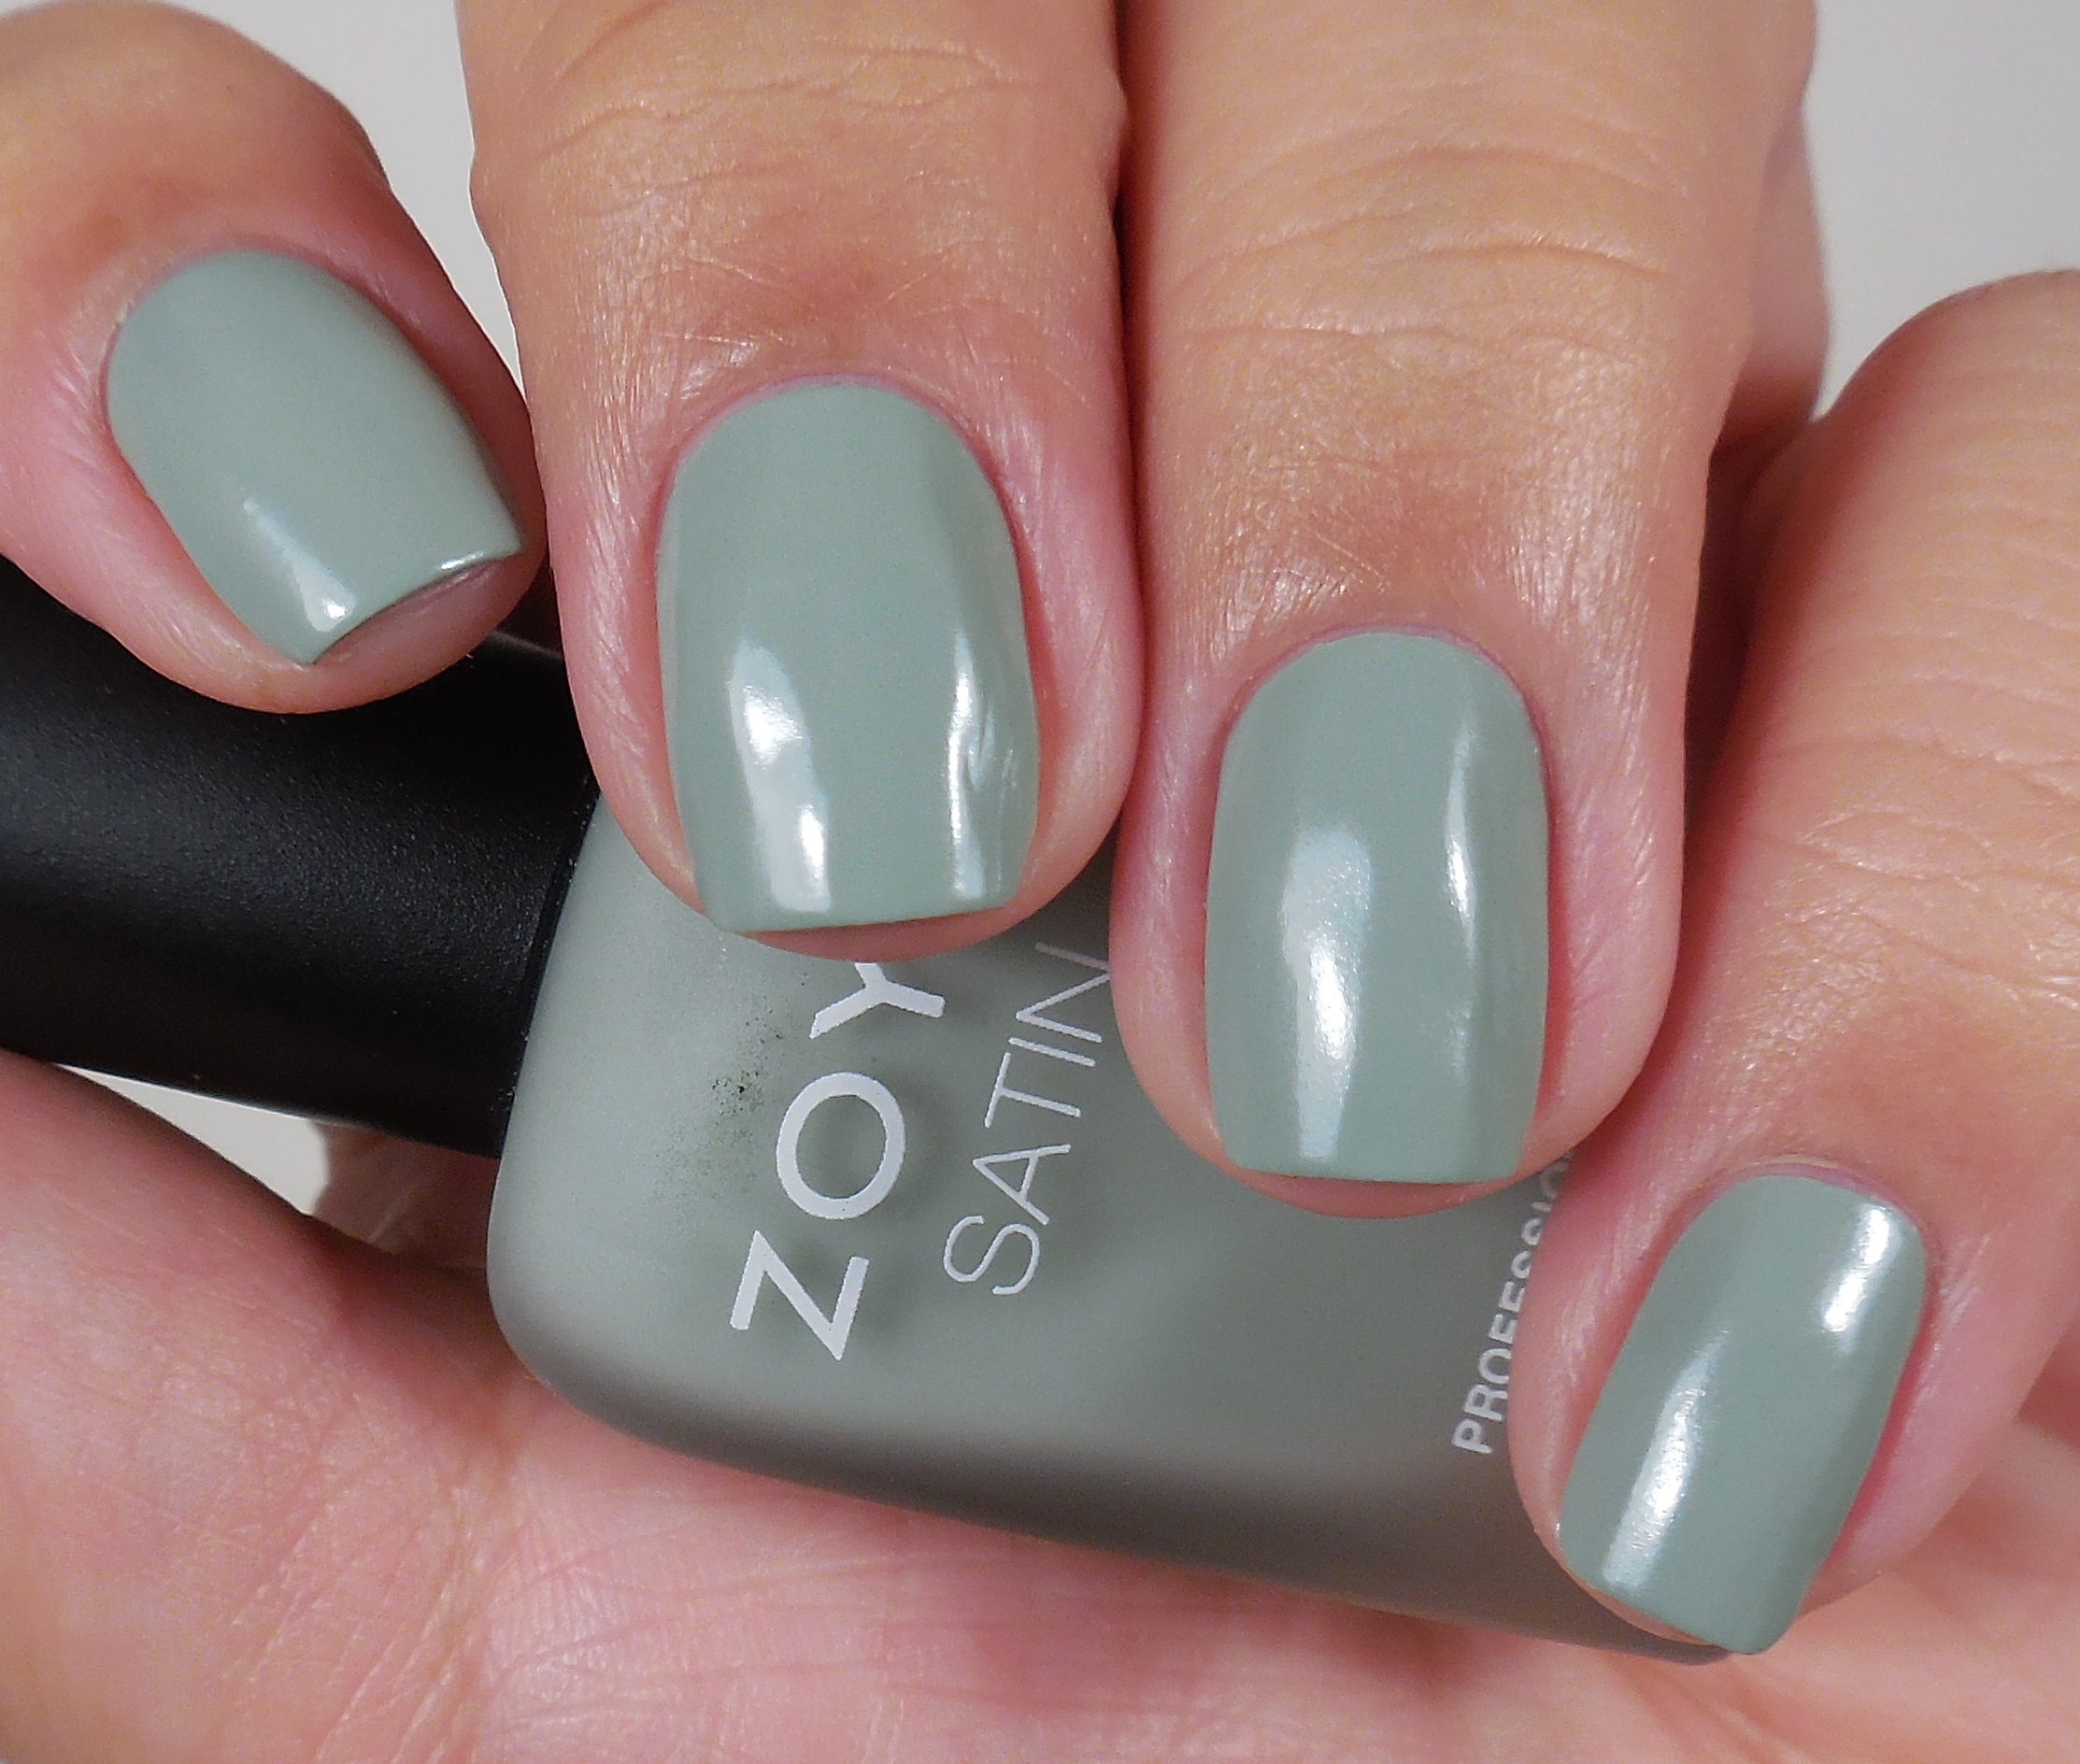
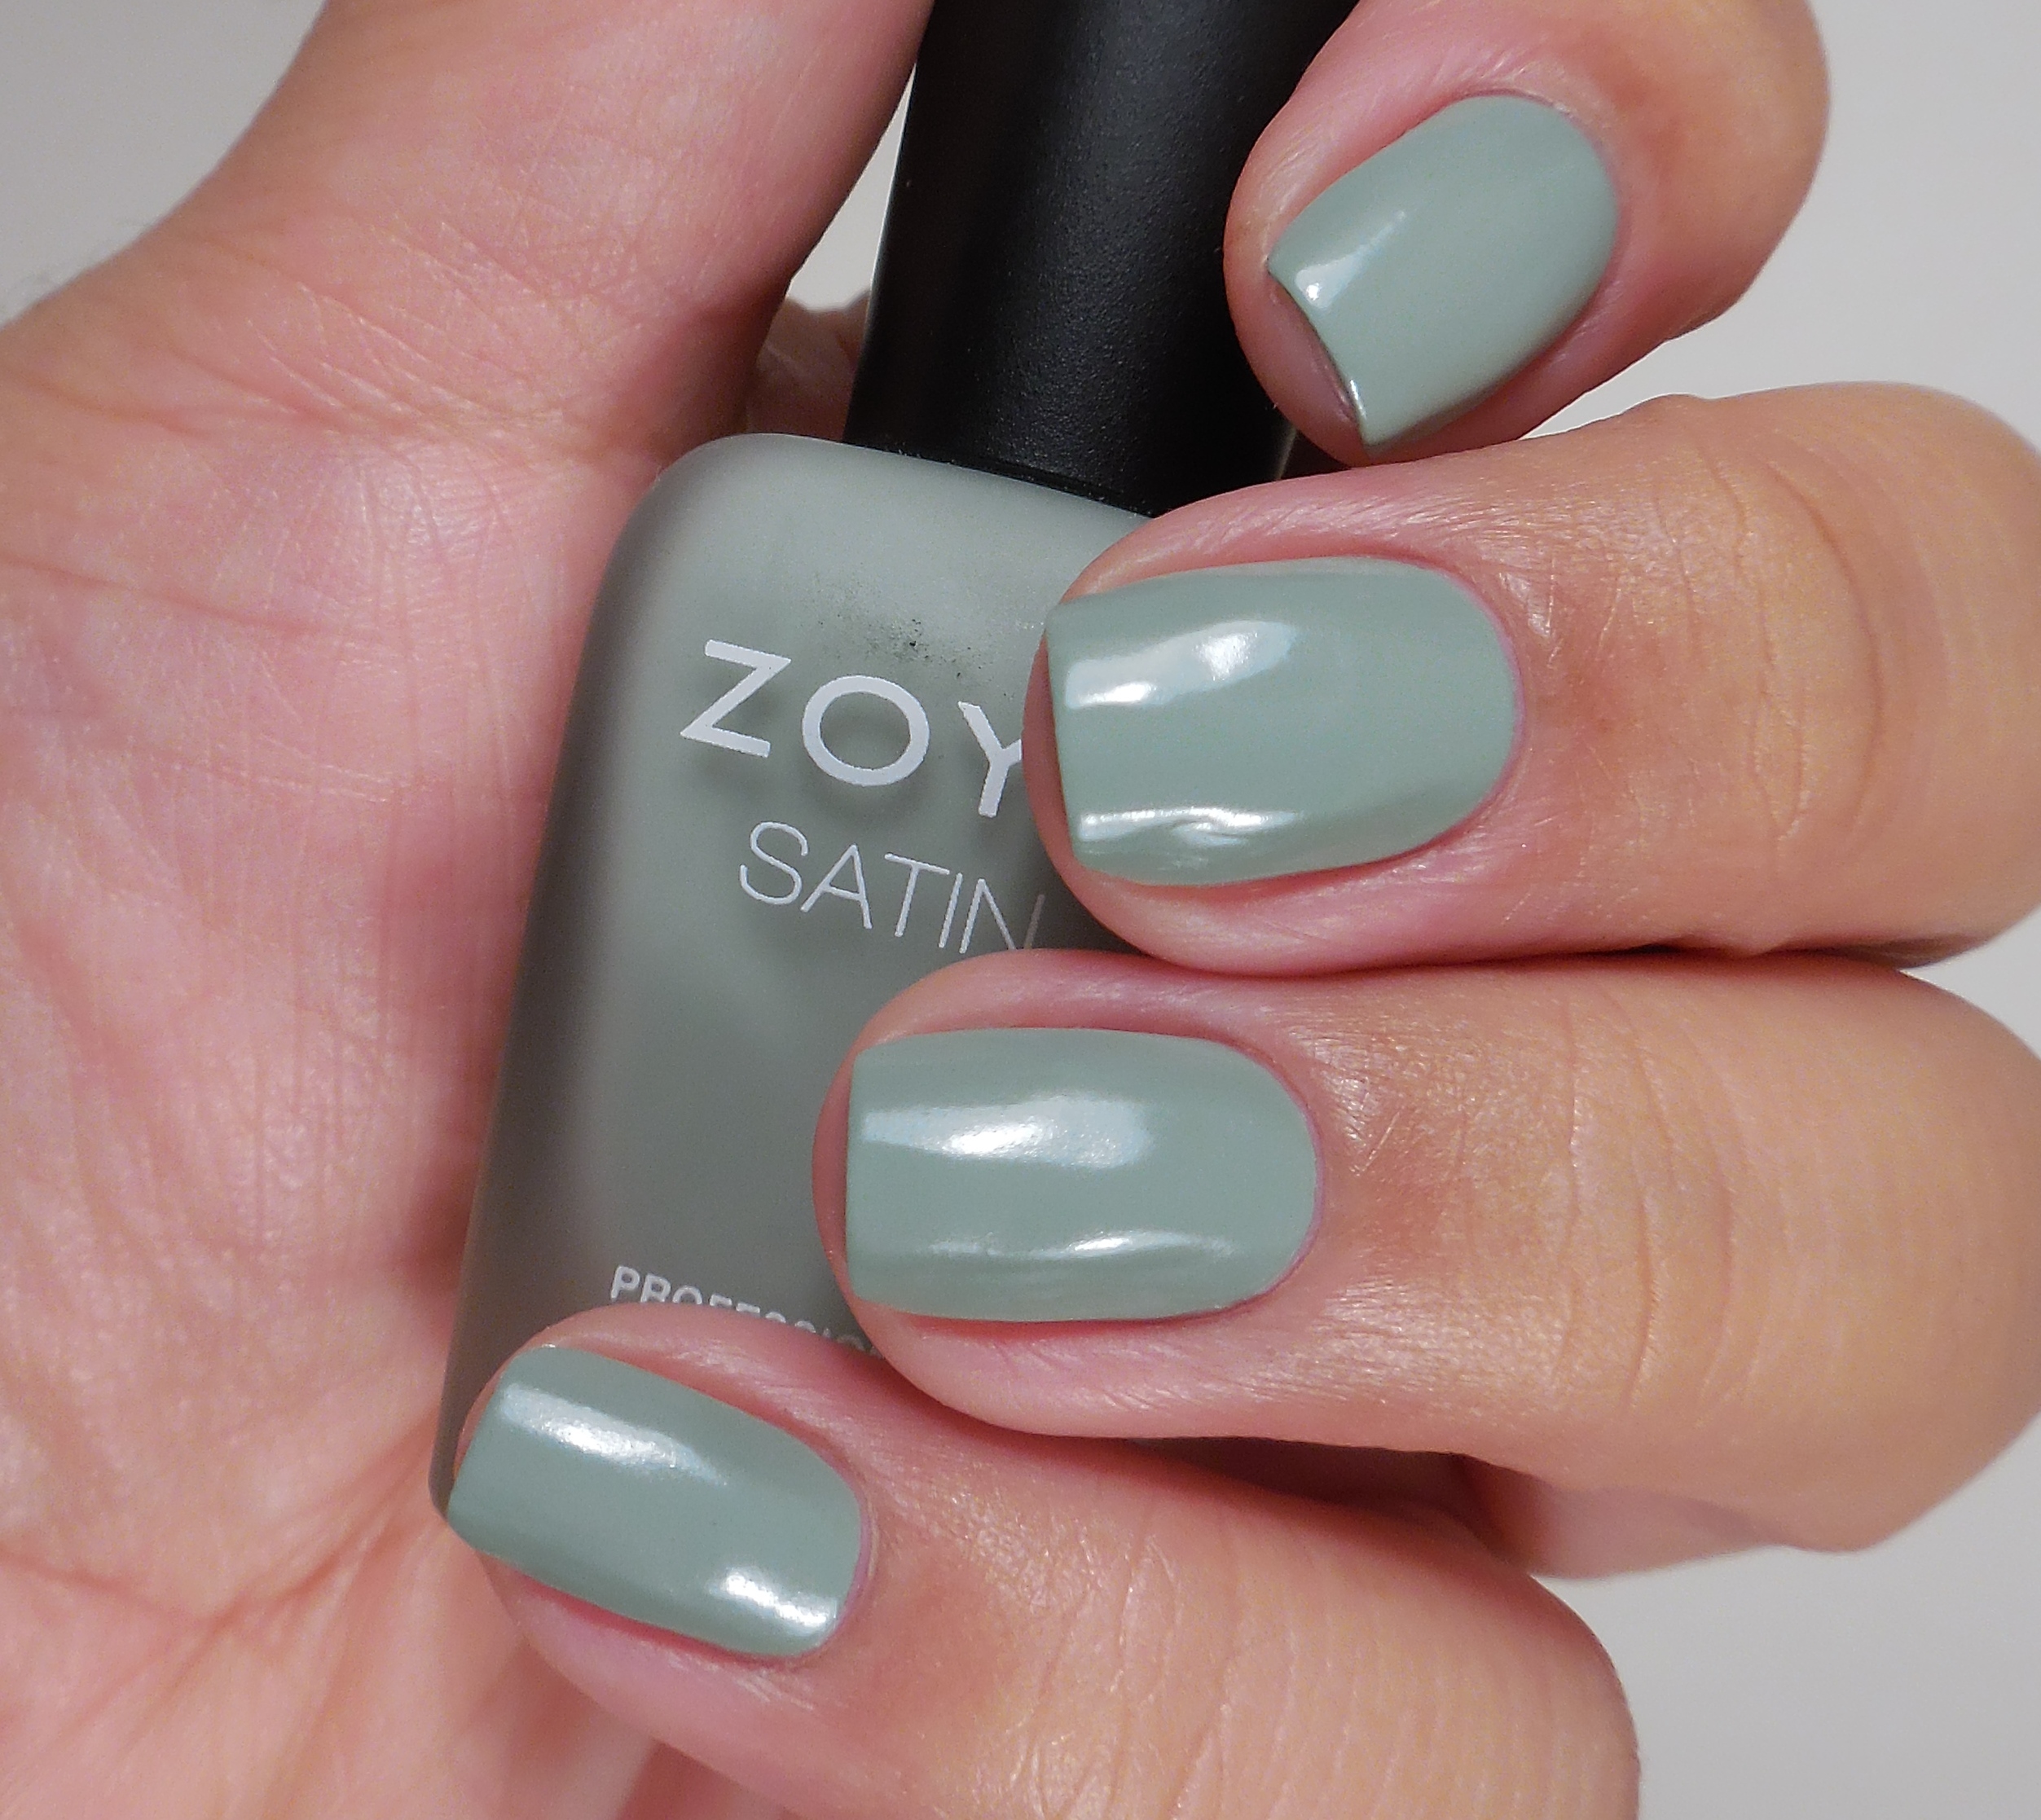
Zoya Sage 1Zoya Sage 2Zoya Sage

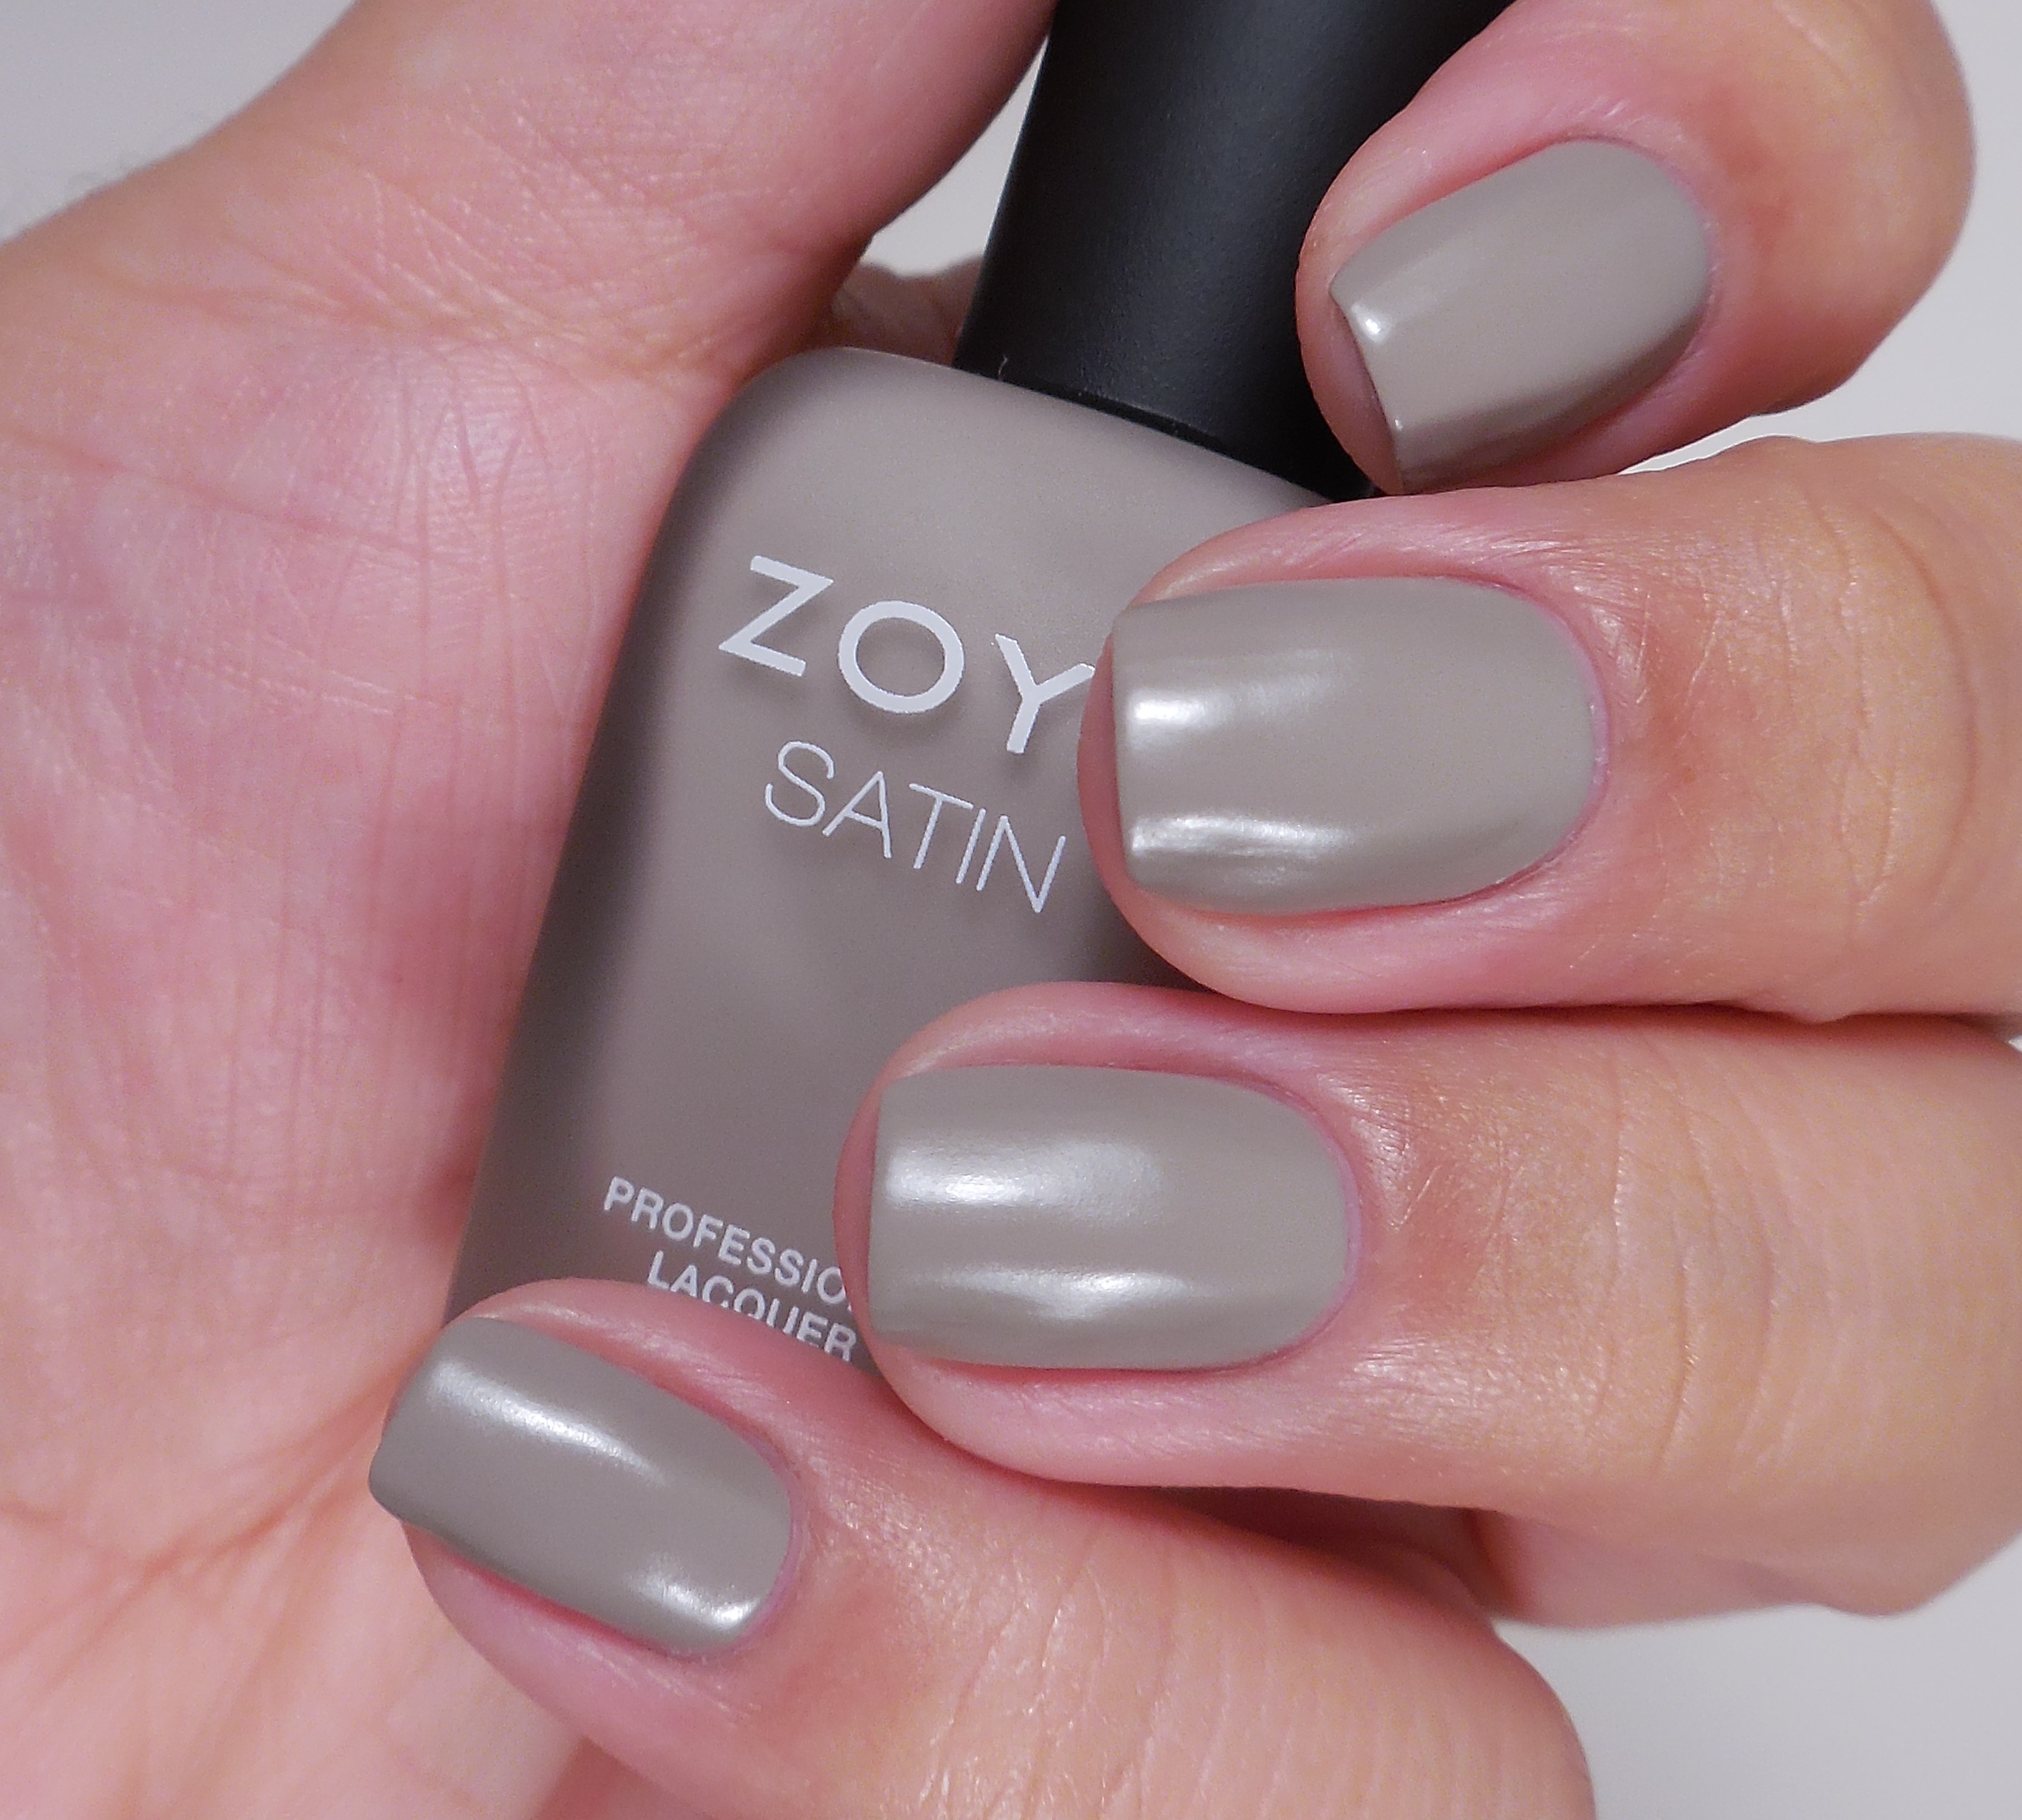
Zoya Rowan 1Zoya Rowan 2Zoya Rowan

Zoya Leah 1Zoya Leah 2Zoya Leah

Zoya Brittany 1Zoya Brittany 2Zoya Brittany

Zoya Ana 1Zoya Ana 2Zoya Ana

Ok, let m just say that I really like how these look. They are the perfect in between finish–everything that was promised. Surprisingly, the formula is not horrible but it’s not perfect either. For all of these I applied 1 regular coat and 1 thick coat to smooth everything out. The polish doesn’t set up lighting fast, so you have a little time to play with the polish, but it is also very easy to overwork it and get a super lumpfest. I findt he shades here very lovely and perfectly transitional as they were meant to be. I’m a little torn on these. I guess I can say that I don’t love them, but I don’t hate them either. If these had been regular cremes, I would have lost my marbles over them. I guess I can just top coat them, but I just don’t want to have to fiddle with the finicky formula. If I had to pick a favorite, I would go with Sage or Tove. Overall, I am pleasantly surprised with these and can recommend them if you don’t mind the formula and the finish. You can find these on Zoya.com where each polish retails for $9. What do you think about these? Let me know in the comments below. Thanks for stopping by today, and I will talk to you soon.

Blogiversary Giveaway

Blogiversary Giveaway

Has it really been 3 years? Well, 3 years and 2 months since it took me FOH-EVA to put this giveaway together. When I first started my blog 3 years ago, I basically felt like I was posting and sending it out into the void. I could count on one hand the number of people who read my blog on a regular basis, but I was fine with it because I was posting for me–as a creative and emotional outlet. Along the way I have met some wonderful women who have become life-long friends. I have also gotten the opportunity to work with some amazing brands, and I’m just excited to see what 2015 will bring to my little blog. OPI and China Glaze are the two brands that basically started my obsession back in the day, so I am very excited to have some amazing prizes for you due to their generosity.

giveawaycollagePrize #1 – OPI Gwen Stefani Holiday 2014 Collection (18 pieces)

Prize #2 – OPI Nordic Collection Fall 2014 (12 pieces)

Prize #3 – OPI 50 Shades of Grey Collection (6 pieces)

Prize #4 – China Glaze Fan Manicure Set – Up All Night

Prize #5 – China Glaze Fan Manicure Set – Turn It Up

Pretty awesome, right?!?! This giveaway is open internationally to those 18 years or older. Please do not enter the giveaway if you live in a country with strict shipping restrictions. To enter, use the rafflecopter widget below.

a Rafflecopter giveaway

As always, I appreciate your support–you guys continue to make this fun for me and I hope that you enjoy my blog as much as I enjoy writing it. Good luck!

KBShimmer Spring Collection 2015

KBShimmer Spring Collection 2015

PressSample


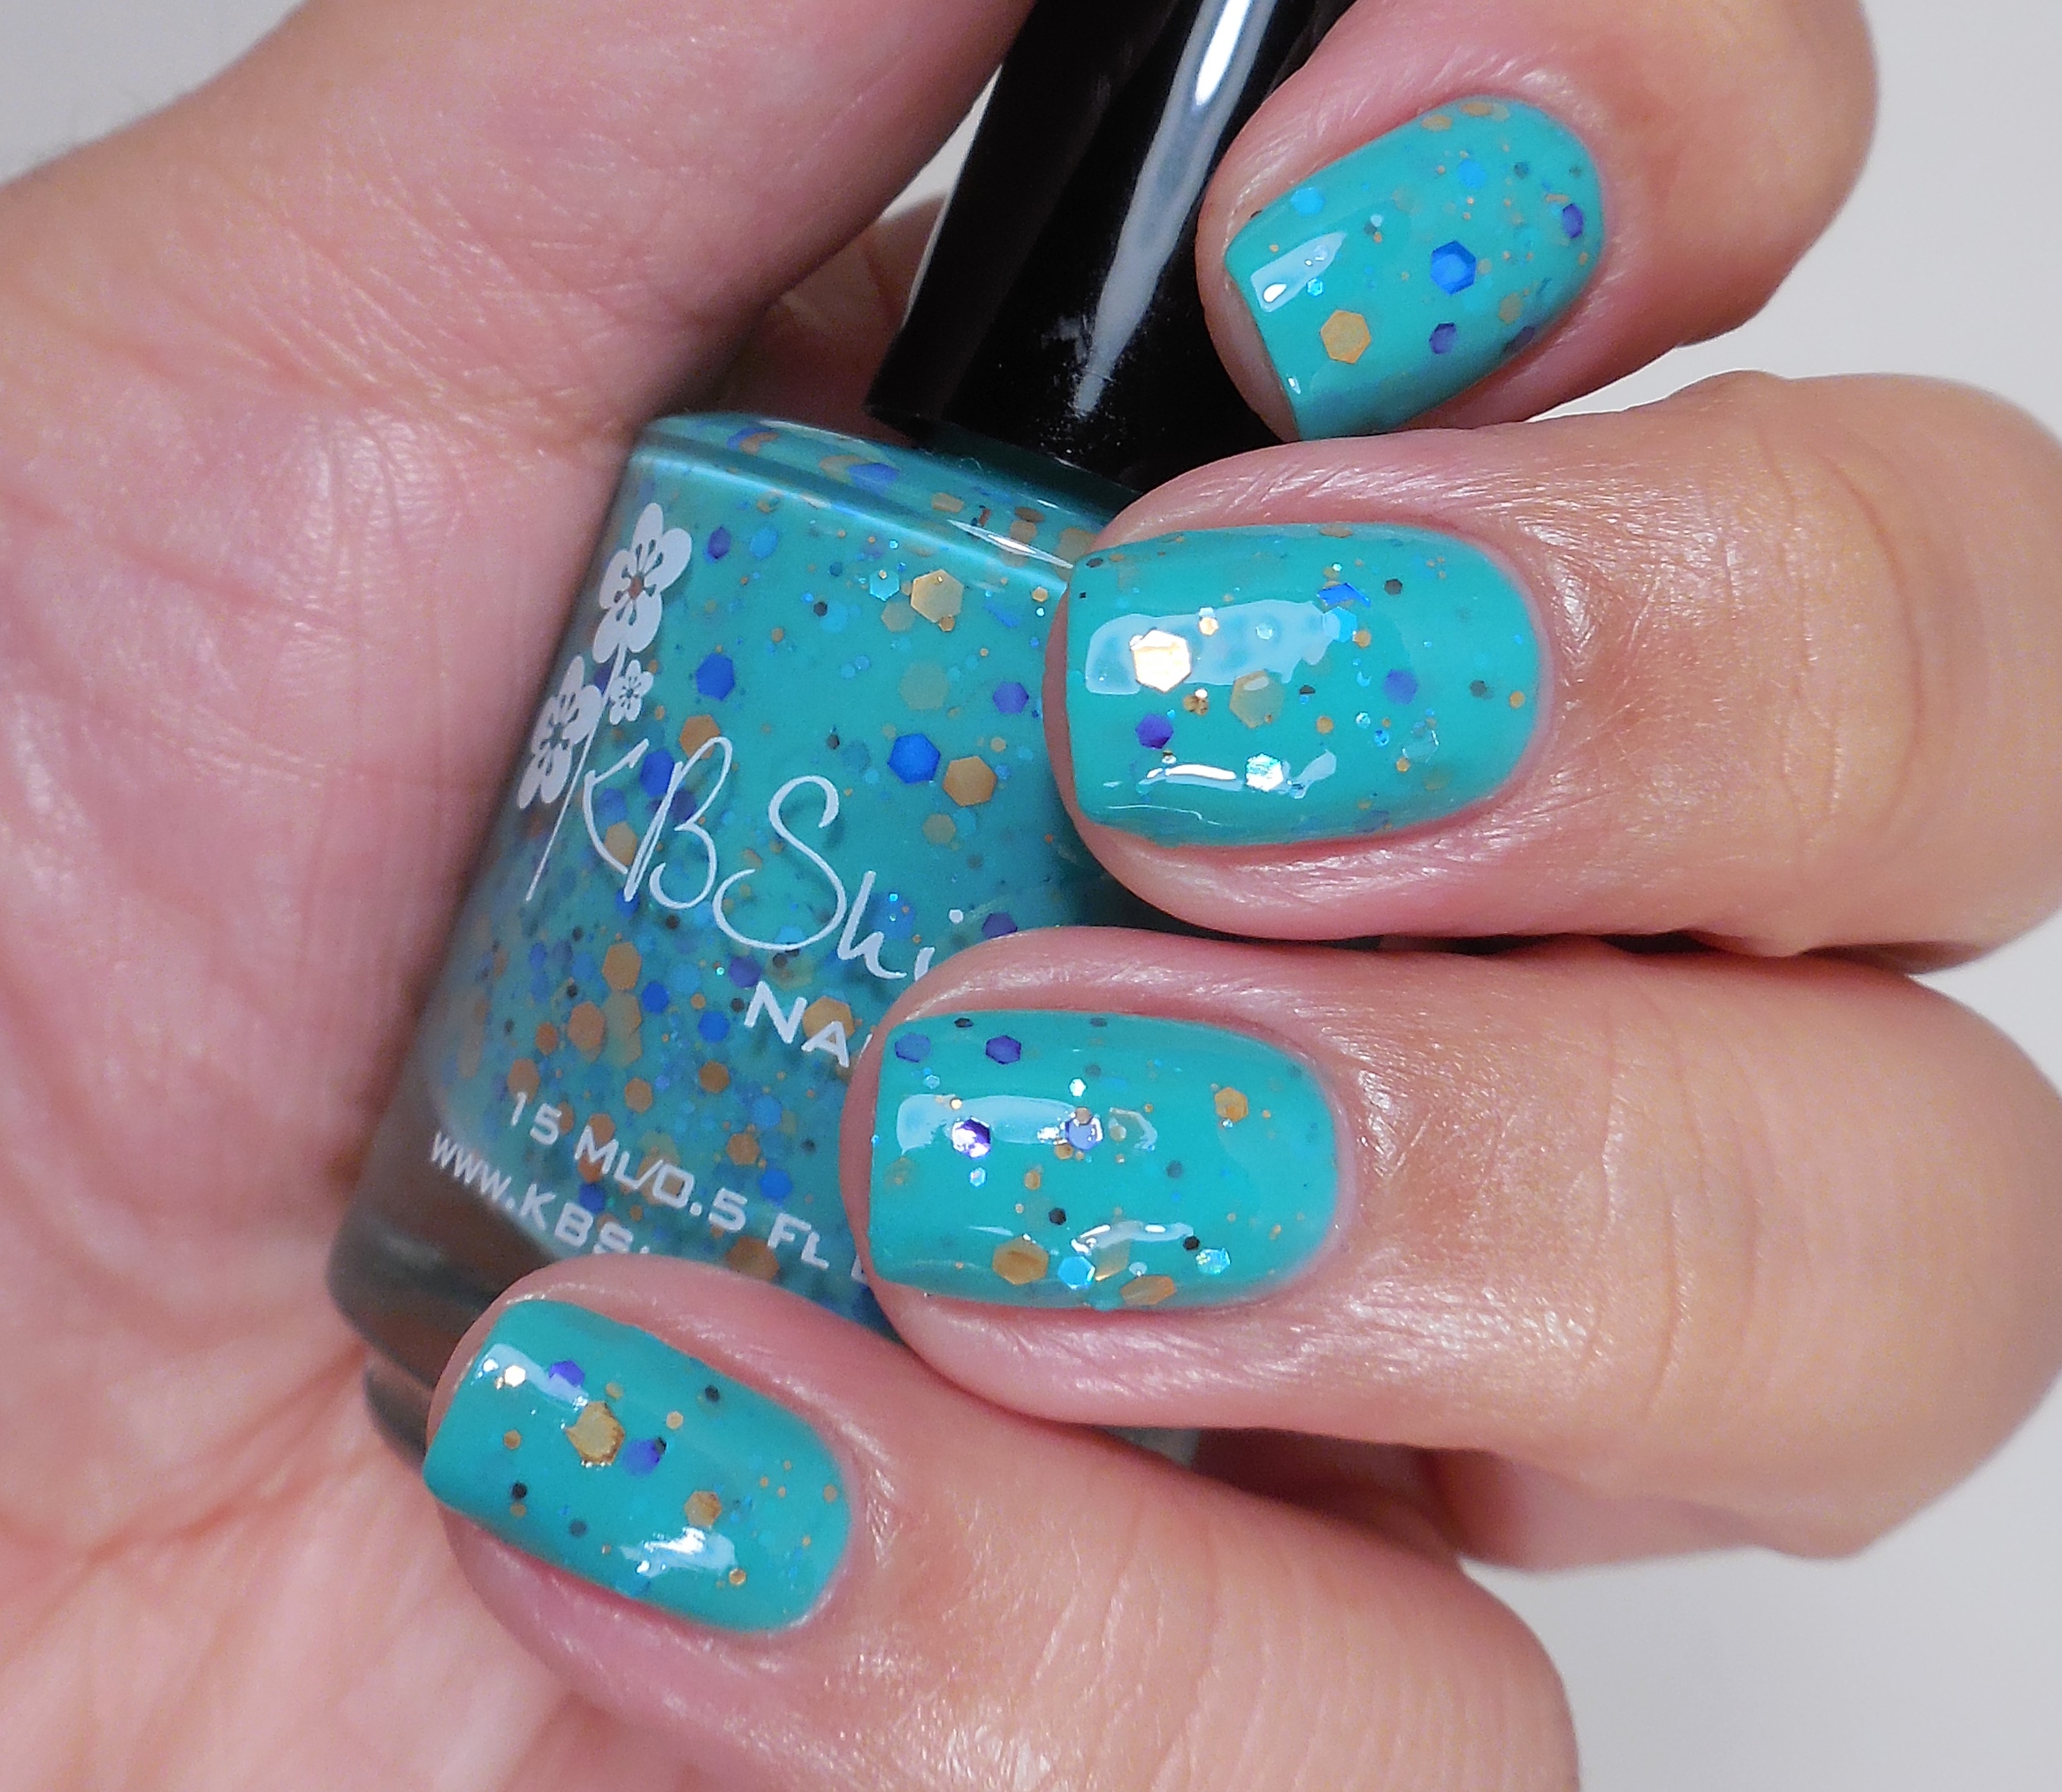
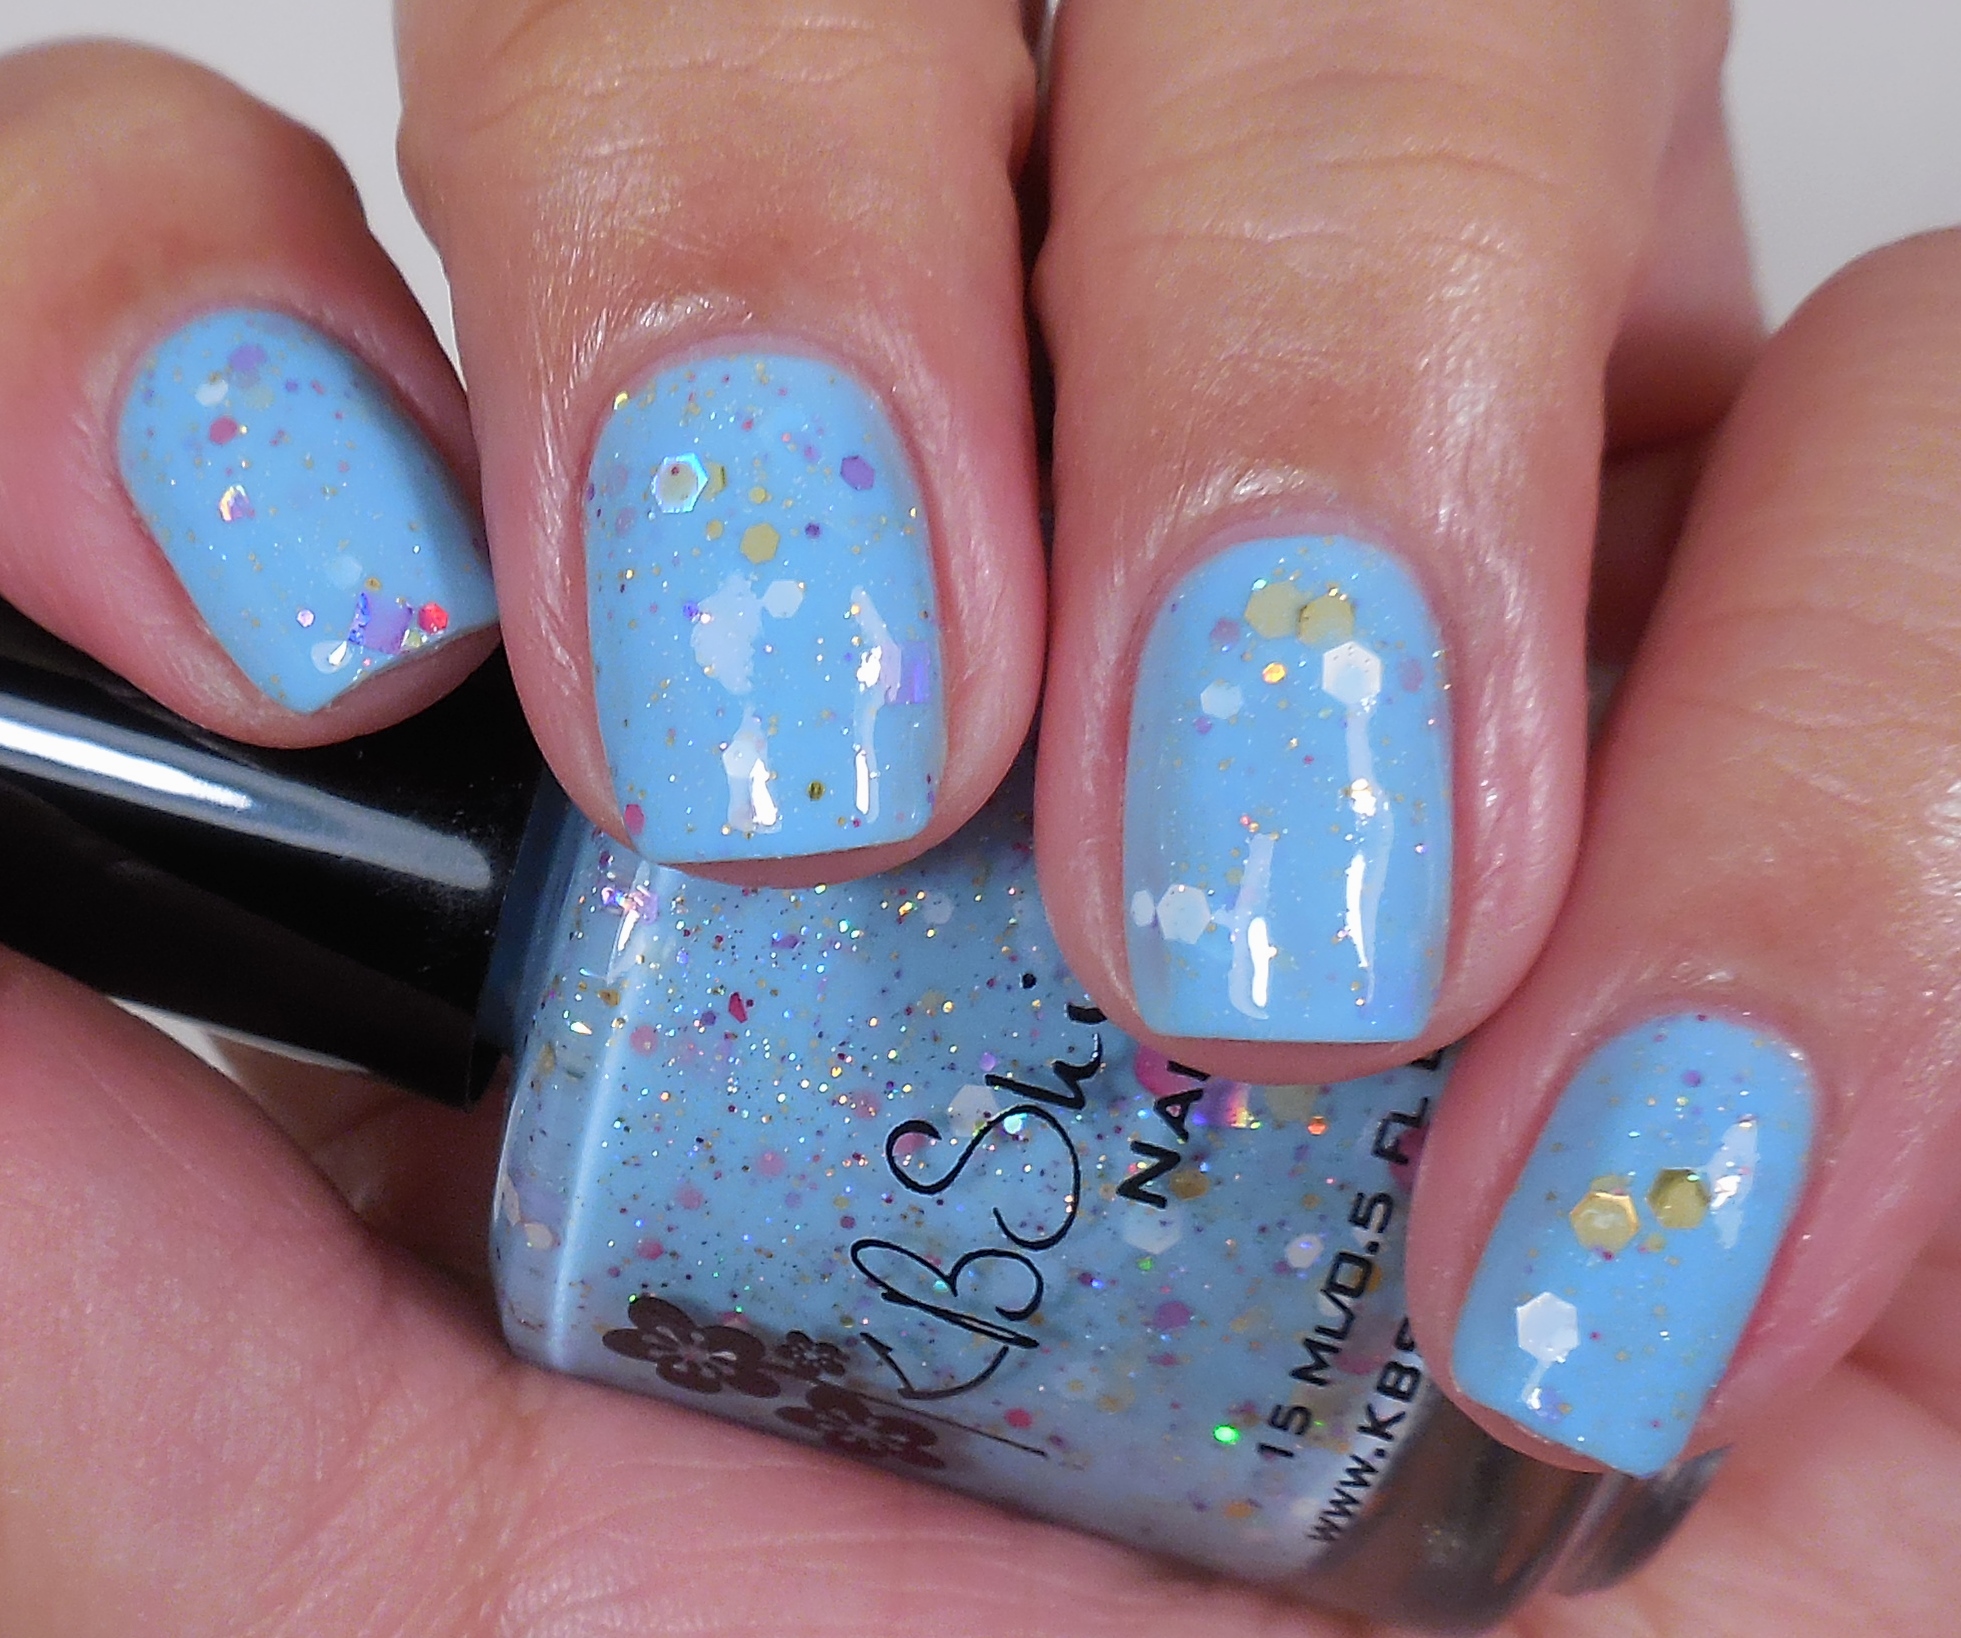
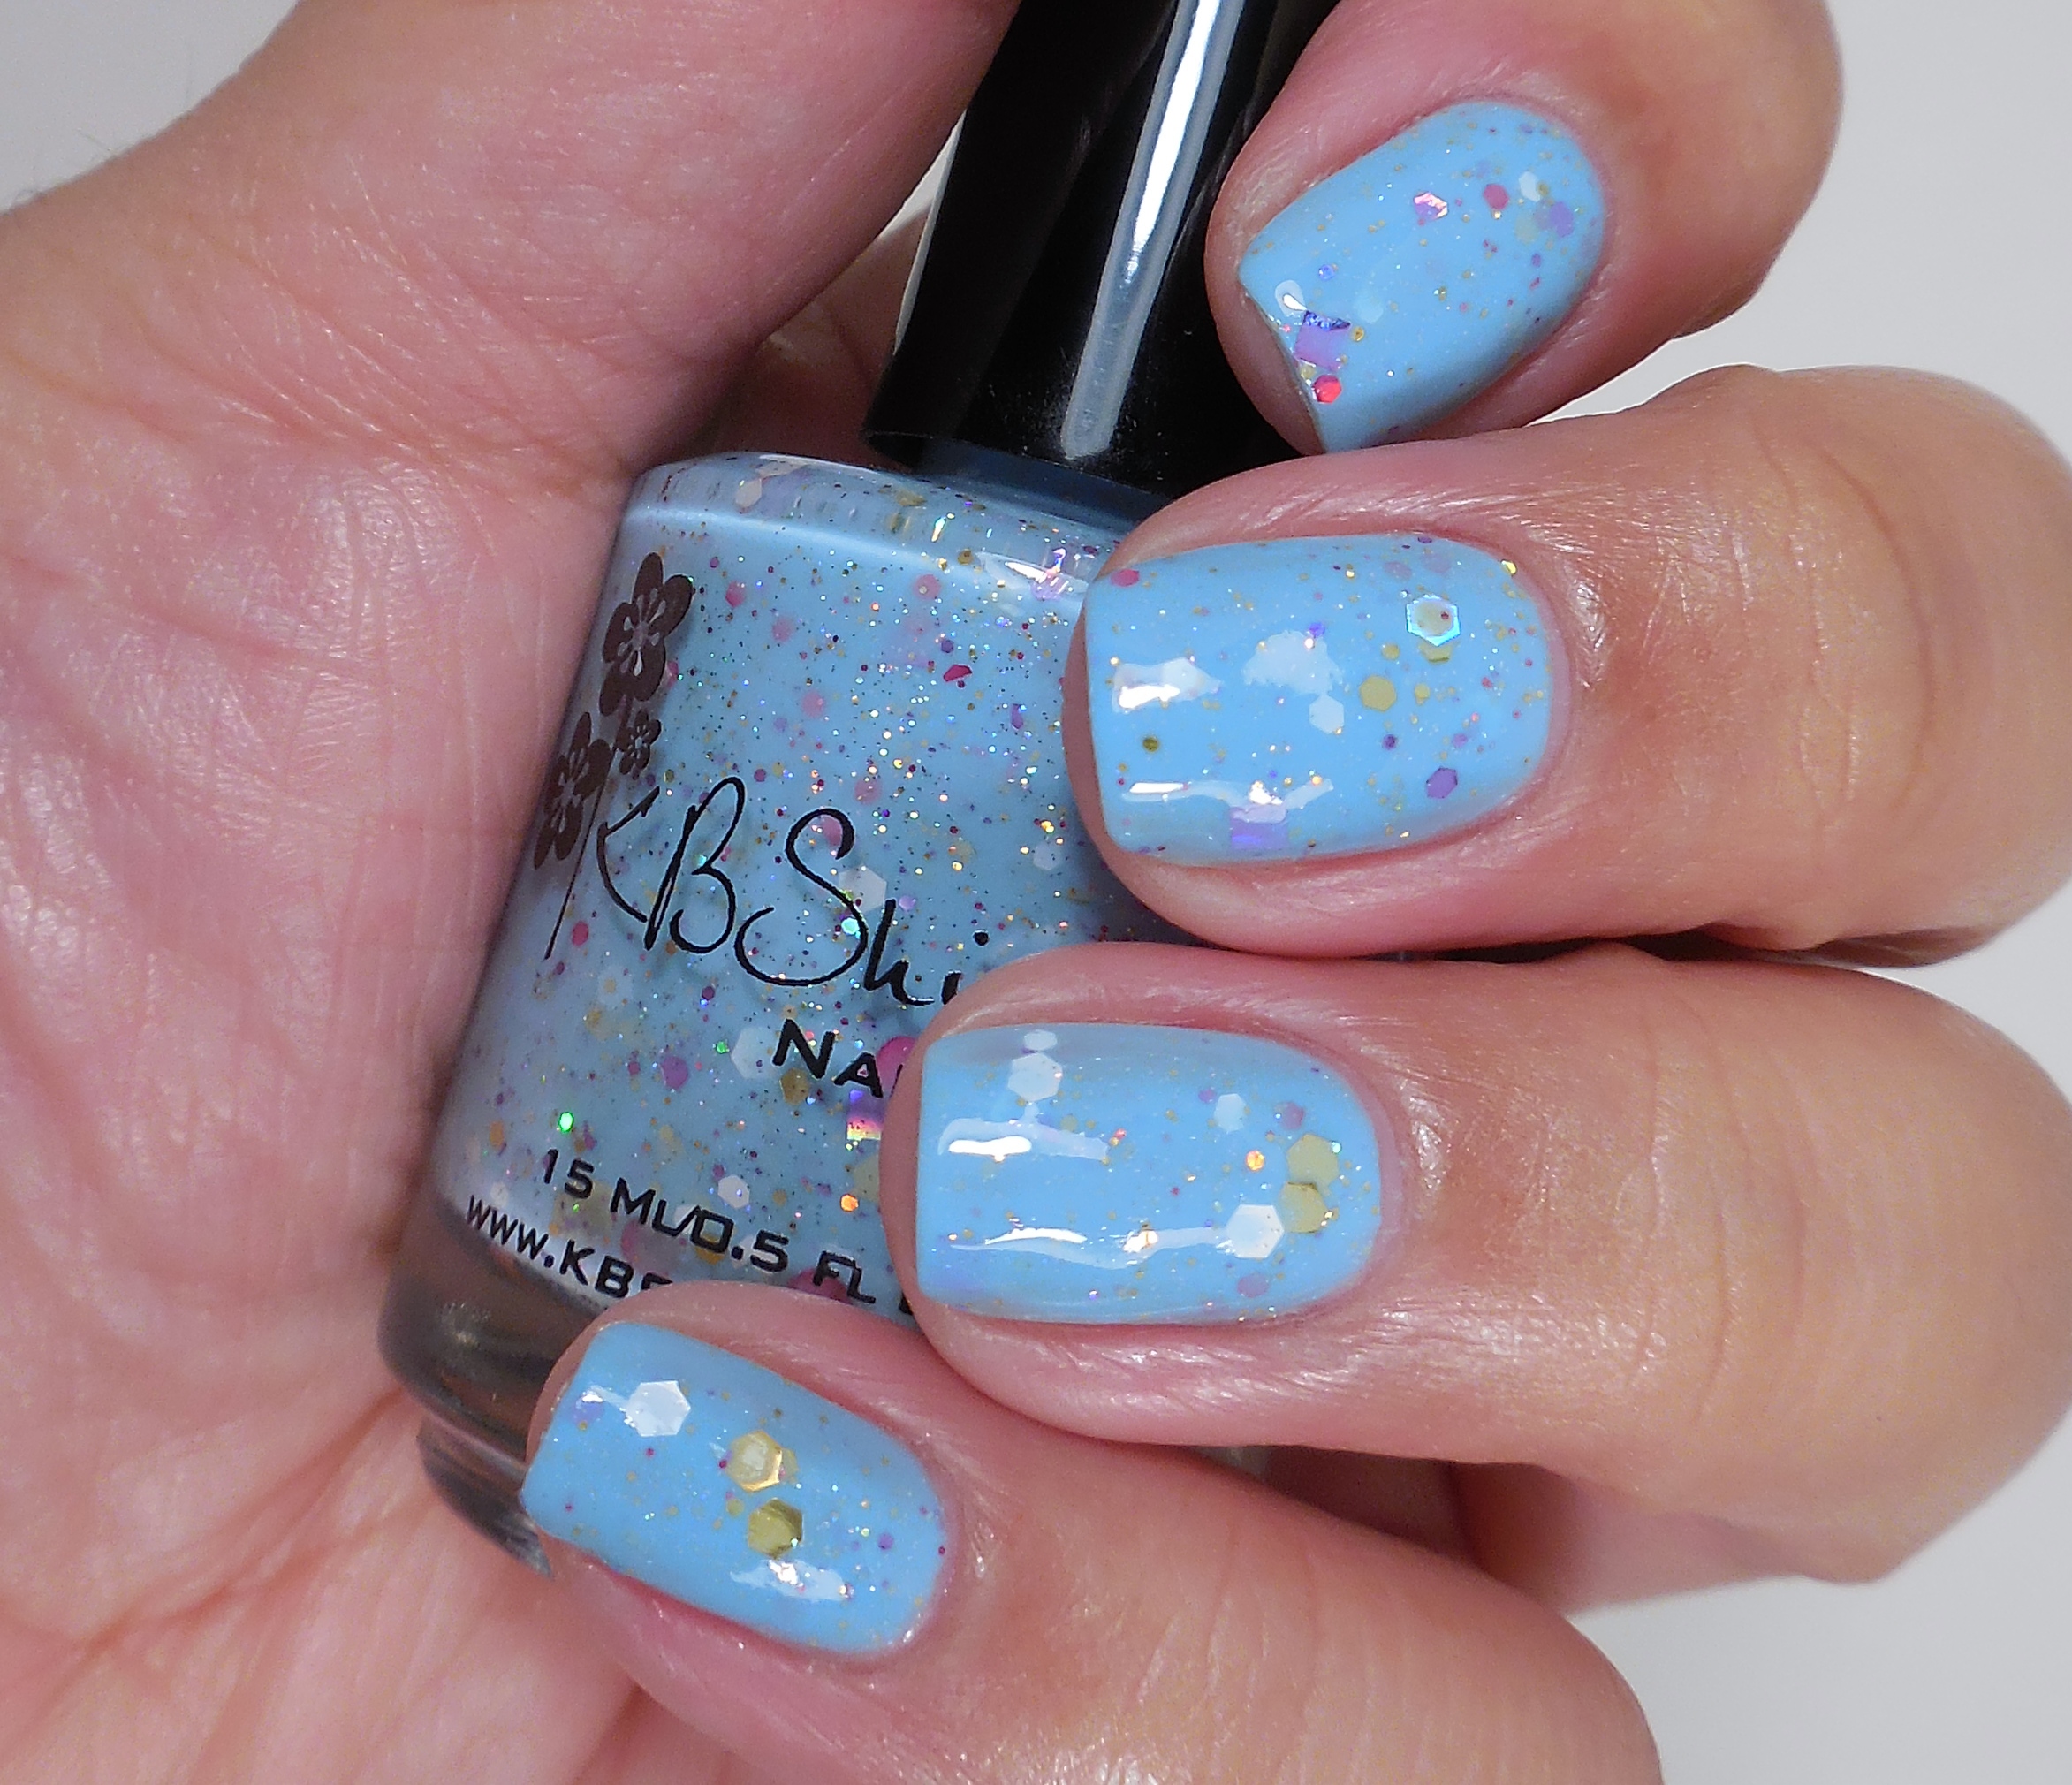
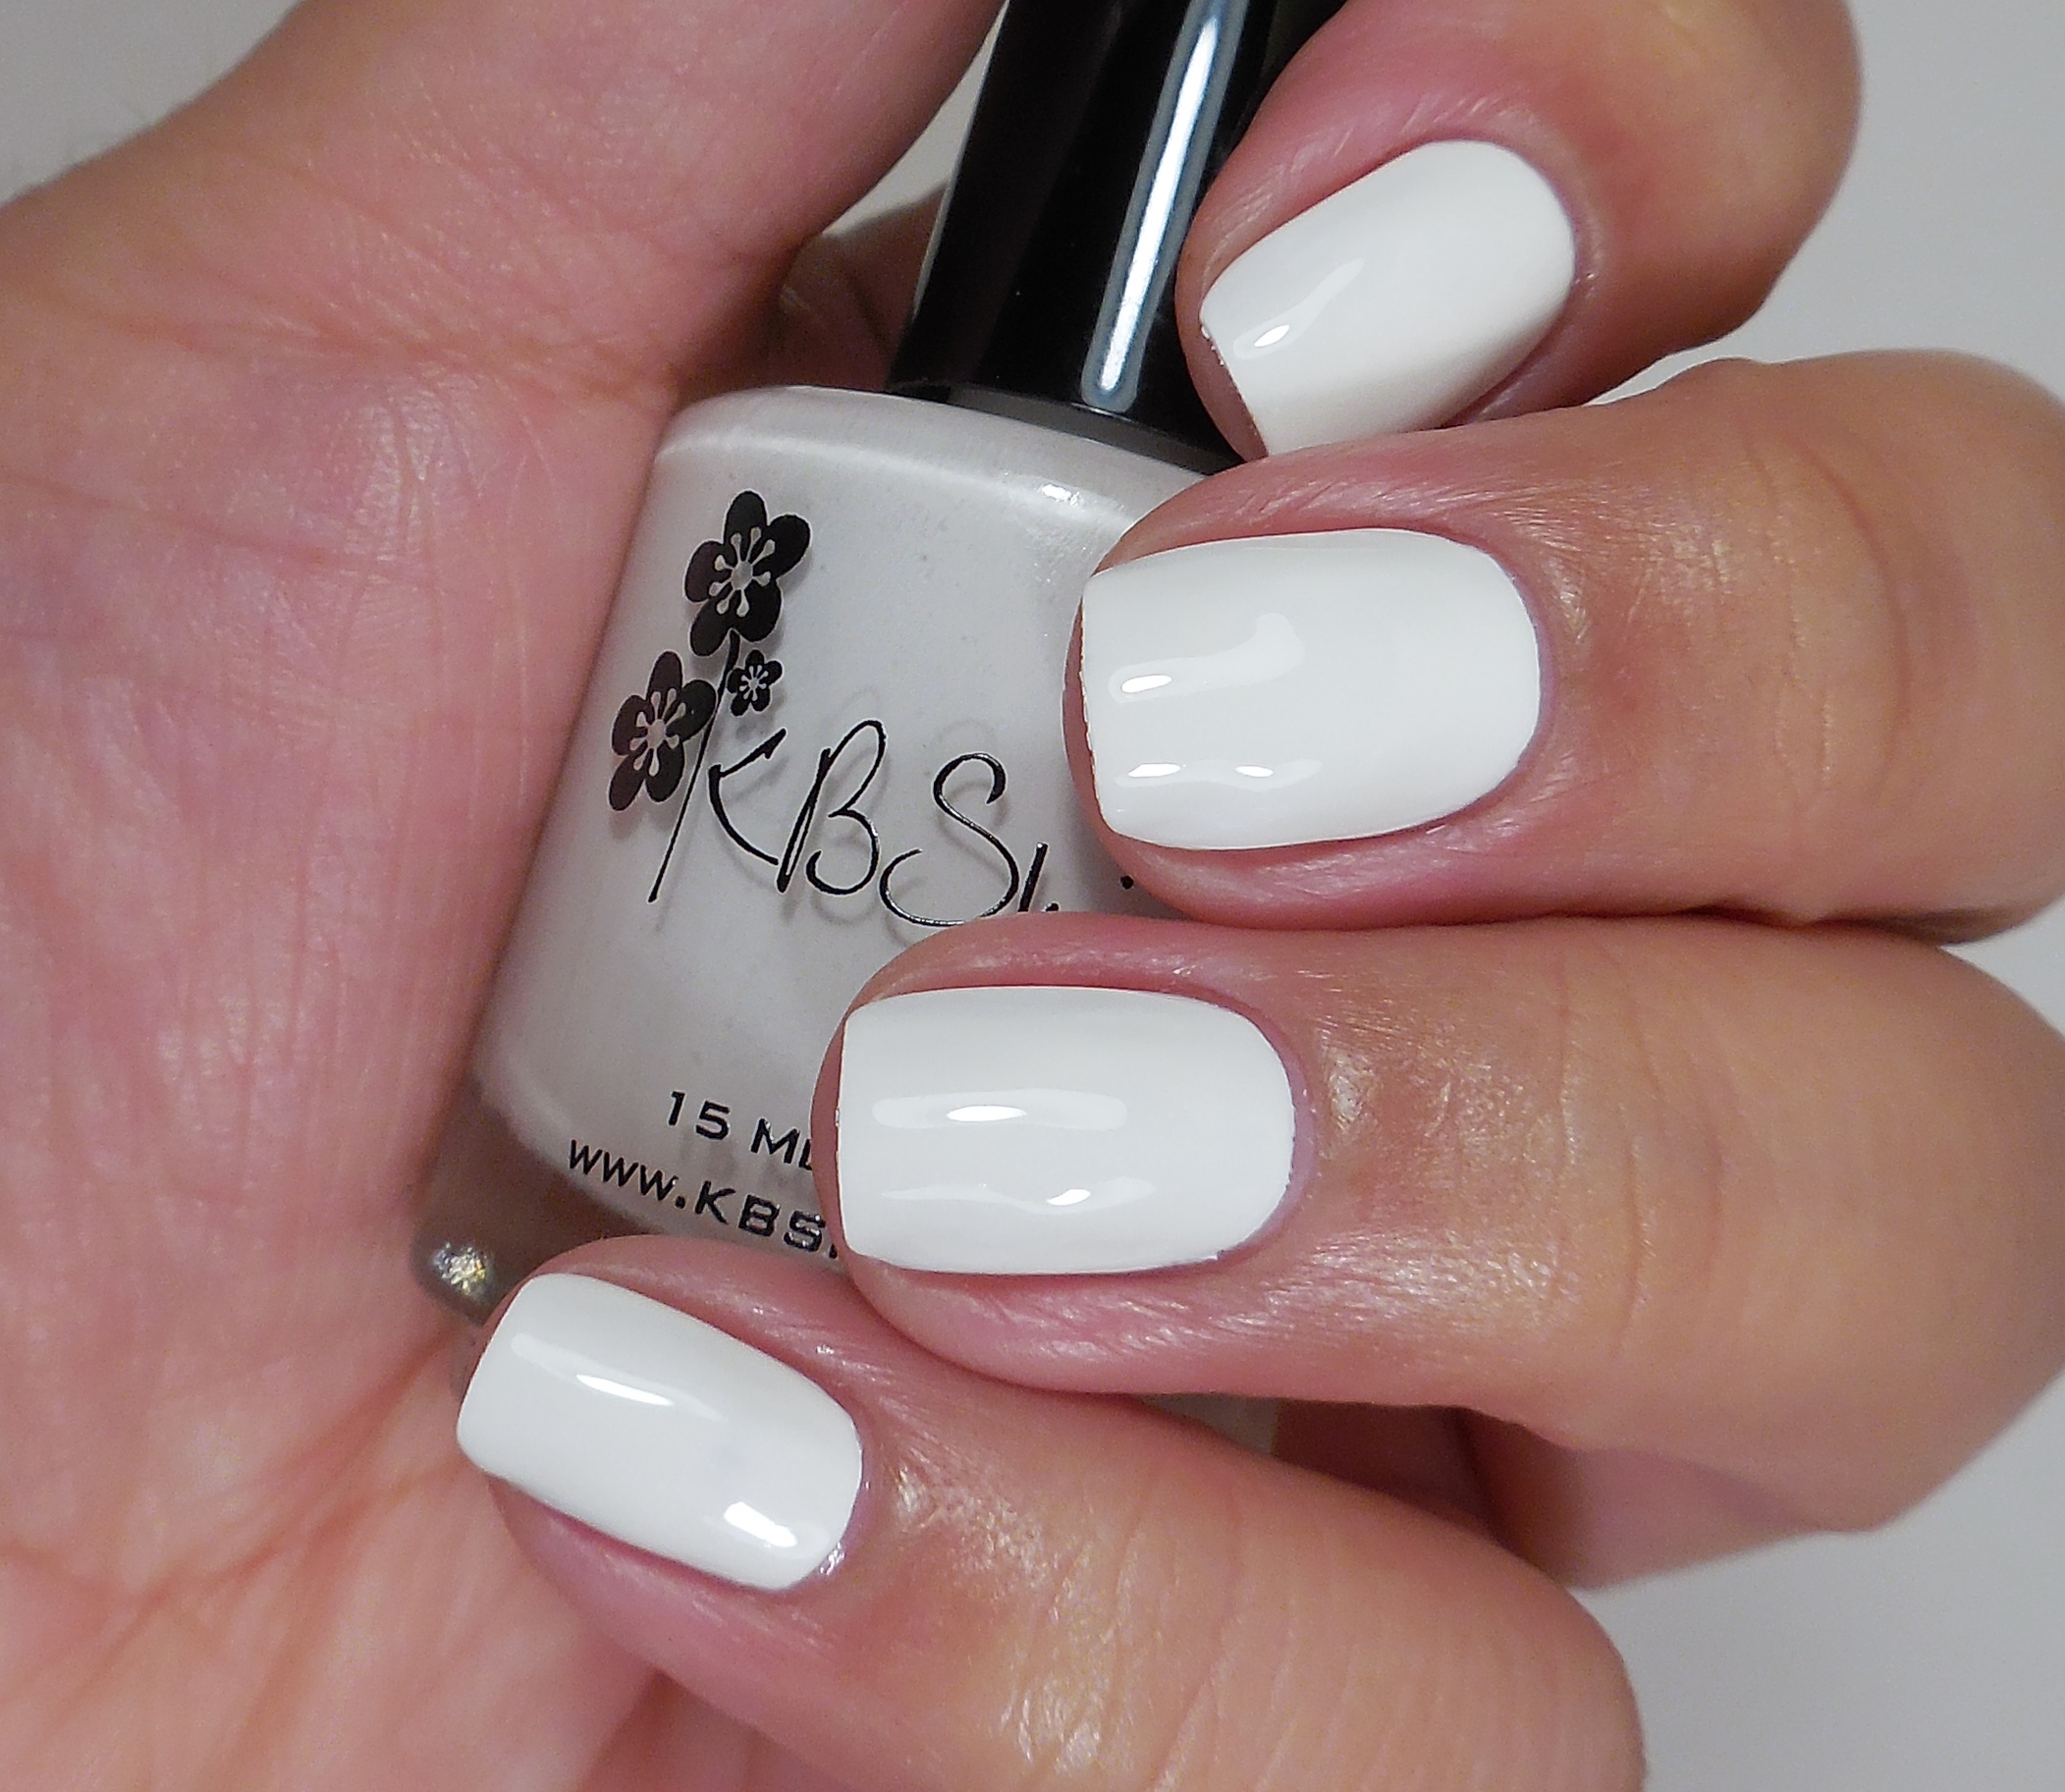
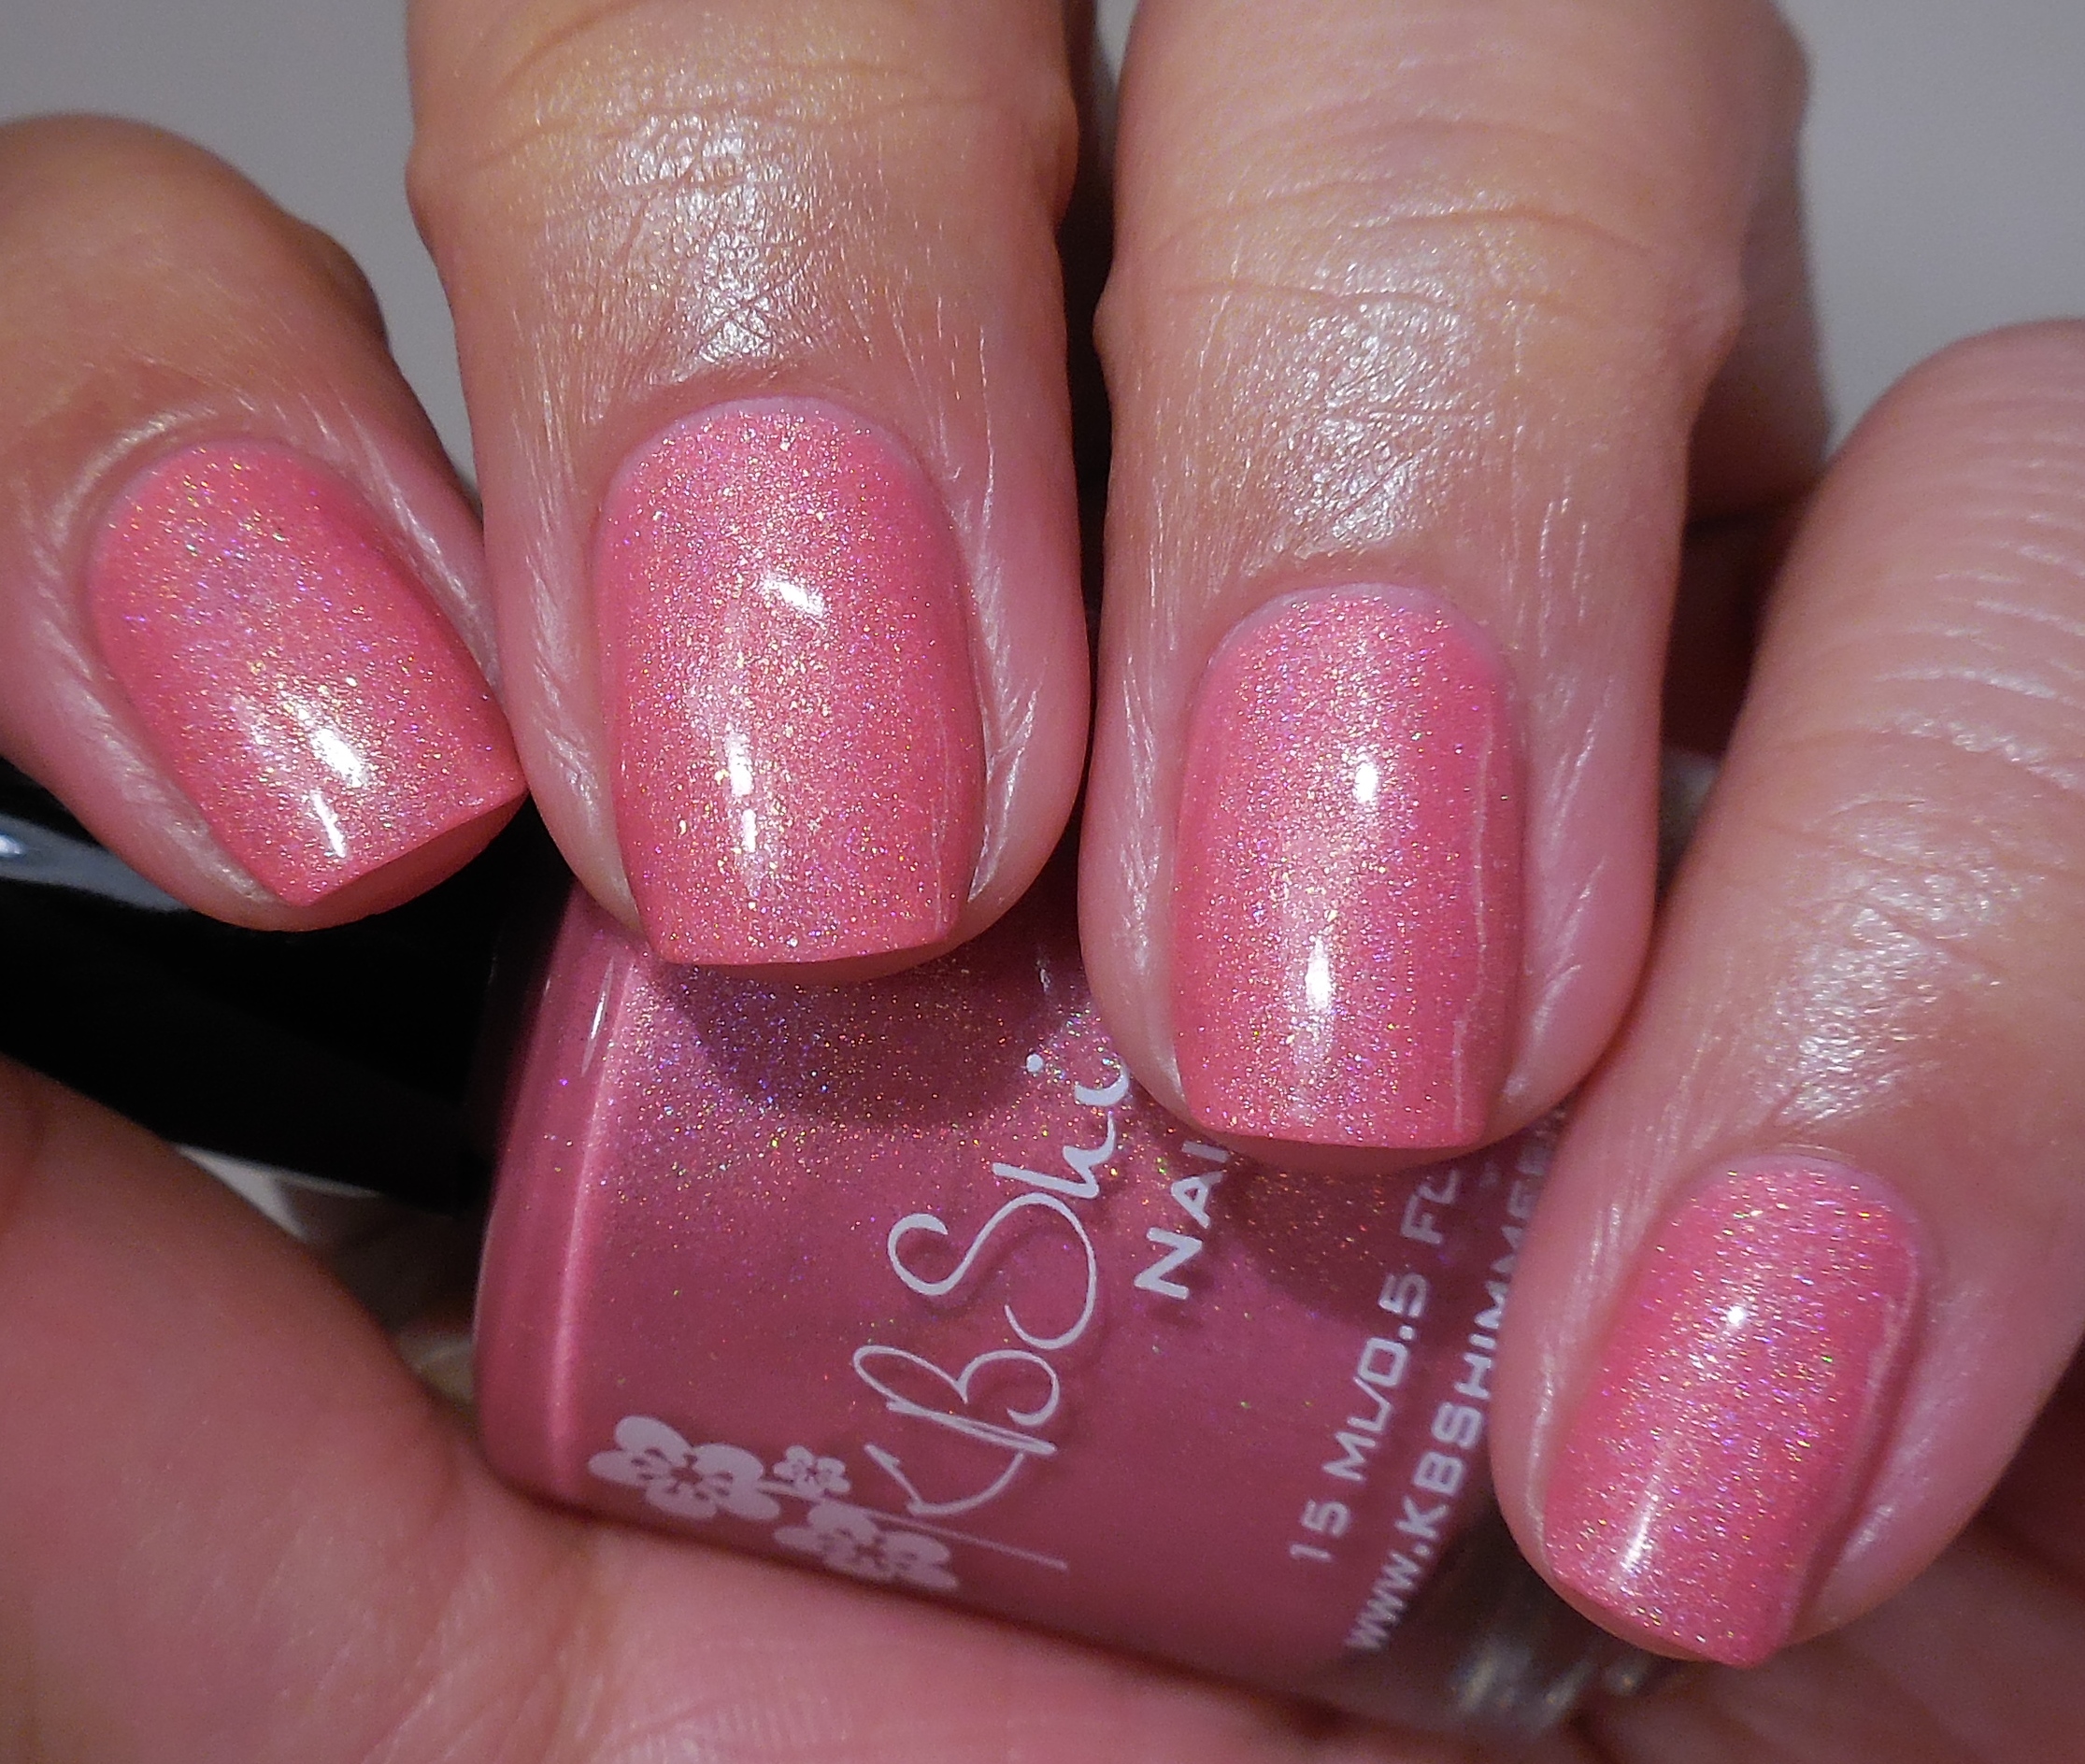
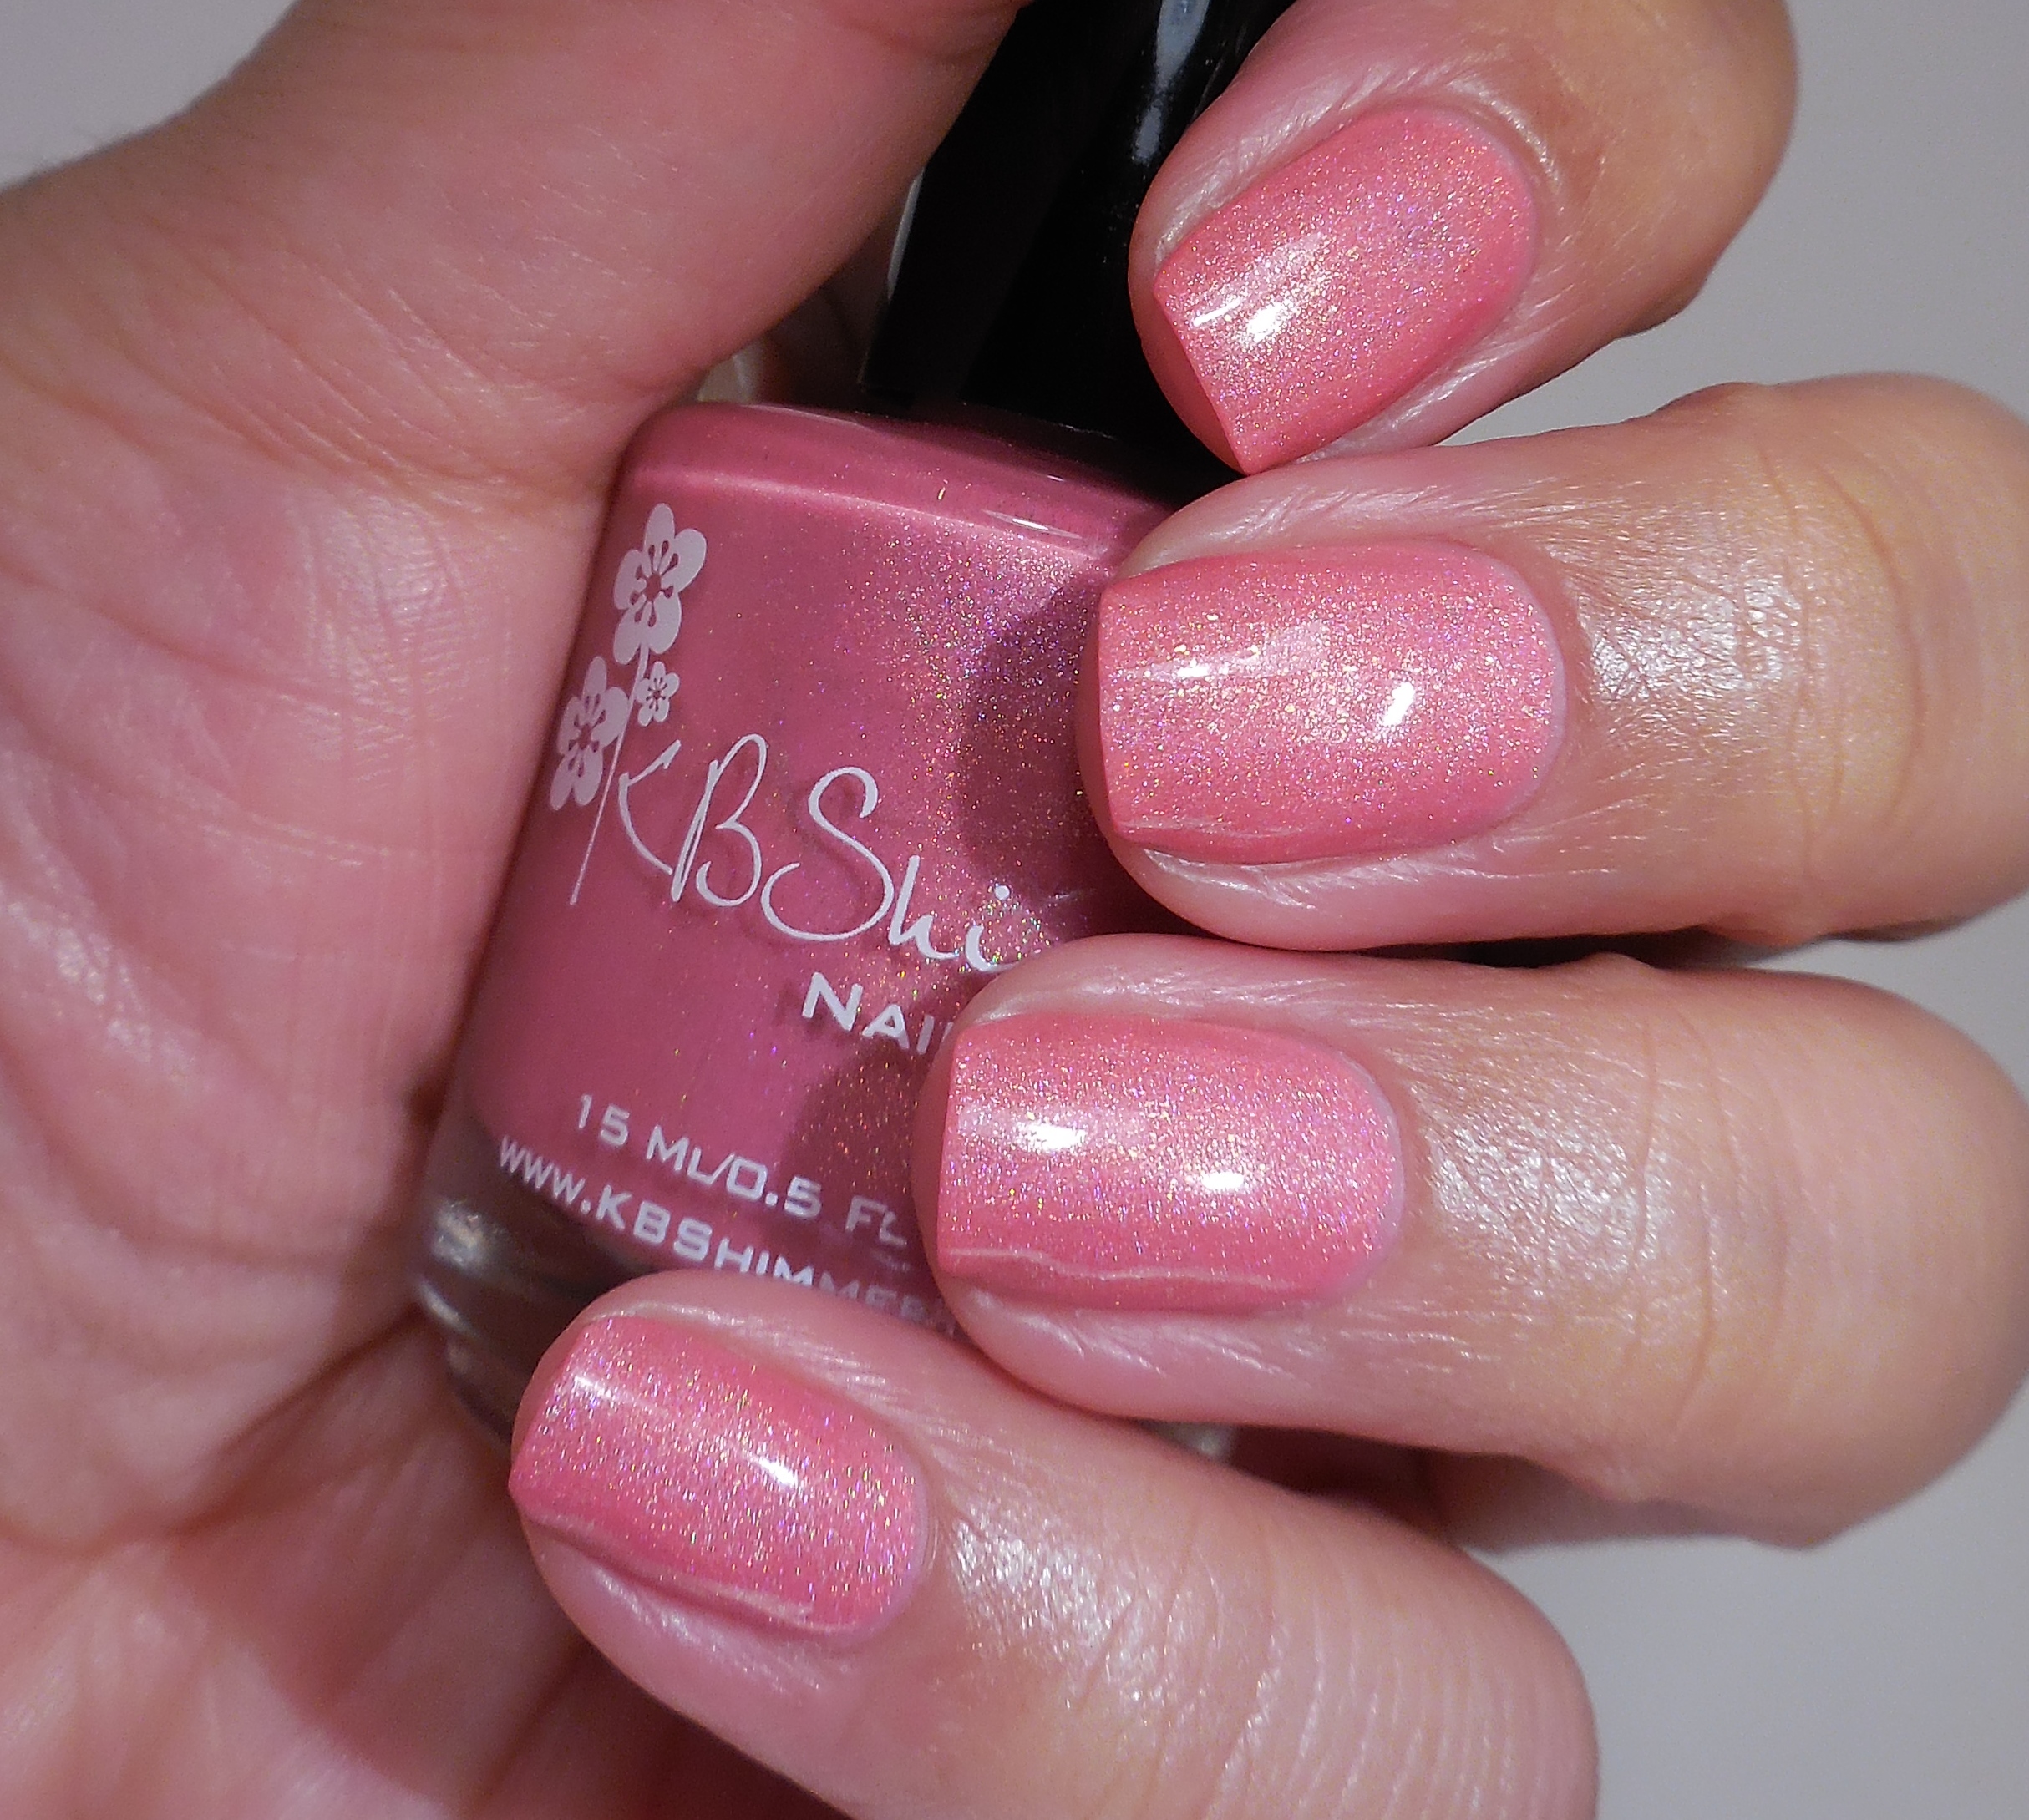
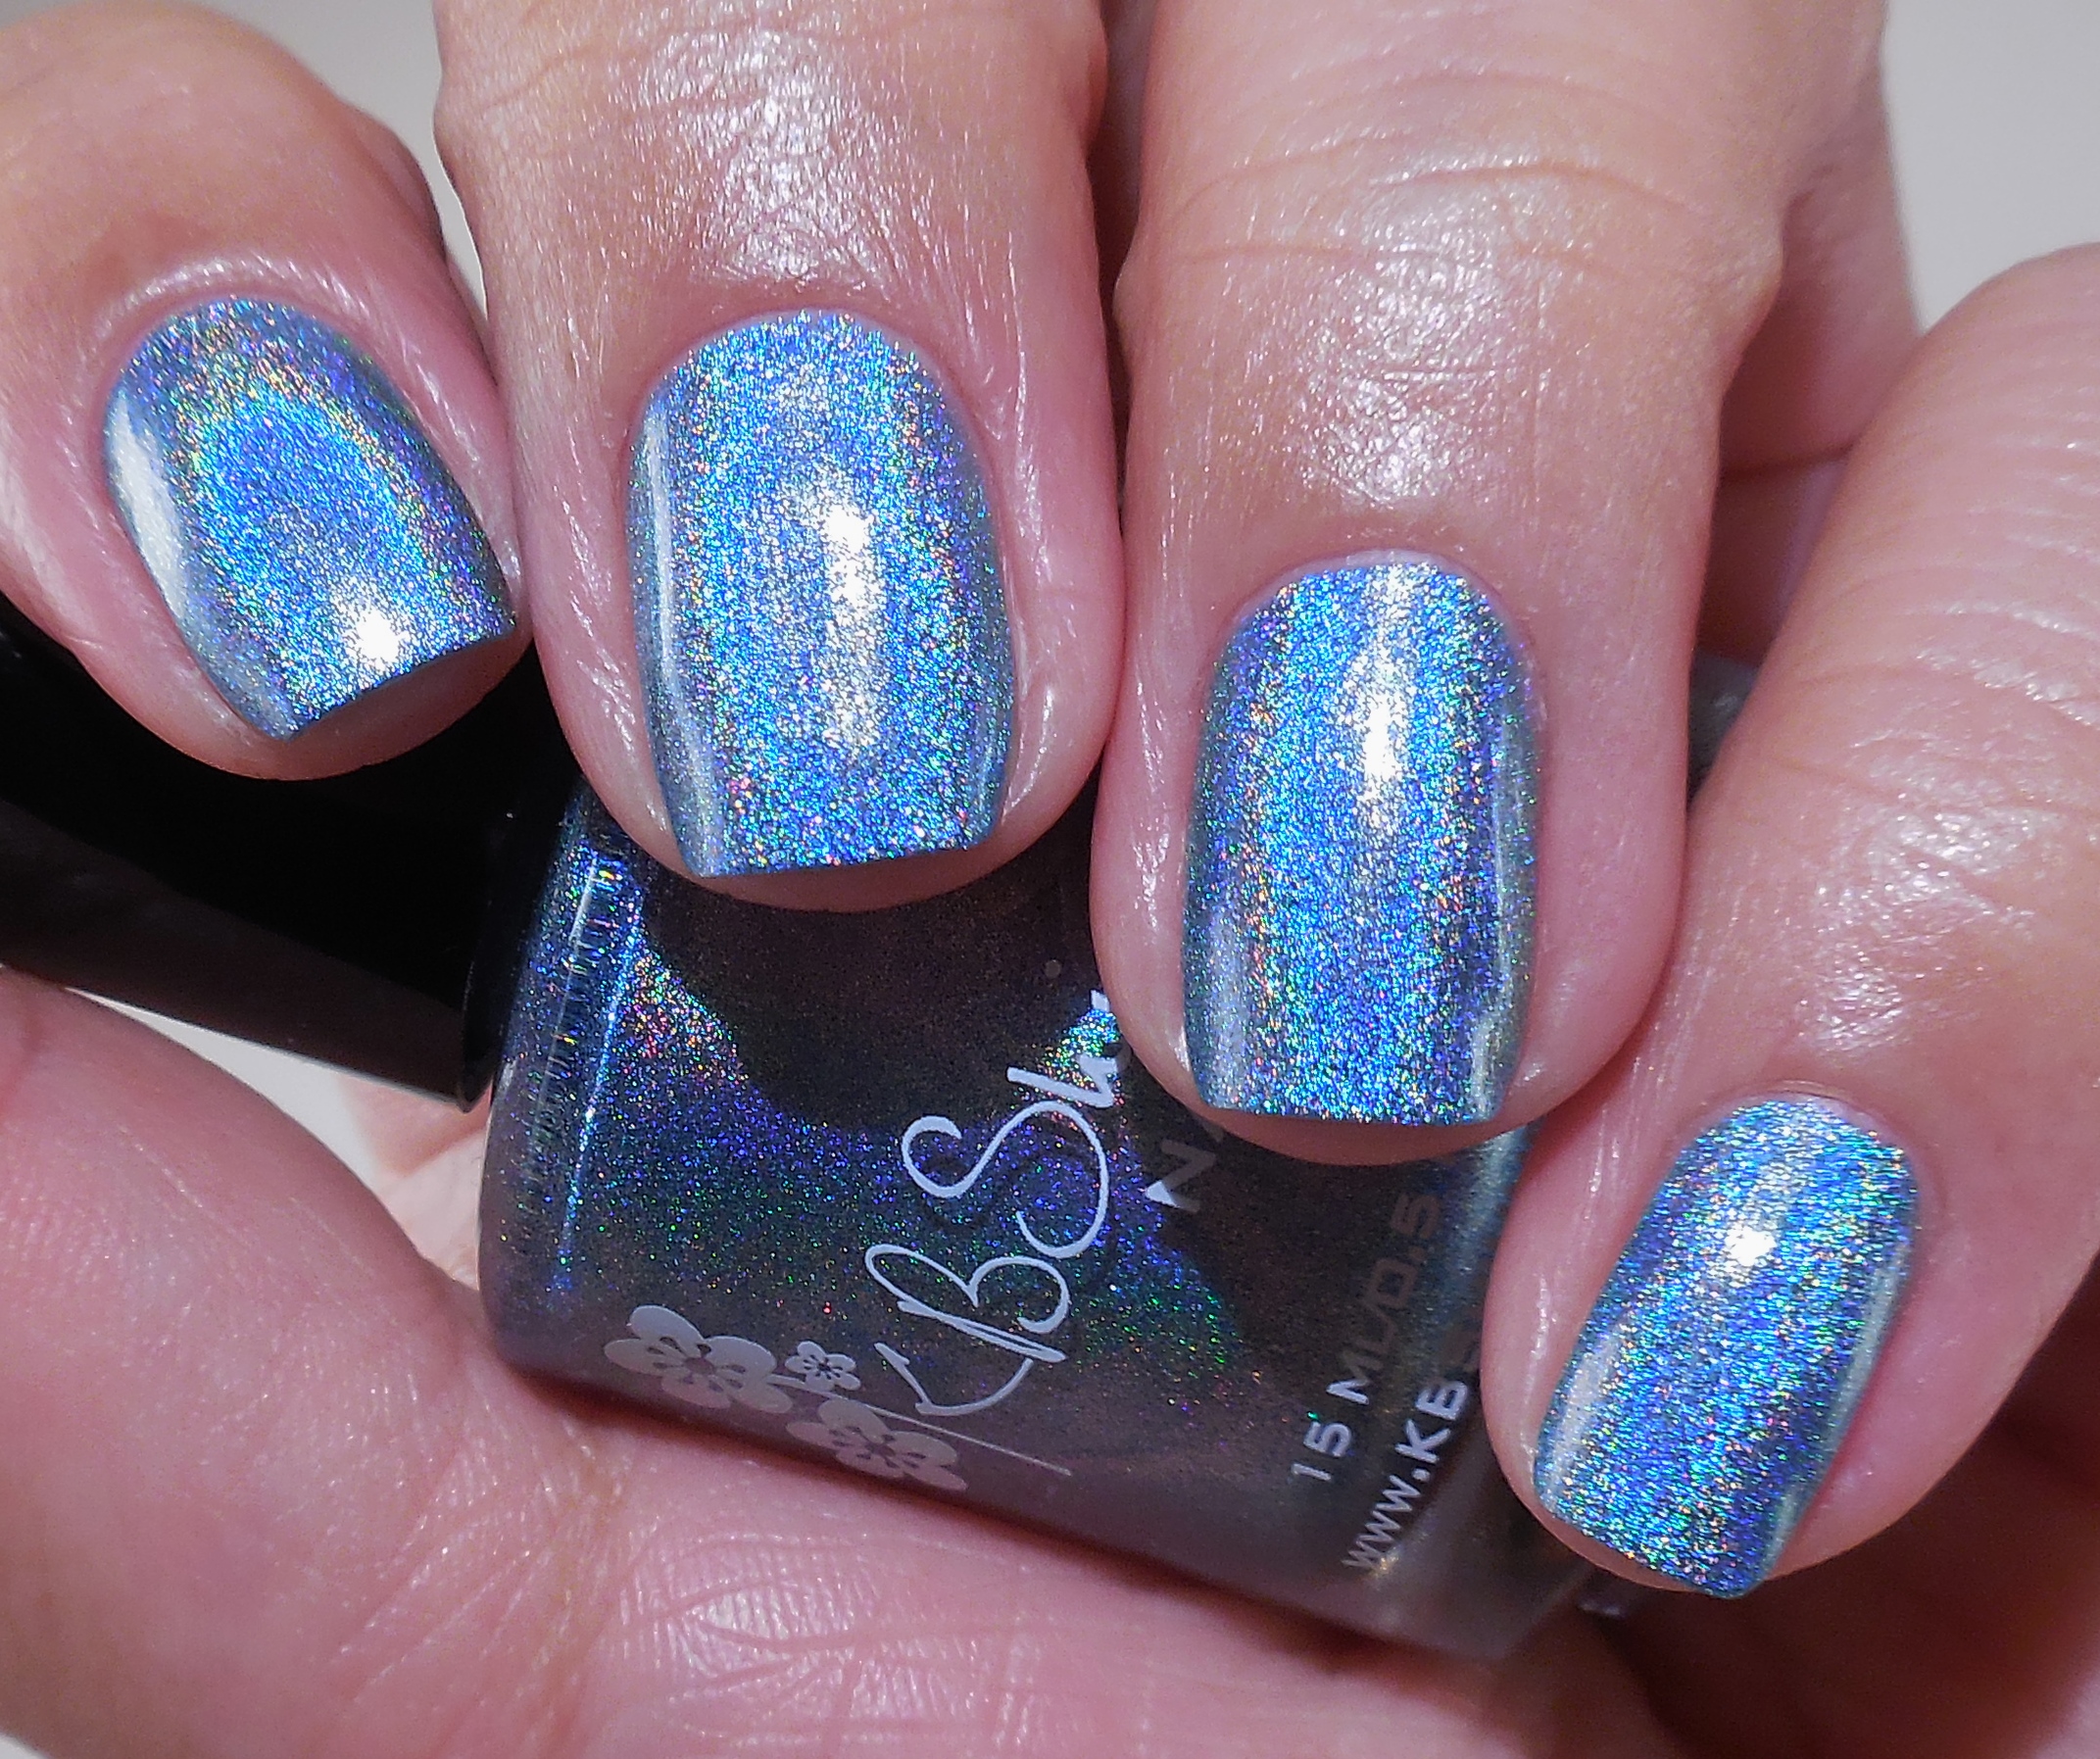
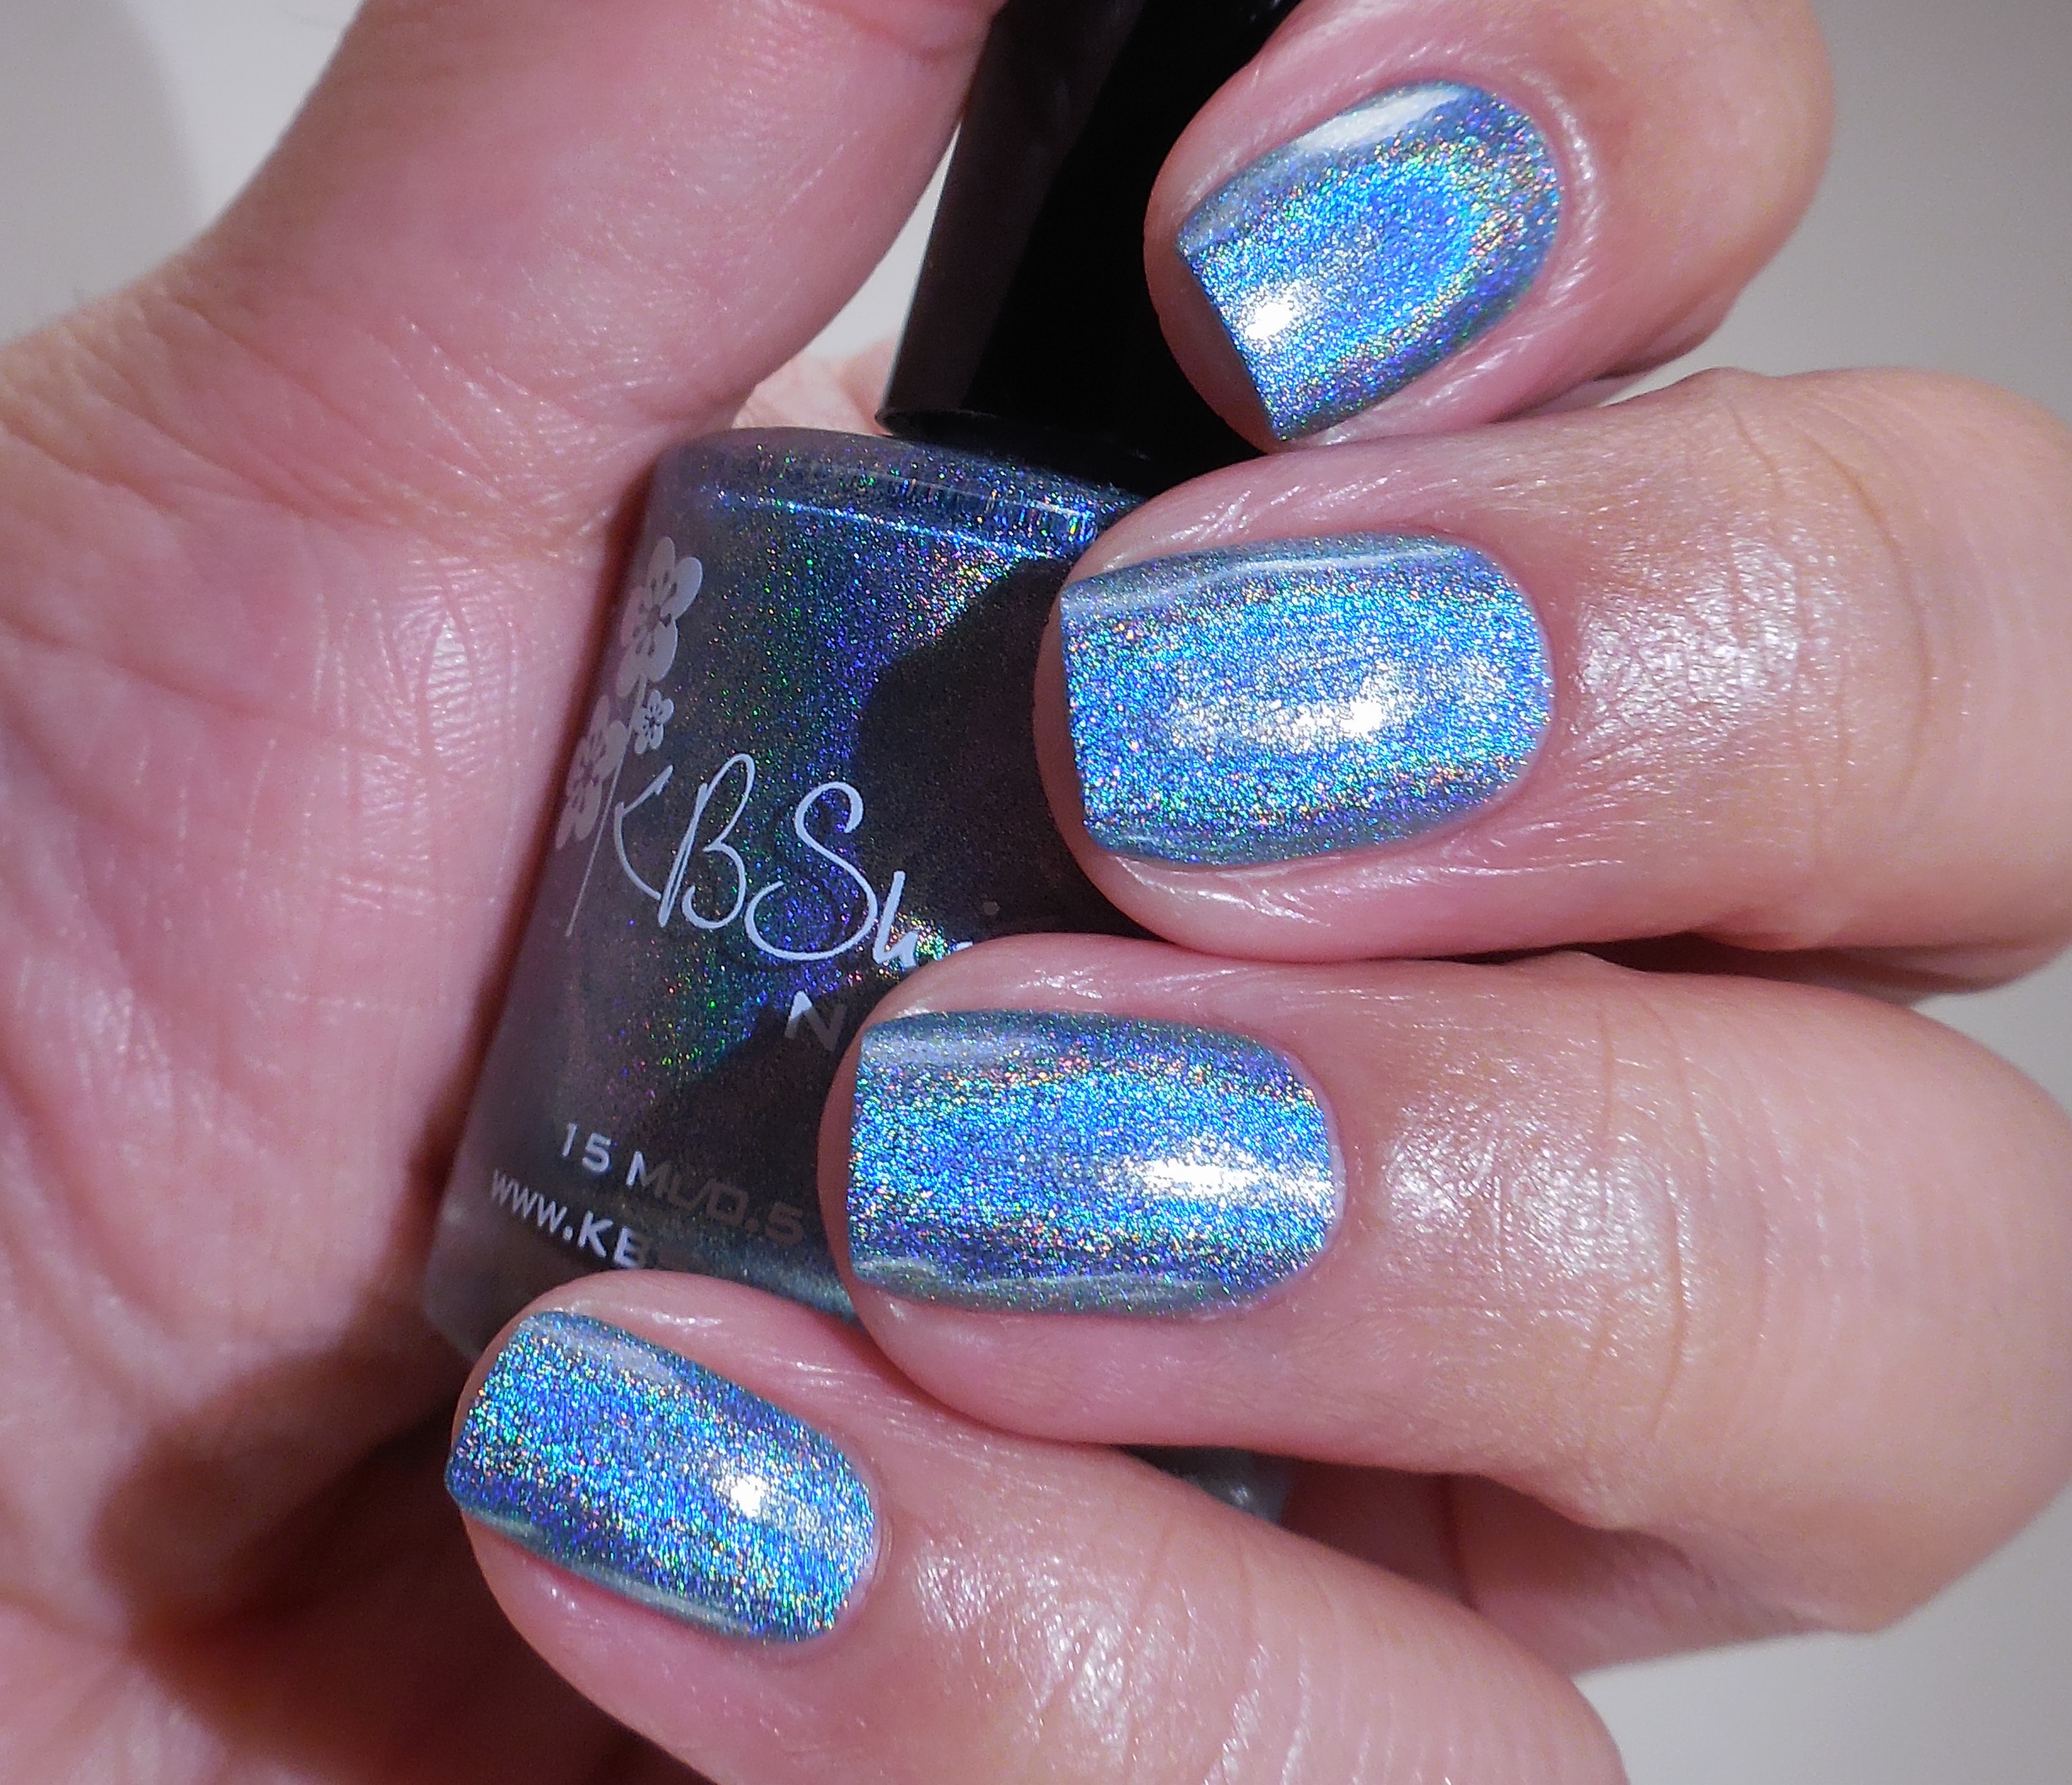
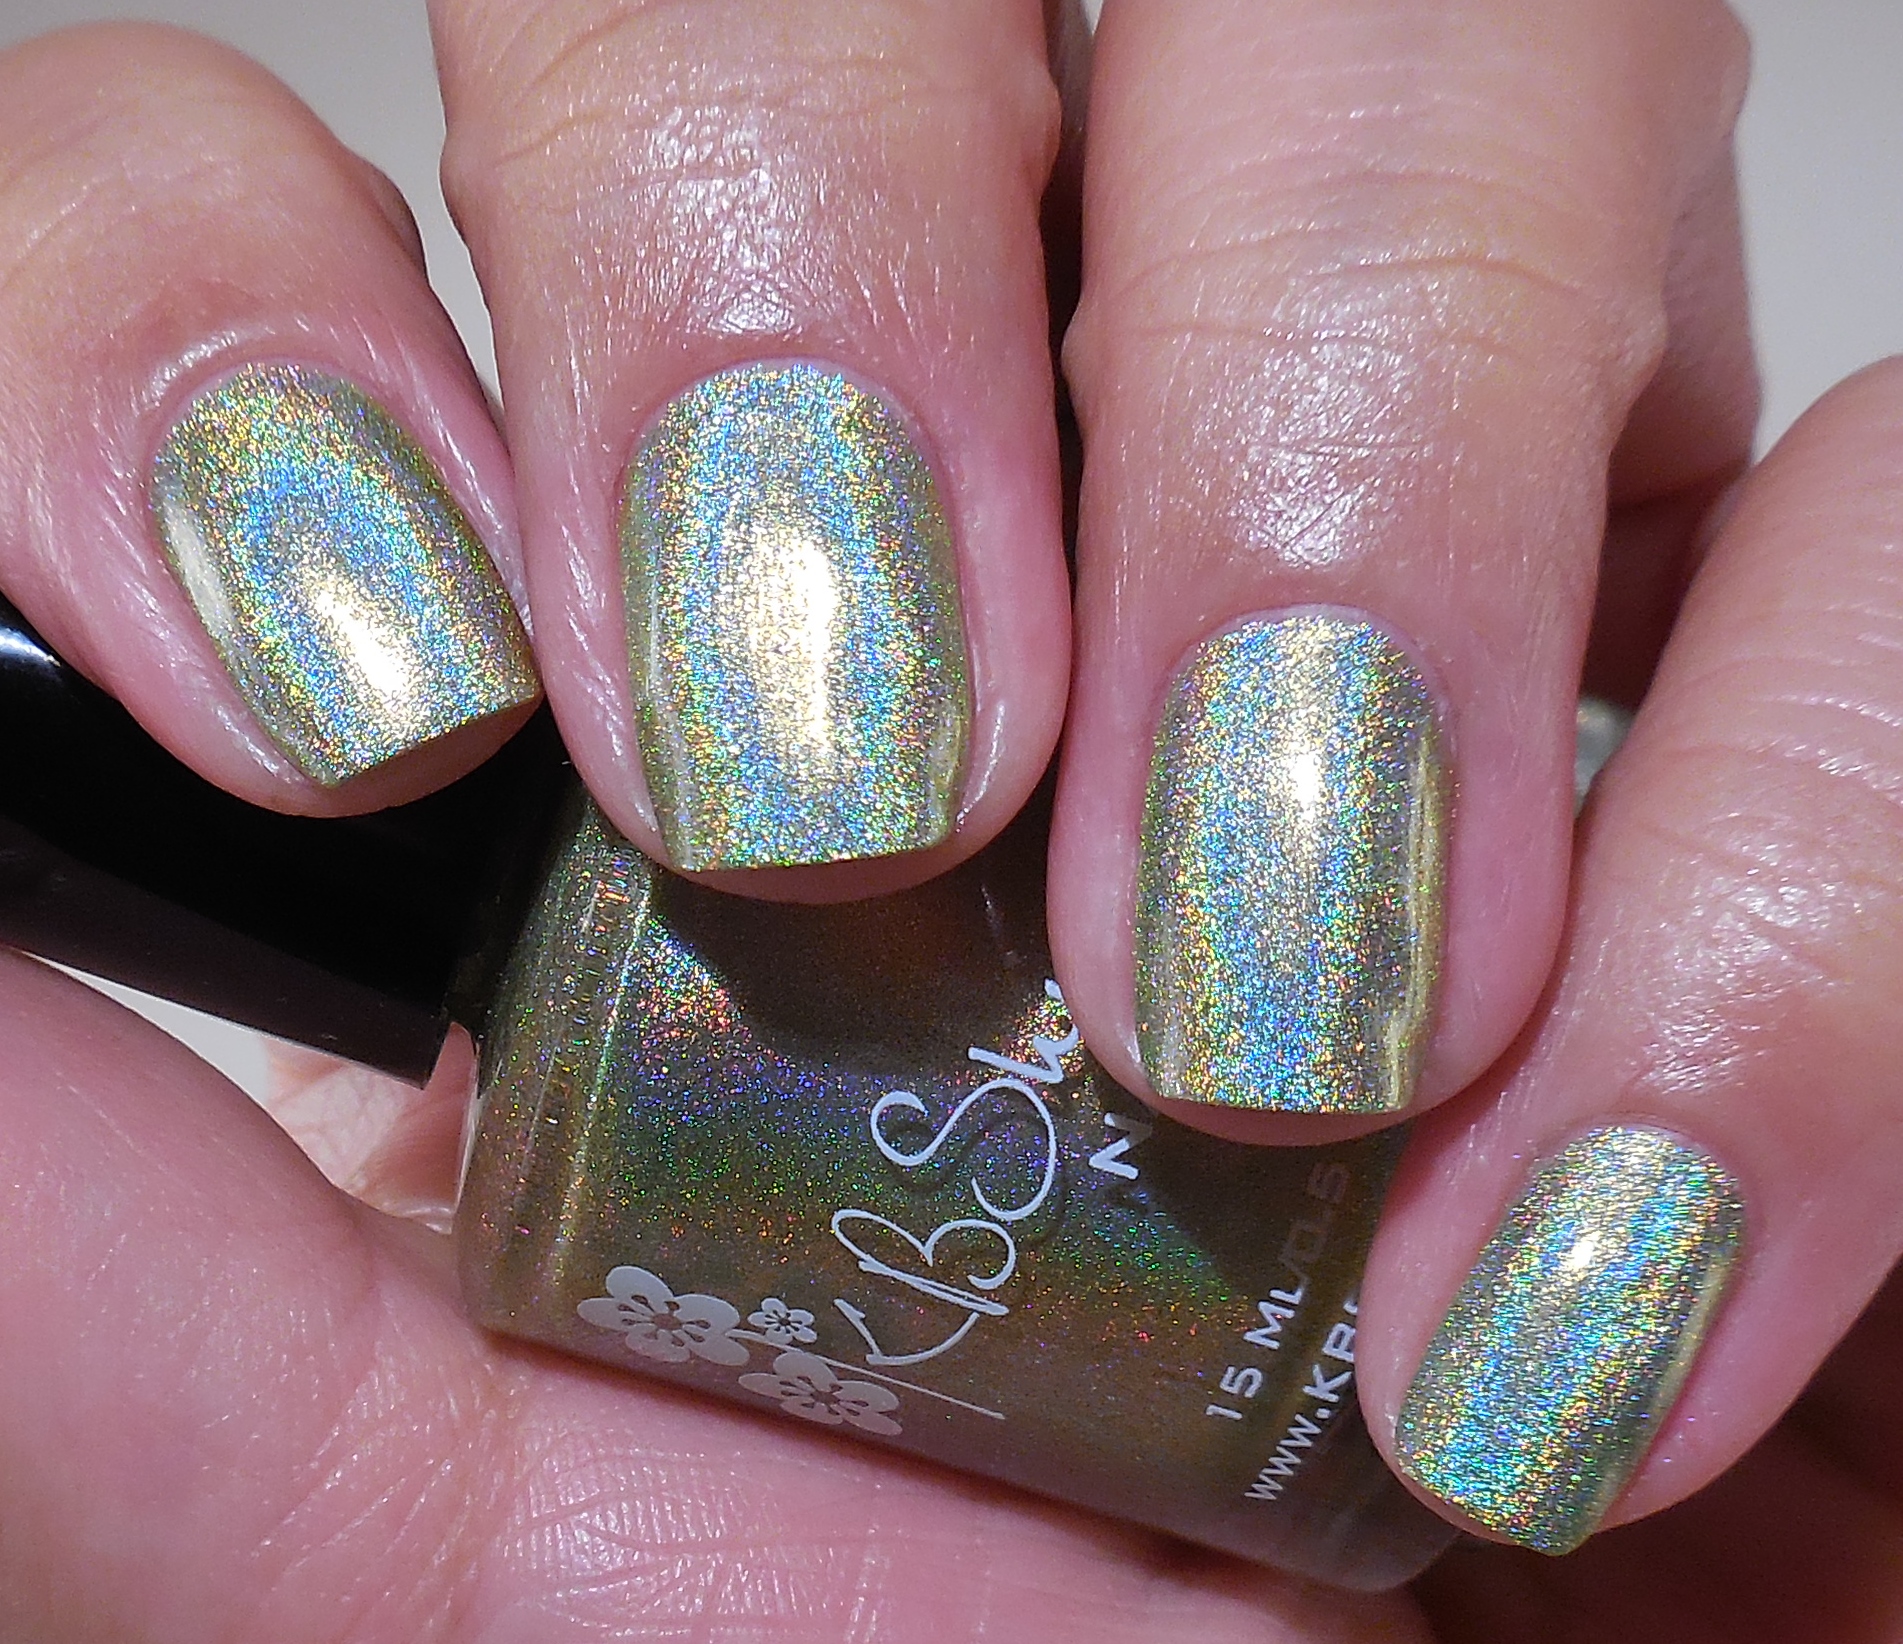
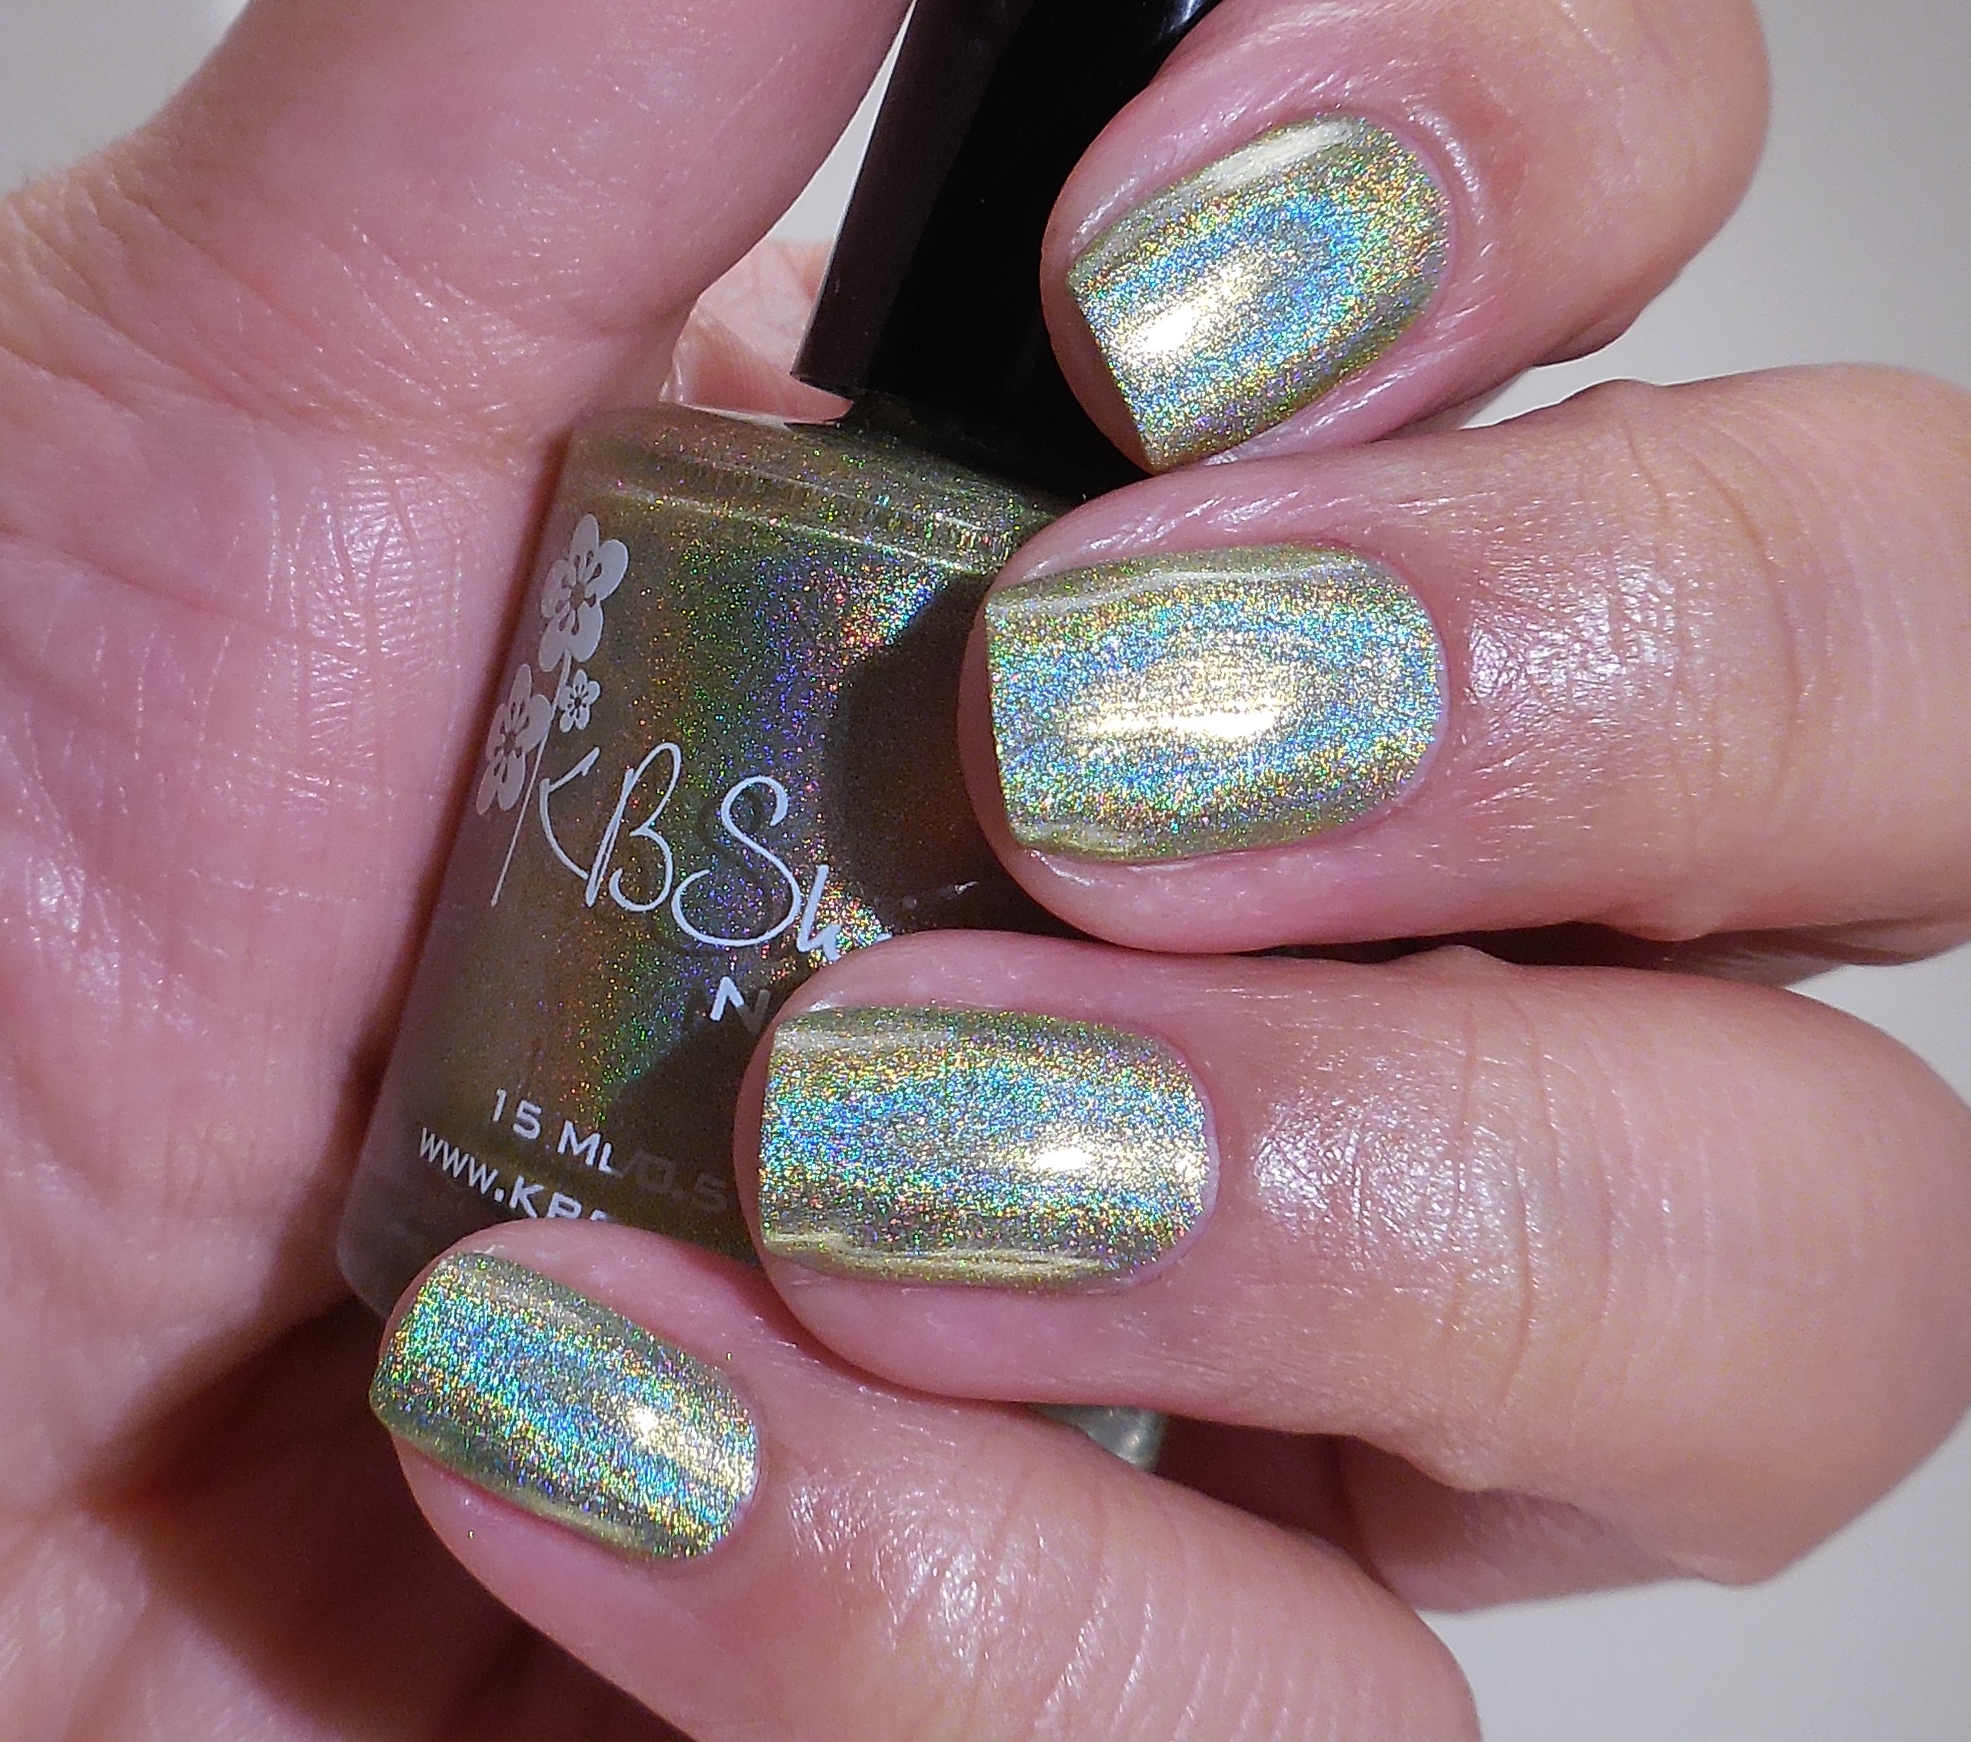
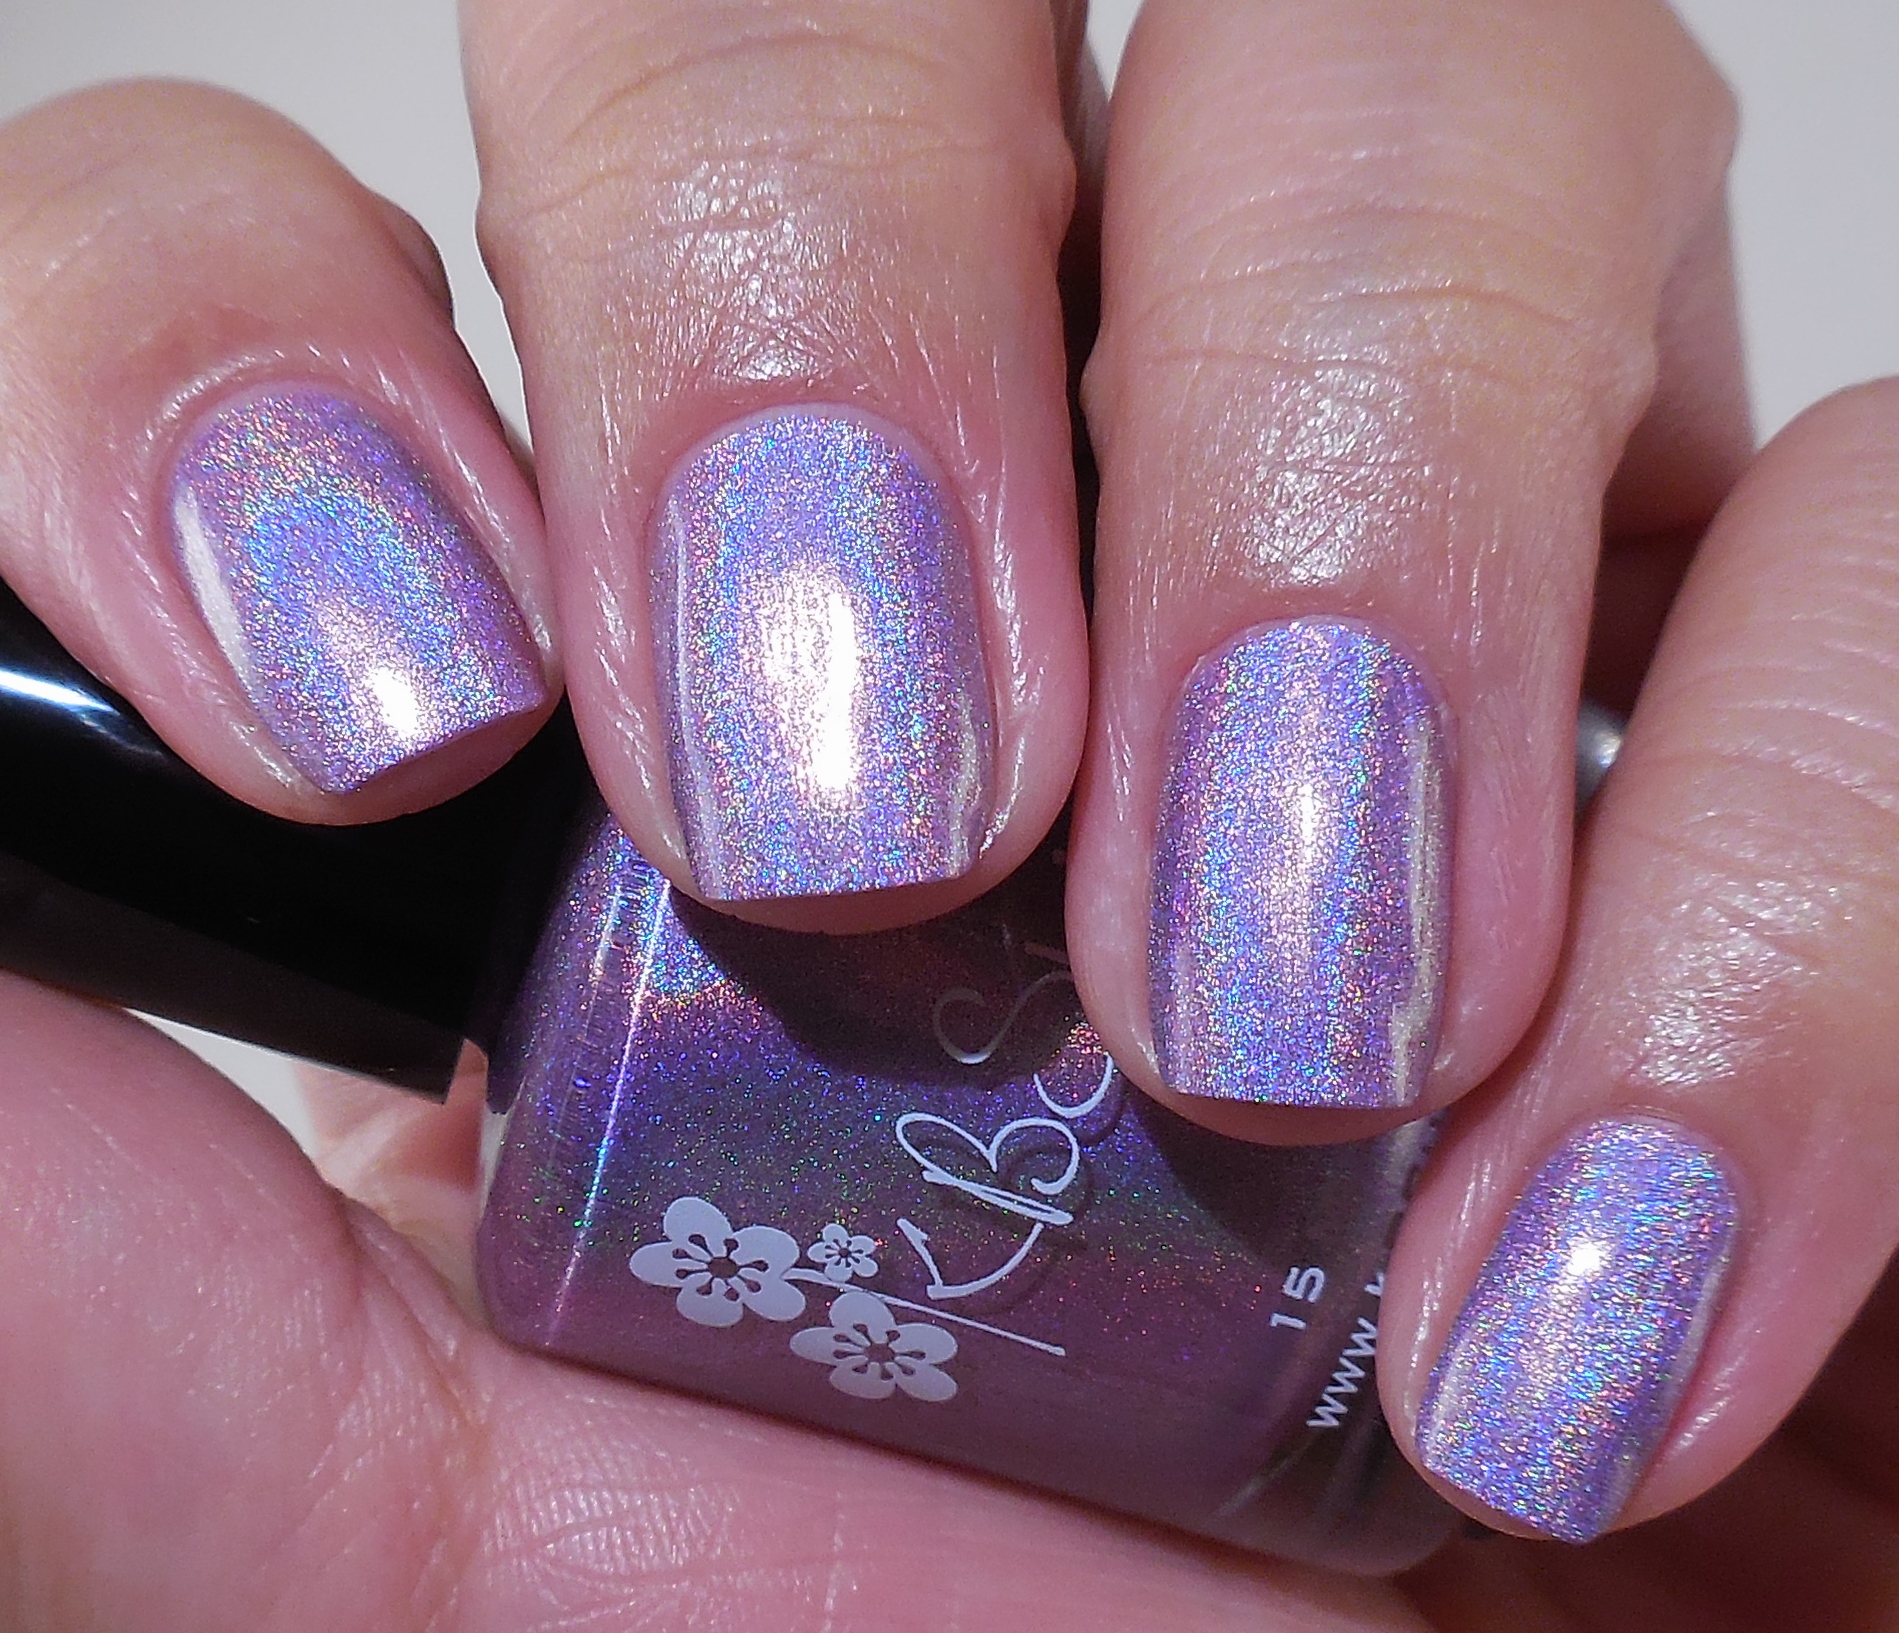
Well, I wanted to get this post up early–even last night, but as usual, I got sidetracked. I had the funkiest dreams last night and I ended up oversleeping big time. I was planning to be up by 7 and I got up at 10:30. Womp womp. Now I have to rush through all my errands, laundry and cleaning. I hate Sundays. Let me tell you how excited I am to share these beauties with you!!! KBShimmer always puts out the most amazing polishes and I can already tell you that this new collection is no exception–I love the musicality of that phrase. Anyway, let me show you the pretties before I jump out of my skin. Behold the beauty of the KBShimmer Spring Collection!

56KBShimmer Funky Cold Patina

34KBShimmer Wind Swarm

12KBShimmer Eyes White Open

78KBShimmer Blush Money

910KBShimmer Blue-d Lines

1112KBShimmer Ins And Sprouts

1314KBShimmer Thistle Be The Day

Ghaaaaaaaaaaaaaaaaaaaa! These are gorgeous. There is not a single problematic polish in this lot–they were all opaque at two coats an applied smoothly. I changes my lighting up a bit for the holographic polishes so I apologize for the shine on my skin in these pictures. The holos are just so mesmerizing–can we ever get enough of holos? I don’ know what else to tell you about this collection besides I’m sorry….I’m sorry that your wallet/bank account is about to get lighter because you will want every single one of these. The collection consists of 12 polishes total and they are all just as amazeballs. The polishes will retail for $8.75 each and will be available on Friday, February 6th, 2015 at www.kbshimmer.com. Will you be getting any of these? Let me know what you think. Thanks for stopping by today, and I will talk to you soon!

Follow KBShimmer

WebsiteFacebookInstagramTwitter

Stamping Saturdays #54

Stamping Saturdays #54

Hey girls! Saturday is here again which means it’s time for another Stamping Saturdays. Last week I ended up doing my mani early because I knew I would be ridiculously lazy this weekend. In fact, I have gotten a lot of swatching done so I am almost caught up….until more collections start to drop. Ever since Friends was added on Netflix, I’ve been watching episodes non-stop. I actually have the whole collection on DVD, but it’s so convenient to have the entire series on Netflix. I had forgotten how much I loved the series! Anyway, let me show you what I came up with today.

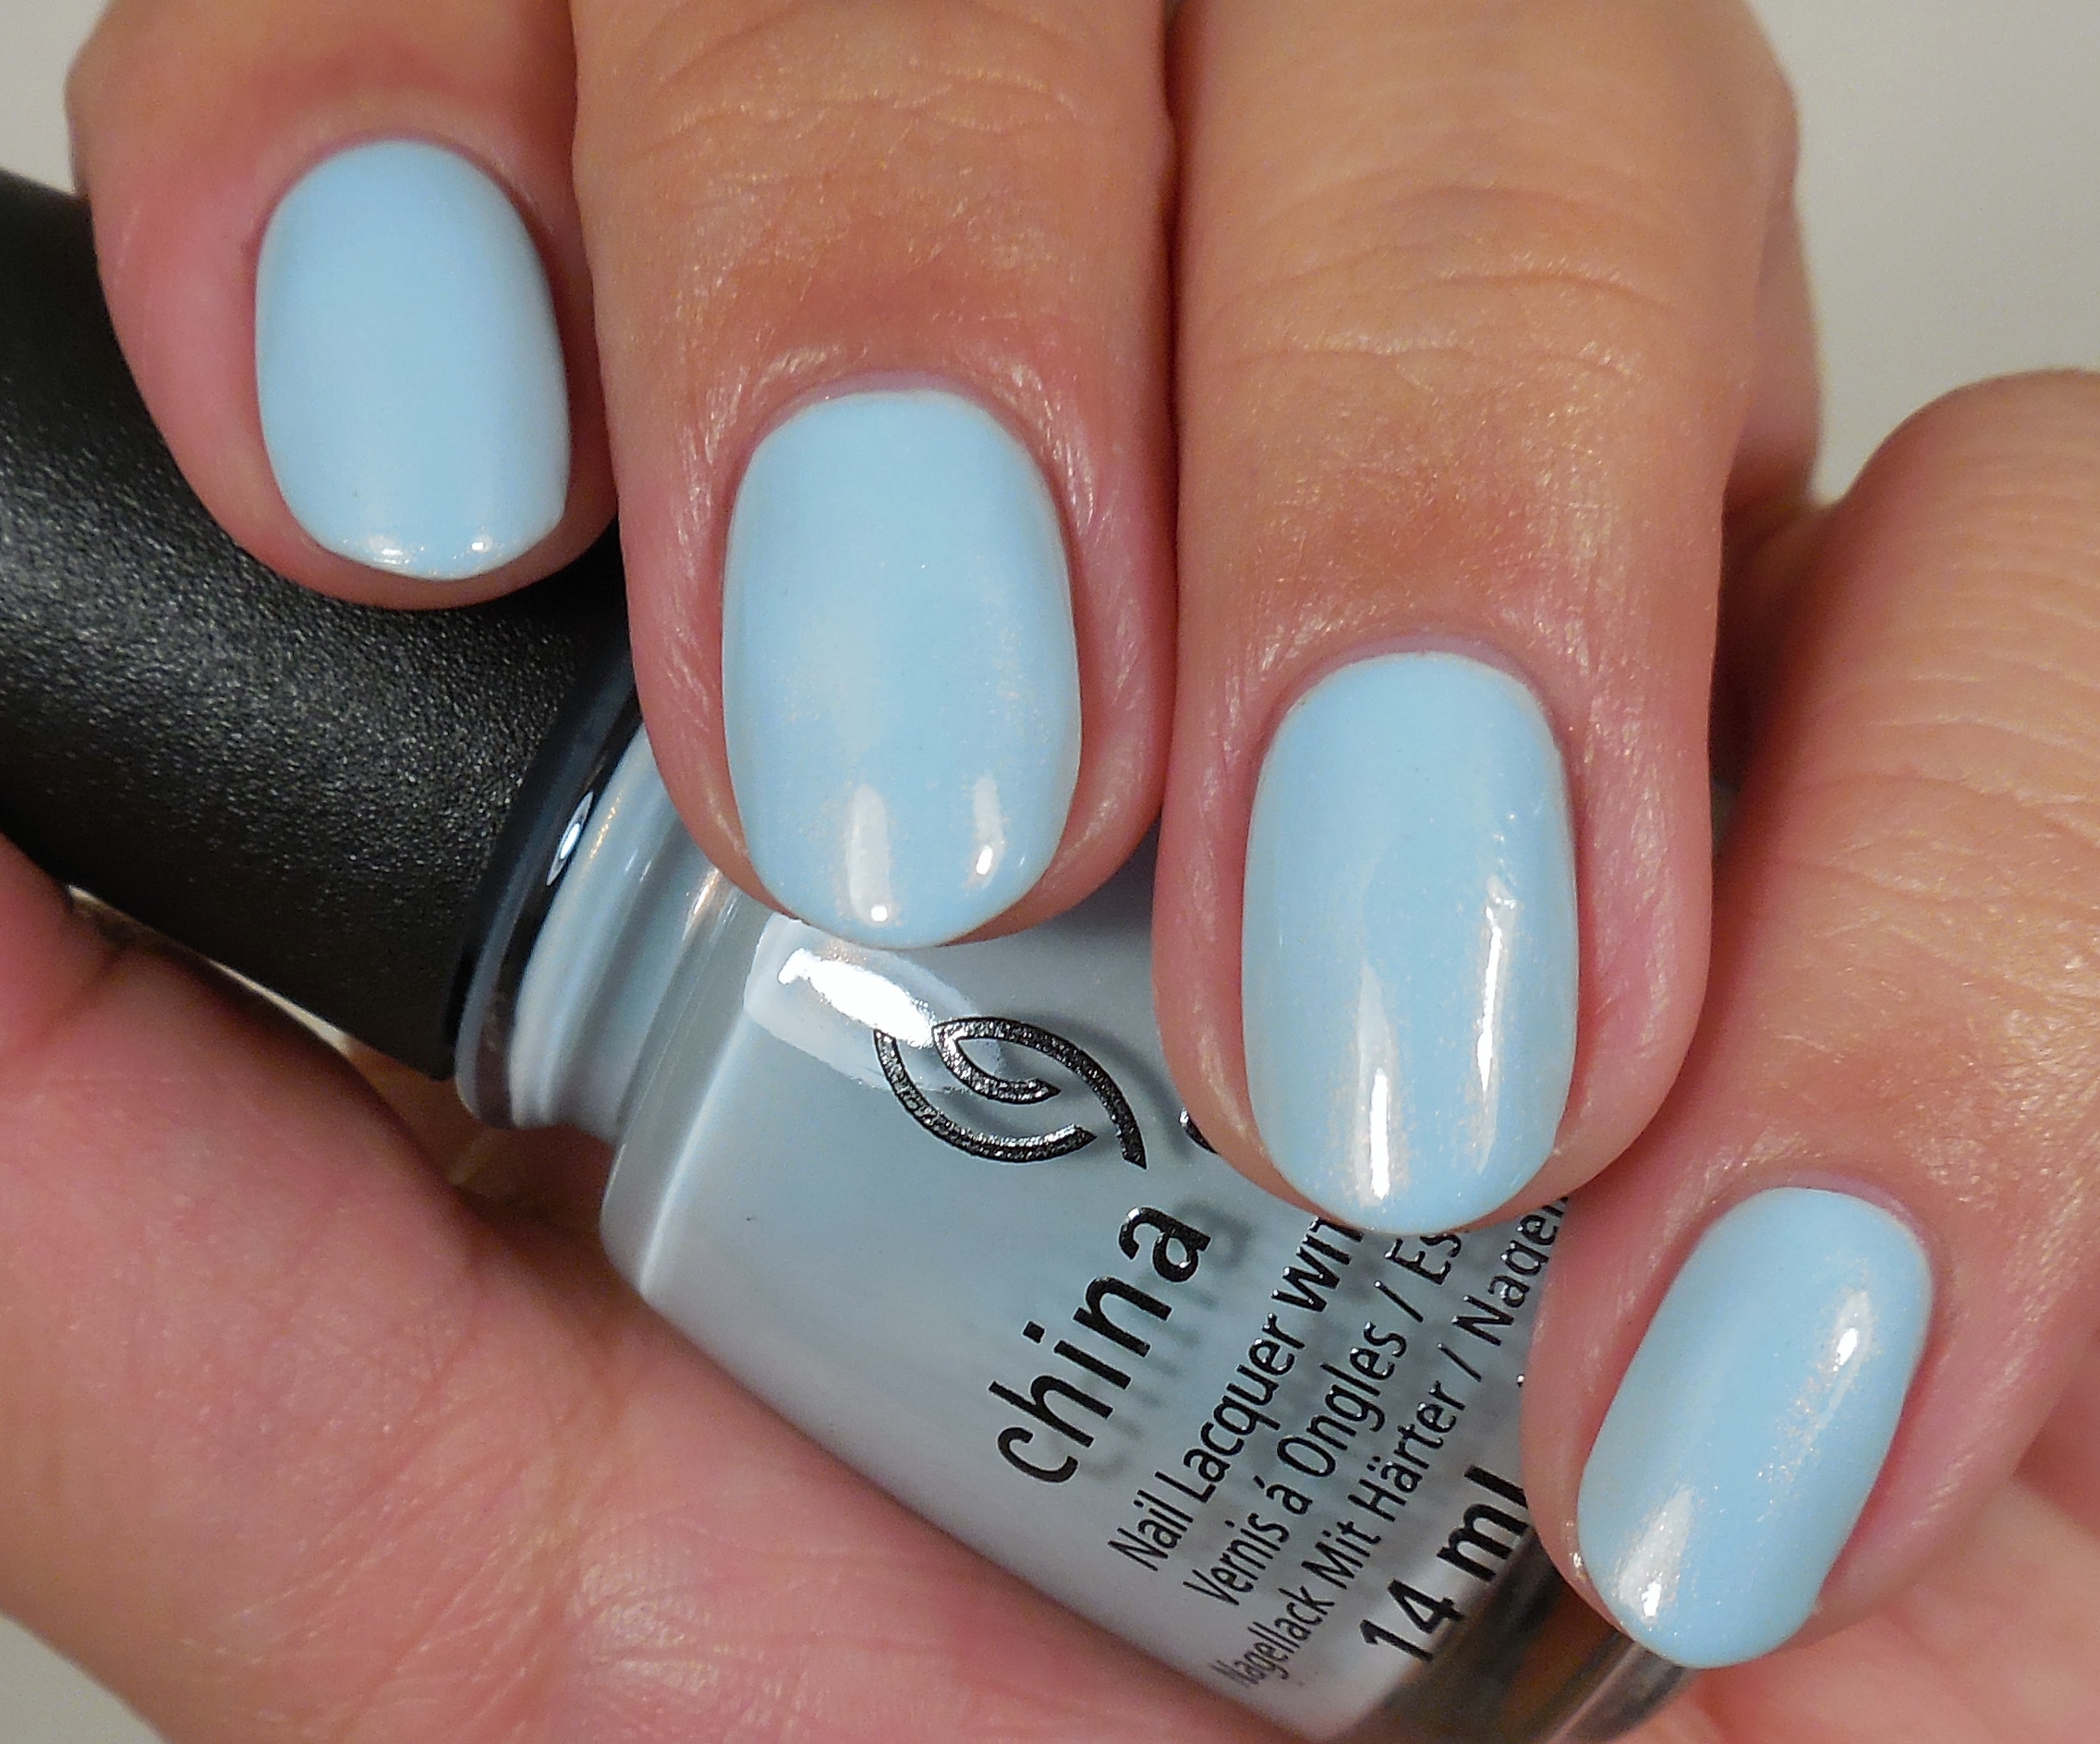
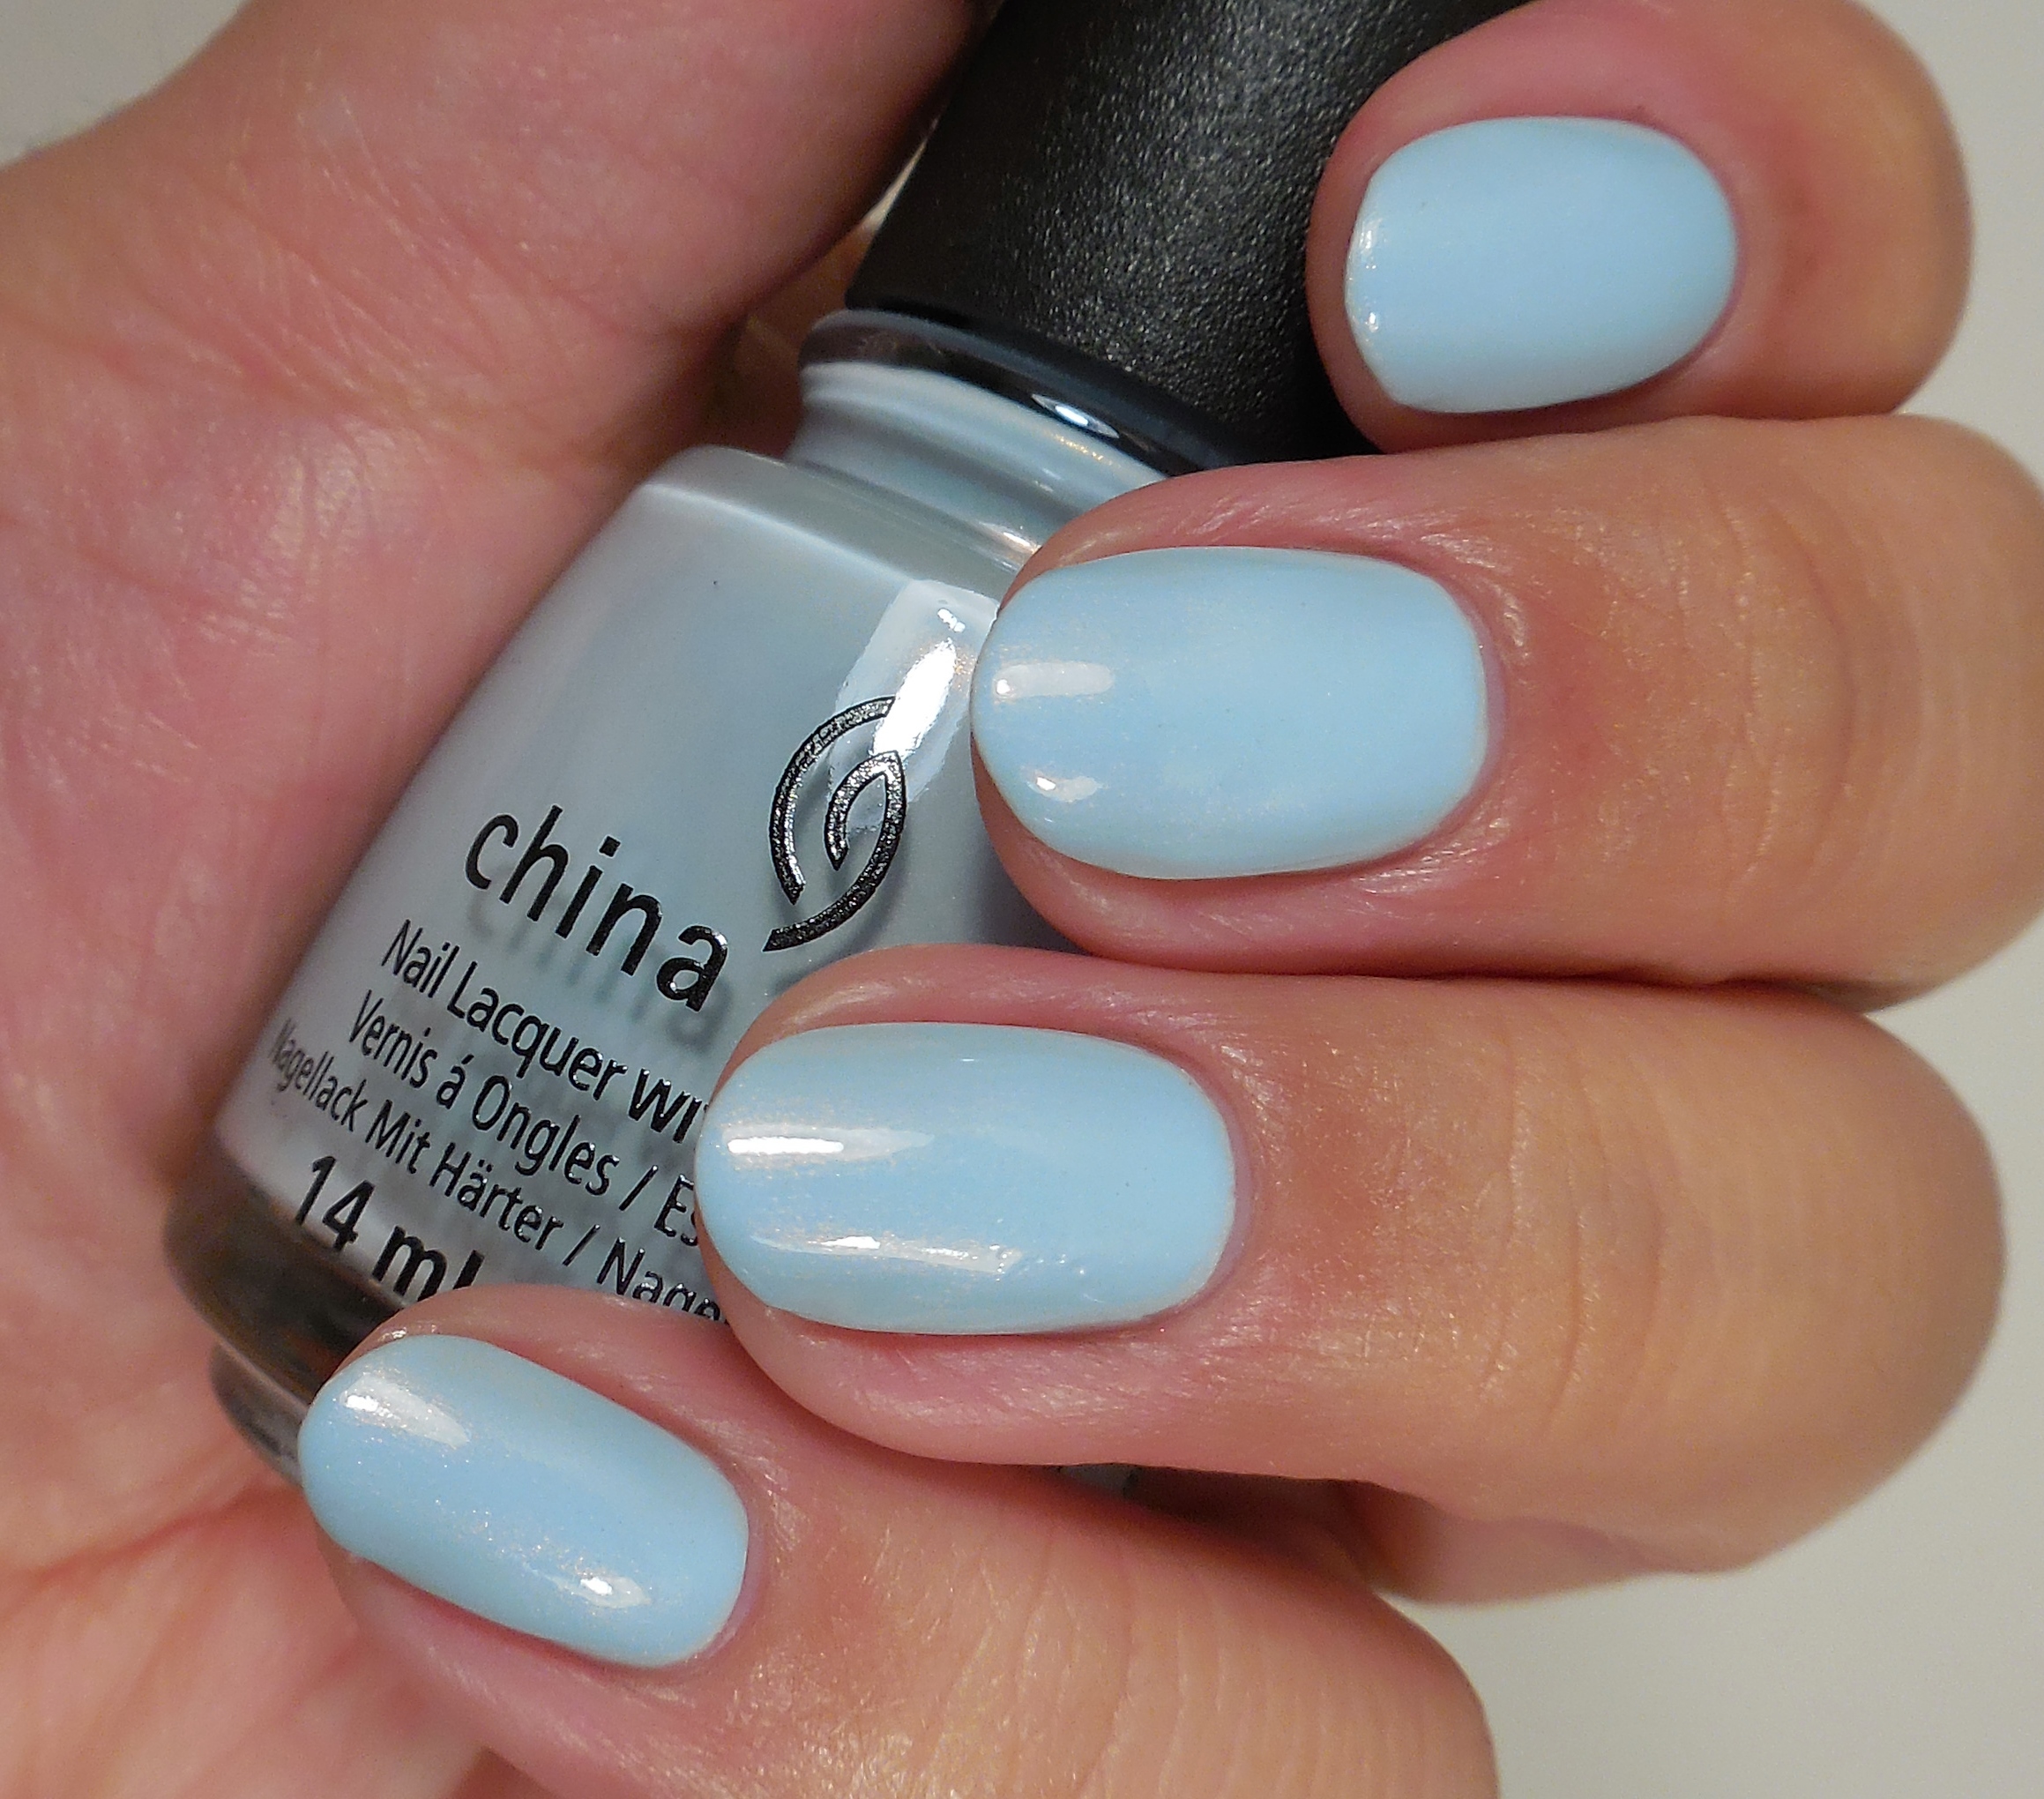
12This beauty is China Glaze Dashboard Dreamer from their Spring Road Trip Collection. It’s the most gorgeous bay blue with a delicate microshimmer throughout. The formula isn’t great, but I think that I can be forgiving for a color this gorgeous.

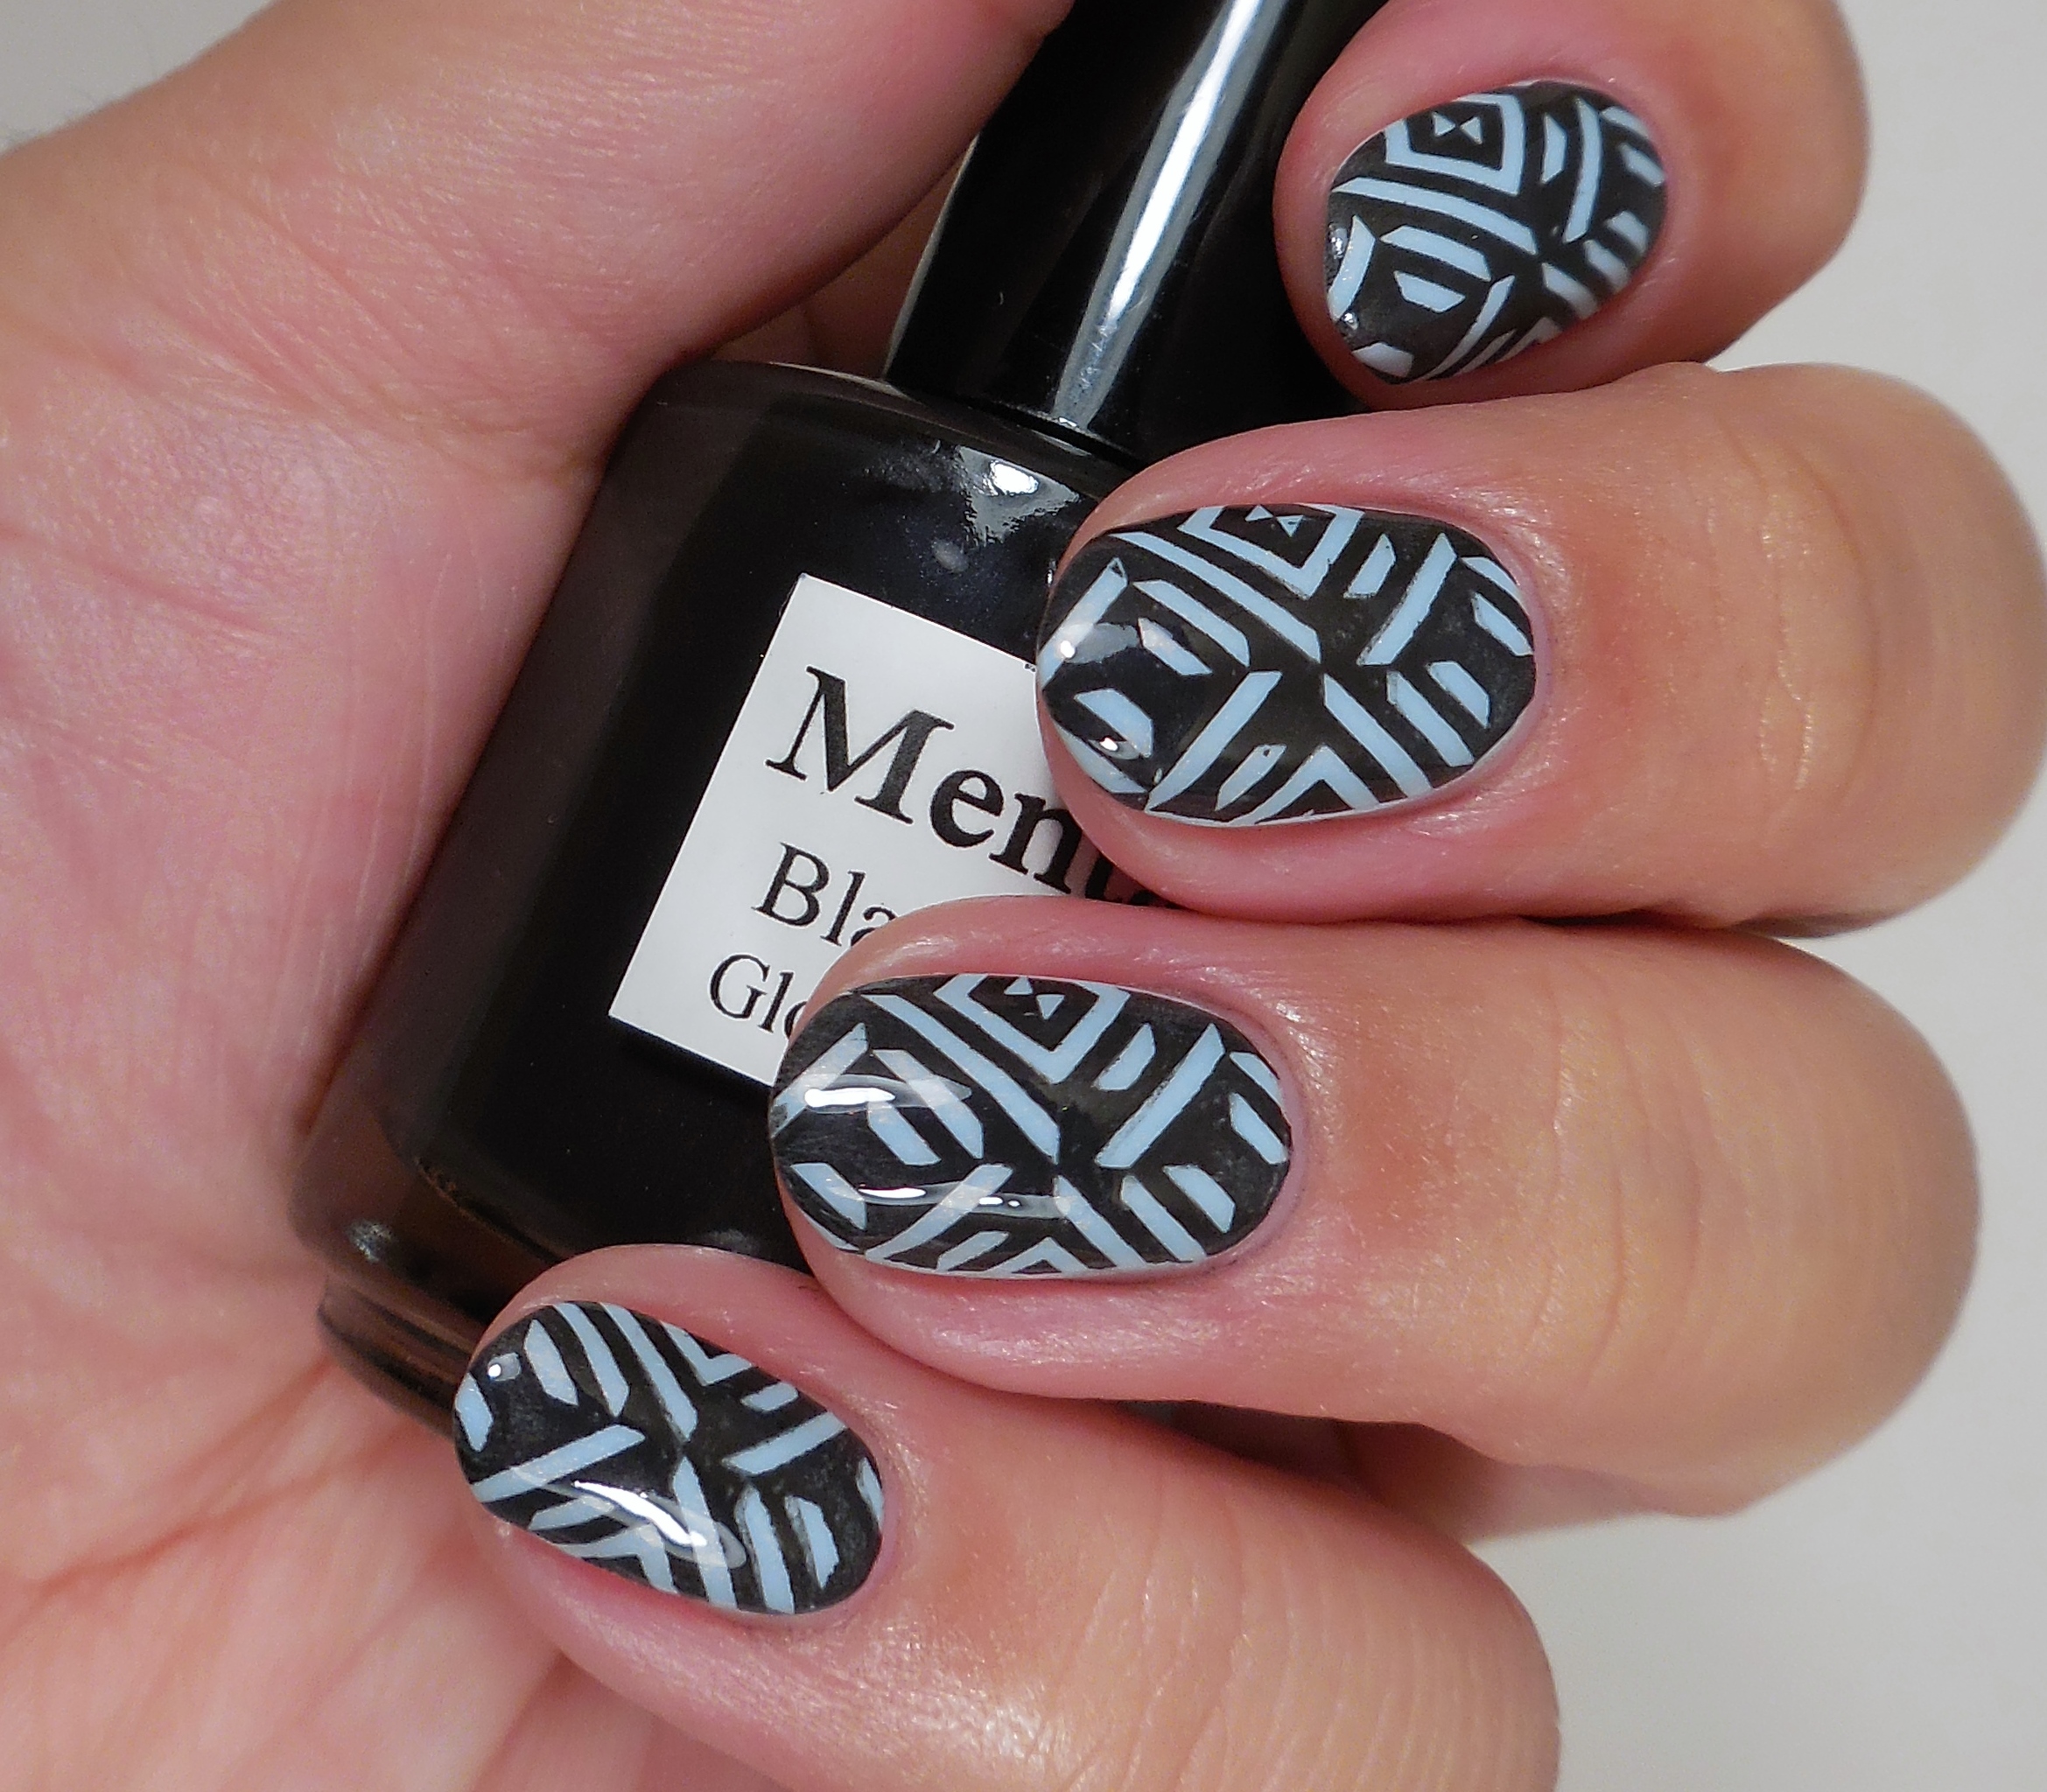
34I then used and image from plate MoYou London Pro Collection 18 (press sample) and Mentality Black Opaque stamping polish. The more I used this Mentality stamping polish, the more I love it. It’s very opaque and it doesn’t stain at all the way the Konad one does.

56After I finished my stamping, I decided to apply a coat of China Glaze Fairy Dust just for some added sparkle. I think that it ended up muddling the manicure overall, but it looked really pretty out in the sun.

So what do you think about this mani? I liked it but it definitely is not one of my favorites. Don’t forget to check out the other Stamping Saturdays manis below. Don’t forget to join us by adding your link below and by using the hashtag #StampingSaturdays on IG so I can find you. Thanks  for stopping by today, and I will talk to you soon!

 Loading InLinkz ...