
![]()
Is it hot in your neck of the woods? I know it’s supposed to be really hot here in Southern California, but to tell you the truth, I think it is unseasonably cool. Maybe I’m just on crack or something because it was in the low 90’s here today, but it did not feel that gross. Since it’s really starting to warm up, the collection I have for you today is perfect. The Salon Perfect Neon Pop! Collection is made up of 12 bright colors to sear your retinas. I have 9 of the 12 polishes to share with you today so let’s take a look at the colors first.

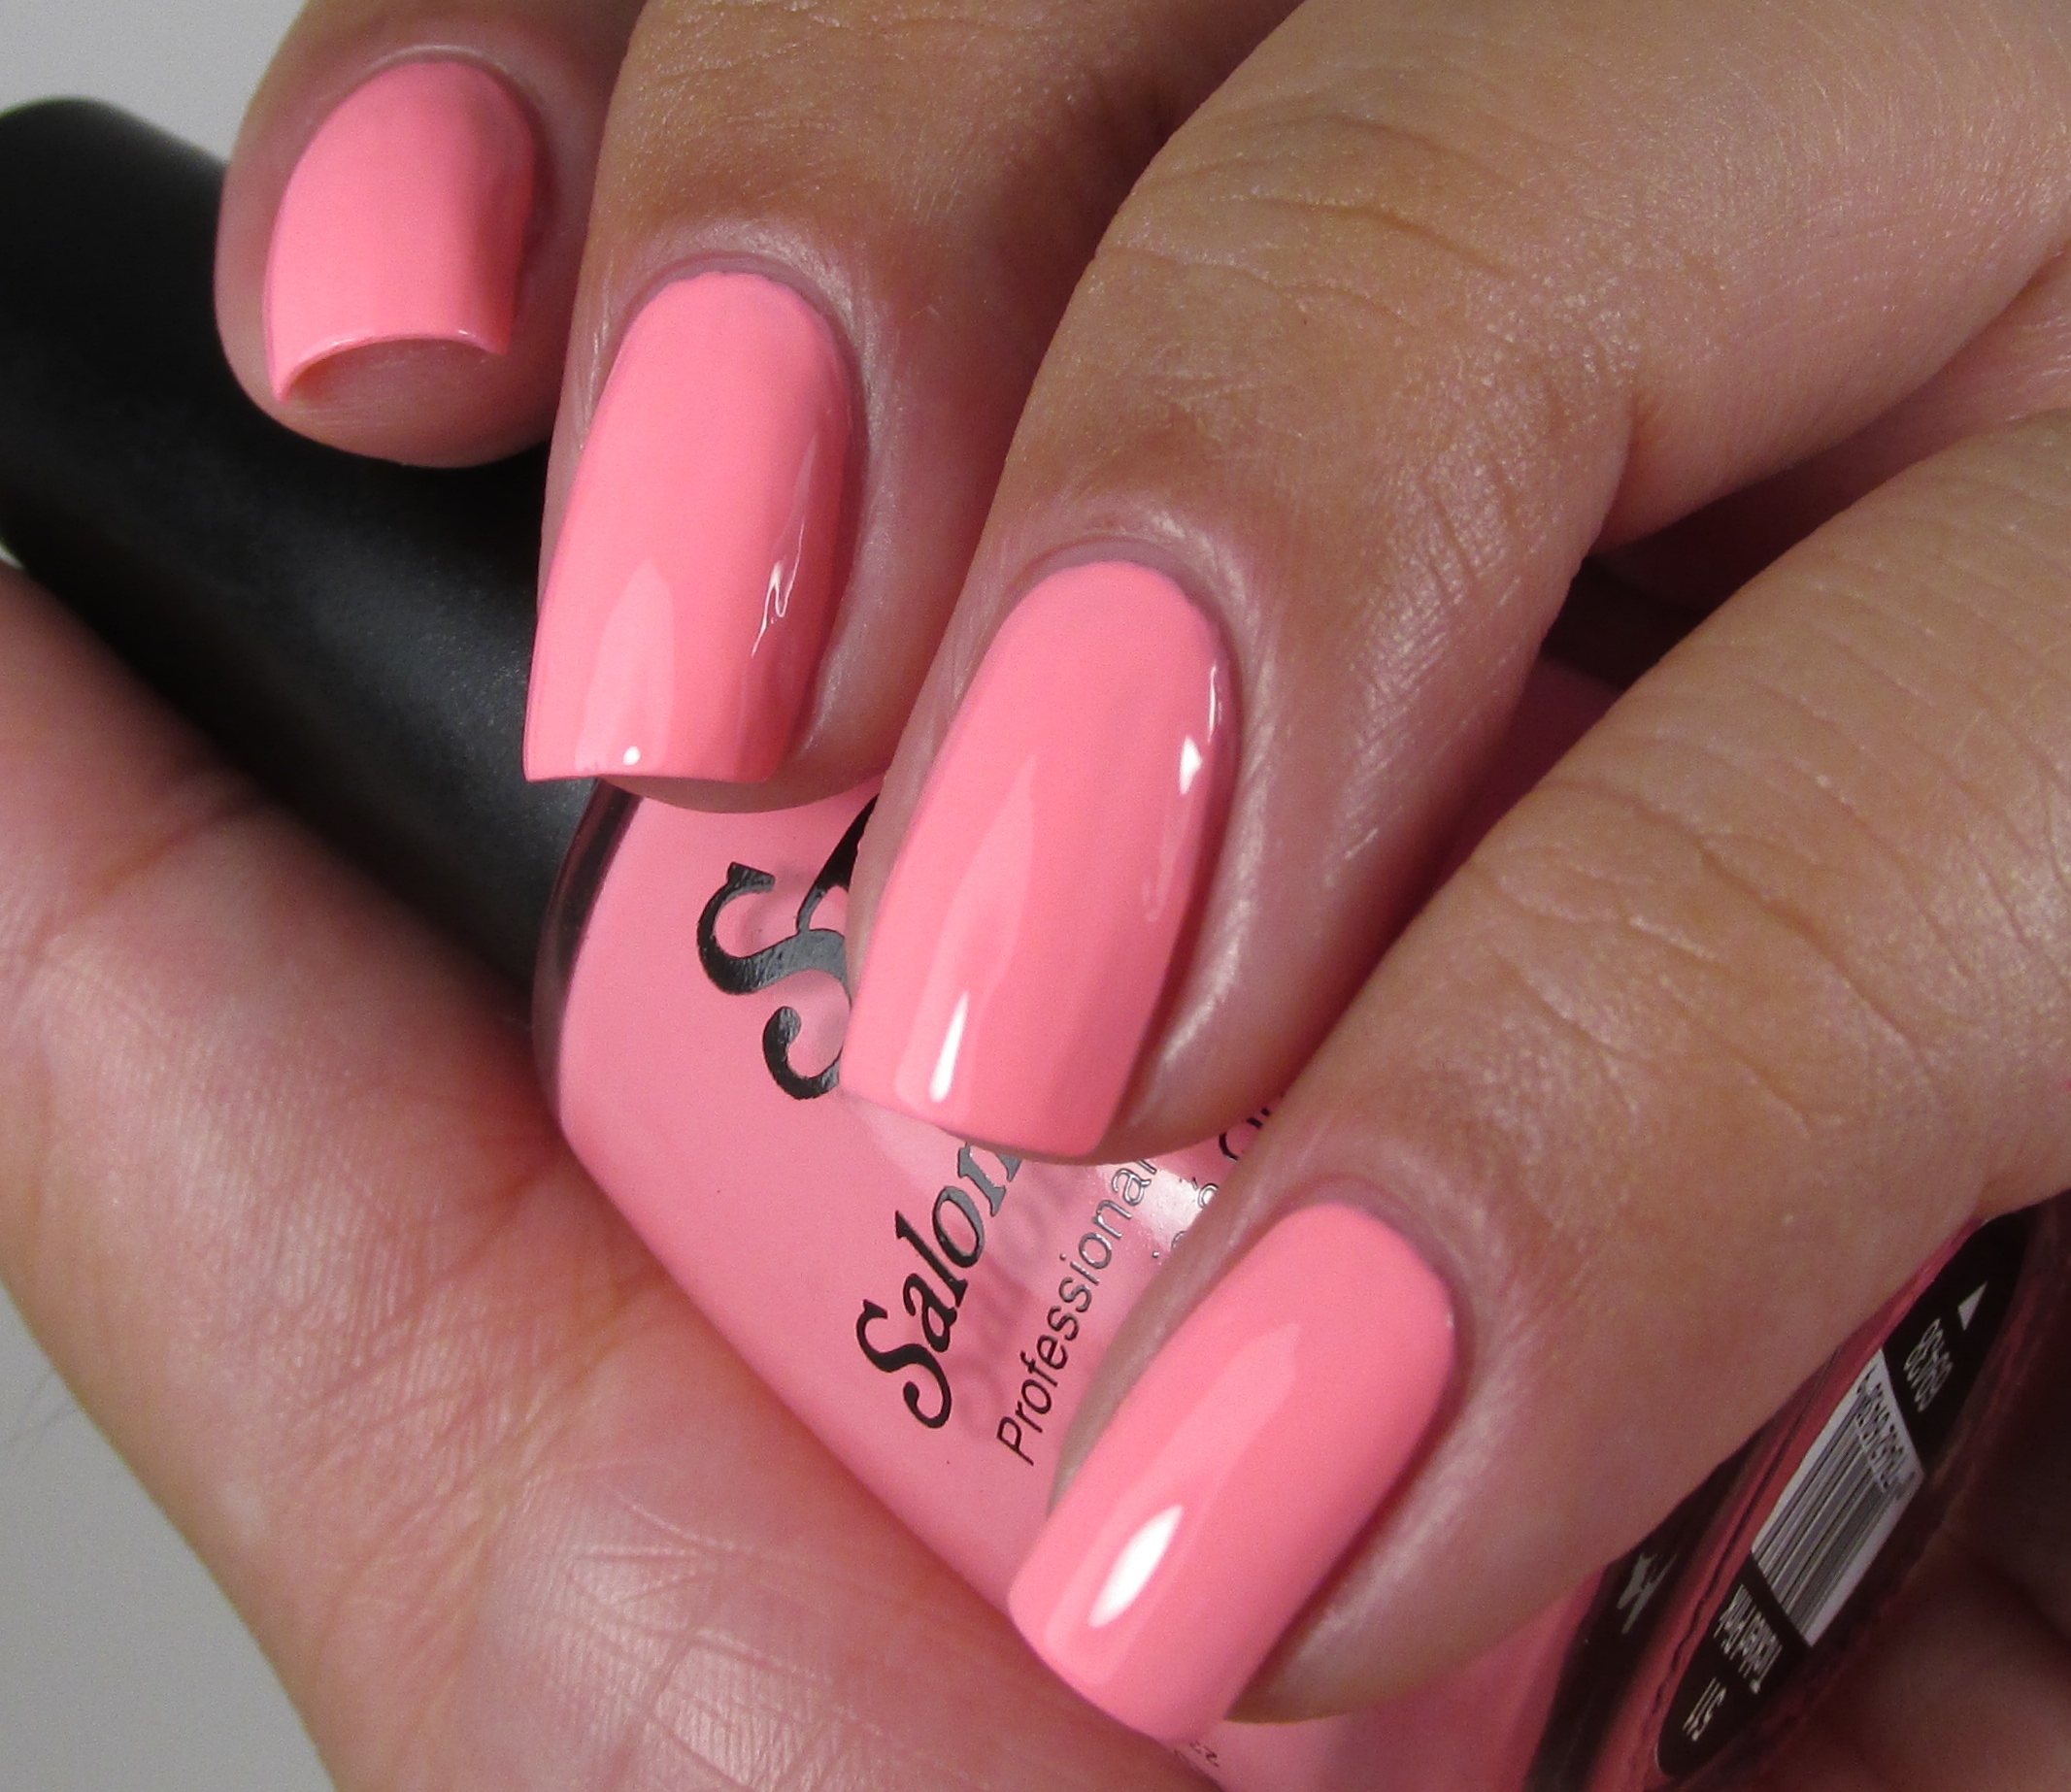
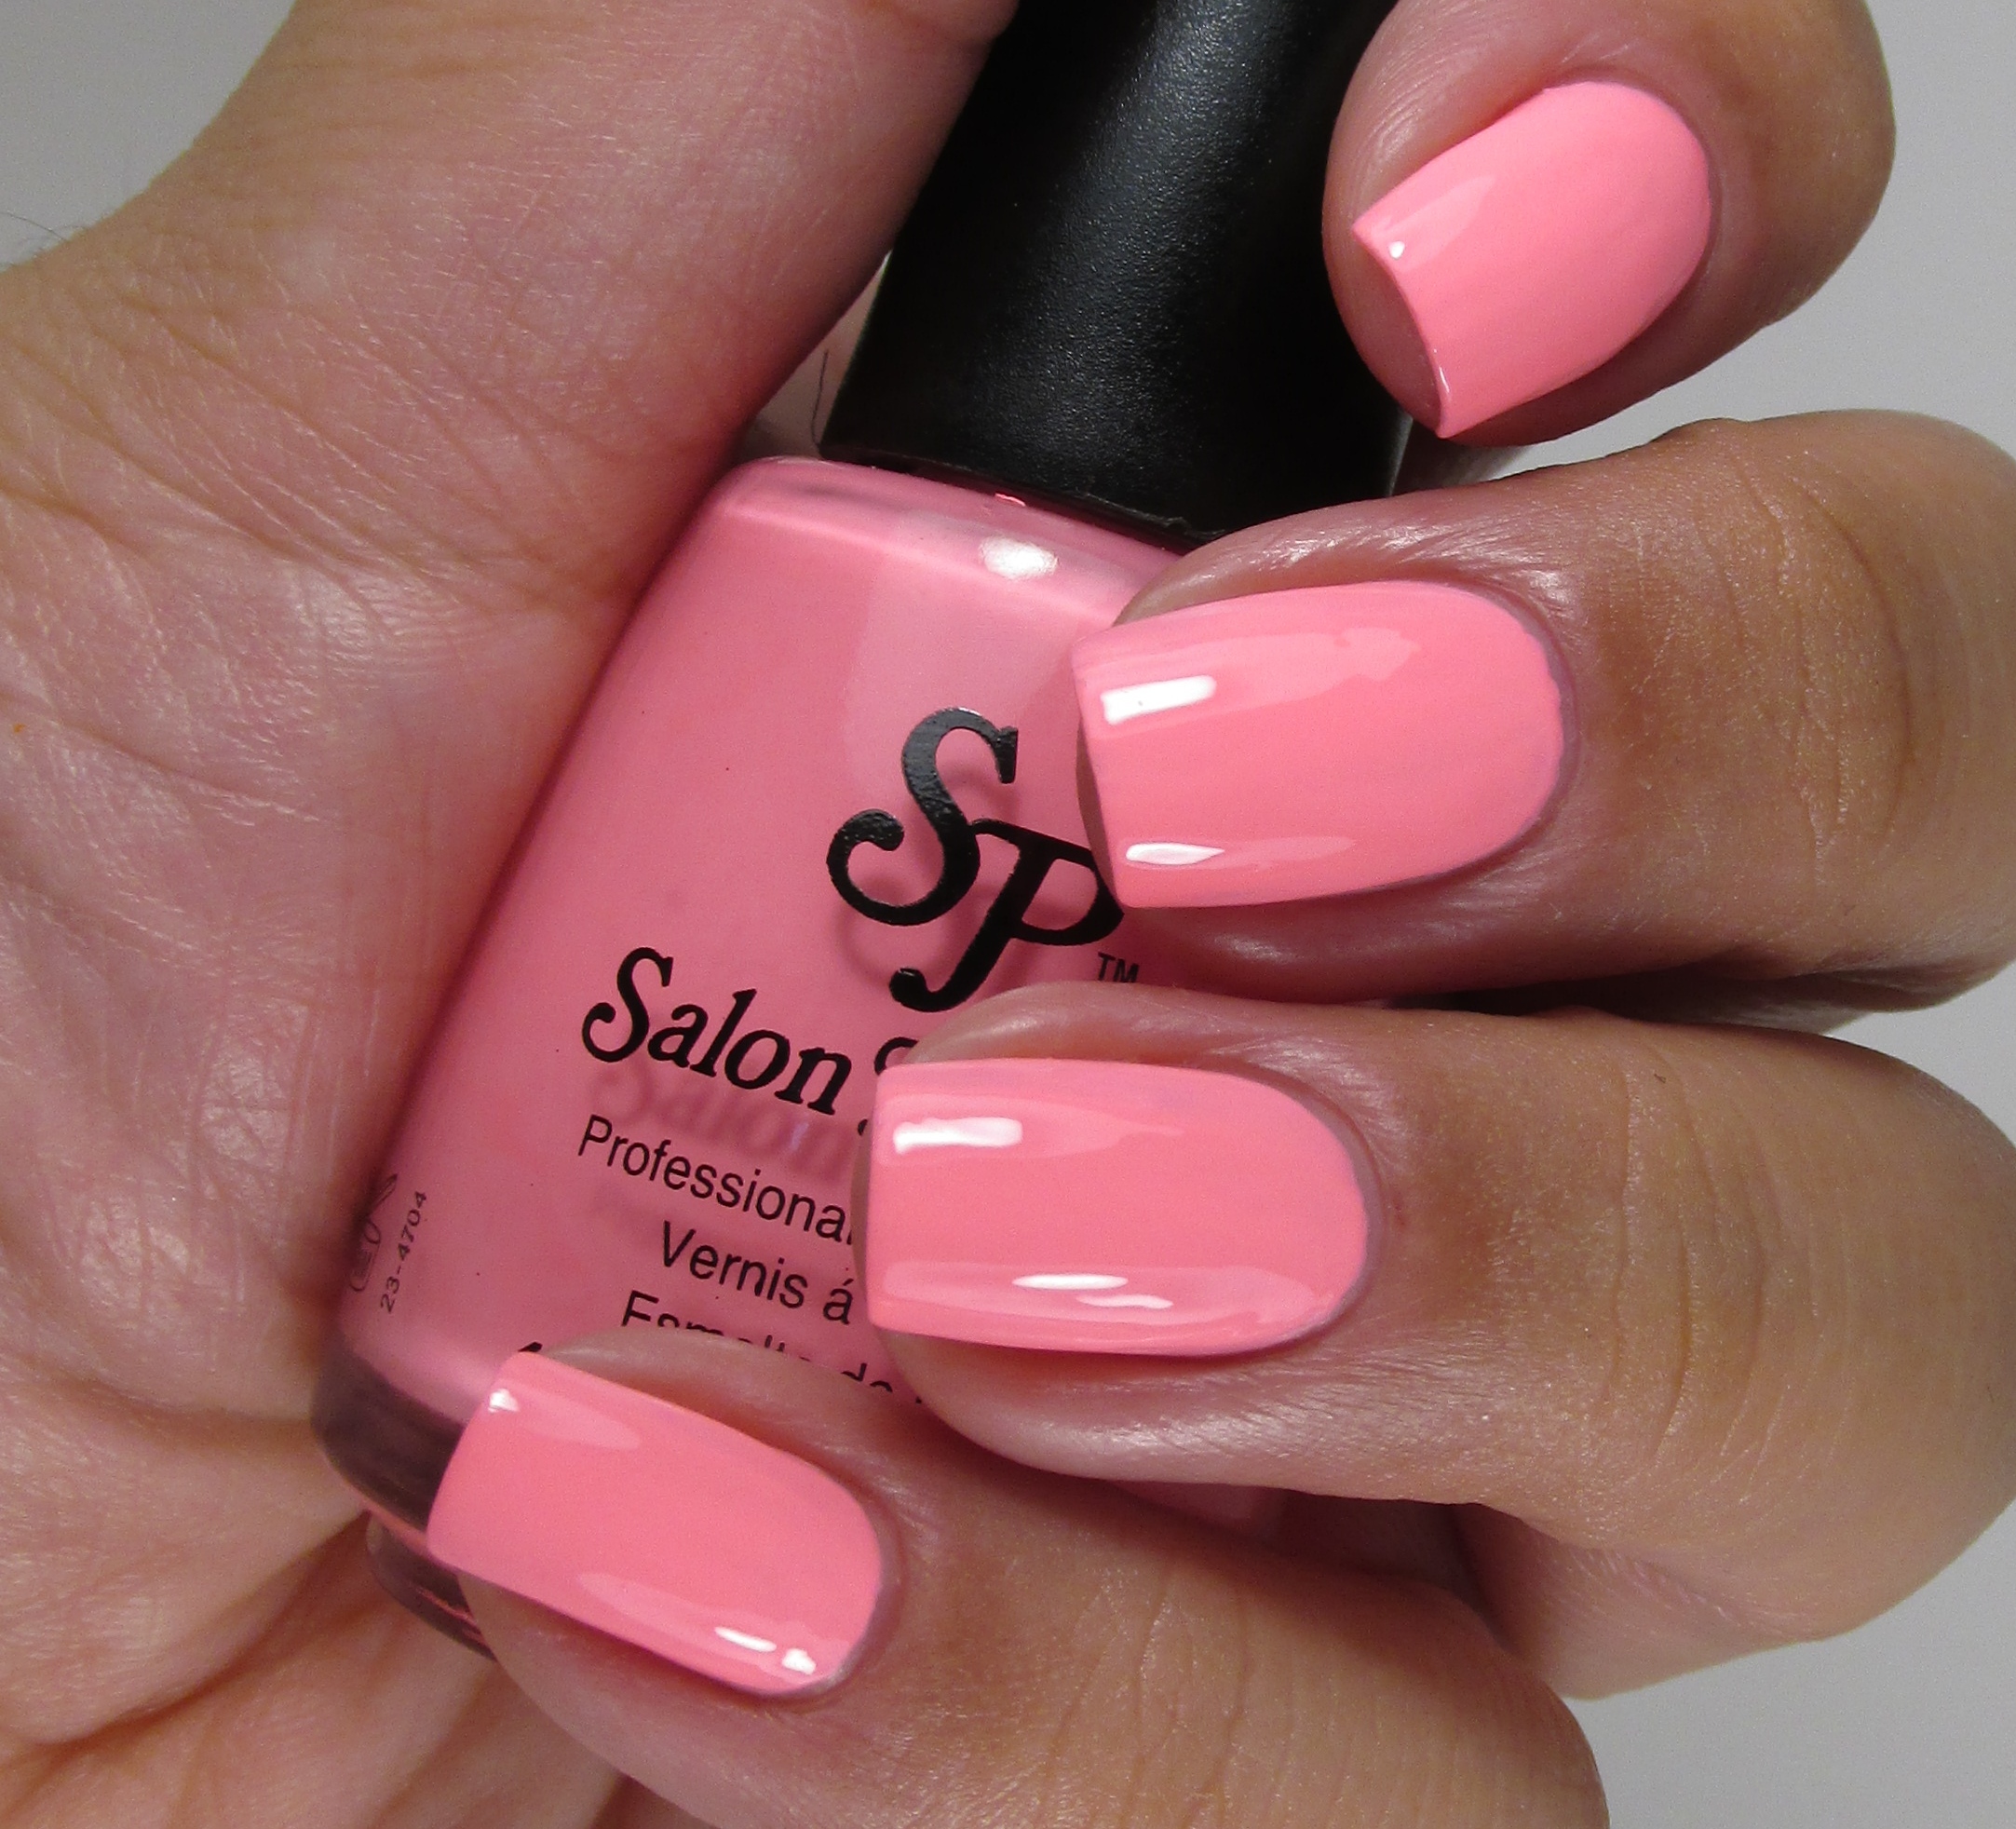
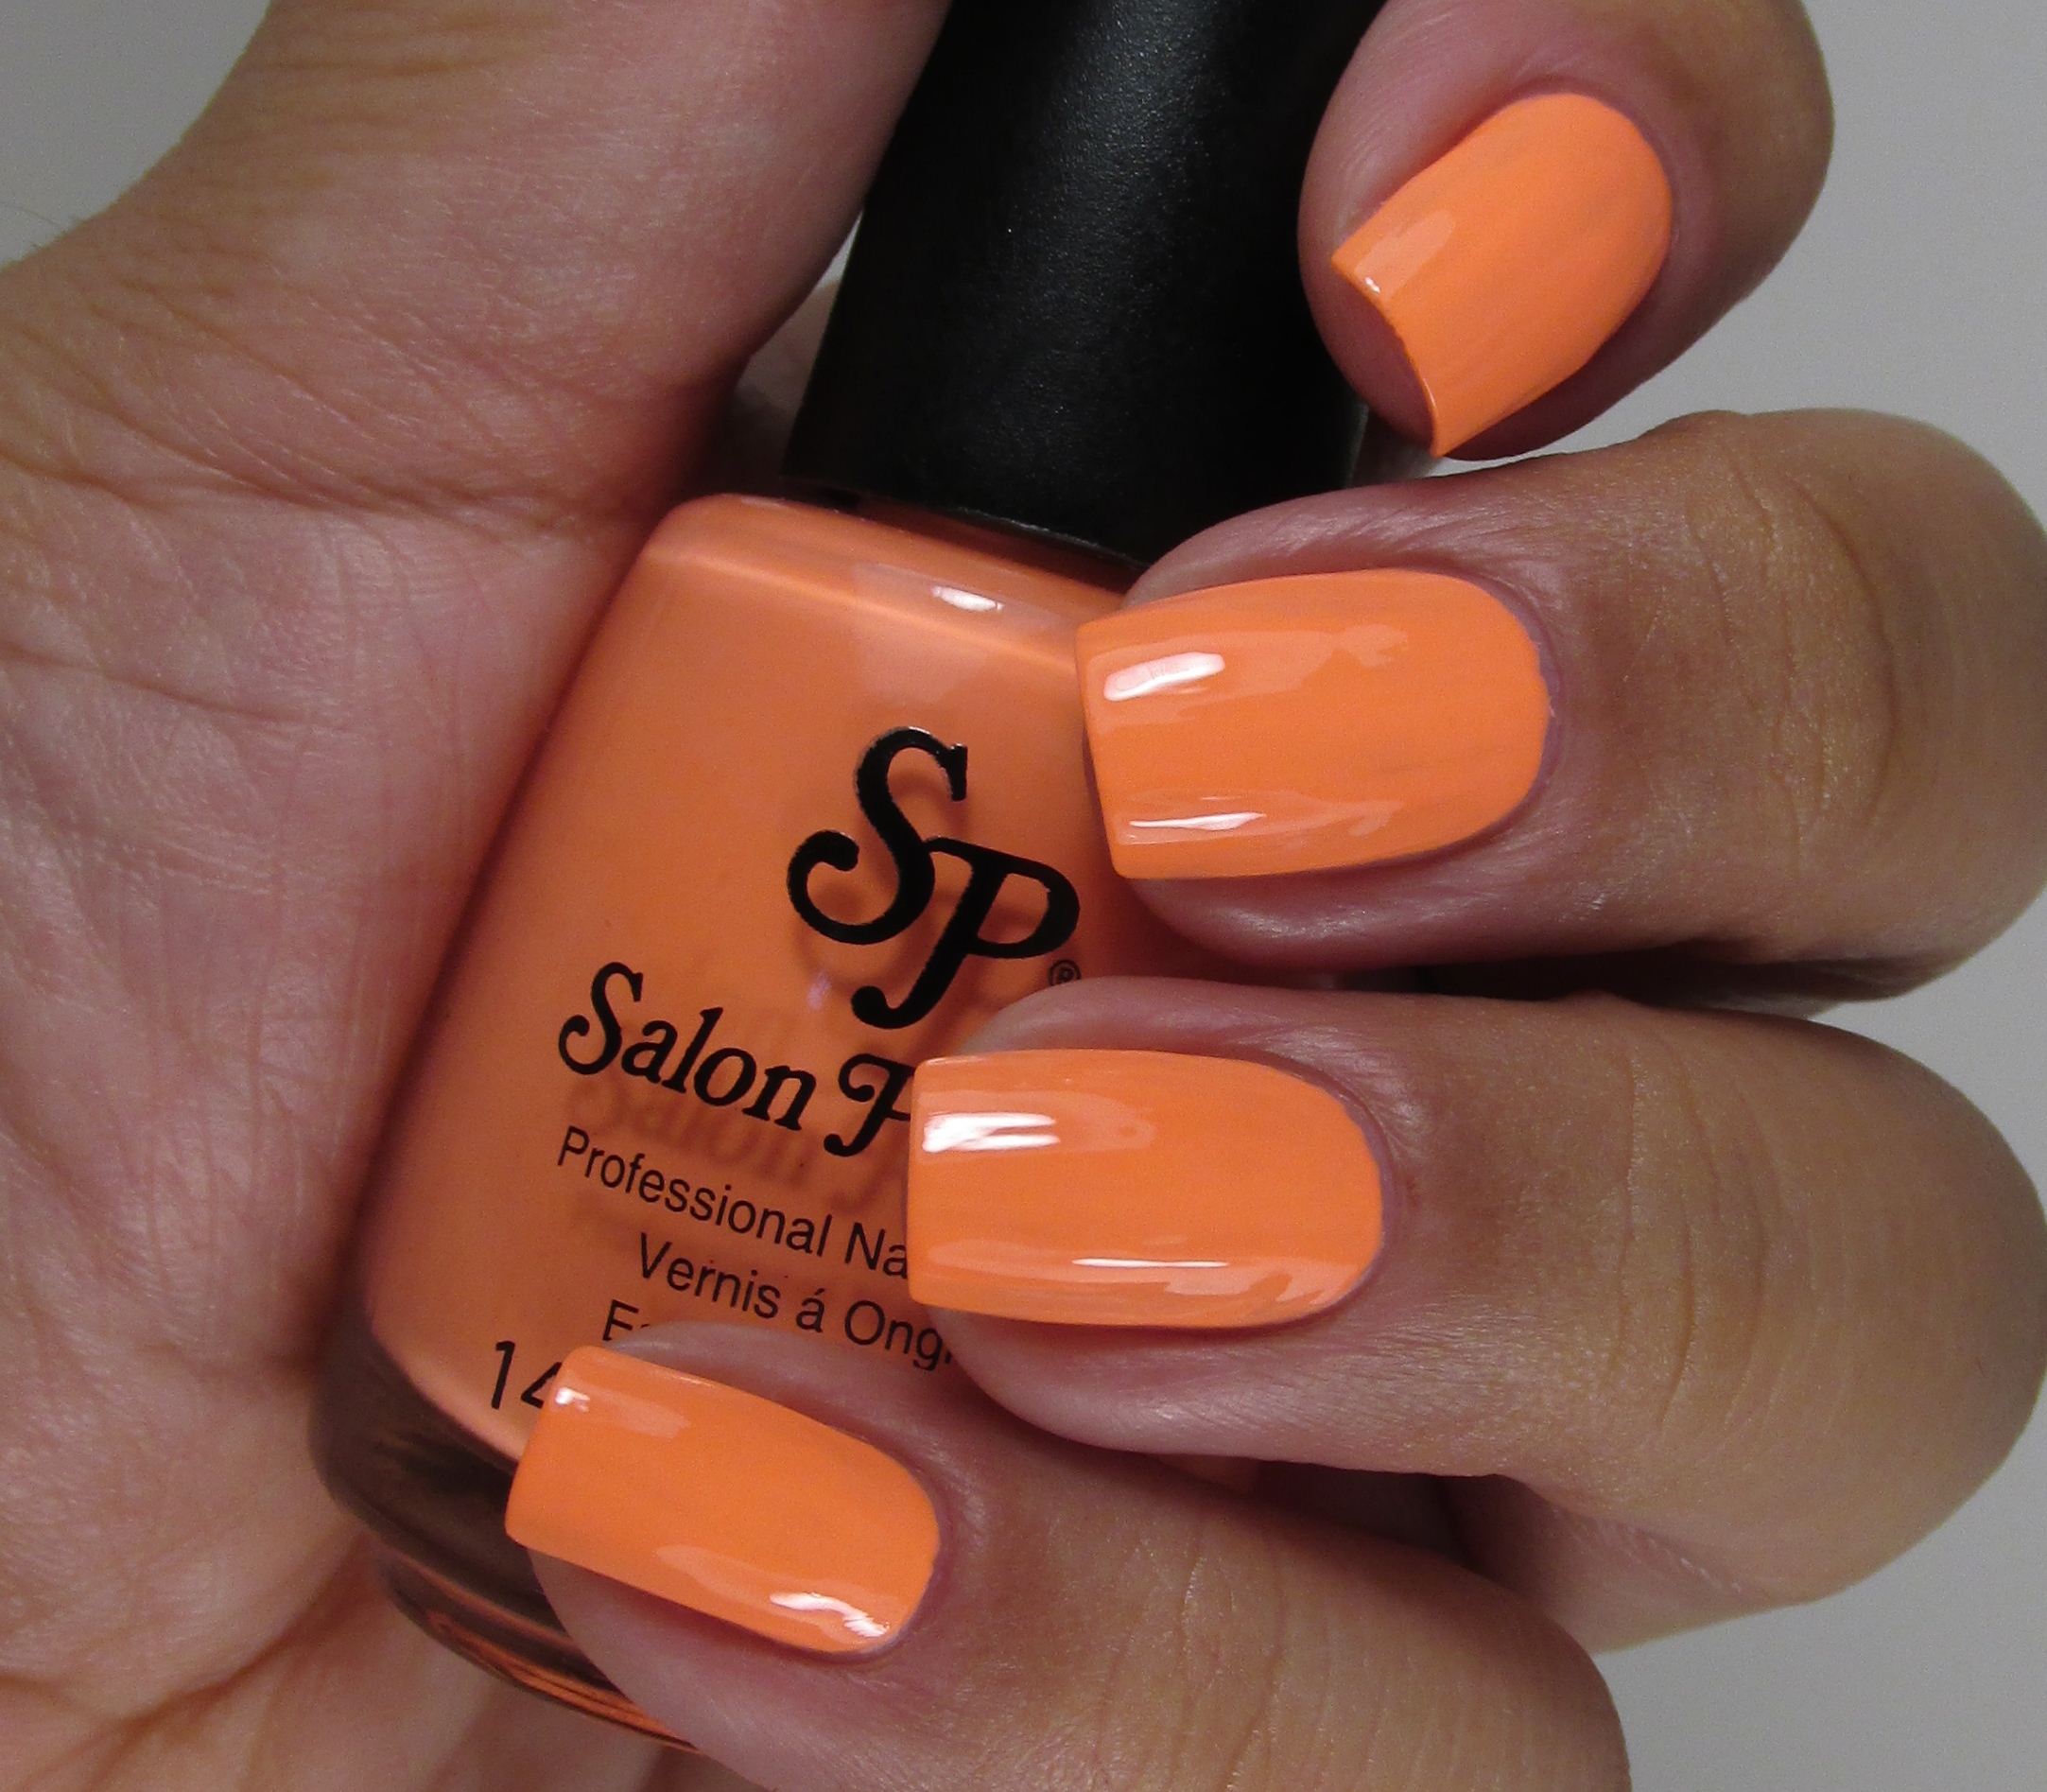 Salon Perfect Flamingo Flair
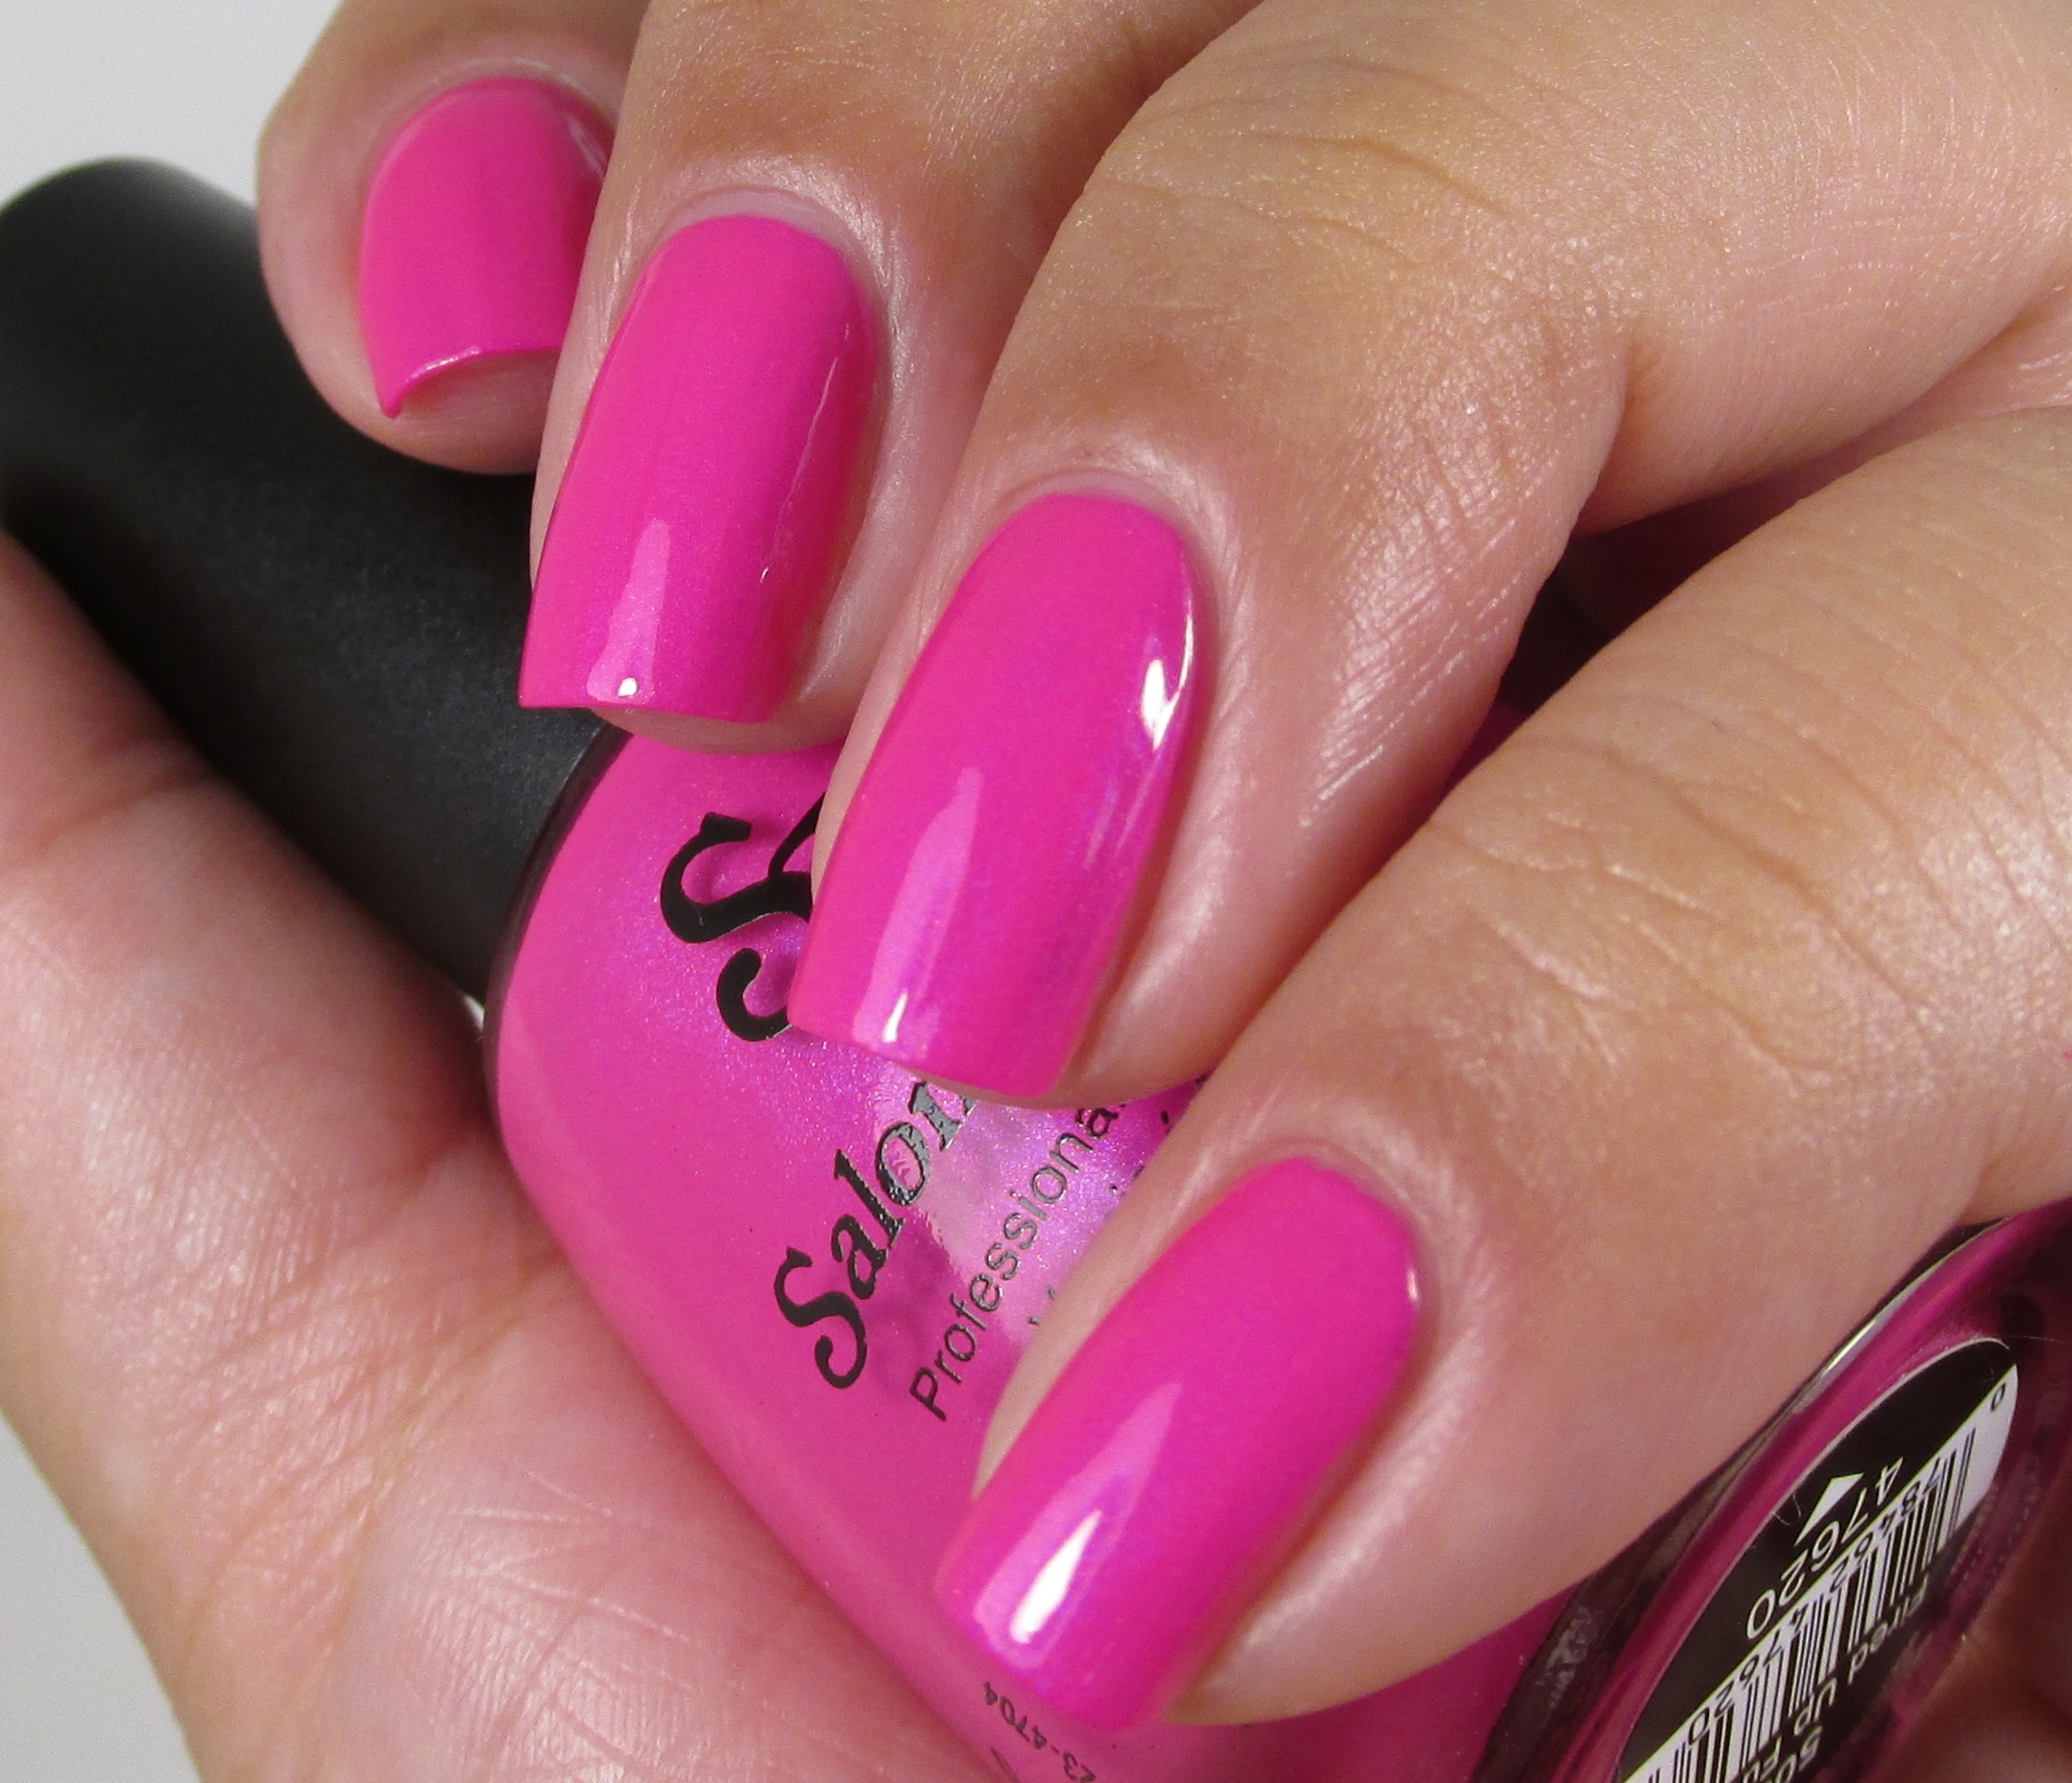
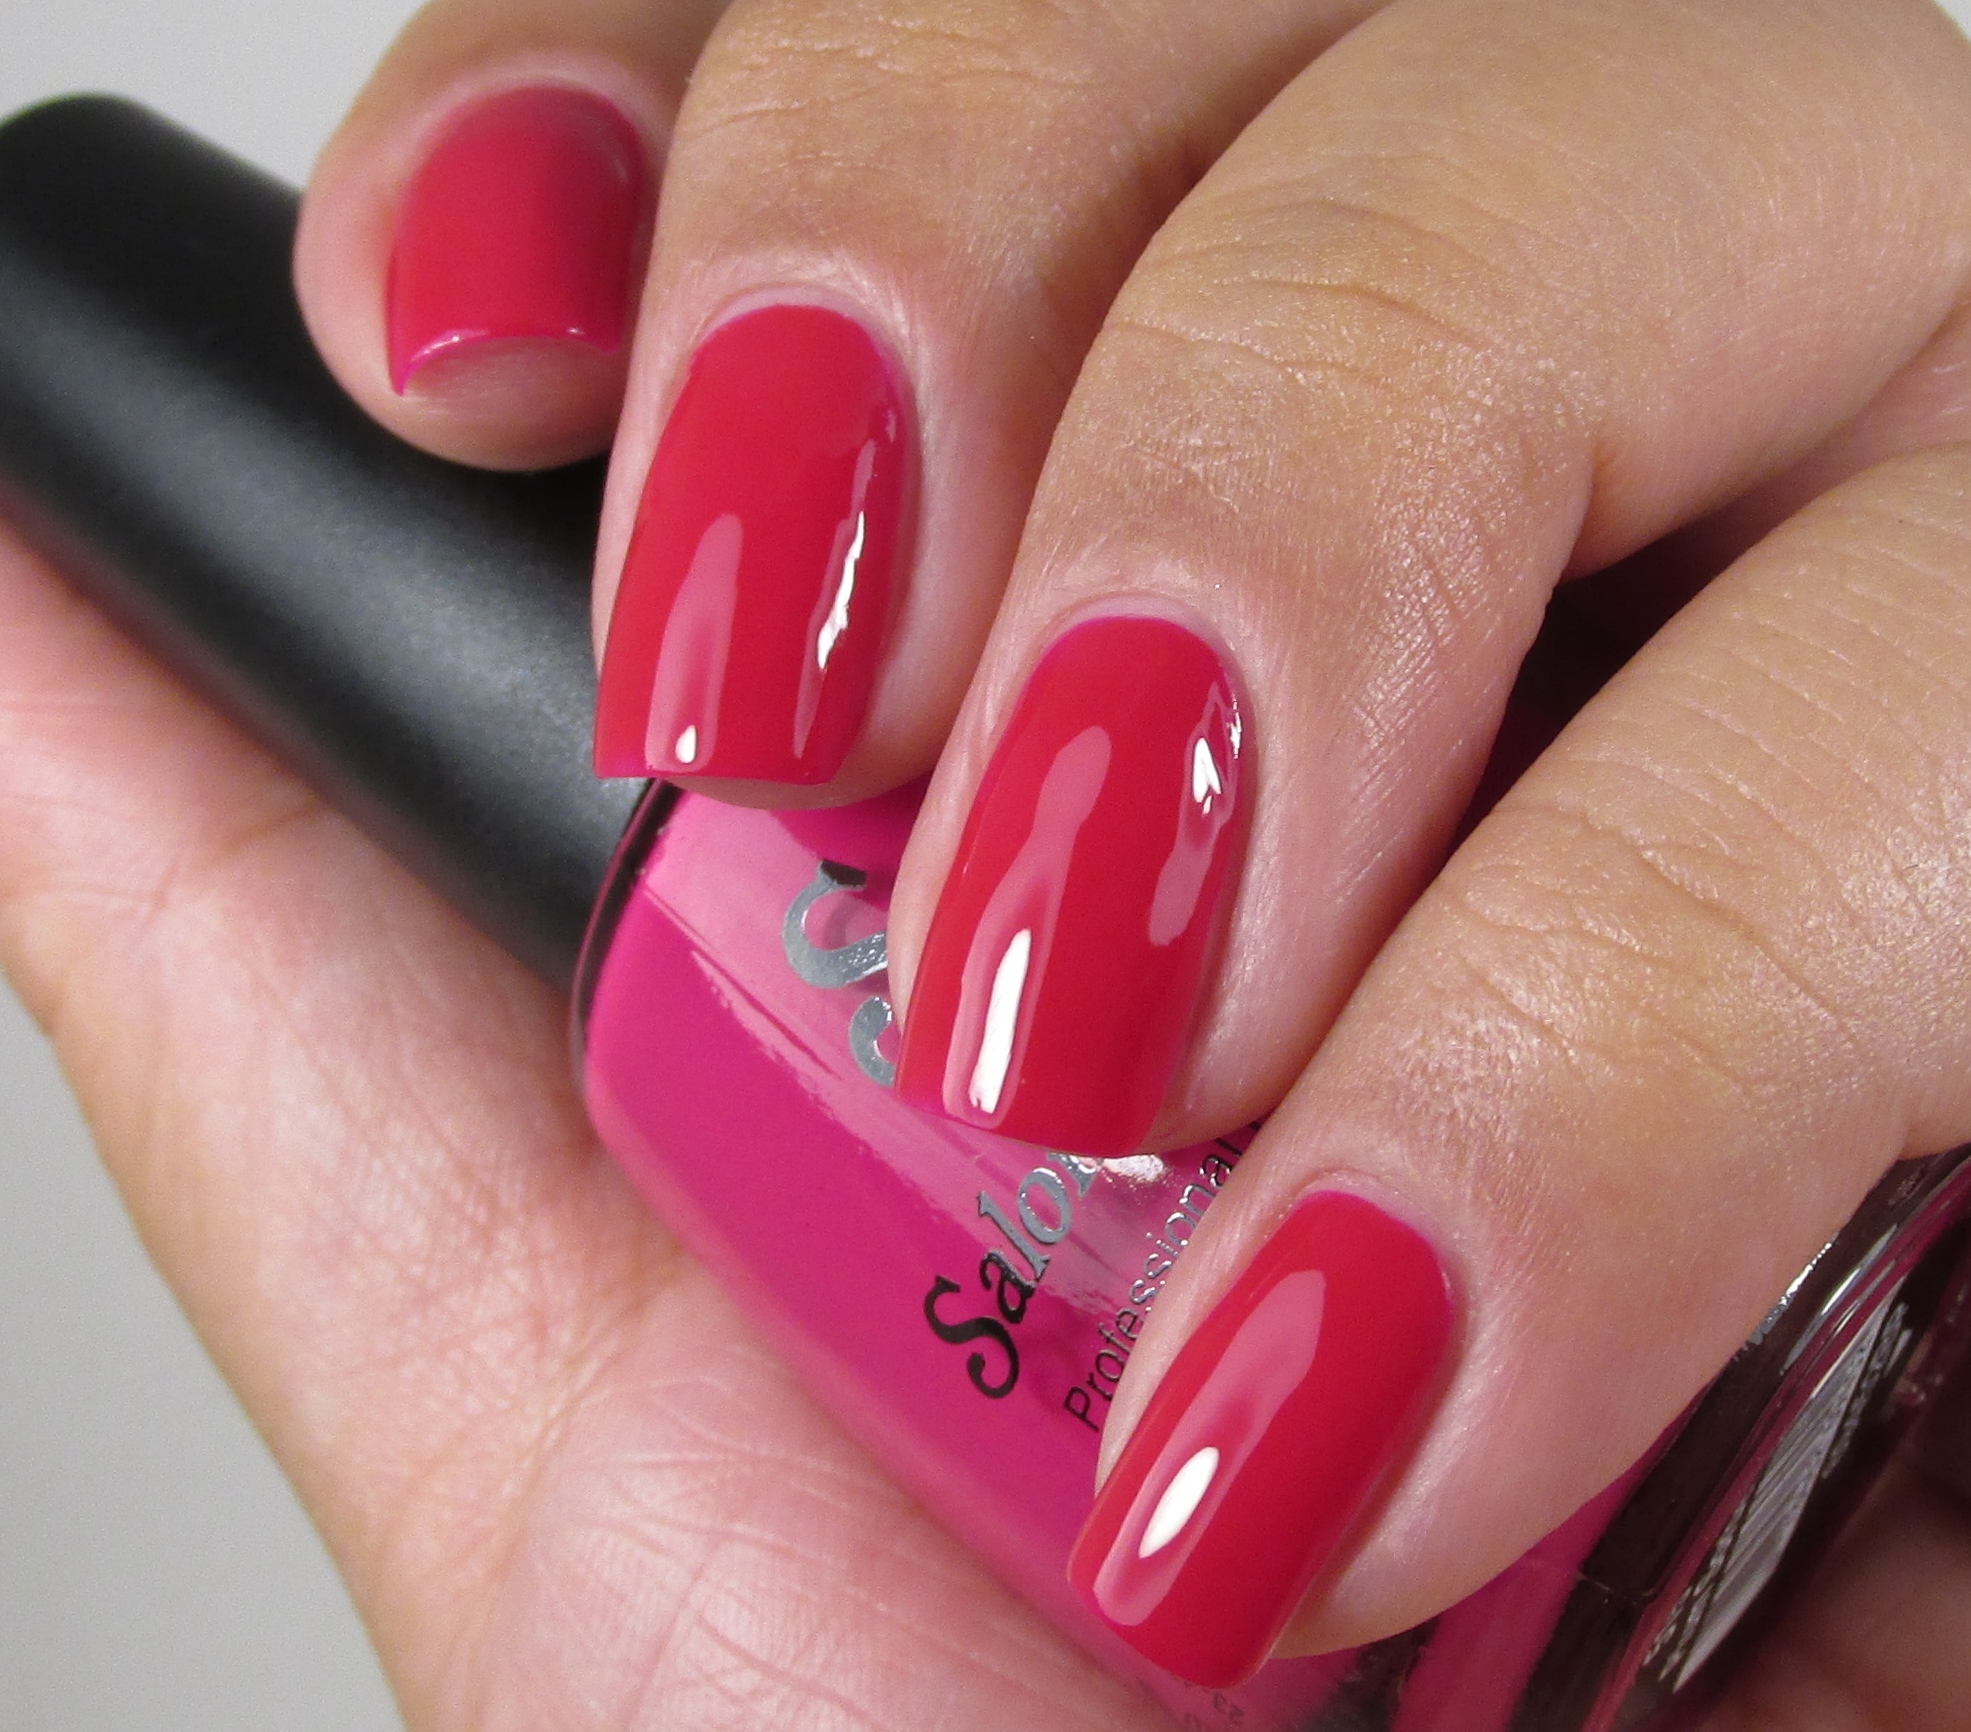
 Salon Perfect Fired Up Fuchsia
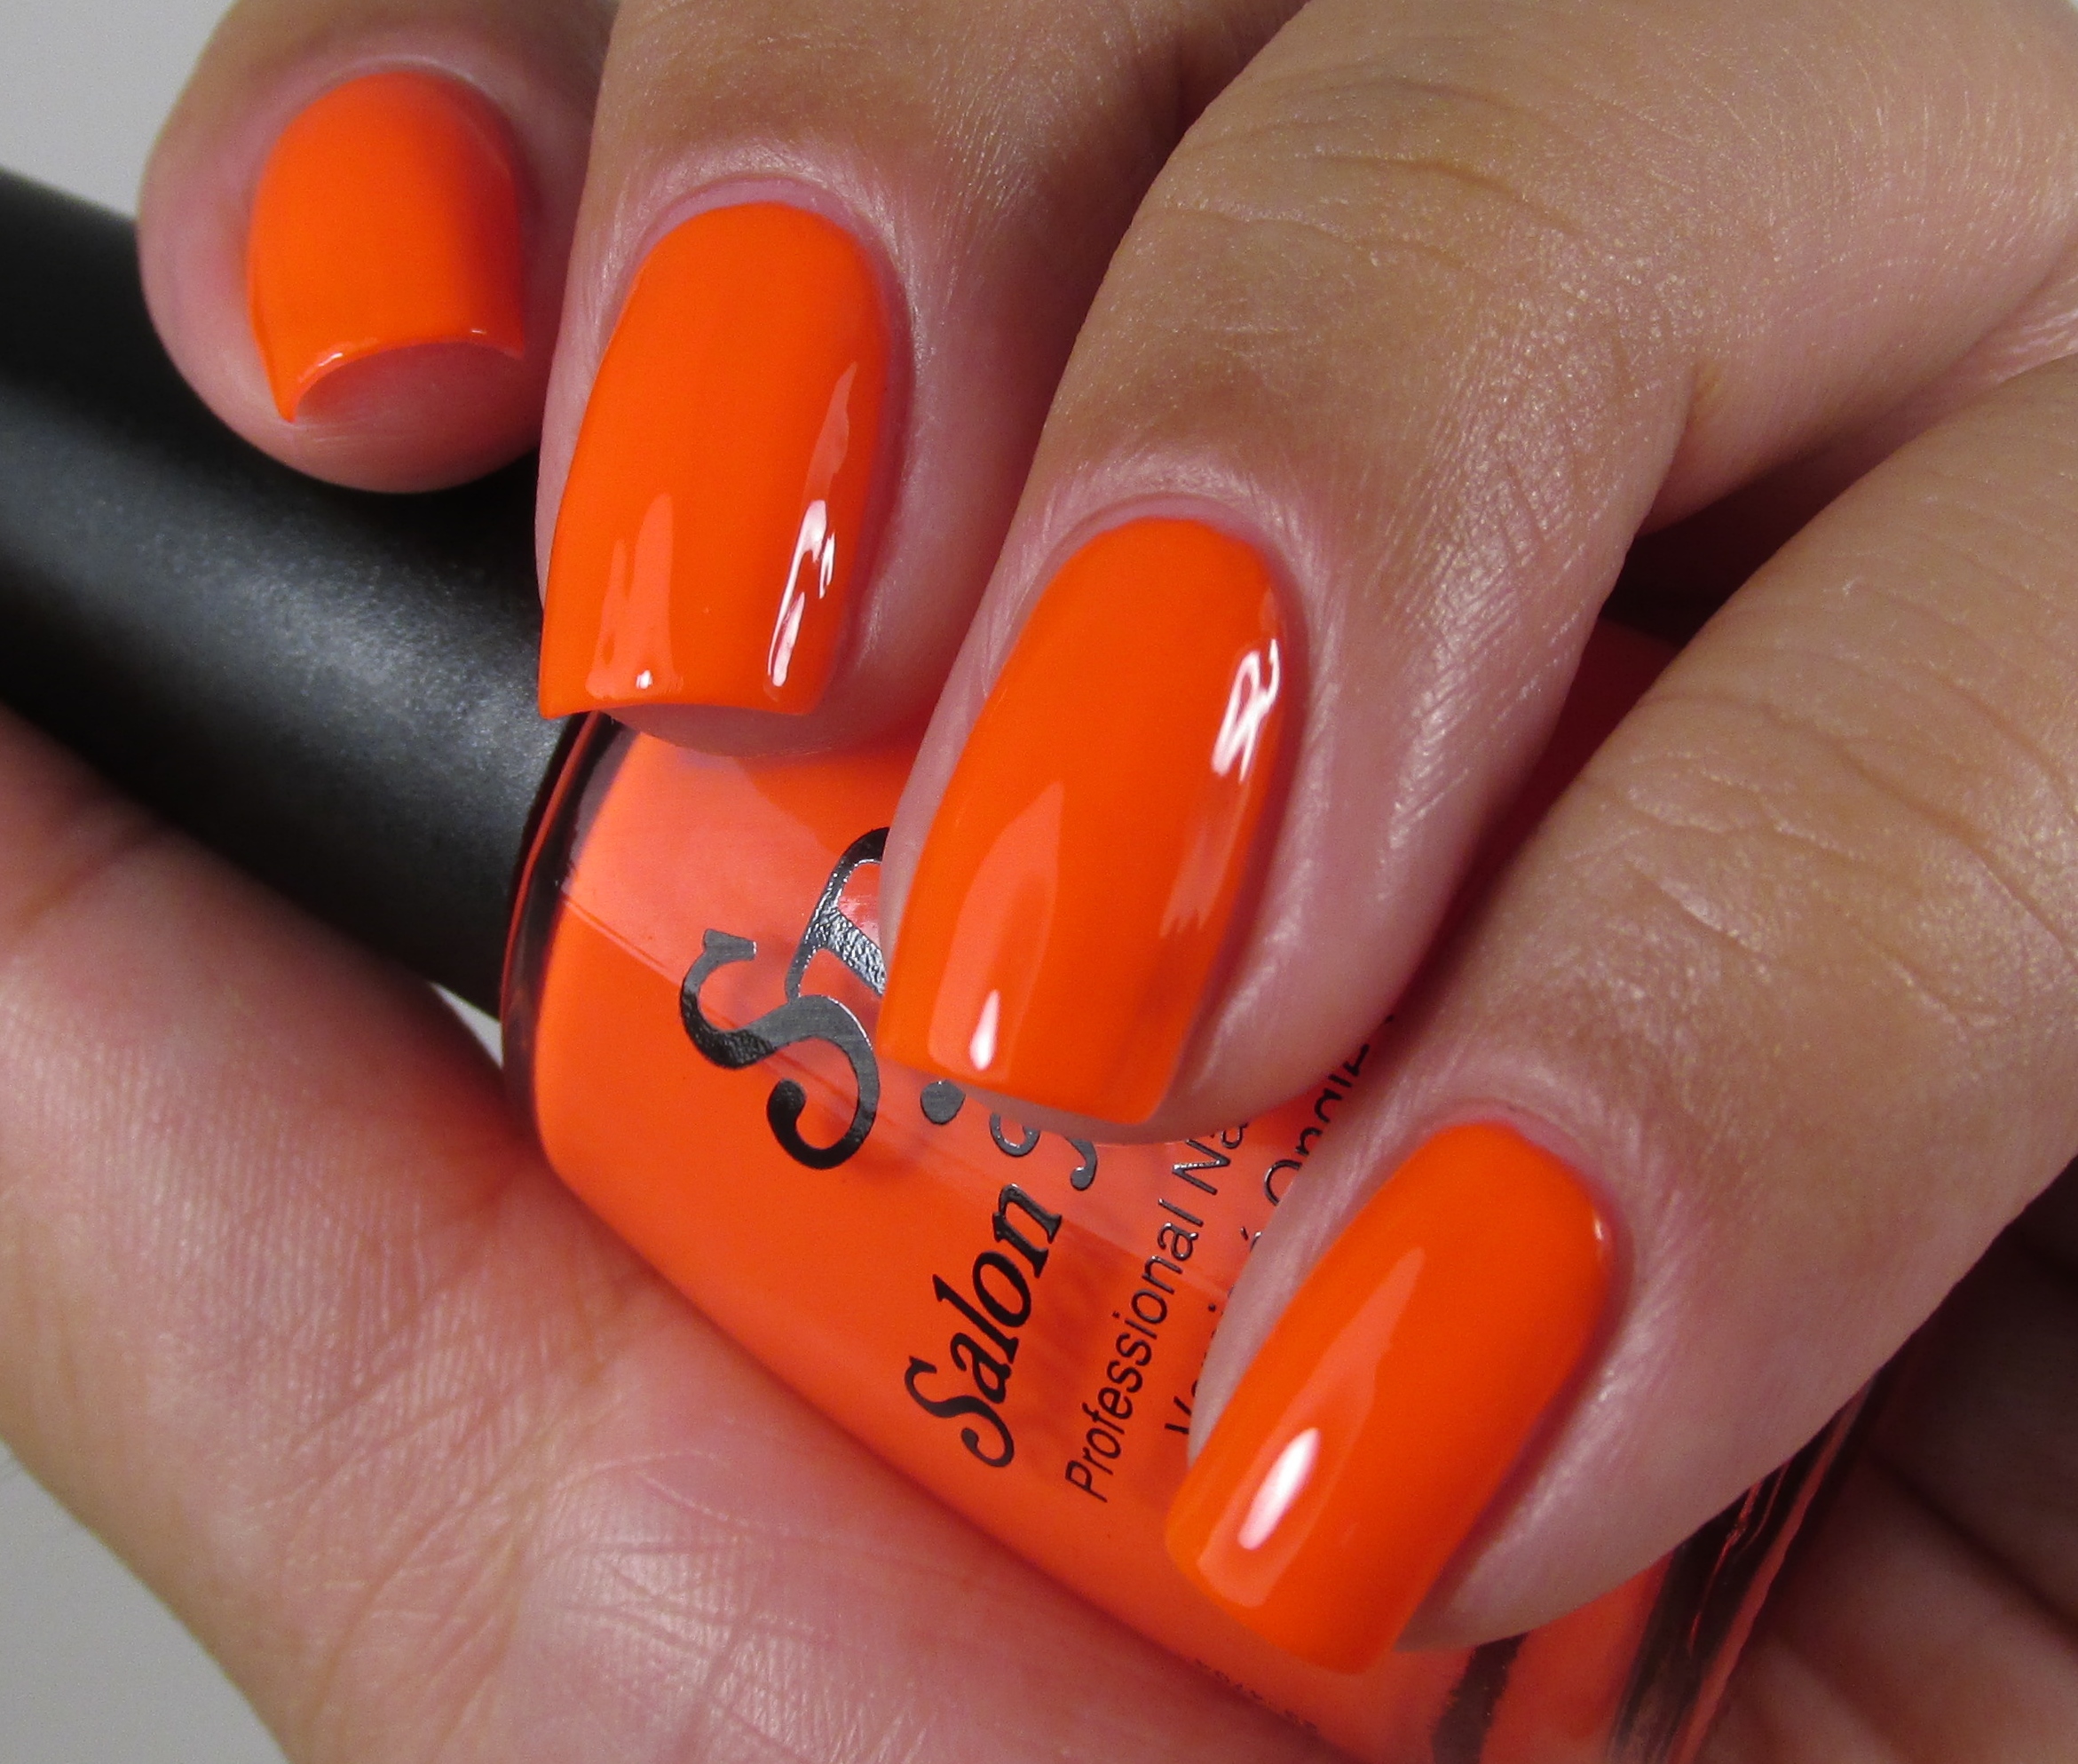
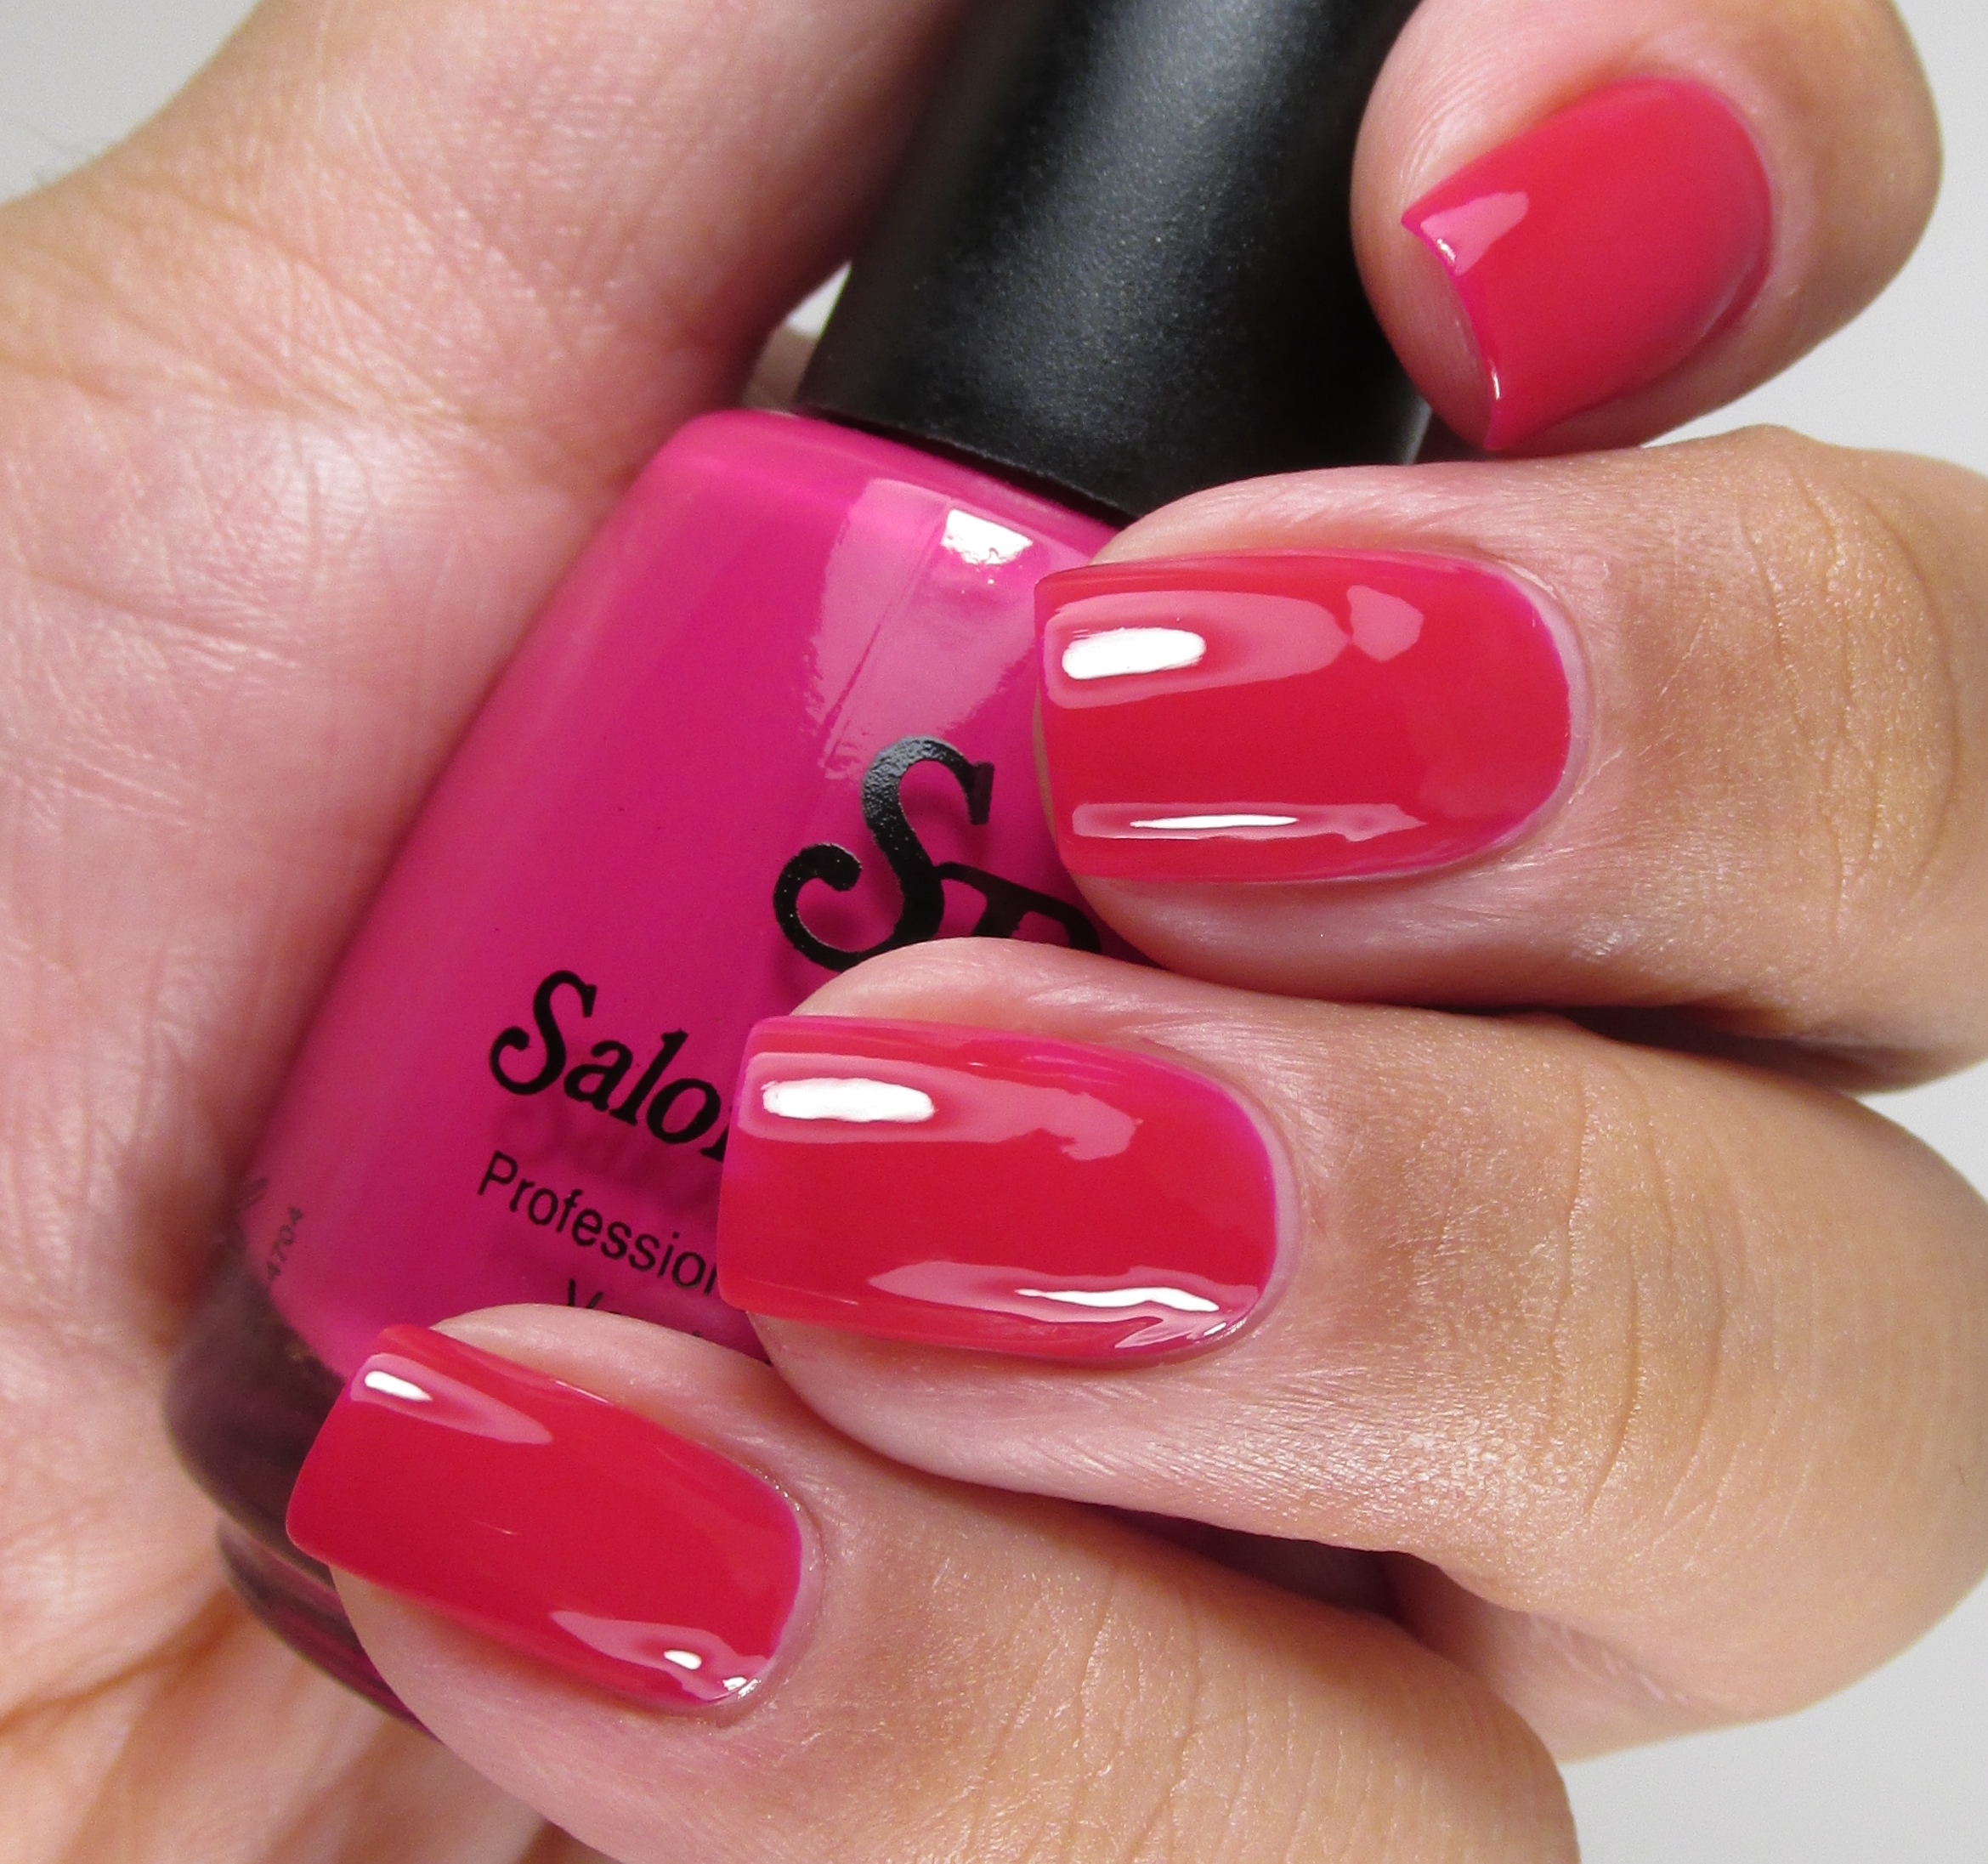
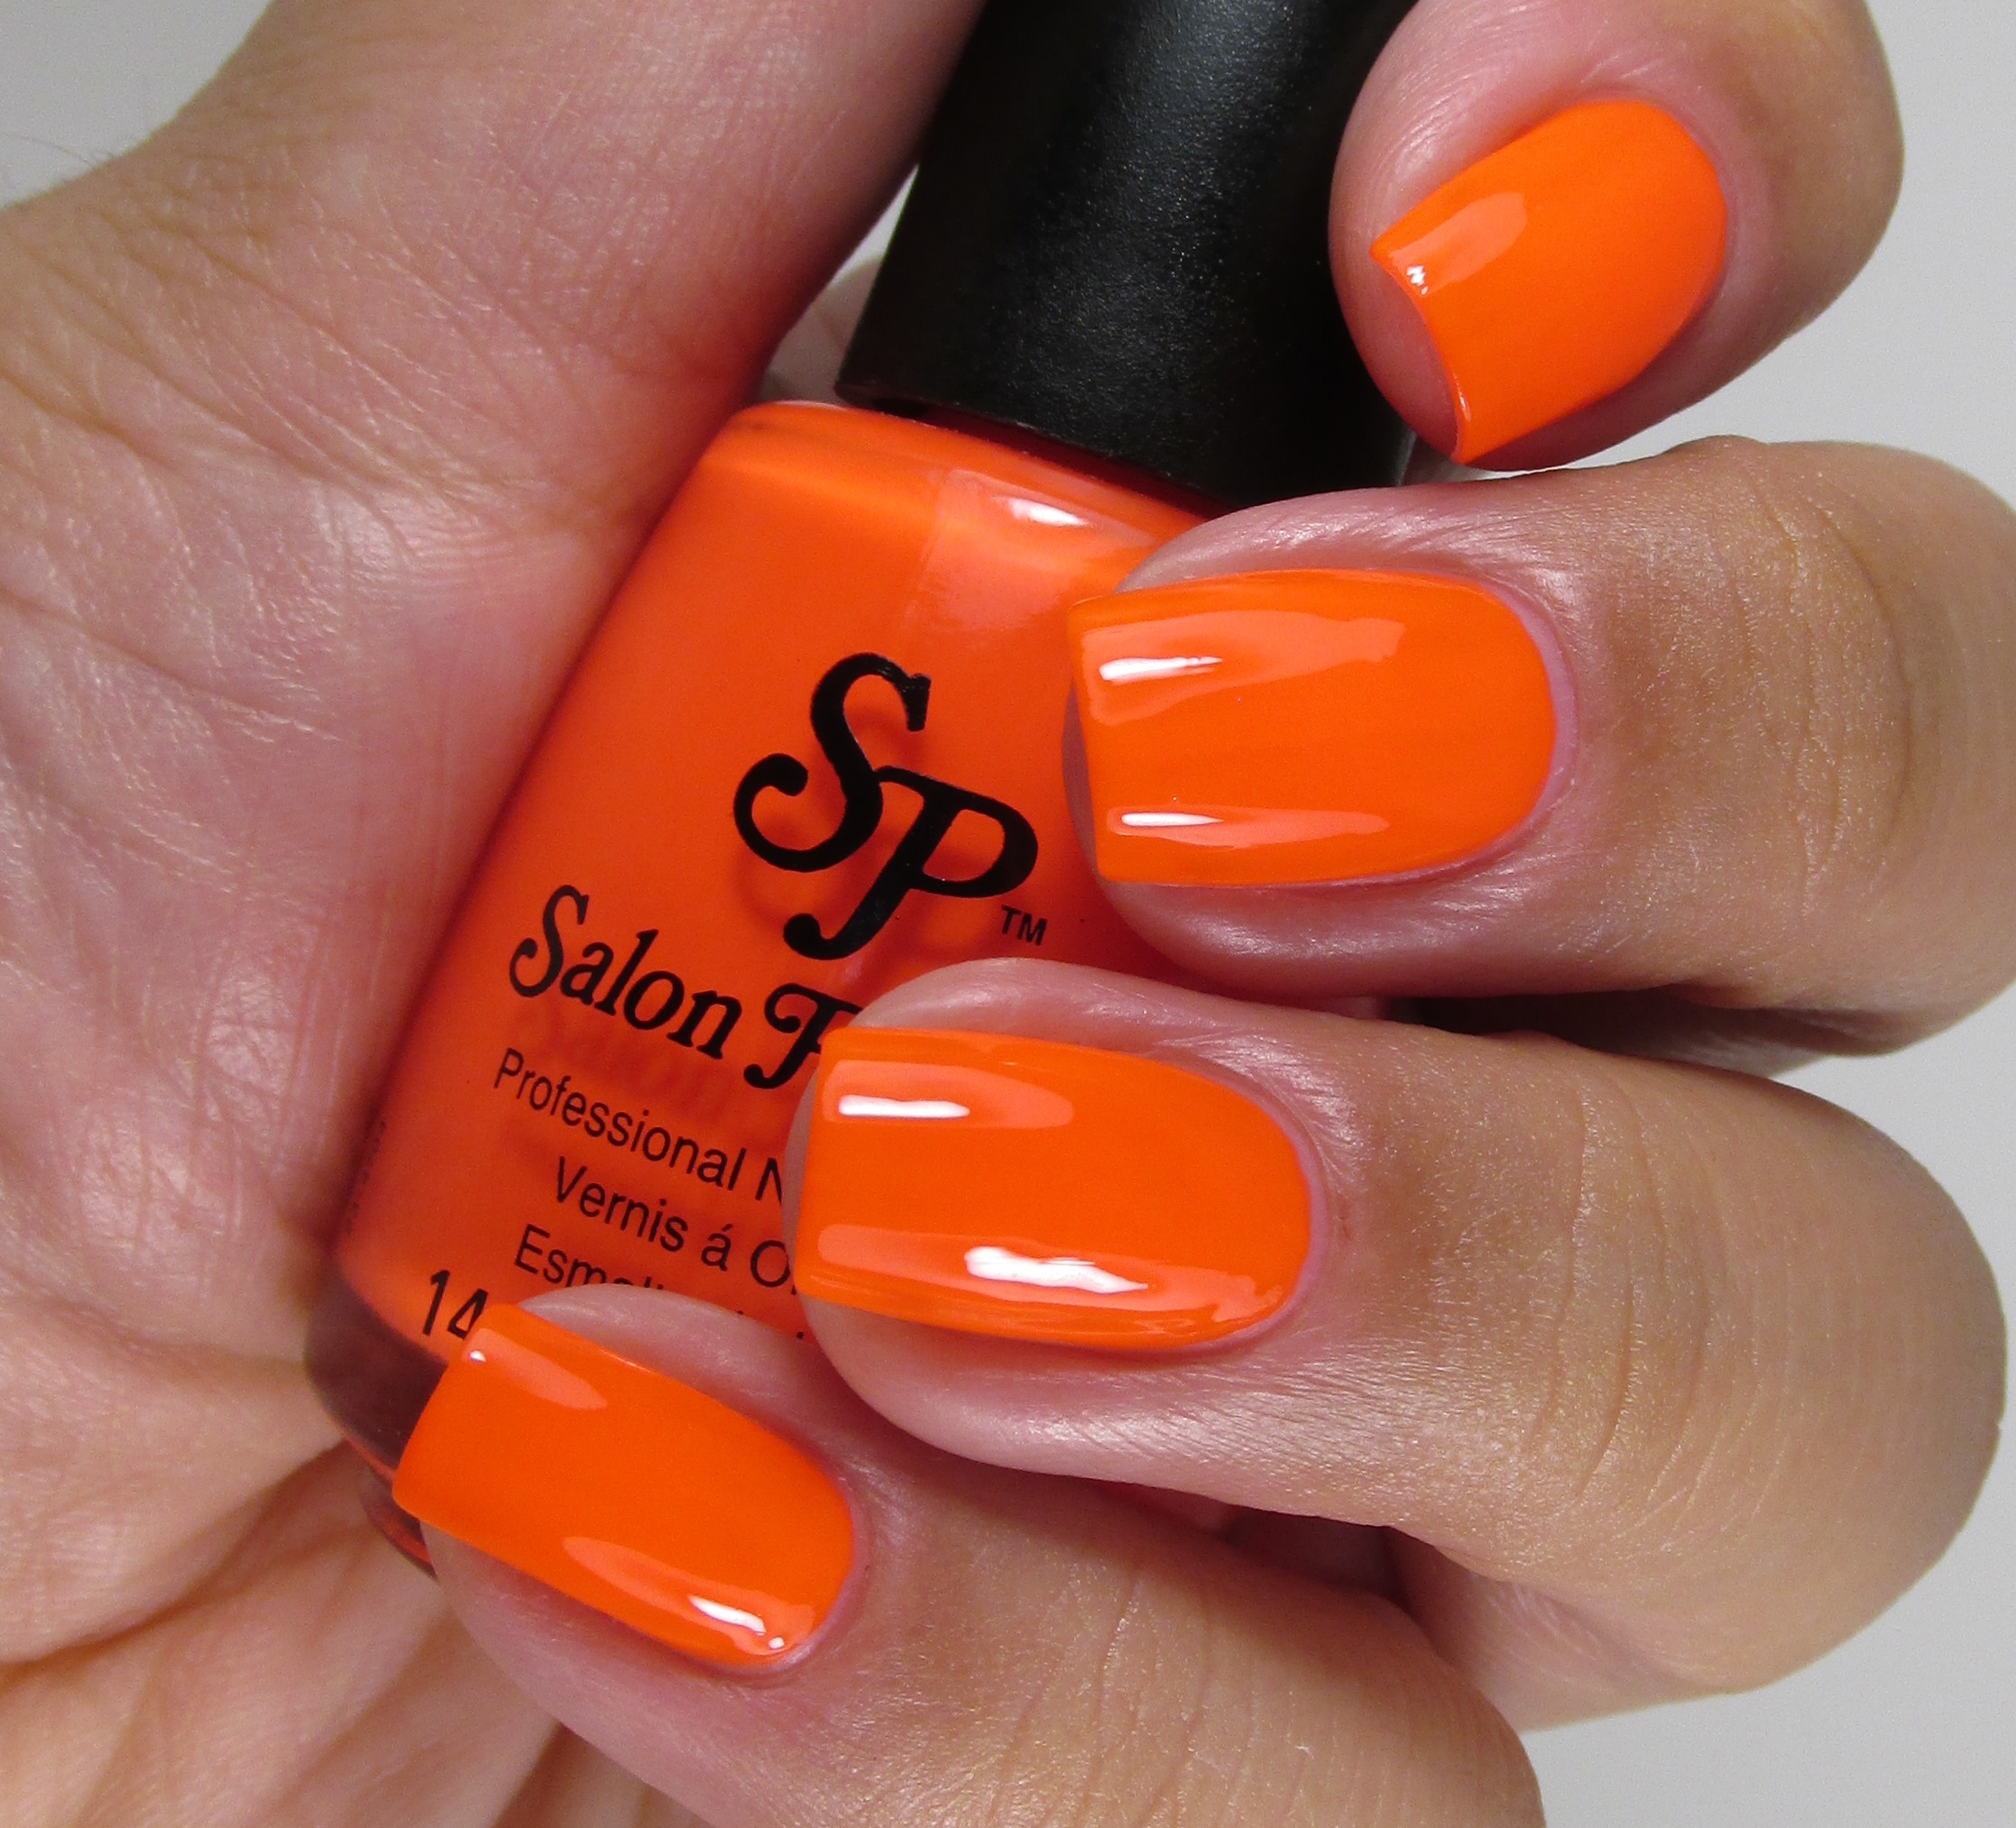 Salon Perfect Haute Pink (don’t ask me why this looks so orange…my camera took a dump on me)
 Salon Perfect Plum Sorbet
 Salon Perfect Tickled Pink
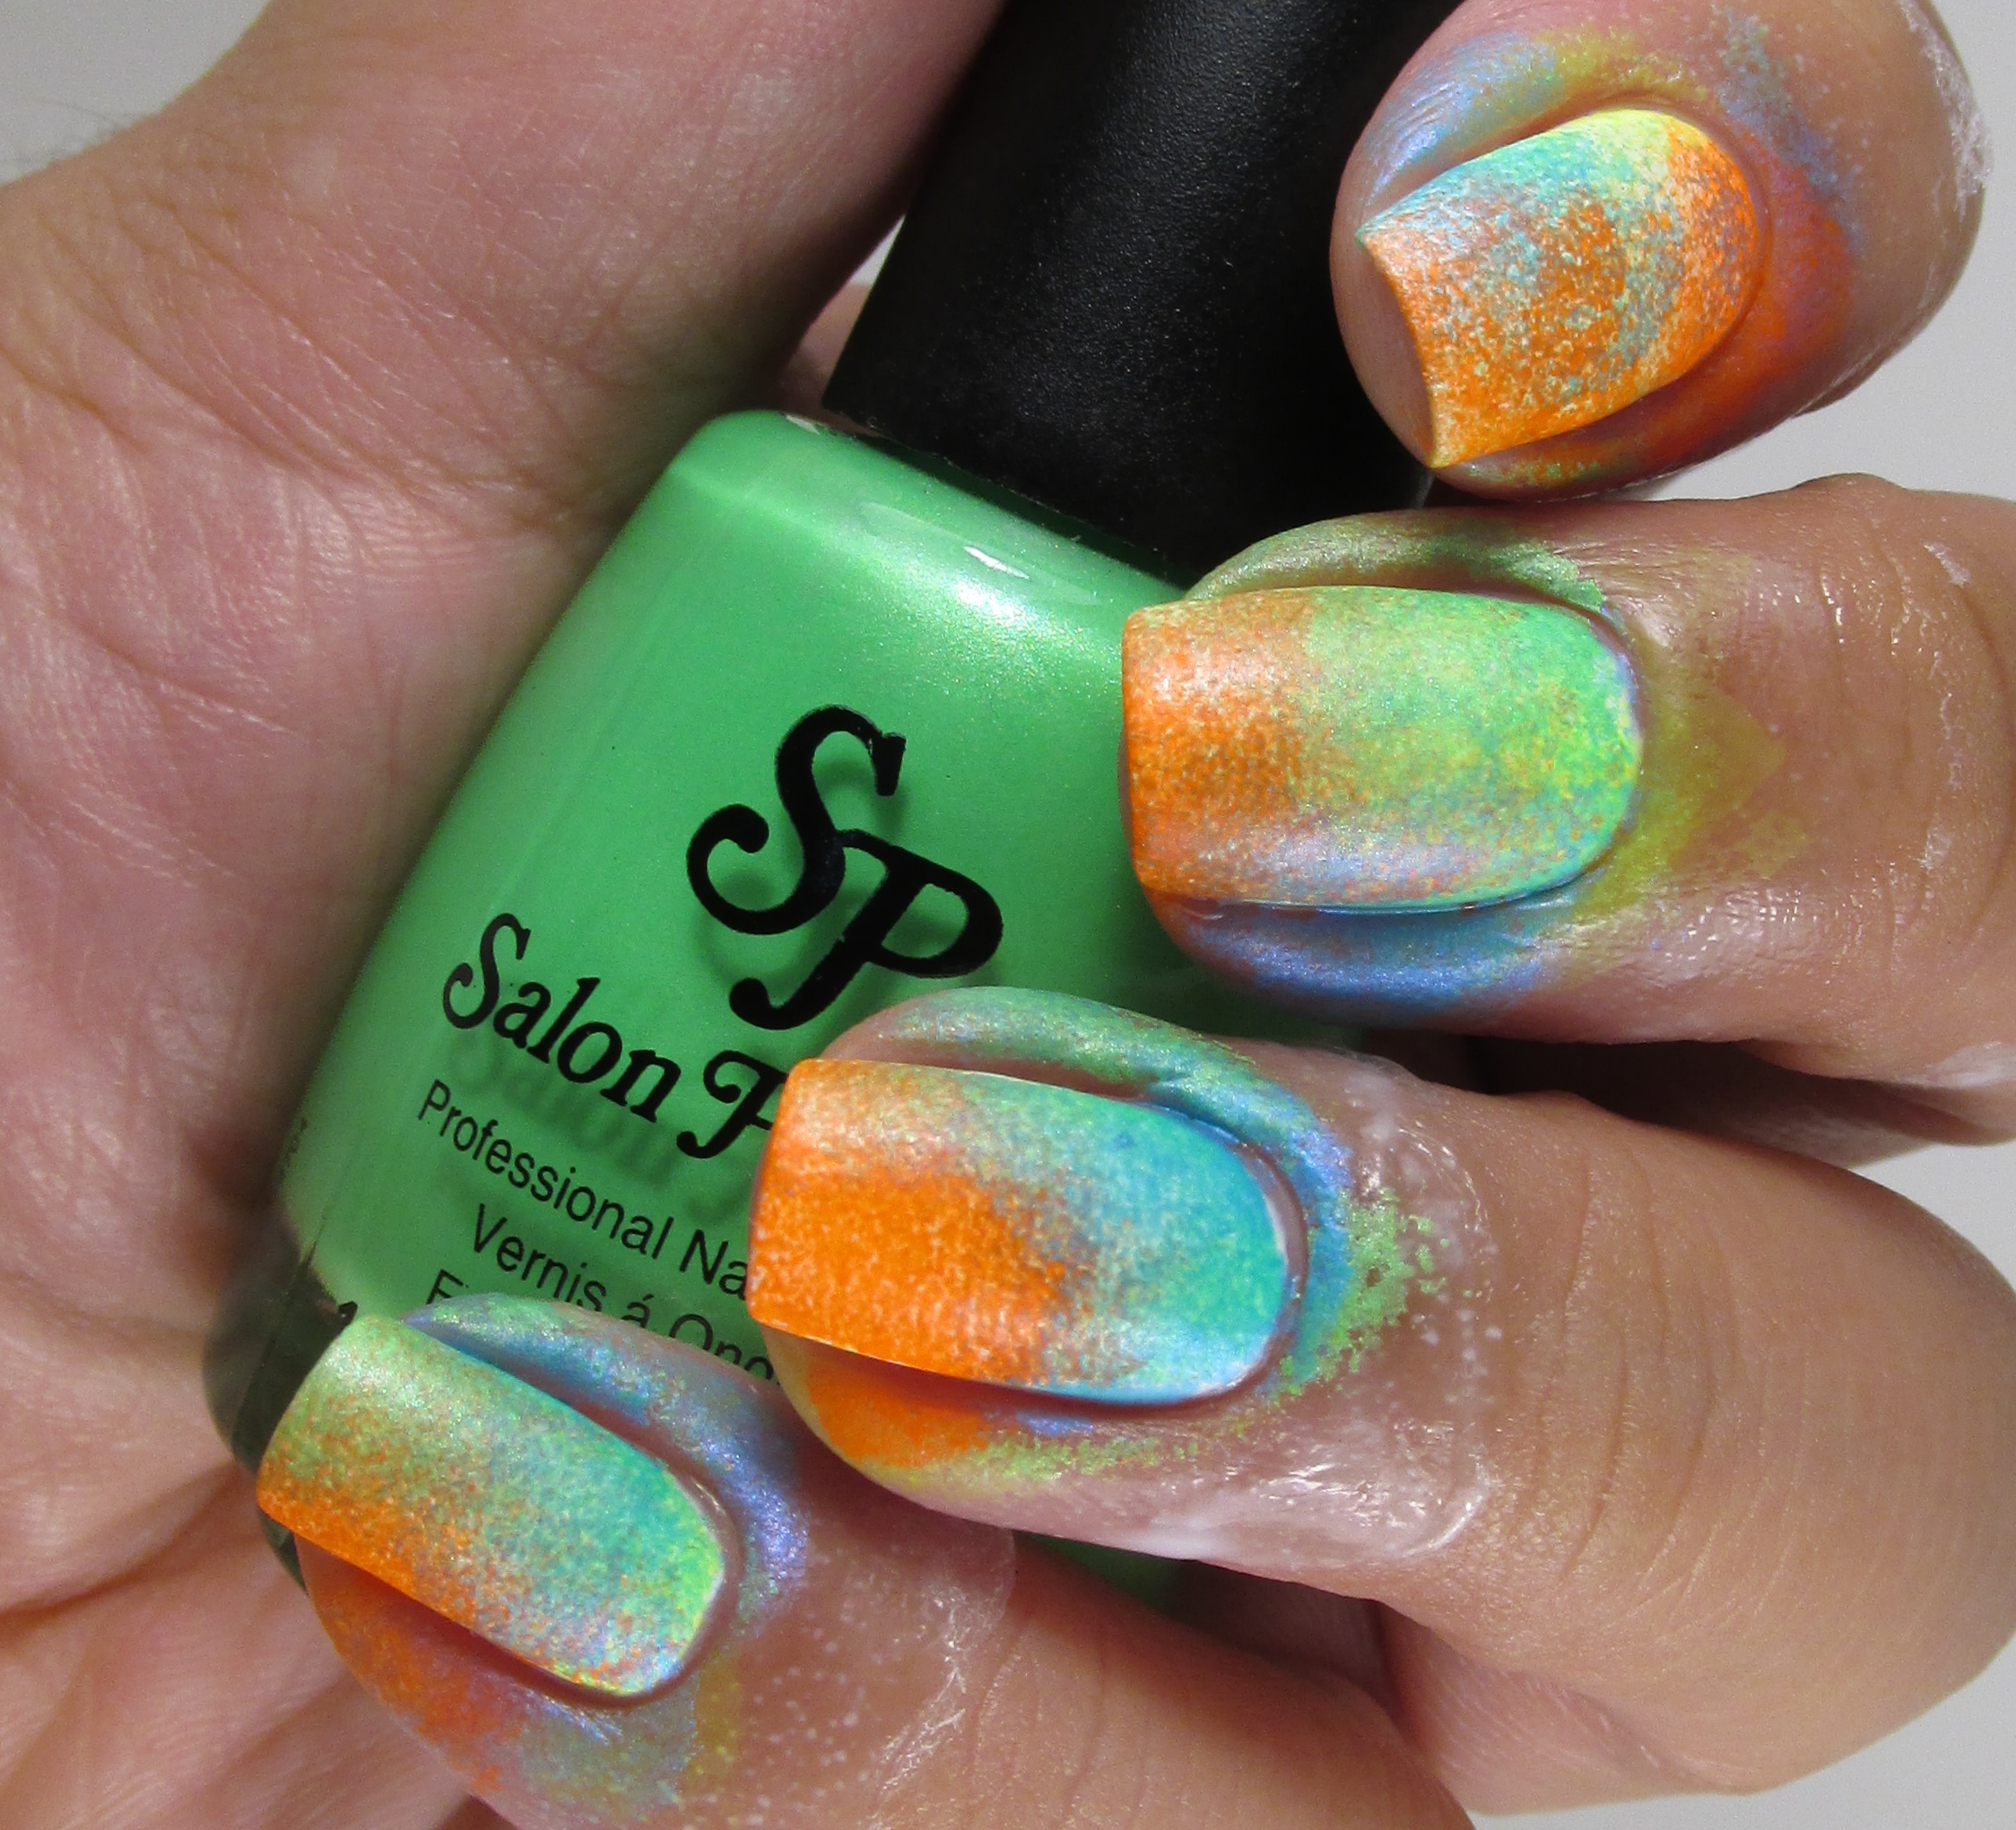 This is Loopy Lime, Bermuda Baby, Yowza Yellow and Traffic Cone sponged over a white base of sugar cube. I wasn’t being very careful about my sponging as you can tell by the extreme sloppiness and the muddled outcome. I wasn’t too concerned about it since I was planning to stamp over it anyway.
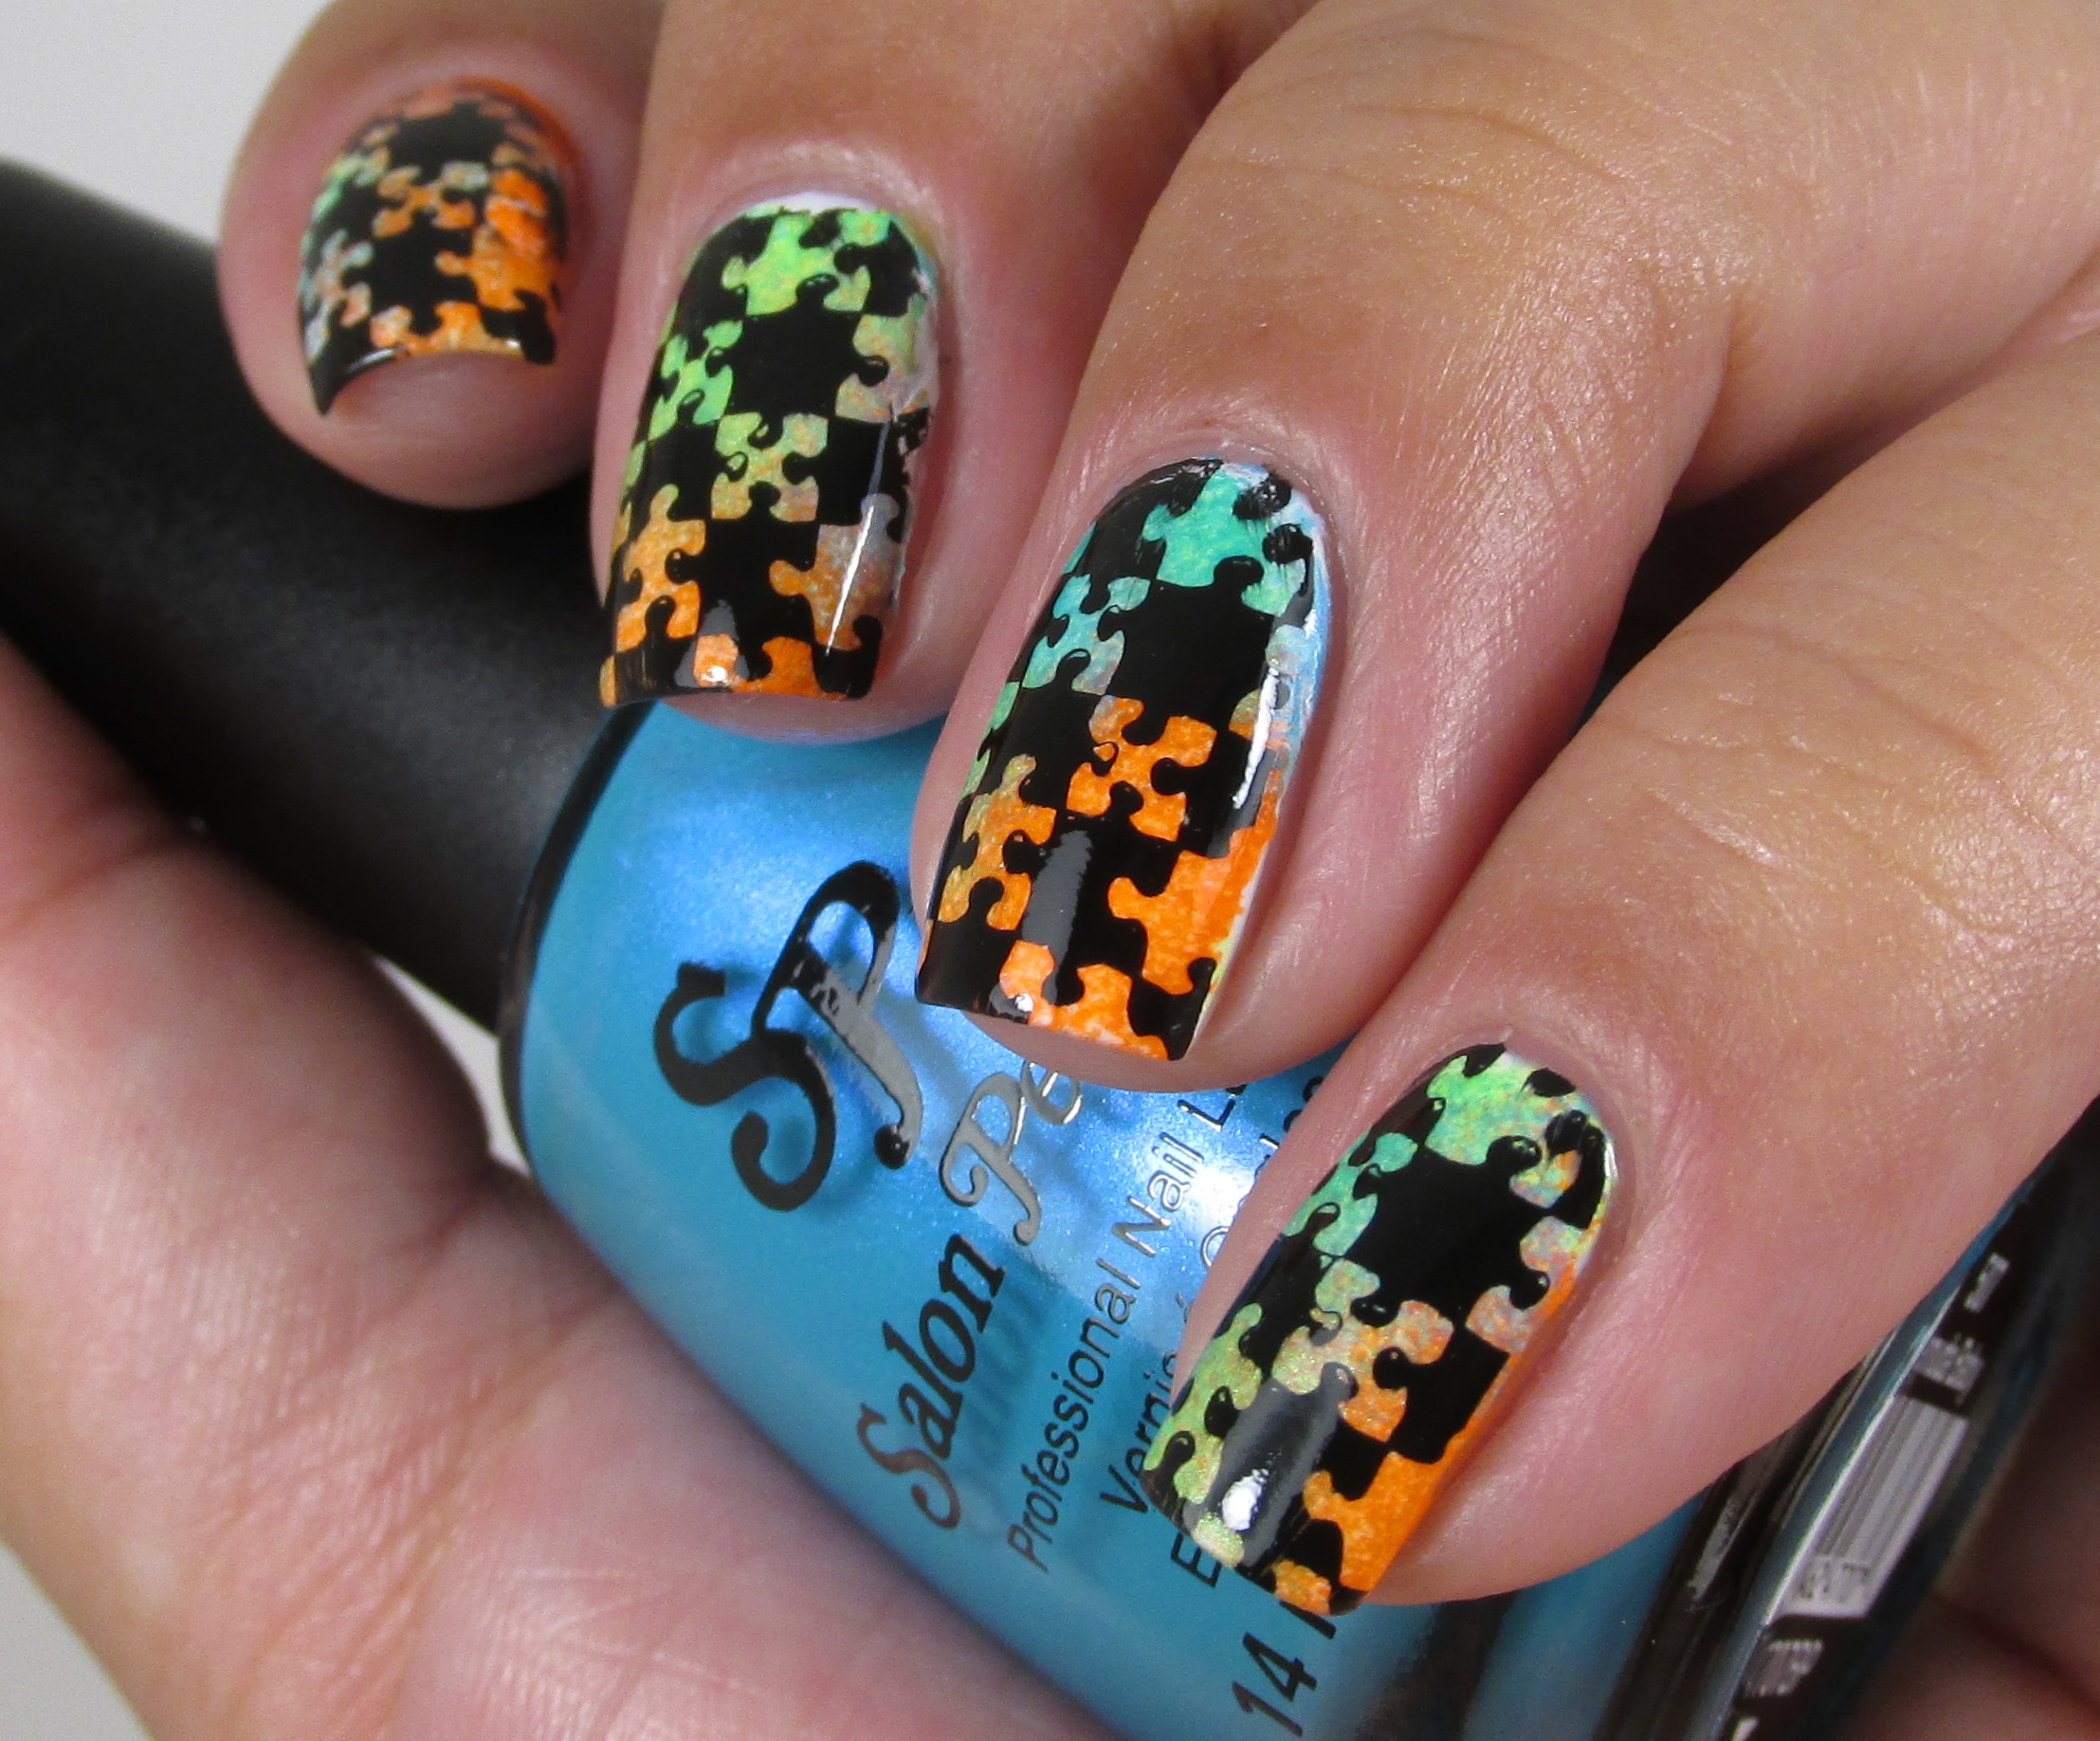
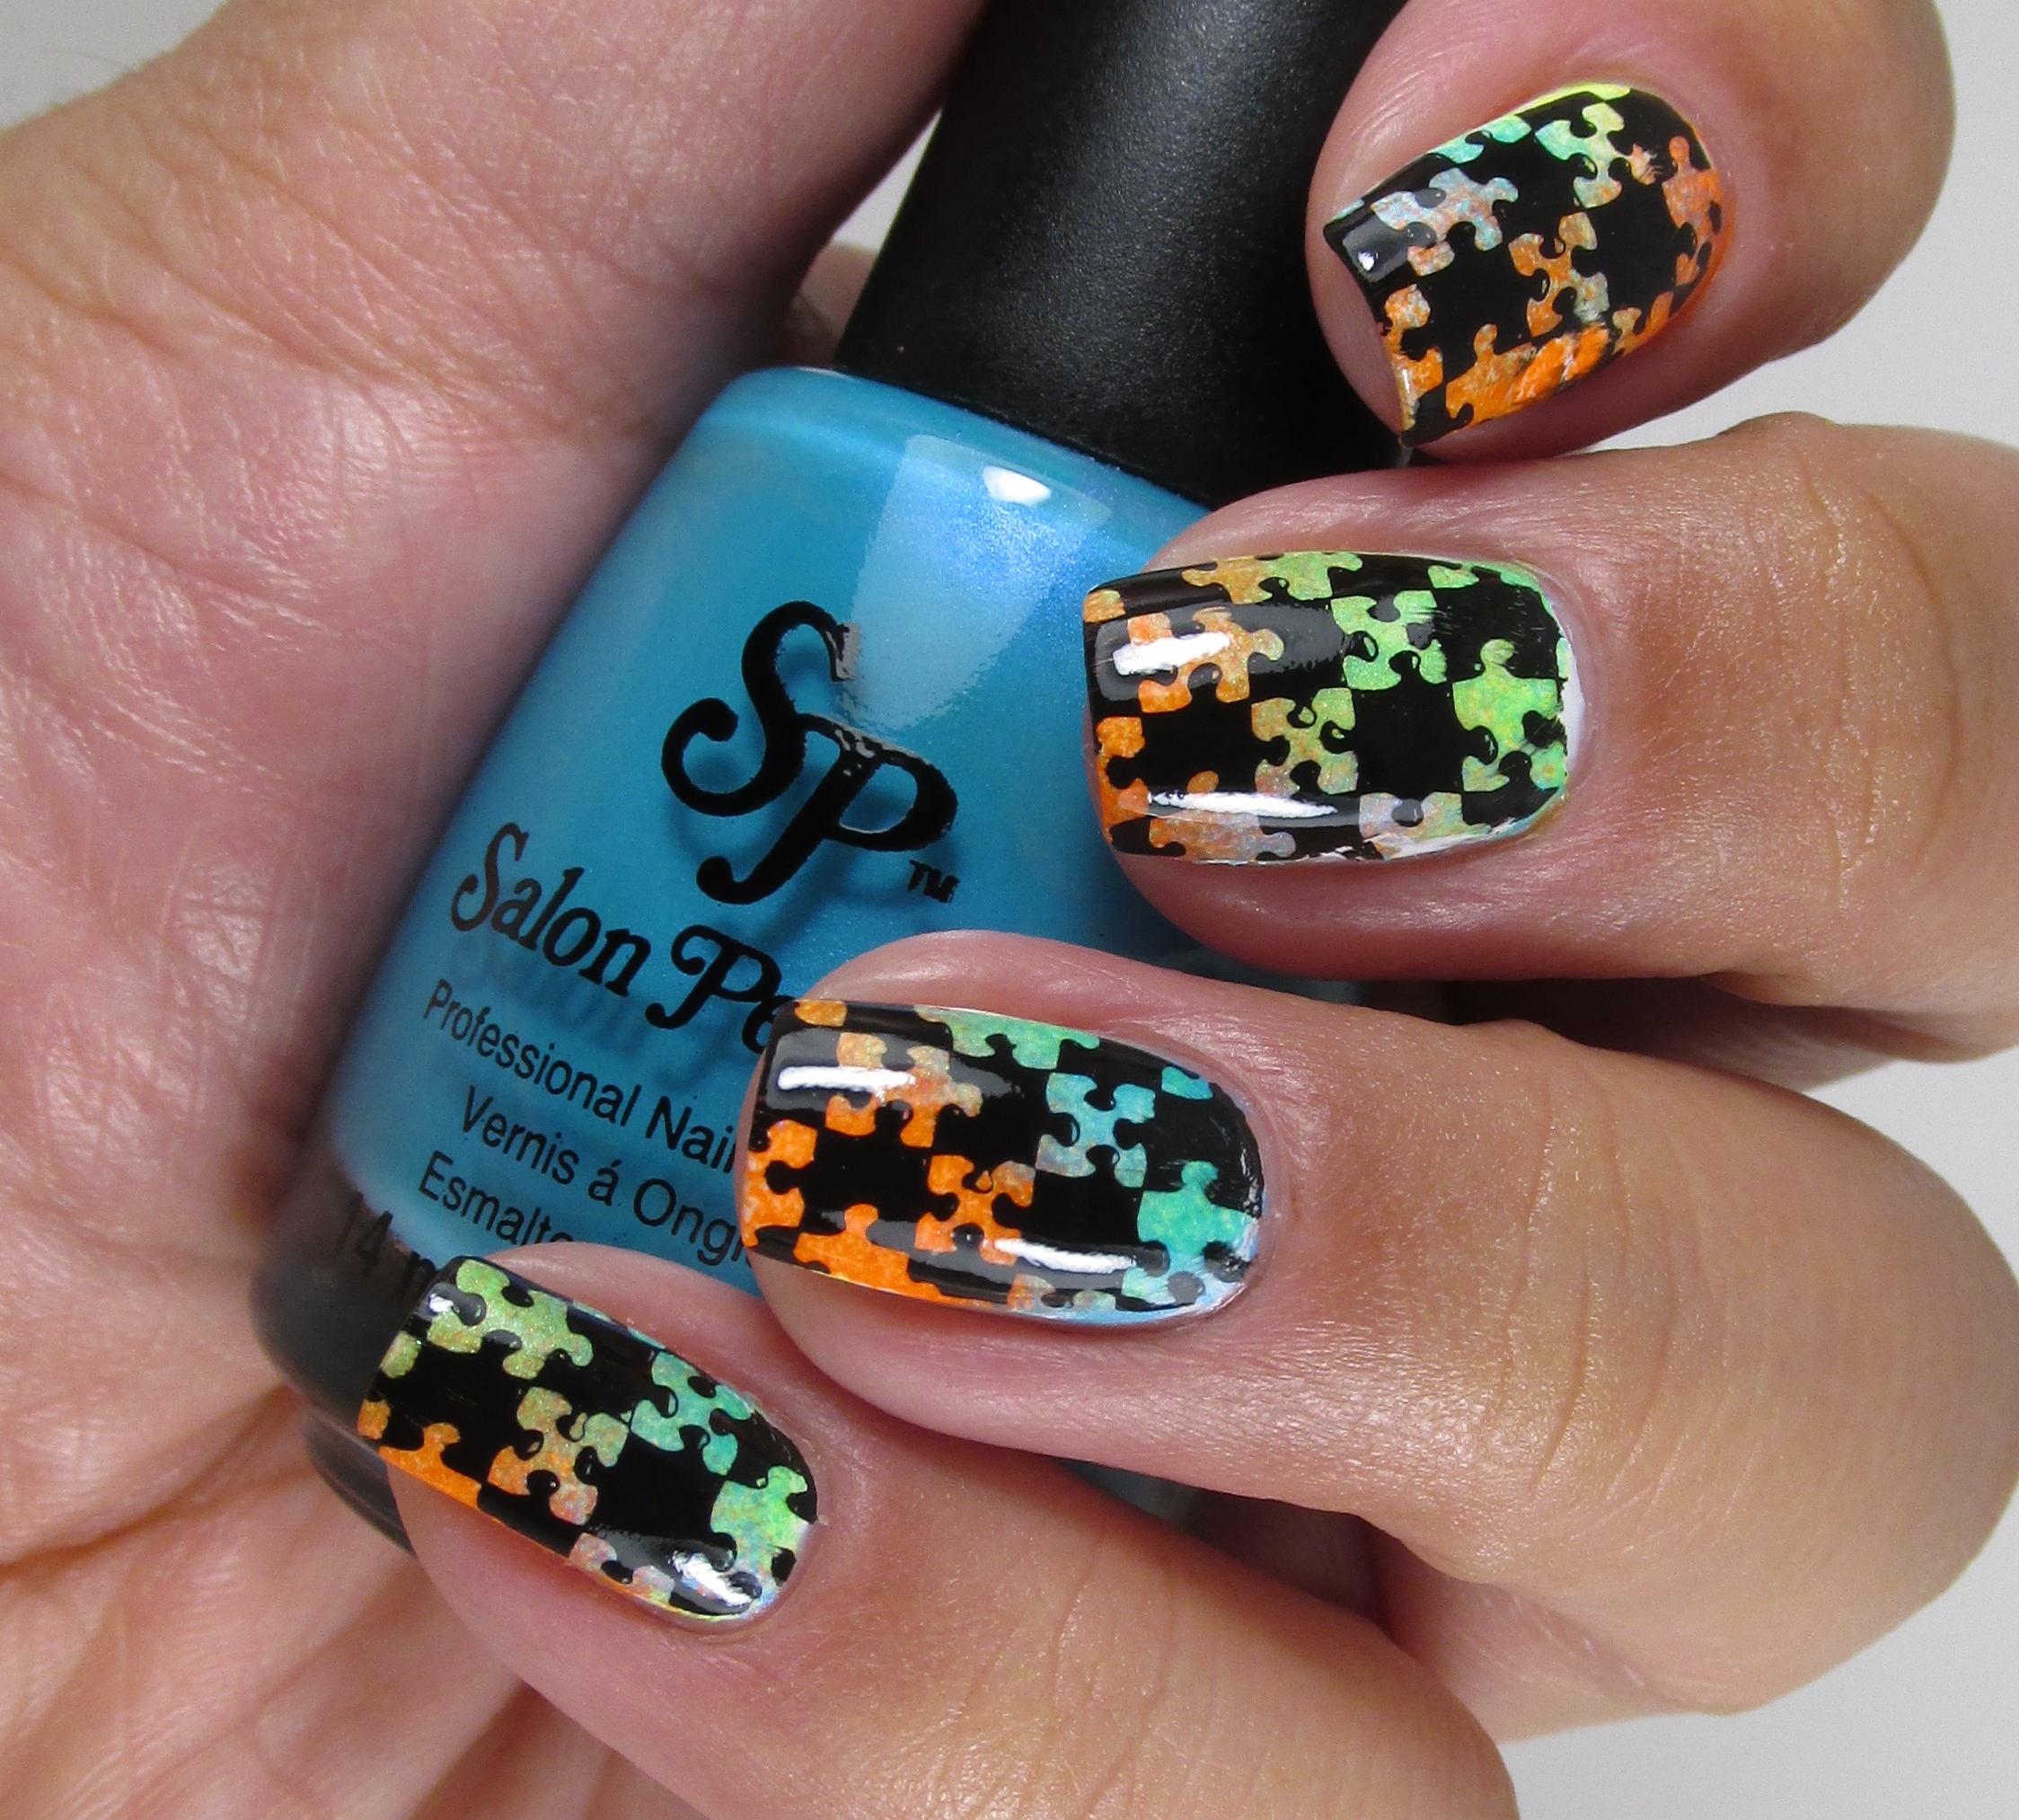 This is what my mani ended up looking like after stamping it up with an image from Bundle Monster BM 319. I kind of like the grungy end result!
Now, let’s talk formula. These were typical neons but some had better formulas than others. All of the polishes I swatched on their own were rather opaque, and I did not need to use white undies. They dried to a satin finish so I applied a clear top coat to give them some shine. They dried really quickly so you can’t overwork the polish because you will have a major mess on your hands. Loopy Lime, Bermuda Baby, Yowza Yellow and Traffic Cone were a lot thinner so I recommend using a white base to get the most out of them because otherwise you might be applying 5 million coats and still see VNL. If you don’t have similar color, I can recommend these. My absolute favorites are: Plum Sorbet an Fired Up Fuchsia. If you’re interested in purchasing these, you can find them at Wal-Mart where they retail for $3.98 each. My Wal-Mart still had a great selection of these, but they are limited edition so get them while you can.
How do you feel about neons? Strictly for summer or do you rock them year-round? Thanks so much for stopping by today, and I will talk to you soon!


