I almost didn’t get this post done, which would have been unfortunate because this is the inaugural post of…
 What is this Lacquer Ring I speak of? Well, it’s a group of crazy polish chicks who spend way too much time emailing each other all day long about polish, life, woes and more polish. While we haven’t all technically met in person (except for me and Lesley and Amy and Frosso), we are pretty good friends and hope that we can all meet one day. Unfortunately, the universe will end that day because that much awesomeness is not allowed all in one place. While you may already know the ladies who make up The Lacquer Ring, let me introduce them all:
Amanda from Mae’s Beauty
Amy from The Fancy Side
Frosso from Lacquer Me Silly
Jessica from Once Upon A Polish
Lesley from IG @MisfitLesley
Nicole from Polish Me, Please!
Siobhan from For The Love Of Nail Art
Now that you know who will be participating in The Lacquer Ring, let me tell you that we will be posting twice a month and each month, one of us will be determining the two challenges for the rest of the group. For our very first post, we will all be using a special polish that Nicole got as a gift for all of us: Candy Lacquer Unicorn Bubbles. Let me show you what I did with this awesome glitter topper!
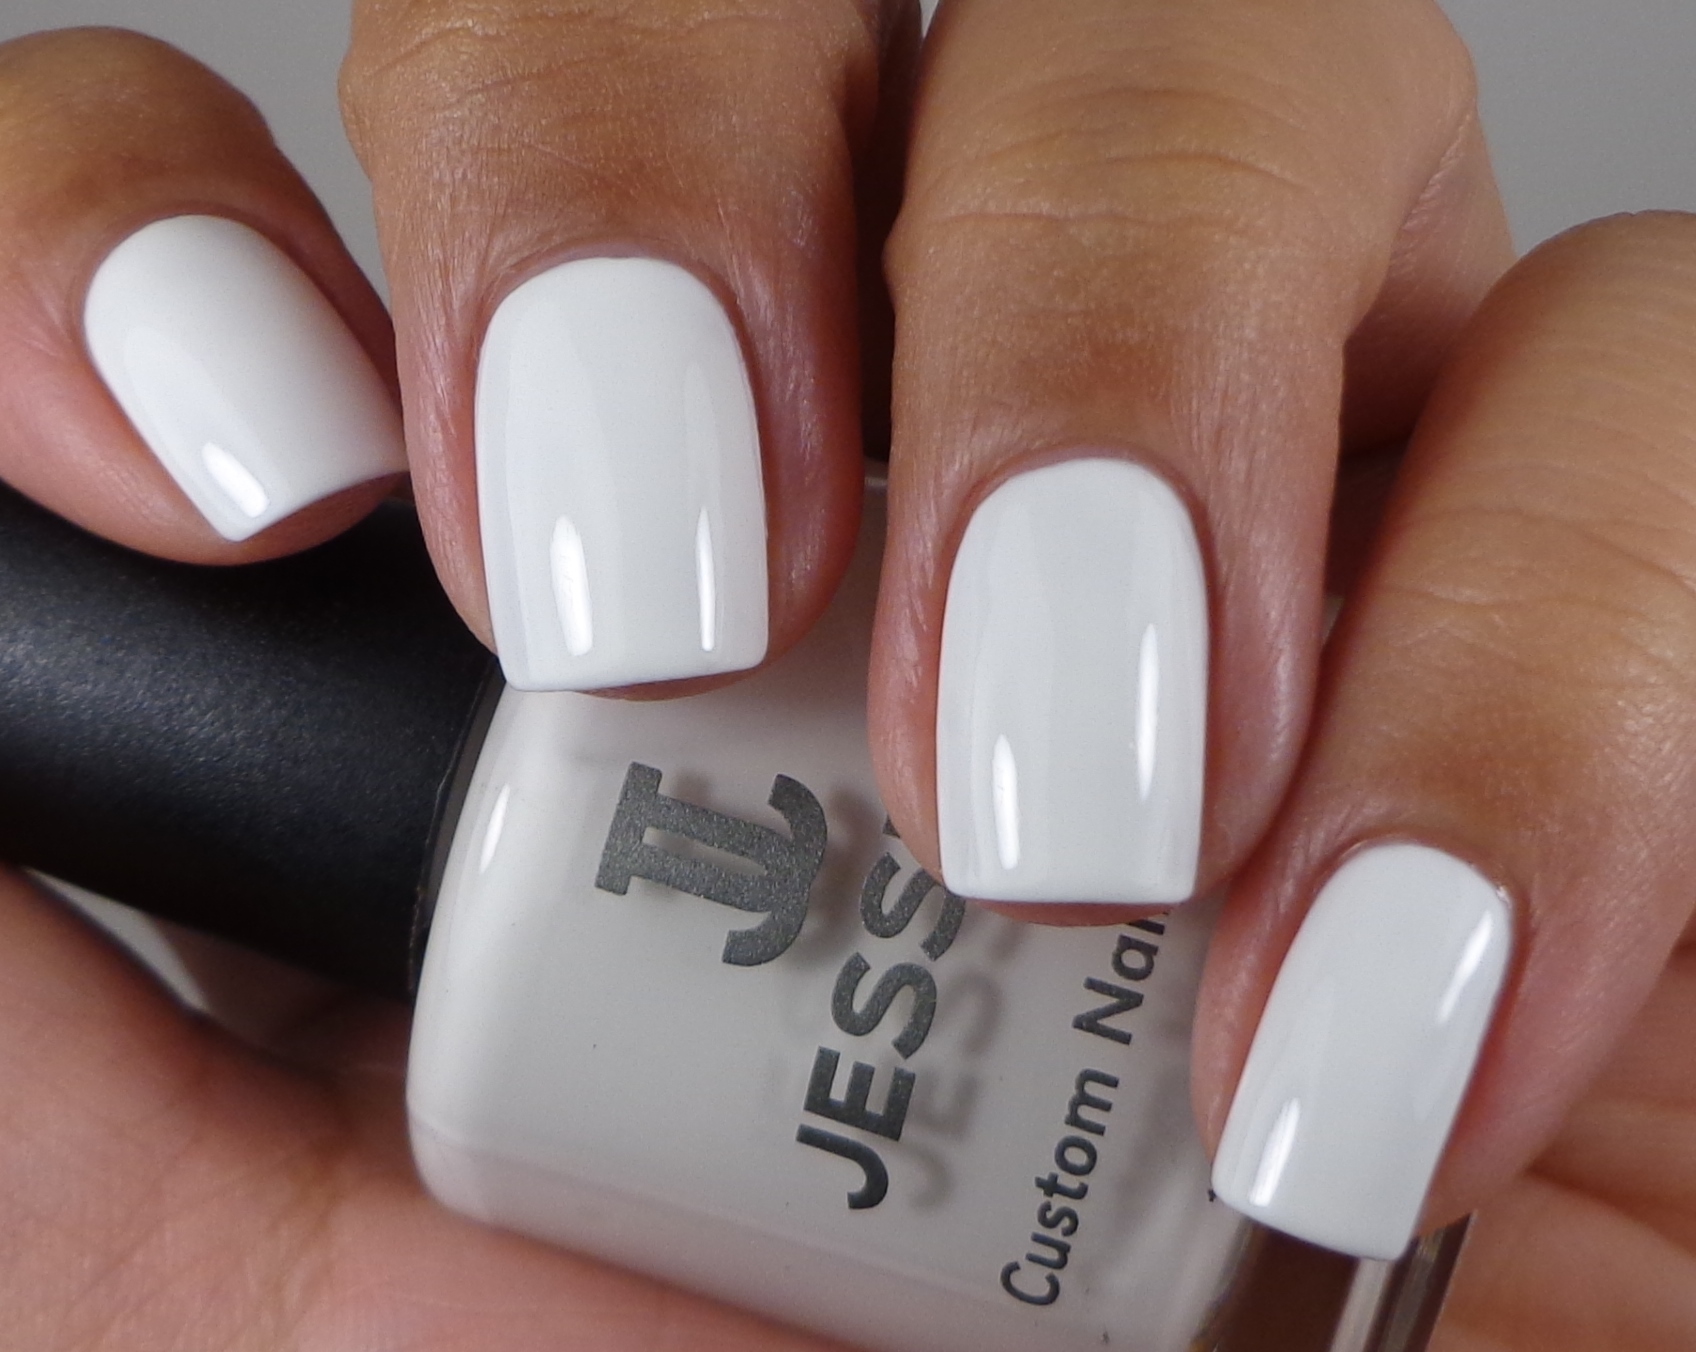 I started with two creamy and delicious coats of Jessica Sharktooth (press sample). I’ve mentioned how much I love this polish many times because it is an amazing white polish.
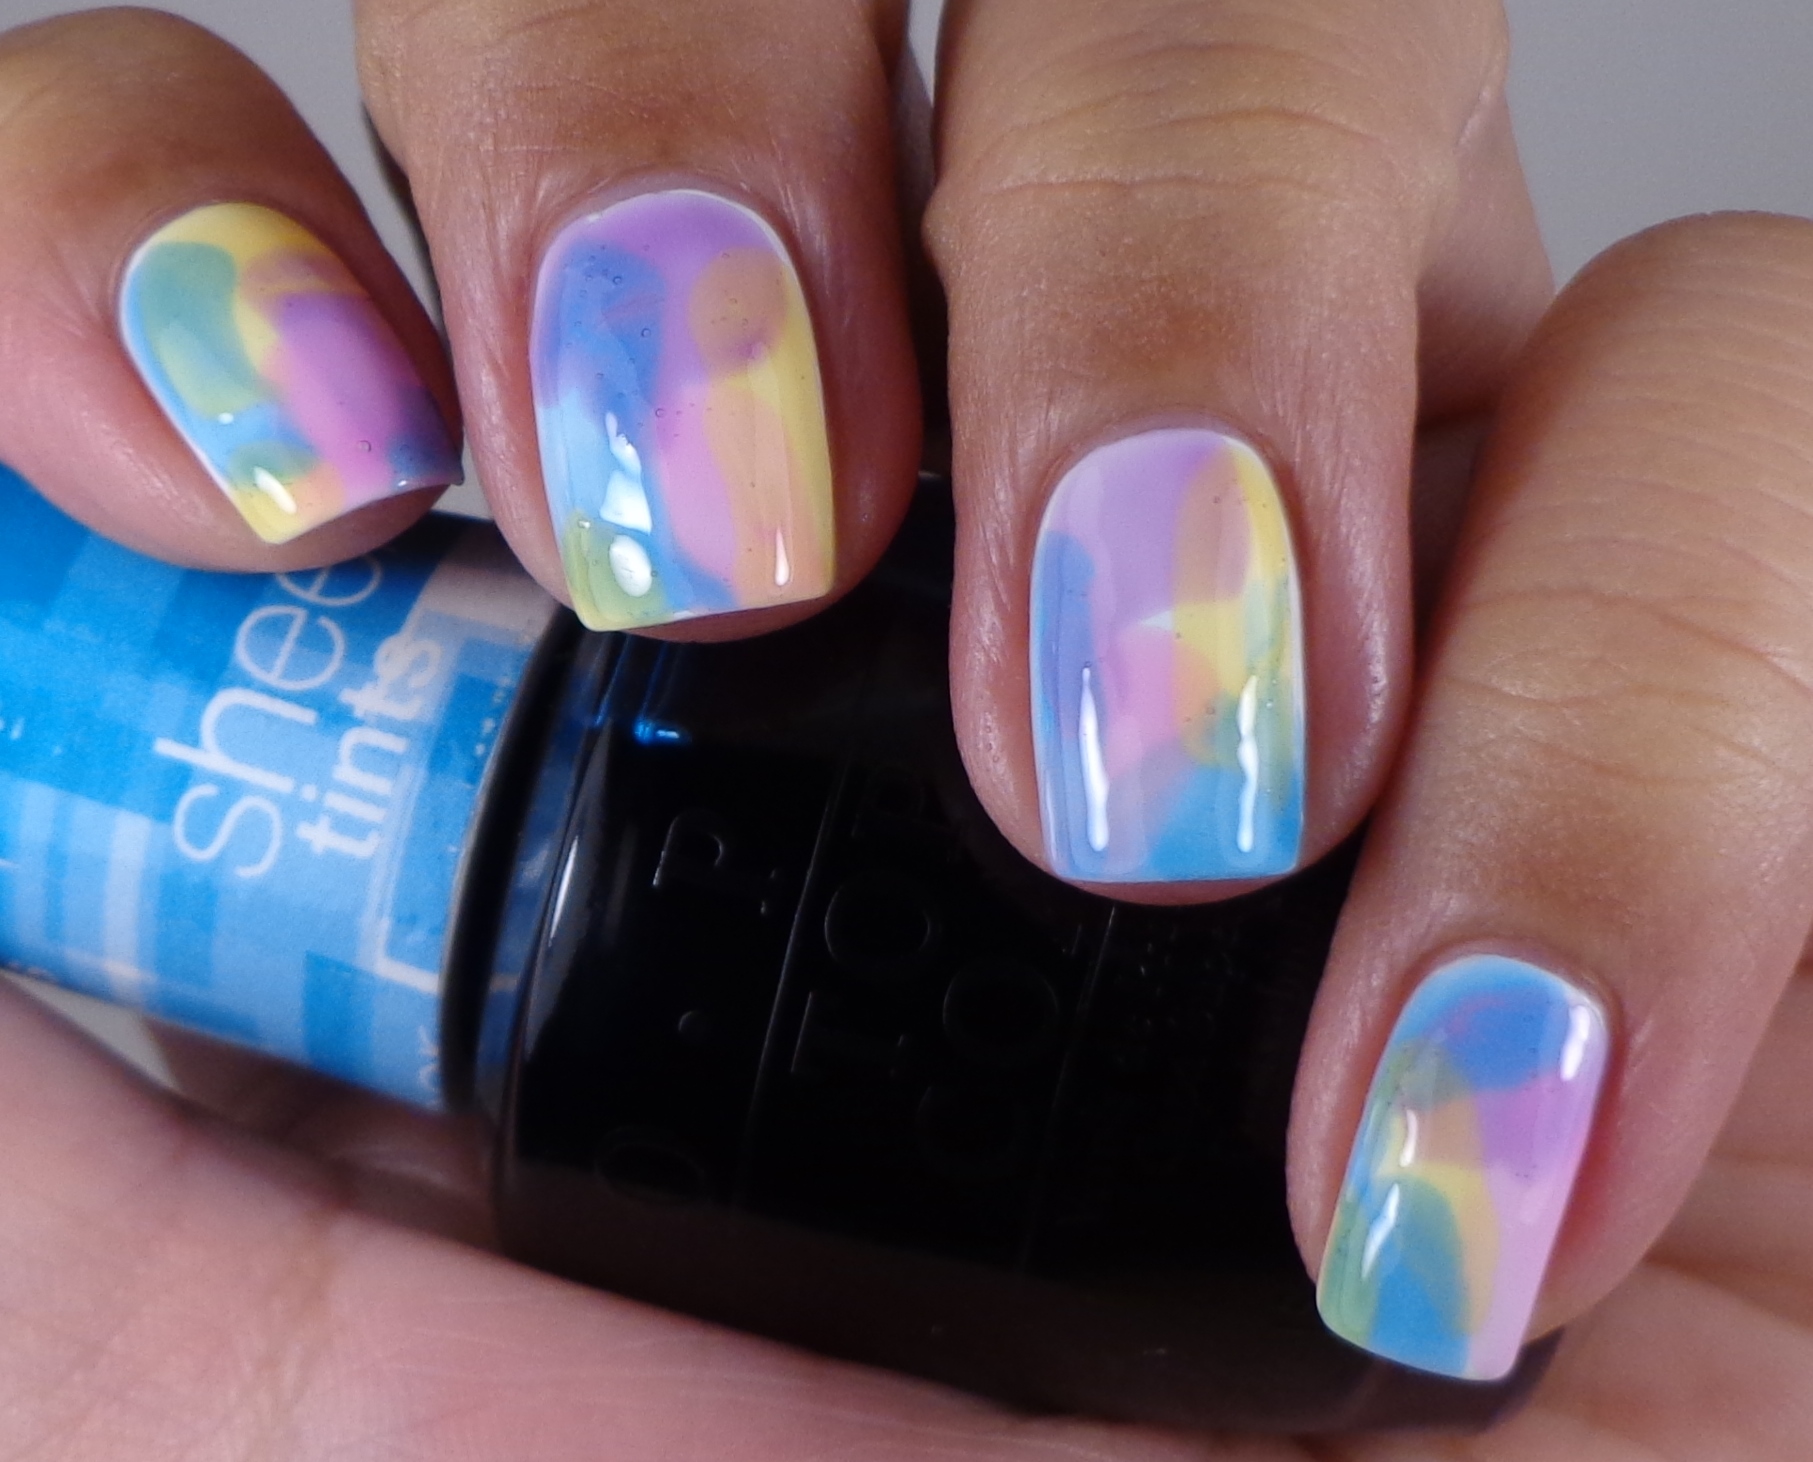
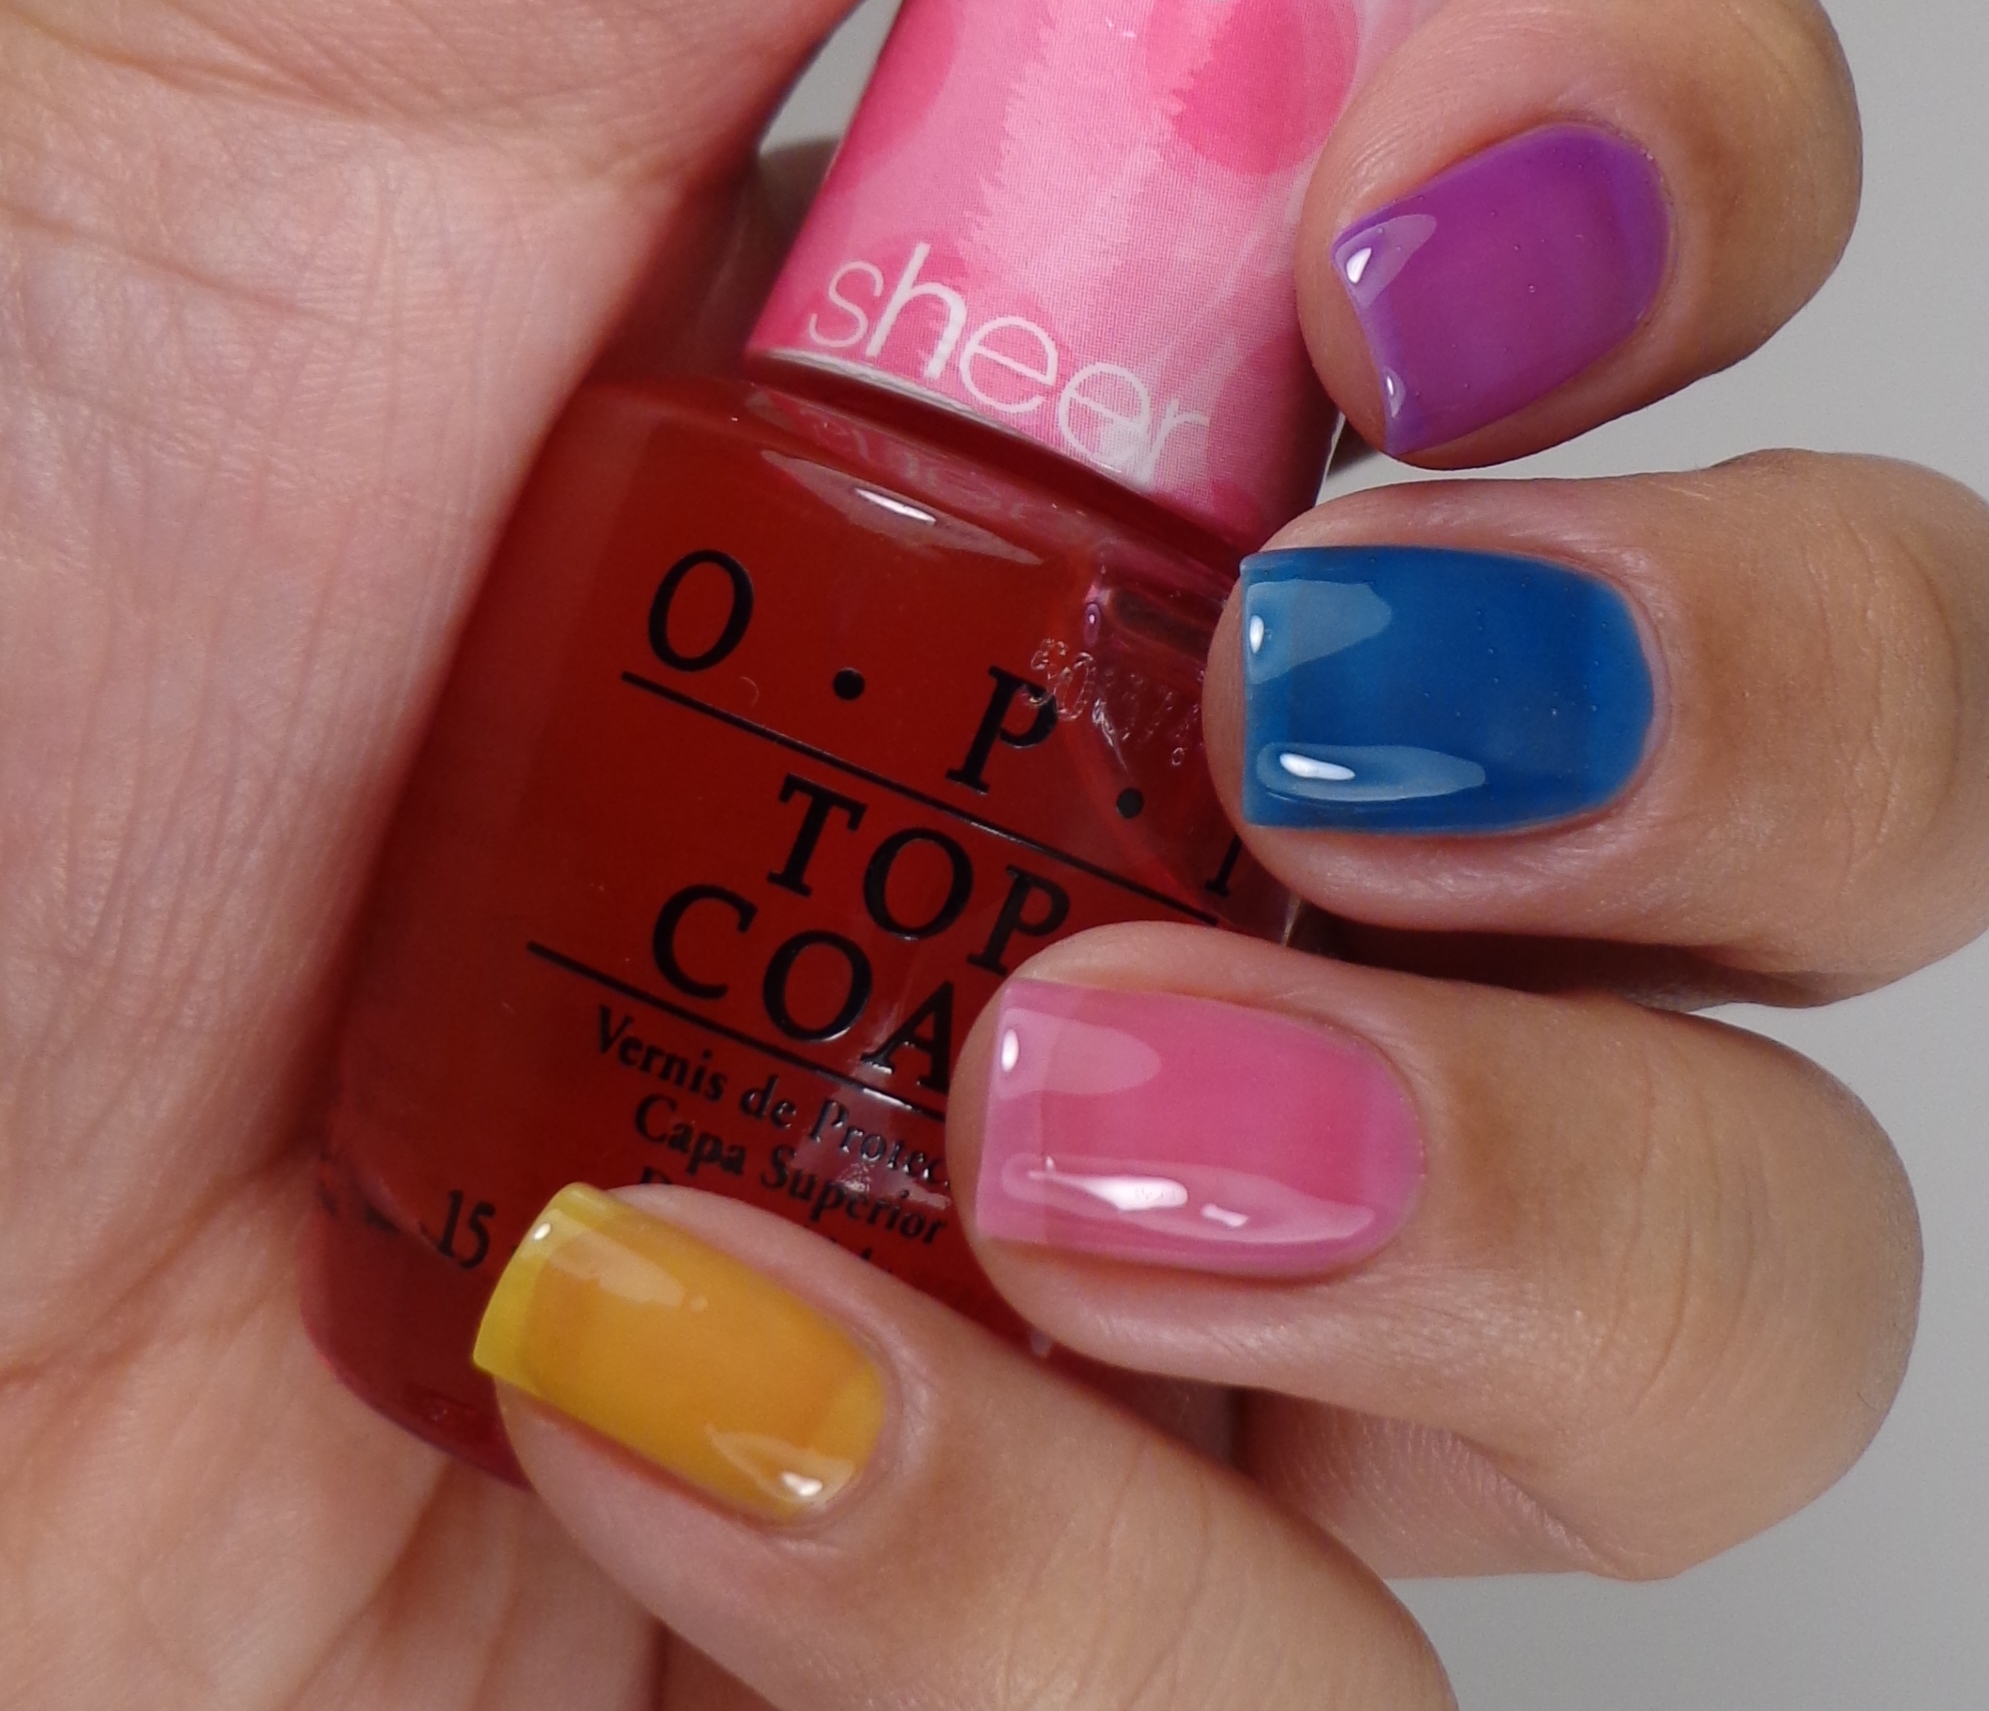
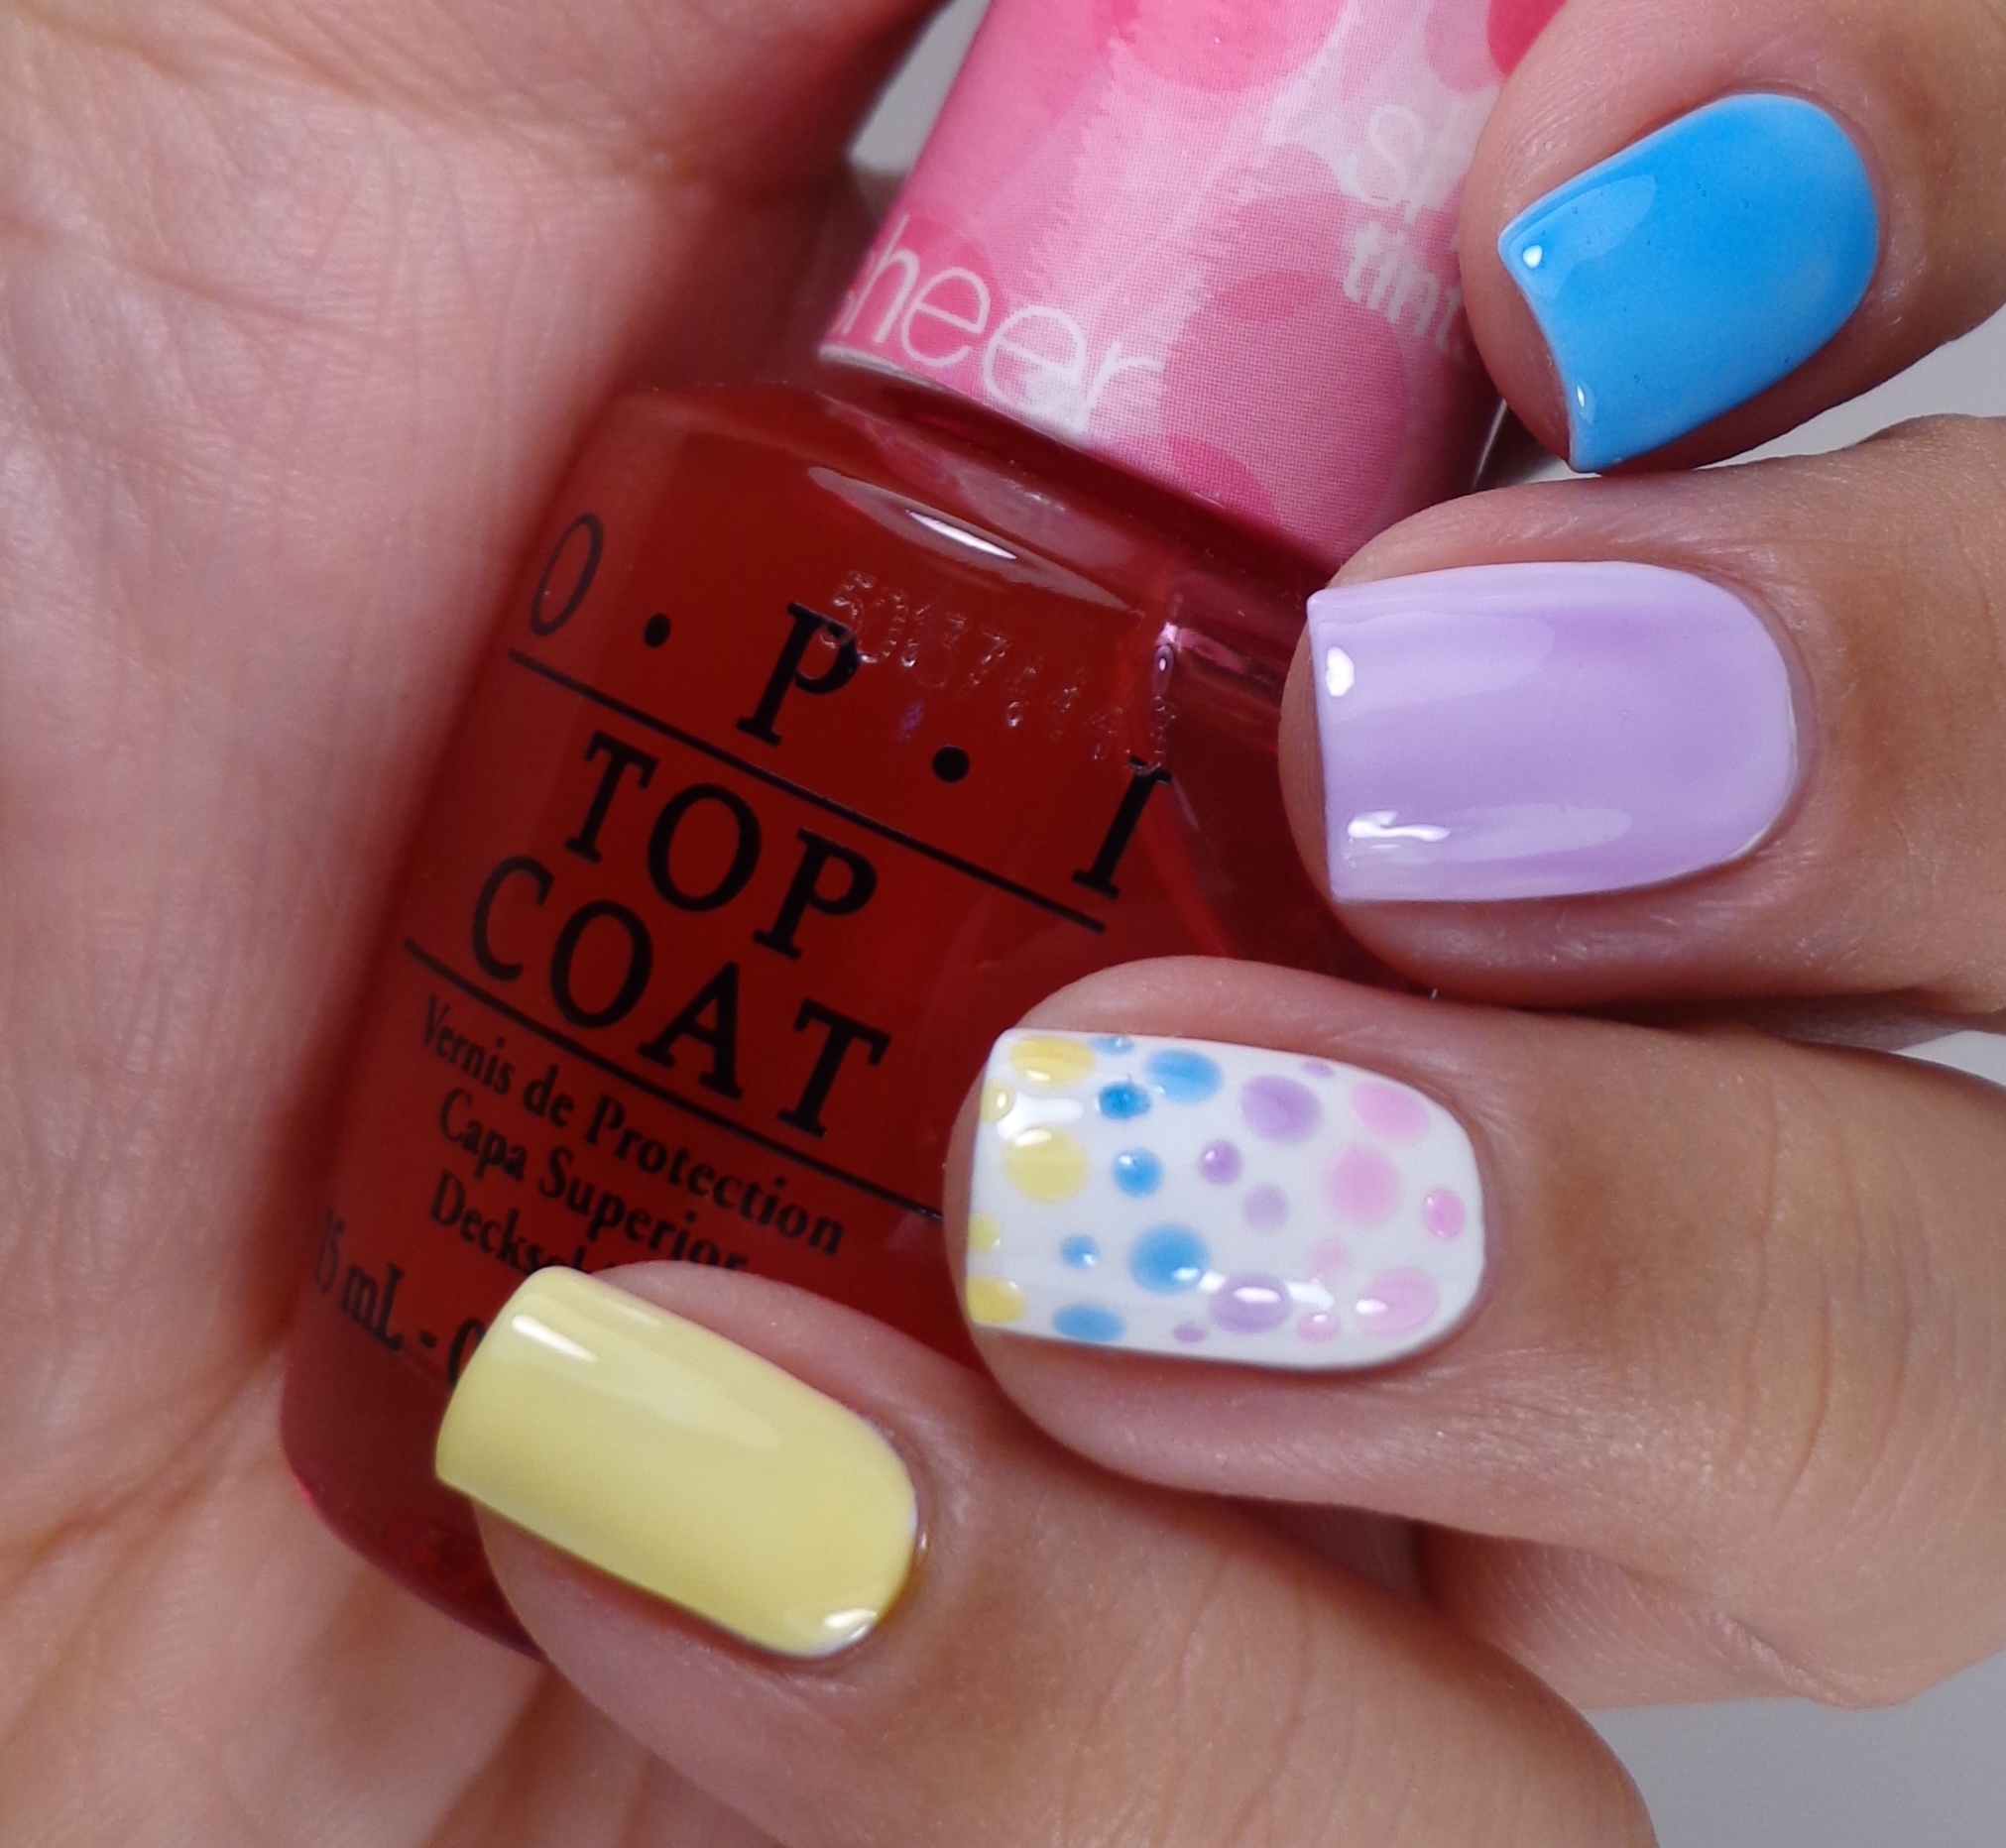
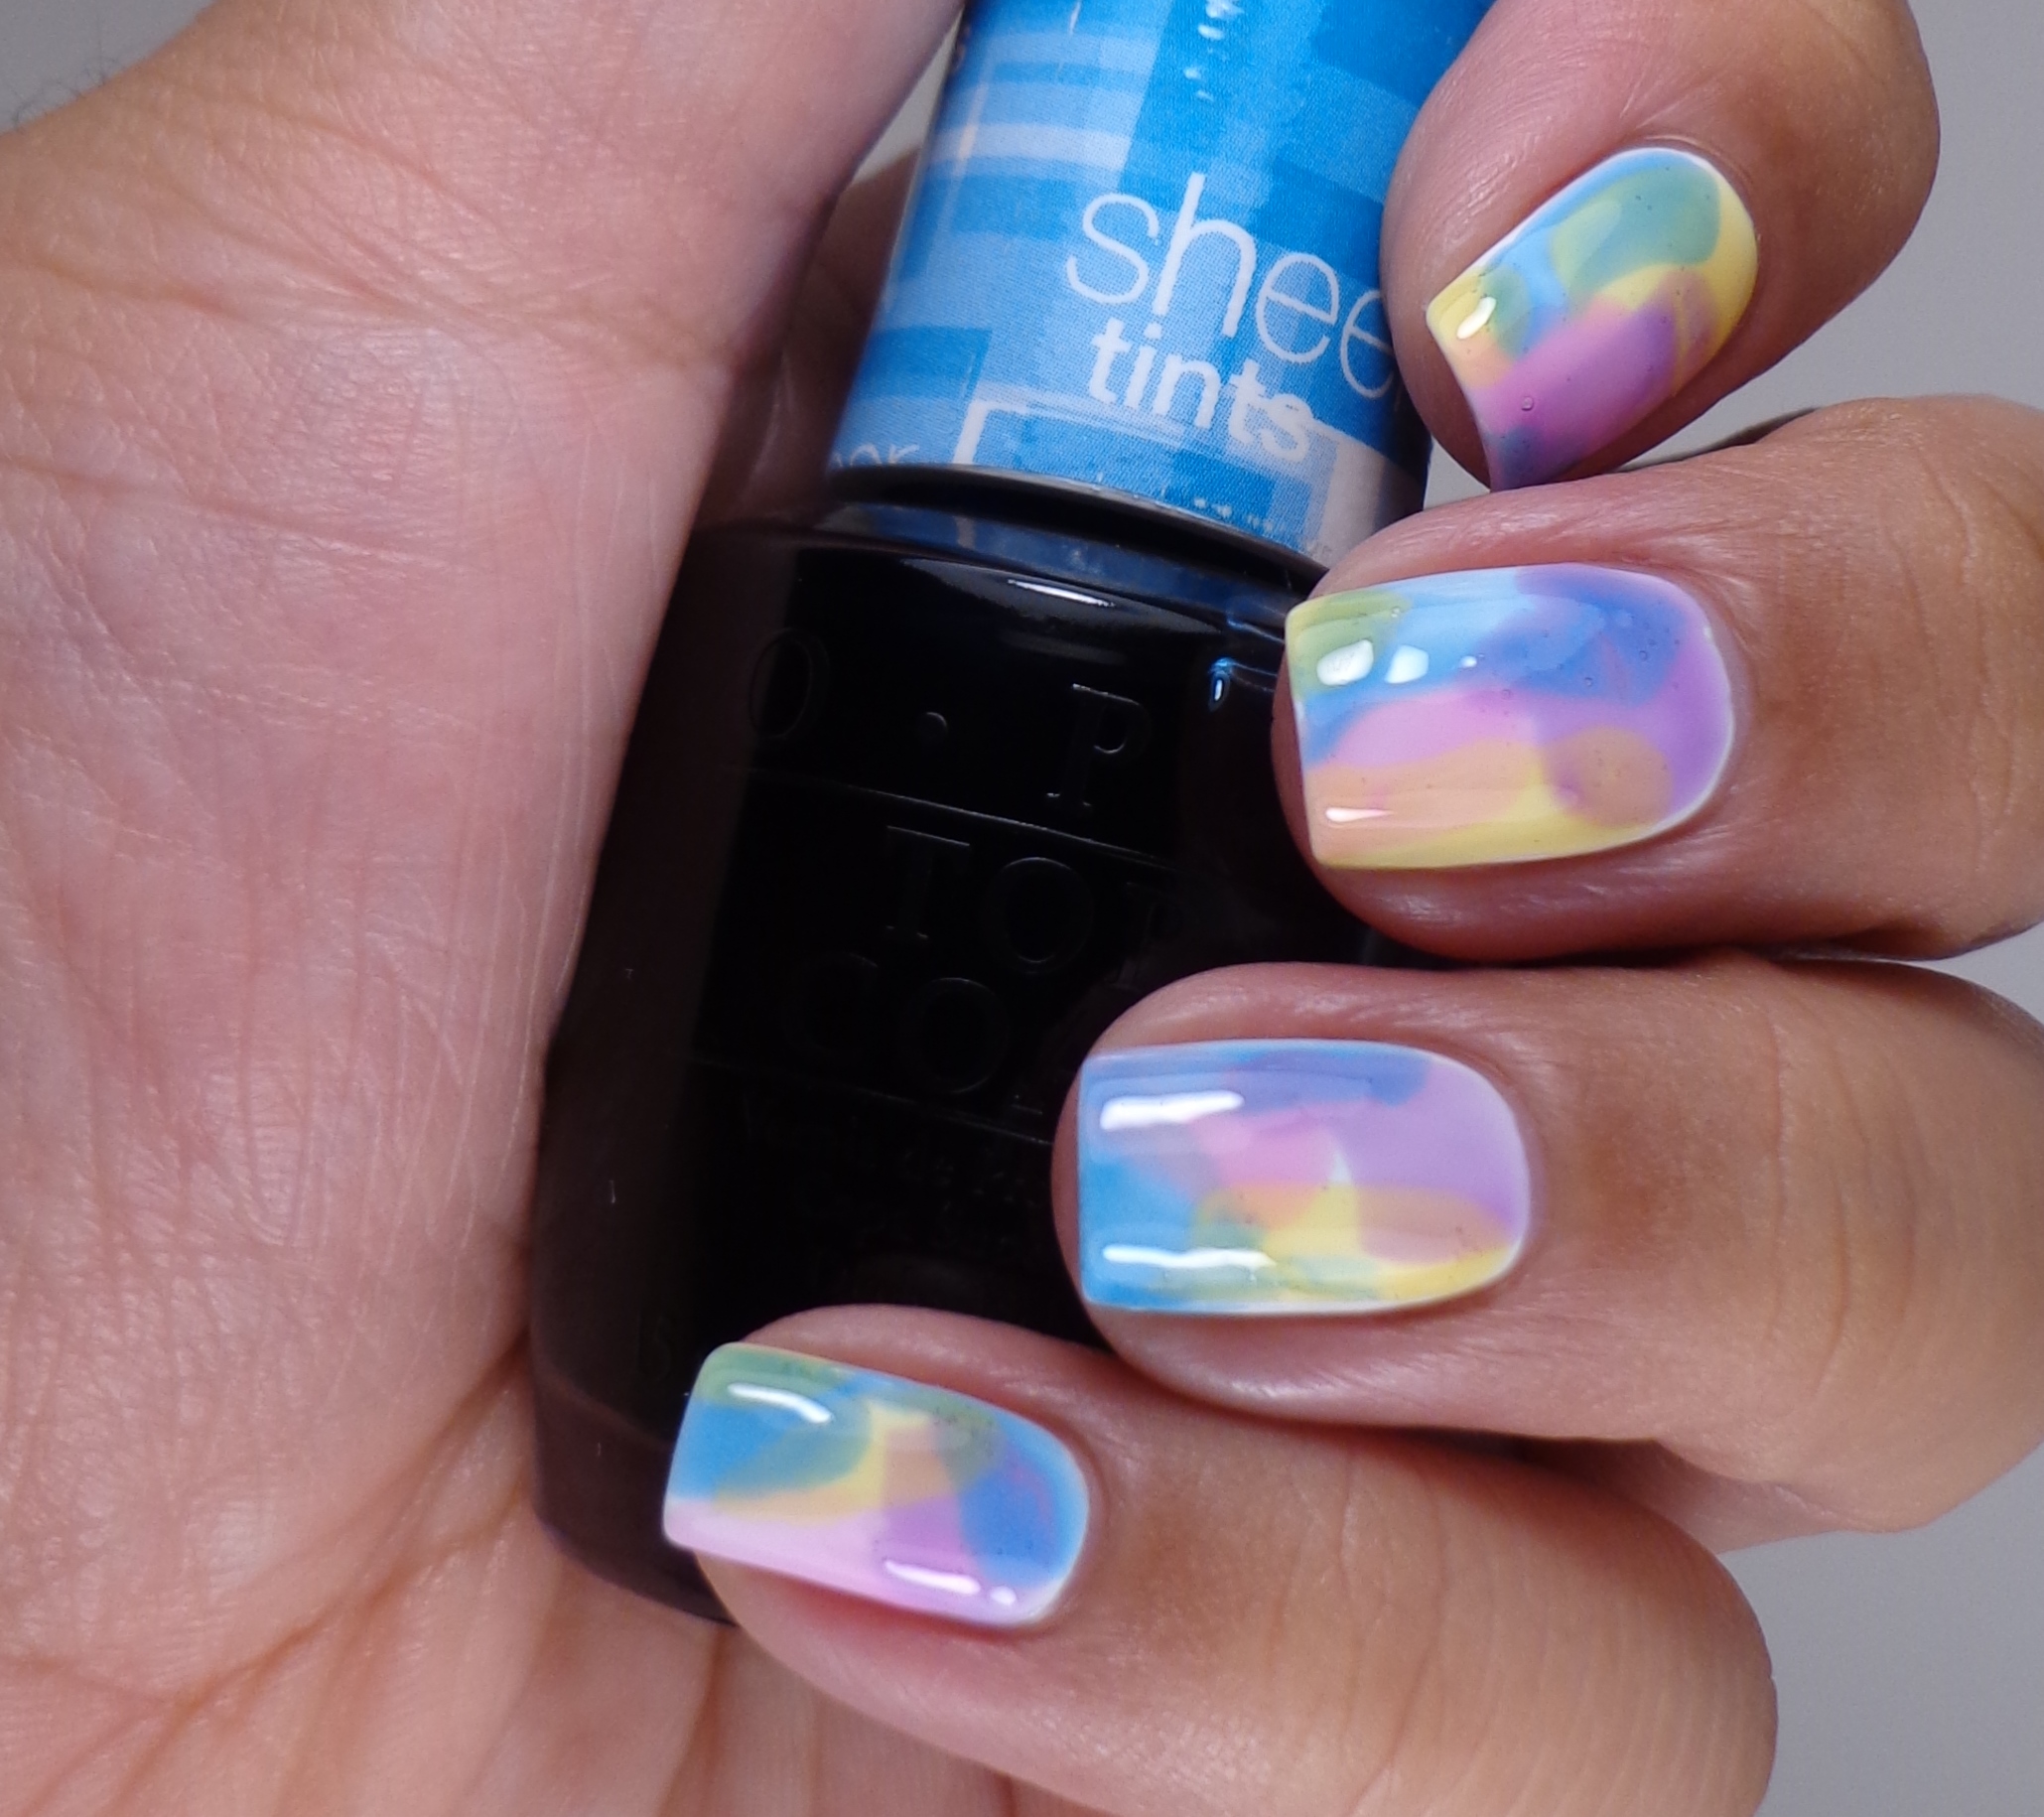 I then used my OPI Sheer Tints (press sample) to create this watercolor design. Ever since I saw The Polish-Aholic’s post about this, I knew I had to do it. You can read more about it here. I should have used thinner coats of the Sheer Tints because I got some bubbling, but I decided to let it go since I was planning to put on a glitter topper anyway.
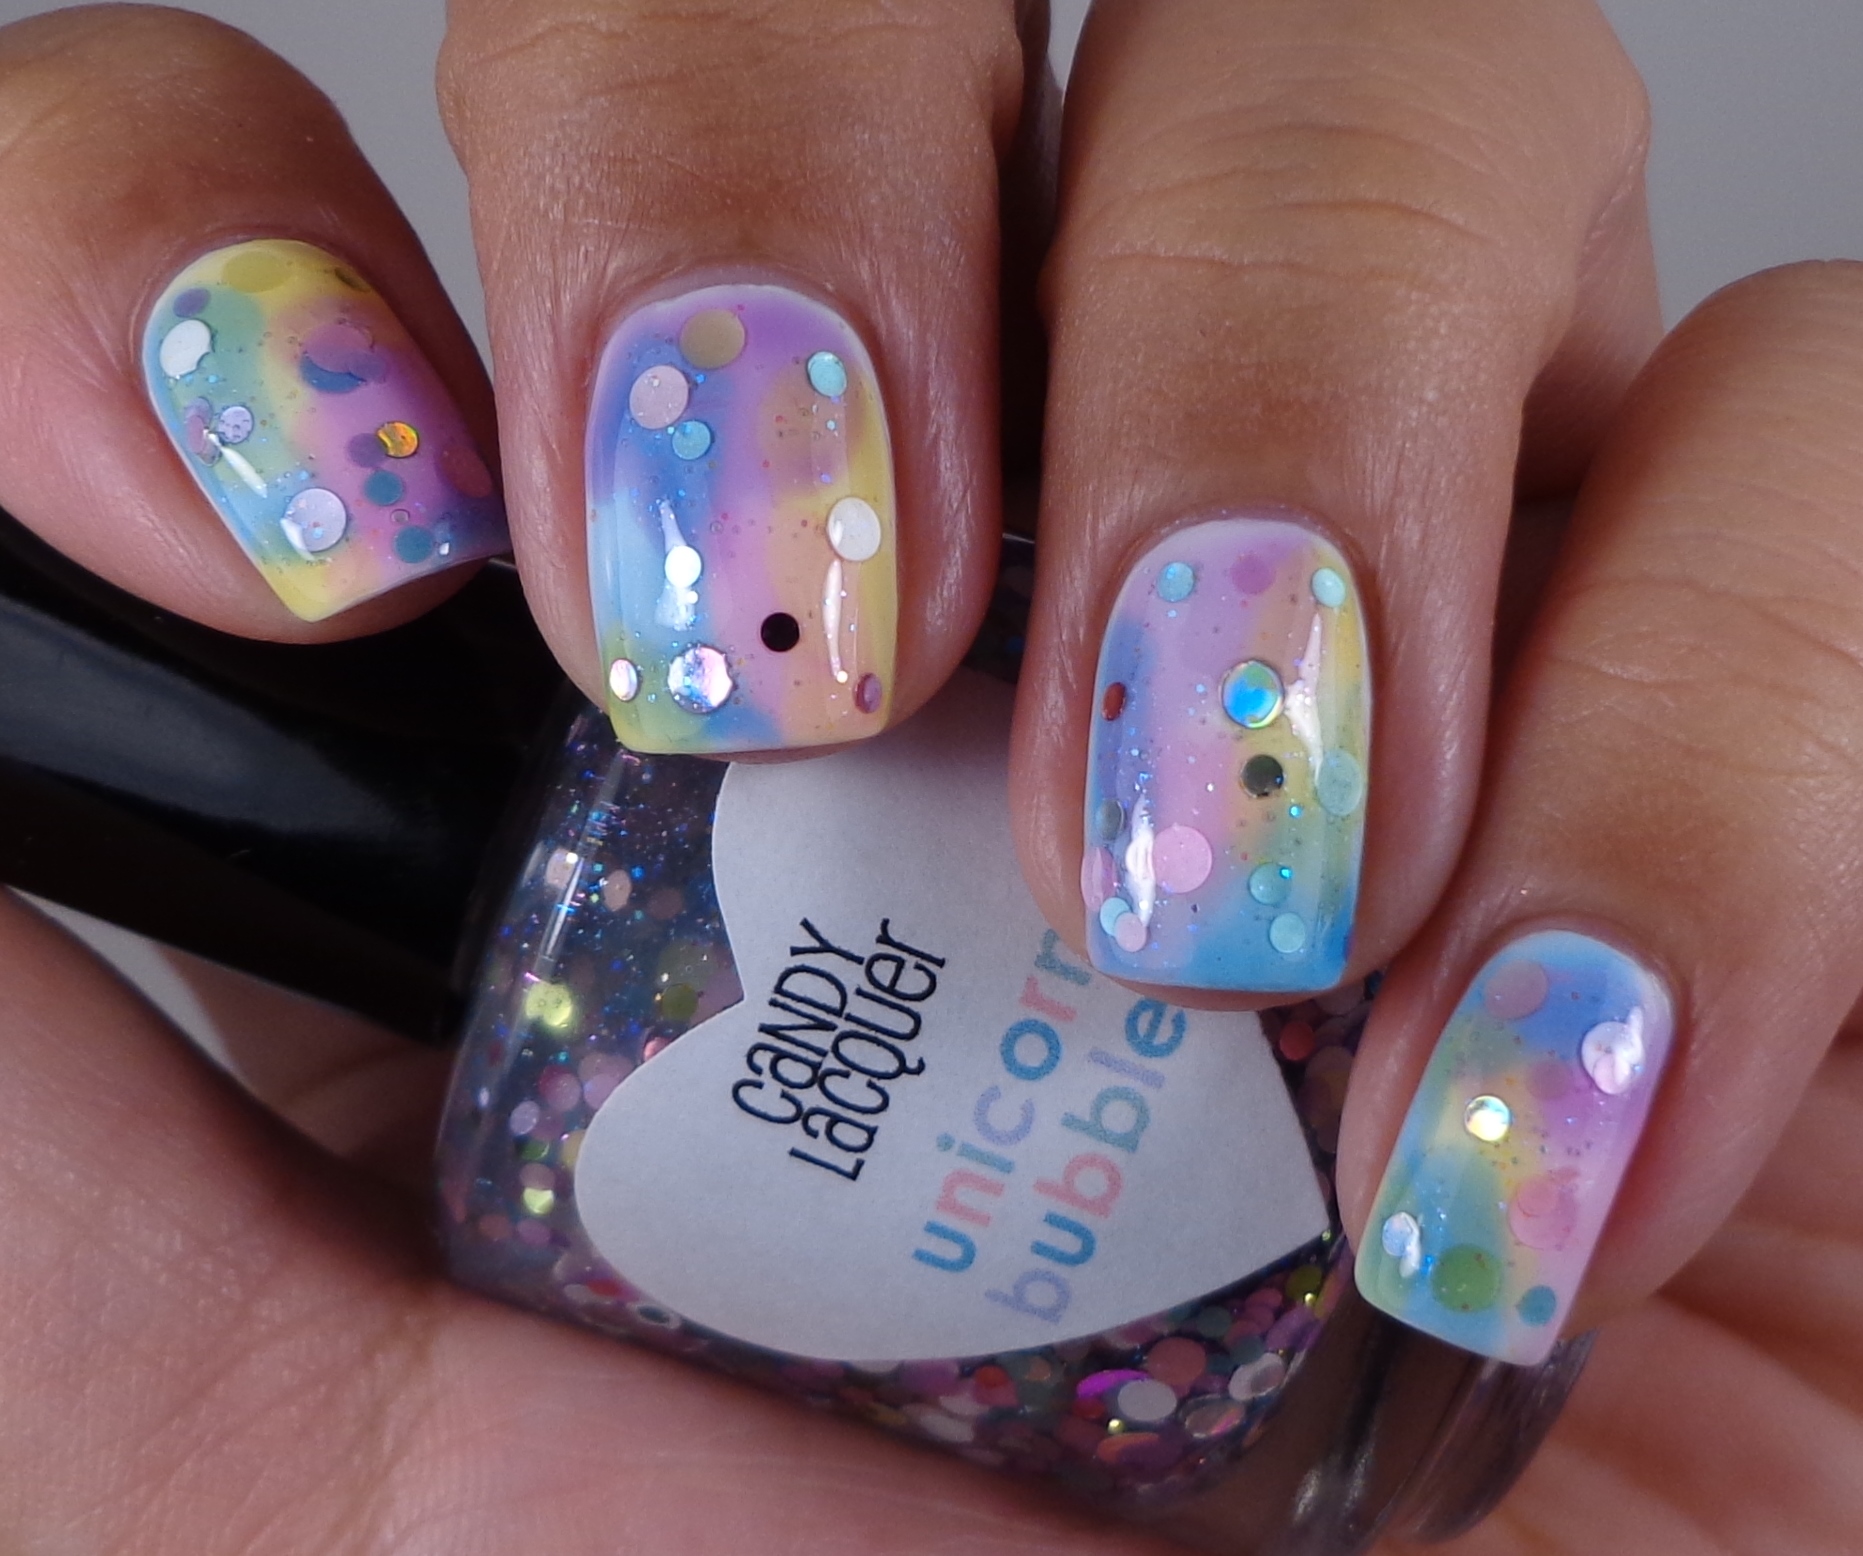
 This is my very first Candy Lacquer, and I was quite happy with it. I love circle glitter so this is right up my alley. Like most glitter toppers, using the dabbing method will give you the best results. I ended up fishing the glitter out with a dotting tool because I was getting a lot of bubbling from the thick base. Although the base is clear, it does have some holographic micro glitter that kicks it up a notch.
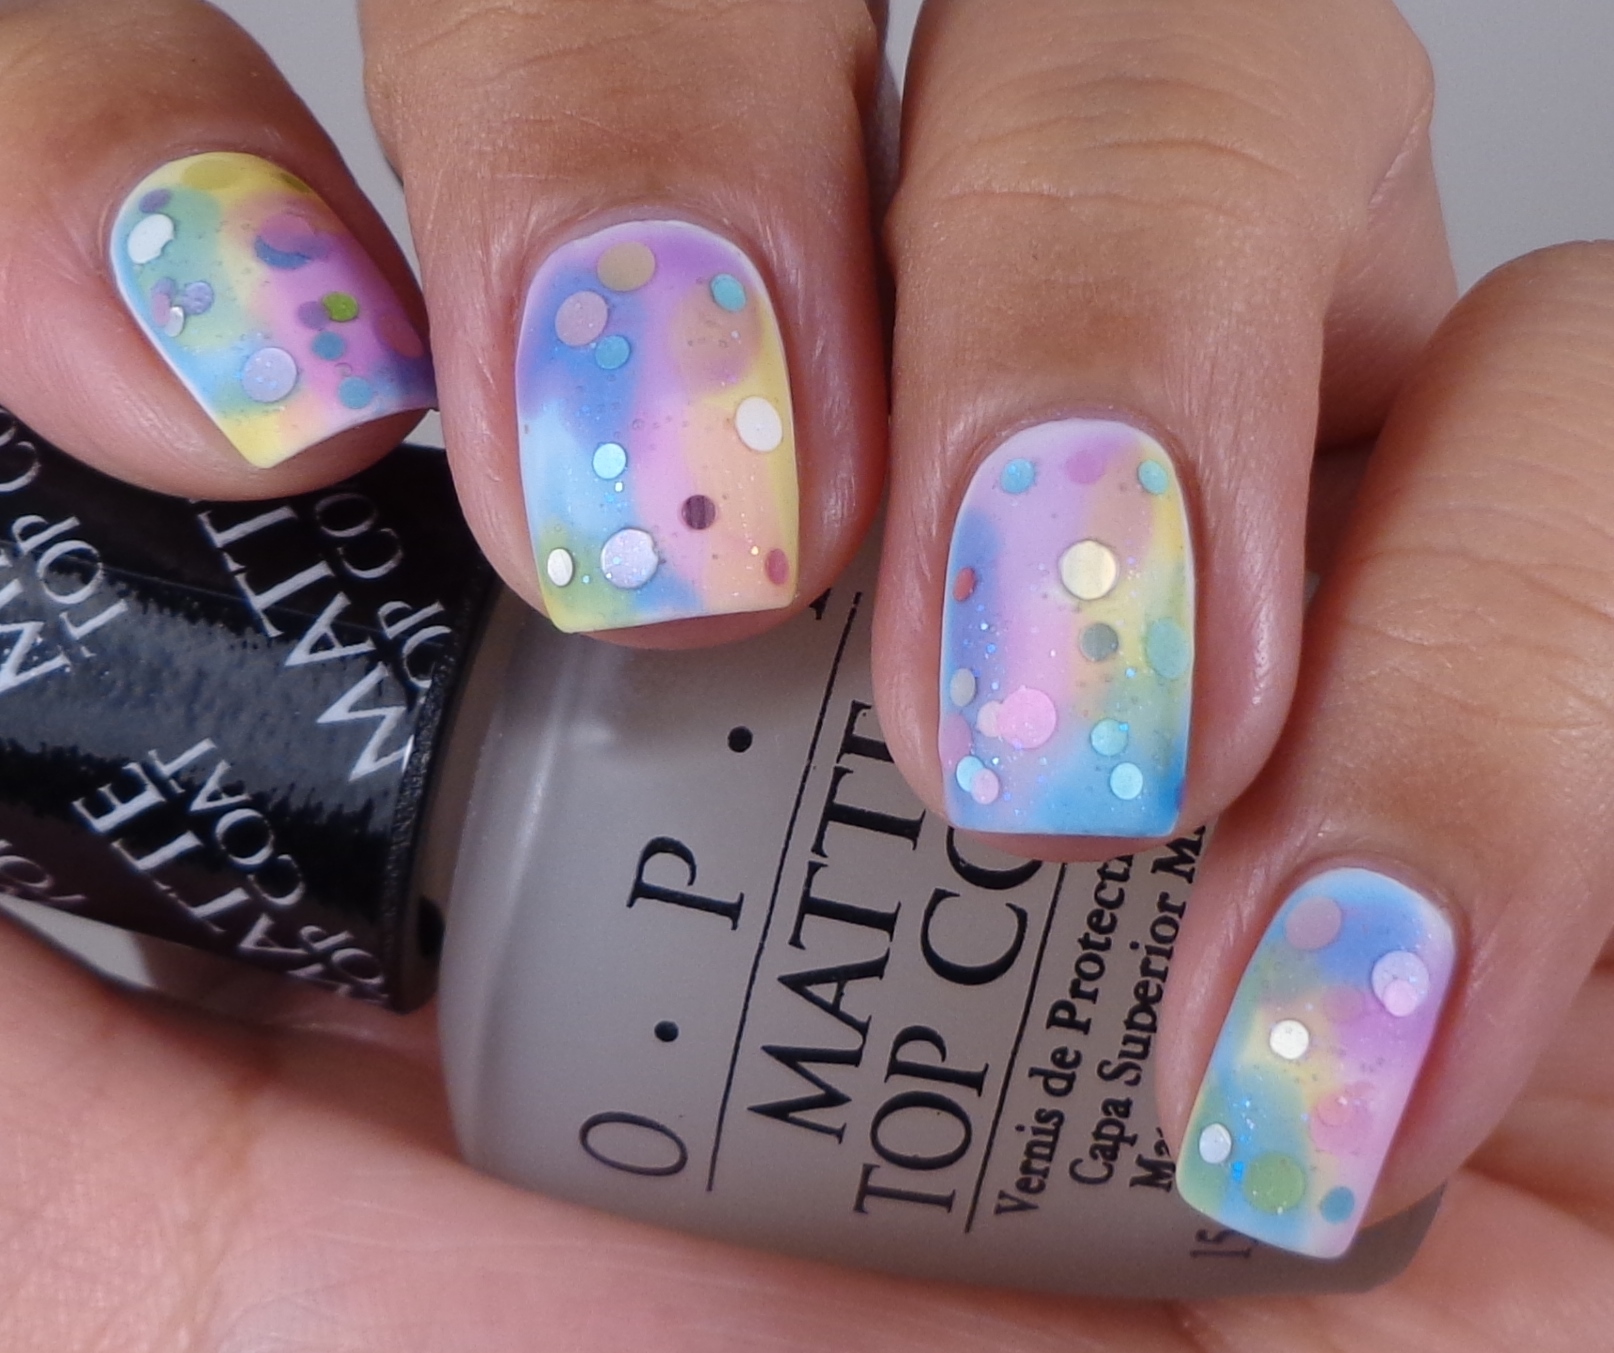
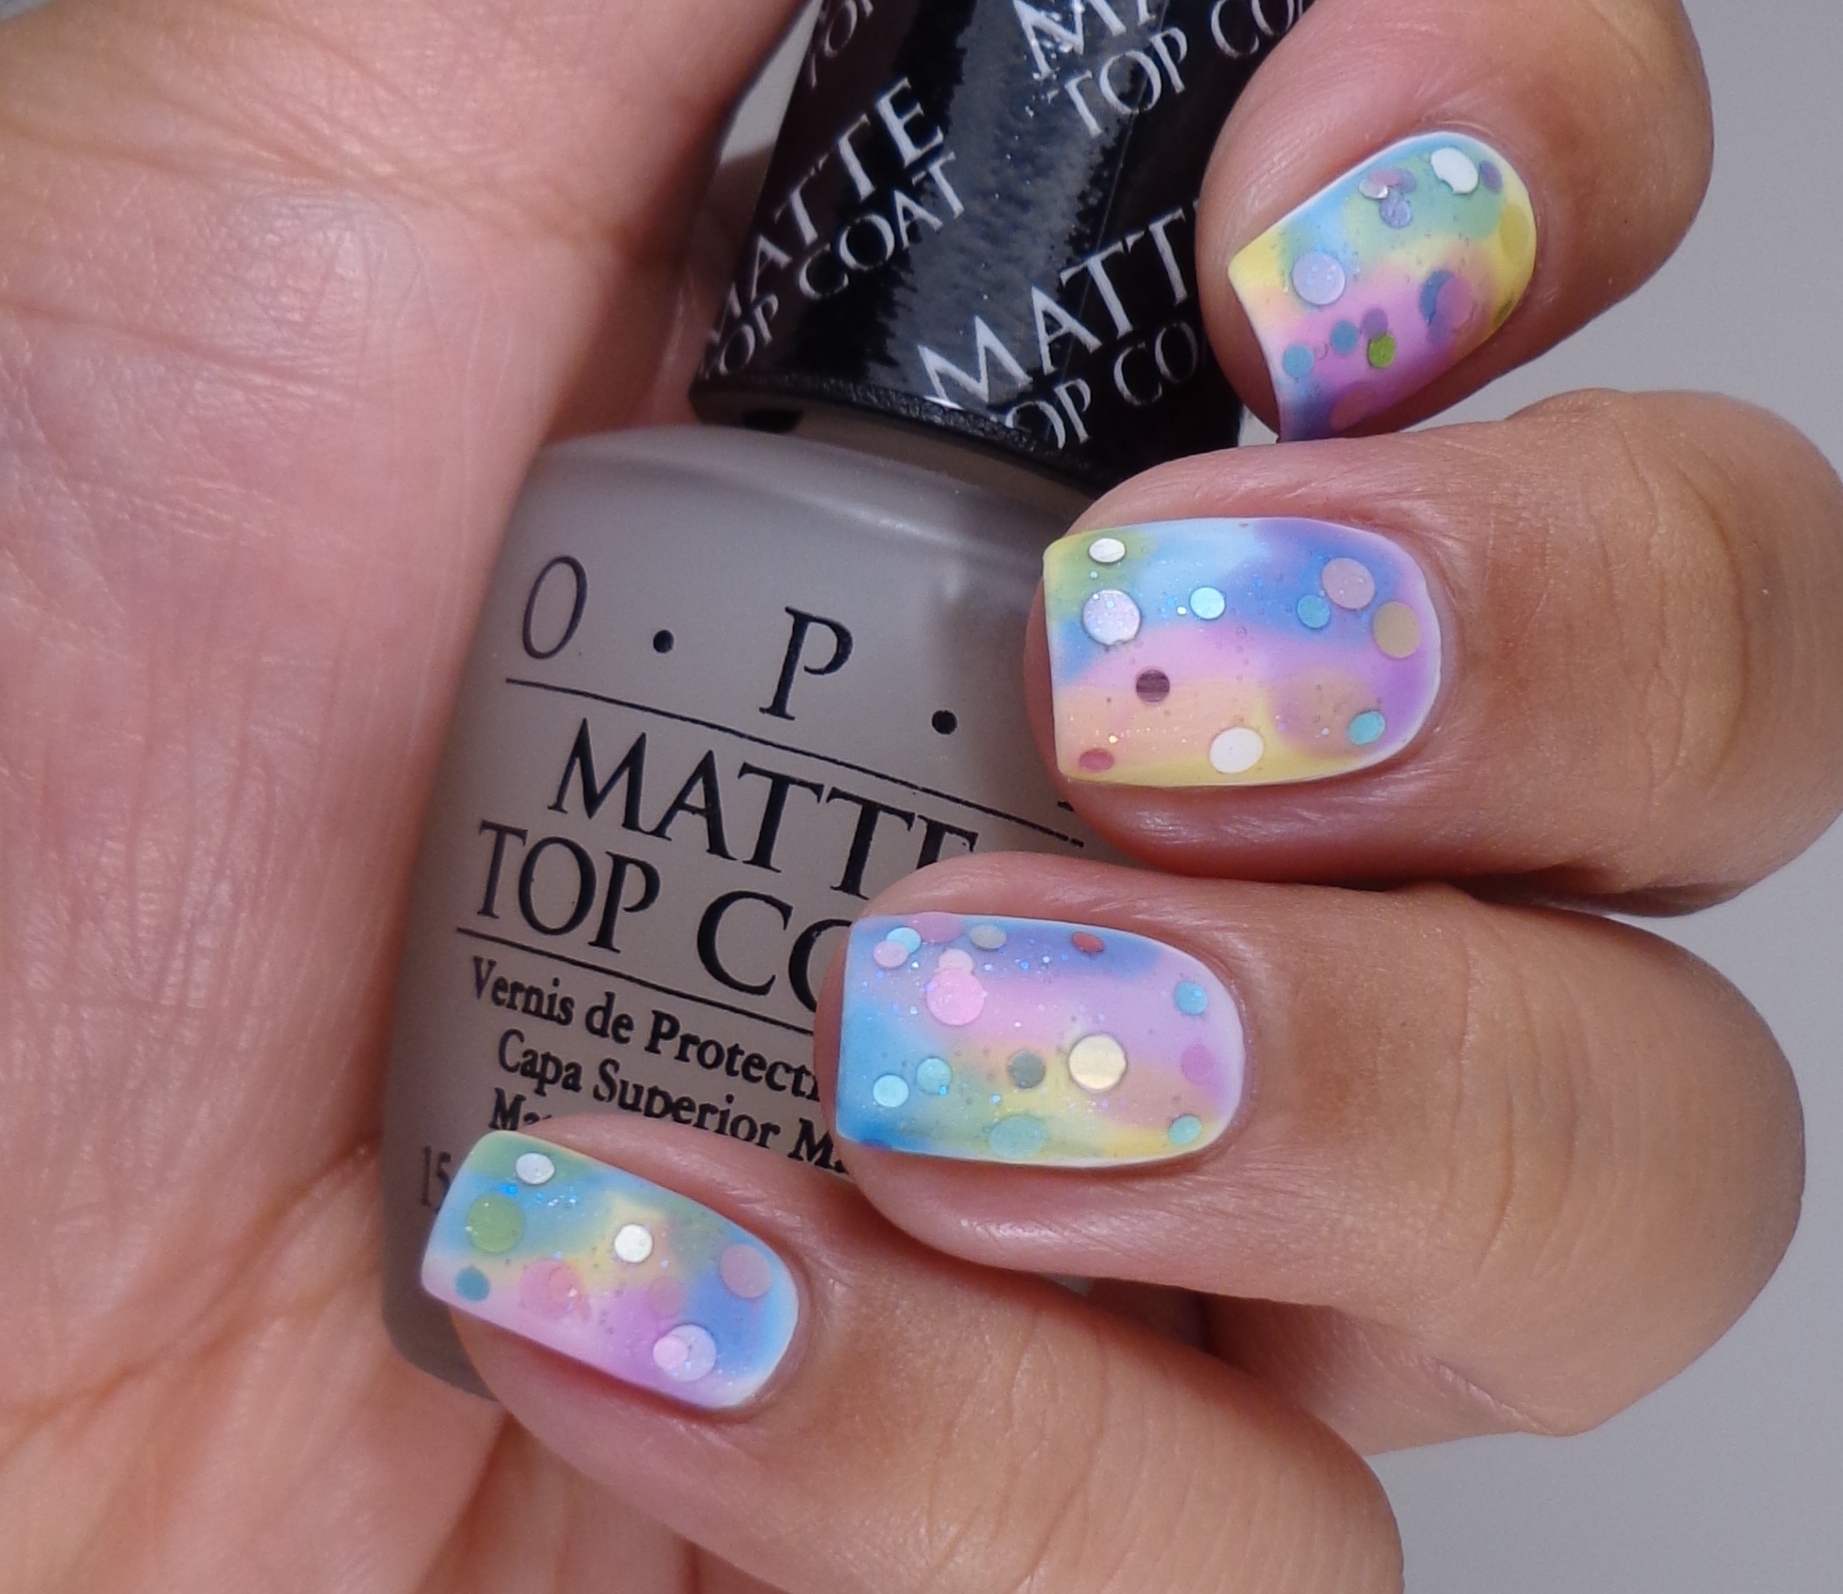 Lately I have been obsessed with making everything matte, so I pulled out my OPI Matte Top Coat (press sample) and mattified my whole mani. I don’t know how you feel about the end result, but I absolutely love it. OPI’s Matte Top Coat has become my favorite amongst many others so I highly recommend it.
Currently I’m working through a lot of unpleasant stuff so excuse me if I’m not around as much. I had mentioned that I may not post as regularly for the time being, but I couldn’t miss out on the first post of The Lacquer Ring. Thank you so much for continuing to stop by despite my irregular posting. We were not very organized for our first post, so they will be trickling in as everyone gets a chance to publish. Some are already up, so make sure that you check them out below. Thank you so much for stopping by today, and I hope that you will join us for the next The Lacquer Ring post.
 Loading InLinkz ...